RAD GARAGE - Rick's Residential Detailing Theatre and Dream Garage
|
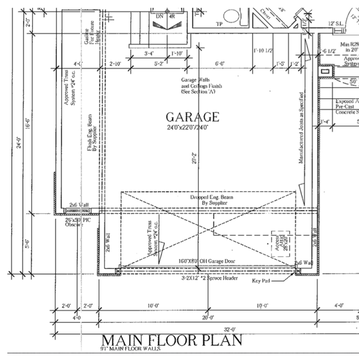
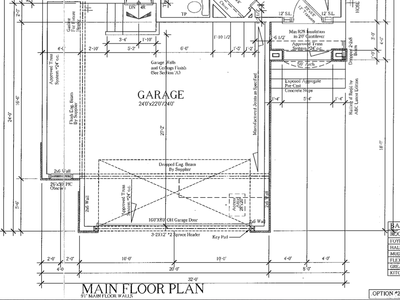
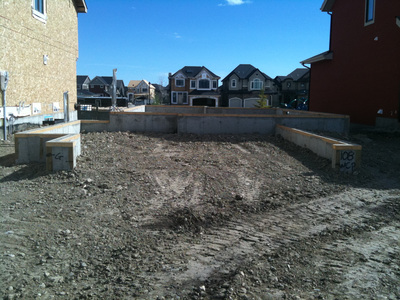
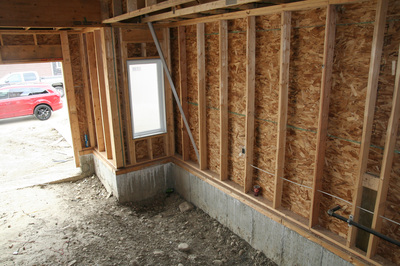
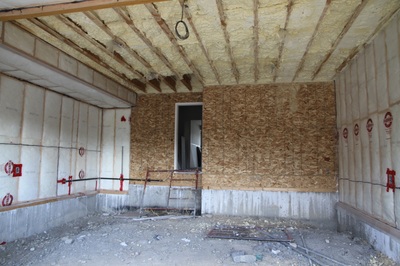
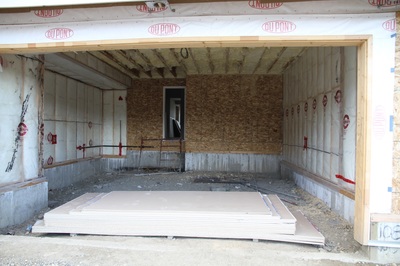
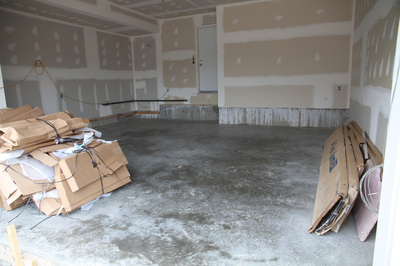
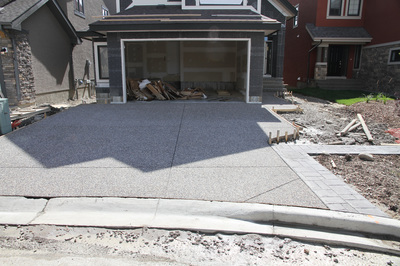
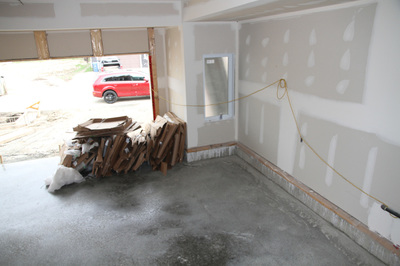
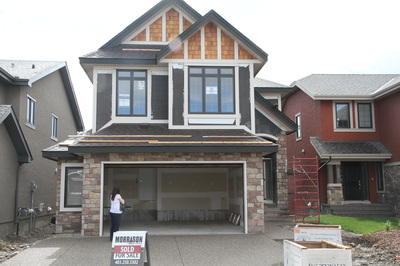
My garage began life on paper as a typical double, but we opted to expand the width by four feet. The width was not applied to the entire length of the garage because a pole would have been necessary to support the living space above, or an expensive metal beam would have had to been added. I was not keen on having a pole in the garage and I wasn't at all comfortable forking over $4000 for the beam so the 4' extends for only 18 of the total 24 feet in depth. I am happy with that choice since it resulted in a more practical footprint and allowed me a to use the leeward 6' stretch of wall for storage of various detailing products. The extra width was well worth the extra cost since it allows me to easily park two cars in the garage while allowing for various storage cabinets and carts along the perimeter.
Dimensions: 20/24 (width) x 22/24 (depth)
|
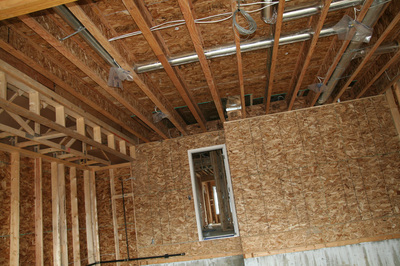
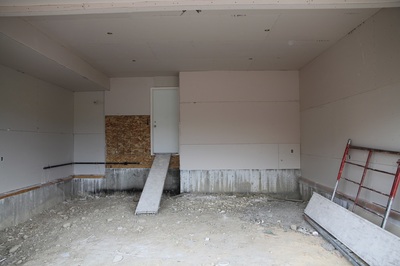
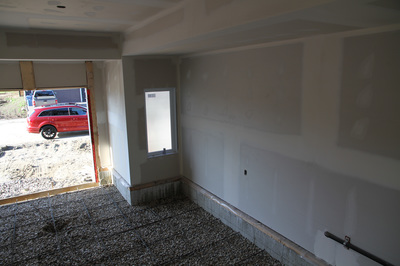
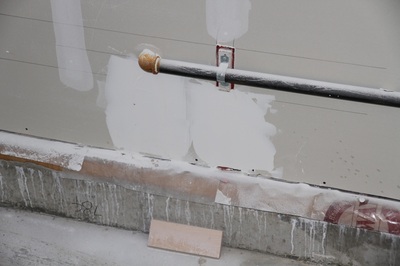
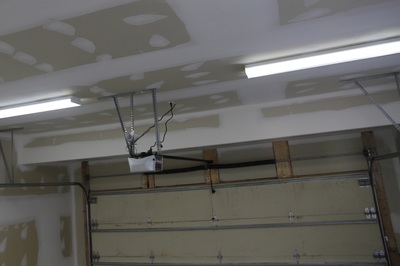
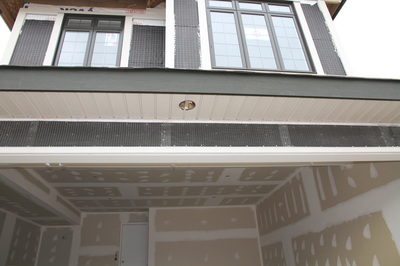
UPGRADESIn addition to the 4' of extra width, we sprung for a few other upgrades to the garage. We had a gas line roughed in for a future heater which was buried in the wall to the left of the man-door. Four fluorescent lights were installed as opposed to the single bulb on the builder's plan. A cold water service was run to the garage and installed in the back corner on the right. We paid a little bit extra to have the window glass obscured. We had four pot lights installed on the exterior of the garage and some extra stone was also required to finish off the exterior around the bump out/window. Lastly, we had the builder double tape and sand all the walls and ceiling. There were a few other upgrades I wish we made, such as a floor drain, but I'm satisfied with the choices we made.
|
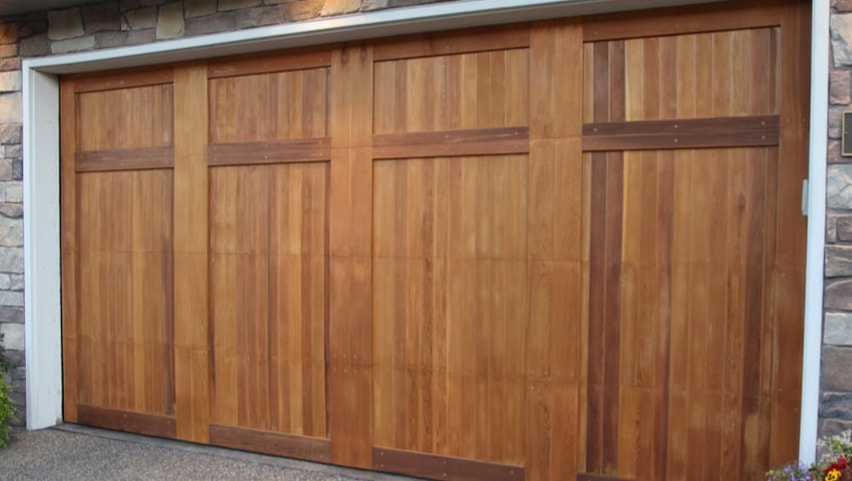
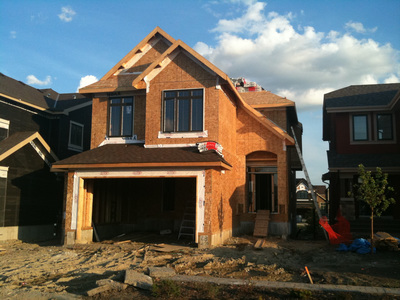
CARRIAGE DOORUpgrading the garage door to a cedar carriage style door was something we were very excited about. At $2800 it was a costly upgrade, but one we feel enhances the curb appeal of our home. The sheer mass of a solid wooden door resulted in the installation of a heavy duty springs along with beefed up mounting brackets for the door rails. We added some hardware to the door to give it the appearance of an authentic carriage door. The builder had the door stained in a natural tone, but I was never quite happy with the color. Recently, I sanded the entire door and applied a transparent sealant coat that enhances the beauty and richness of the wood grain. Now the door has the appearance that we had envisioned at the onset. Click here to visit the "Door" page.
|
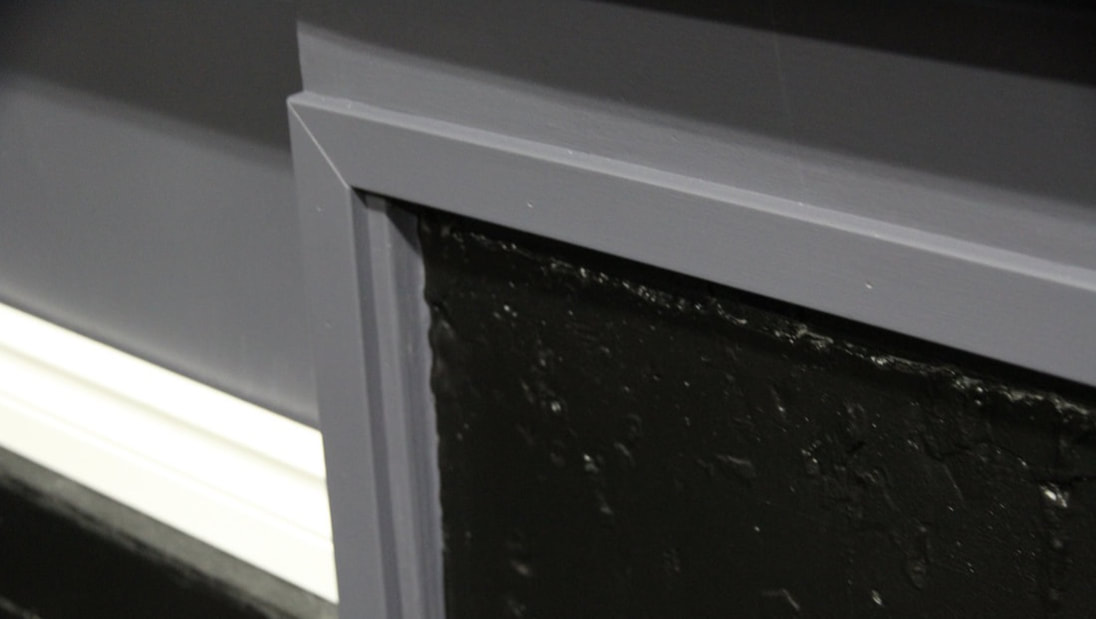
FINISHINGDuring our pre-possession "walk through", I pointed out numerous finishing deficiencies in the garage, a few of which were addressed by the builder. While we were fortunate that a fully drywalled garage was the new standard when we made our new home purchase, the overall level of craftsmanship evident in the finishing in and around the garage was noticeably lacking. Since garages, by code, don't qualify as "living space" here, the trades don't pay a high level of attention to detail. Upon possession, I began trimming out various drywall gaps around the car door, window, and attic access panel. To mask the gap between the stem wall and drywall, I ran a 6" baseboard around the perimeter. It now rivals the rest of the home in terms of finishing.
|
If you have any questions or comments regarding my garage's build, feel free to contact me
All images and content © 2014-2024. All Rights Reserved.
