Early in the build, we decided we were going to heat the garage. Winters in our neck of the woods can be extremely long and cold. I had some mild reservations regarding the continuous freeze/thaw cycle and how that could potentially result in premature corrosion of our car, but my desire to have a space that was consistently warm and comfortable took precedence. Originally, I was considering a forced air unit since they are de rigueur around these parts, but as our home neared completion, I began researching in earnest and realized there were other options. After much deliberation and consultation with an HVAC contractor, I made the decision to install a Space-Ray infrared tube heater. I went with the CB-50 model which pumps out 50,000 BTUs of magnificent radiant heat. It has performed flawlessly since the day it was installed.
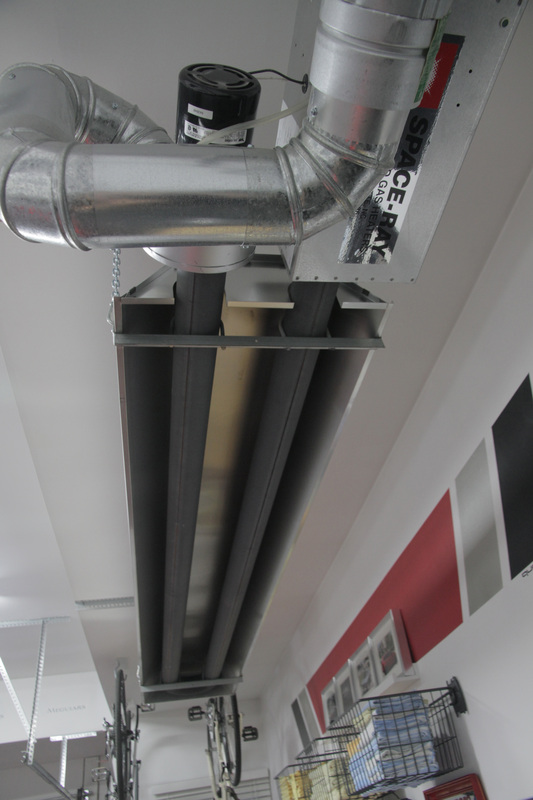
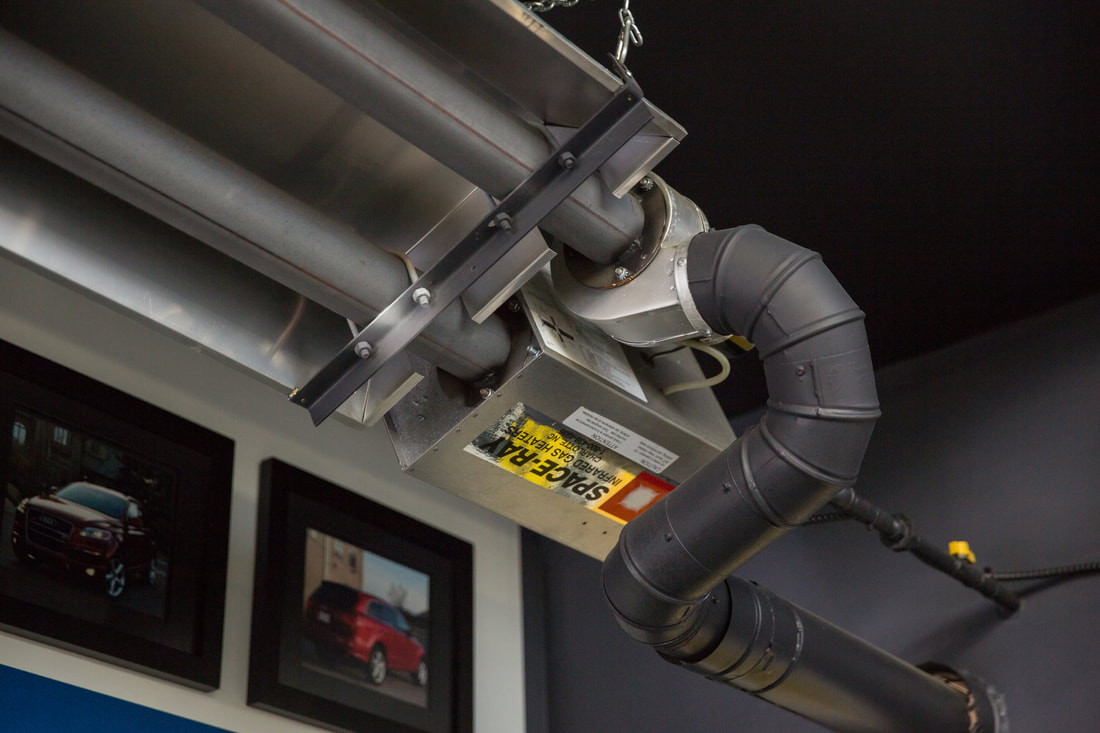
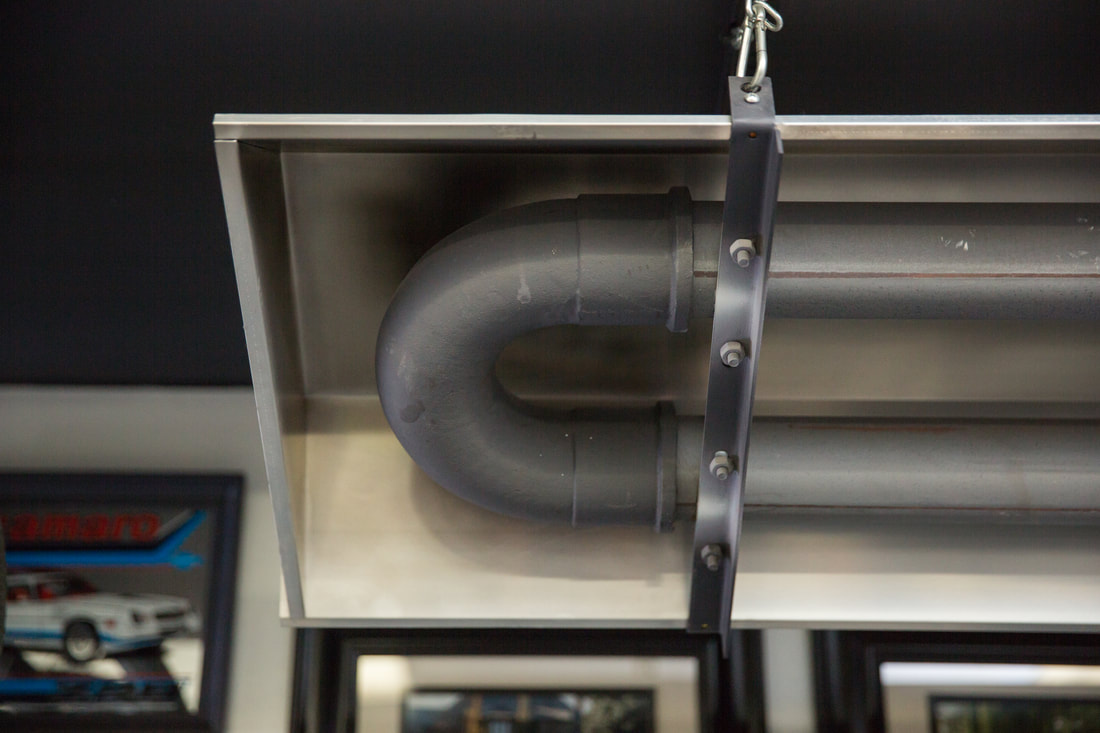
WHY RADIANT?I chose infrared over forced air for a couple of reasons, the least of which was the "coolness" factor. It's 9' 3" in length and makes a bold statement clinging to the ceiling of our 4' bump out. This heater throws an amazing amount of heat without disturbing a single molecule of air. No air movement means no dust, which is a huge perk for a guy as concerned with cleanliness as I am. The infrared rays heat everything in the garage, not just the air. Whereas a forced air unit heats air and pumps it into a room, the infrared penetrates and heats the molecules of the air as well as the items in the room, like the sun. Since everything in the garage is warm, the garage takes little time to recover when the big door opens and closes.
|
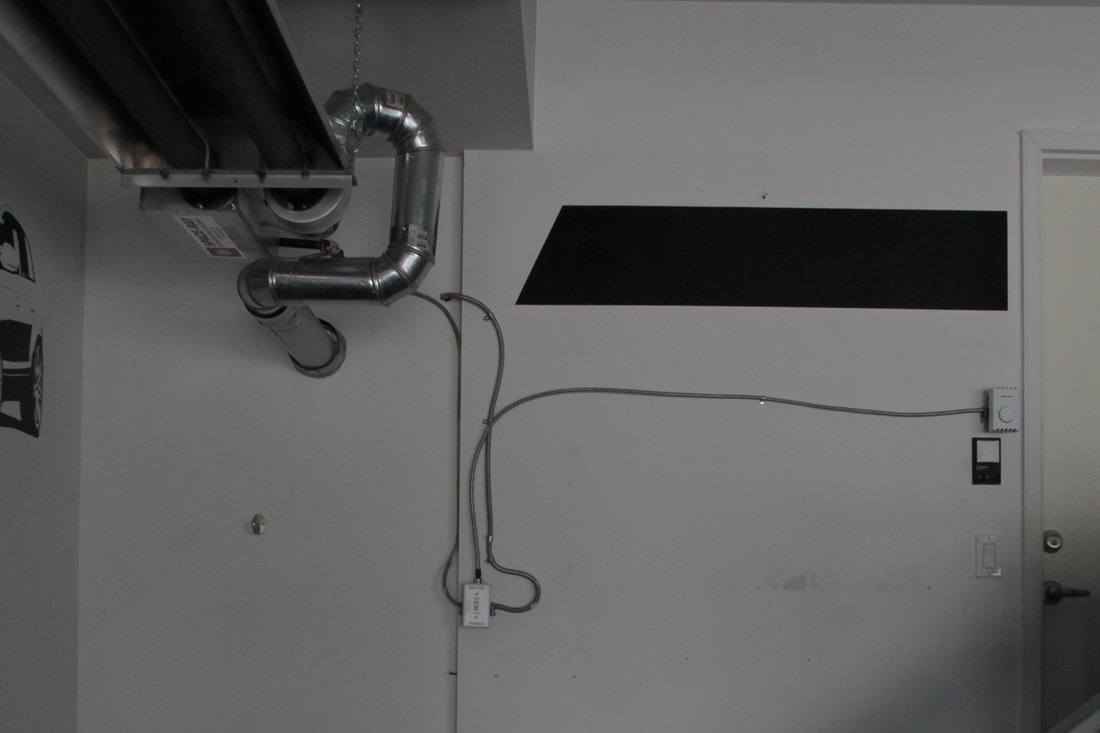
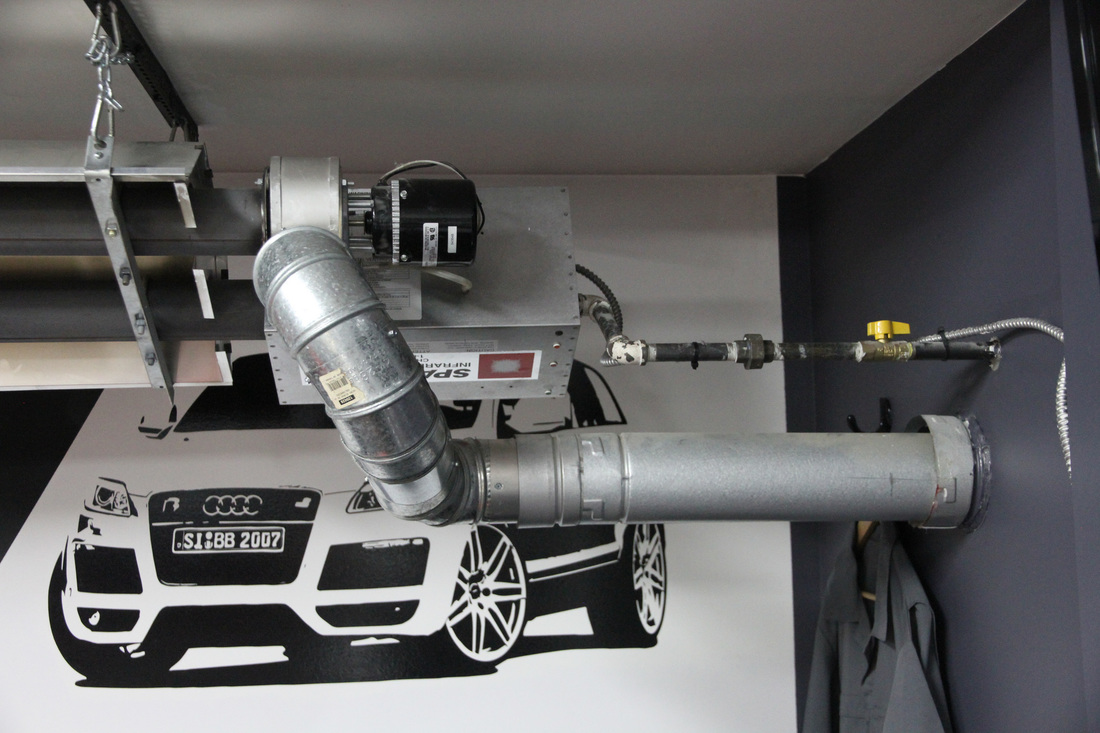
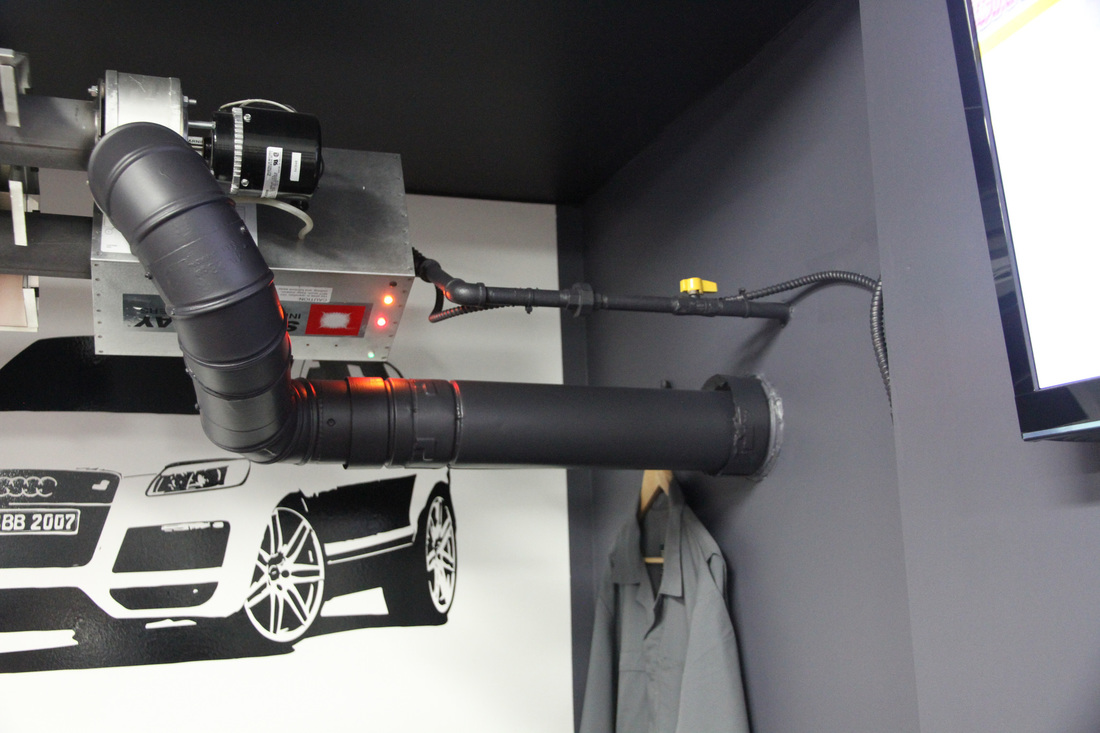
INSTALLATIONThe gas line and power were roughed in during construction, so the hook up was a cinch. It made perfect sense to mount it on the ceiling of our 4' bump out. Problem was, my HVAC contractor wasn't an experienced installer of tube heaters so he originally angled it directly down. This made working under it an uncomfortable experience, and the proximity of the heater to my wall cabinets was not ideal. Eventually, the heater was angled towards the centre of the garage, but that process revealed some flaws in the ducting. While I was on the phone with a Space-Ray technician, he had concerns regarding the convoluted ducting. Once the heater was angled and efficiently vented, I painted the ducting the same colour as the ceiling above.
|
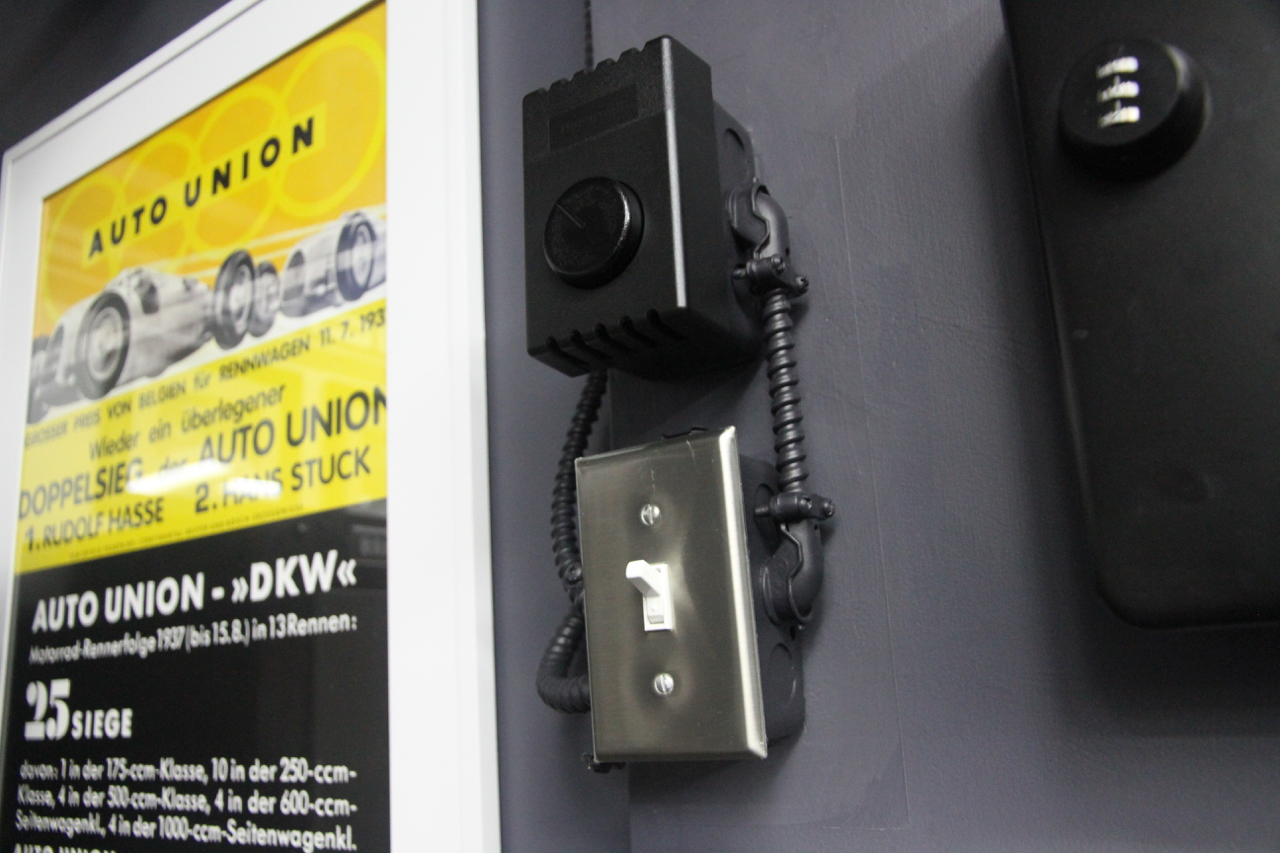
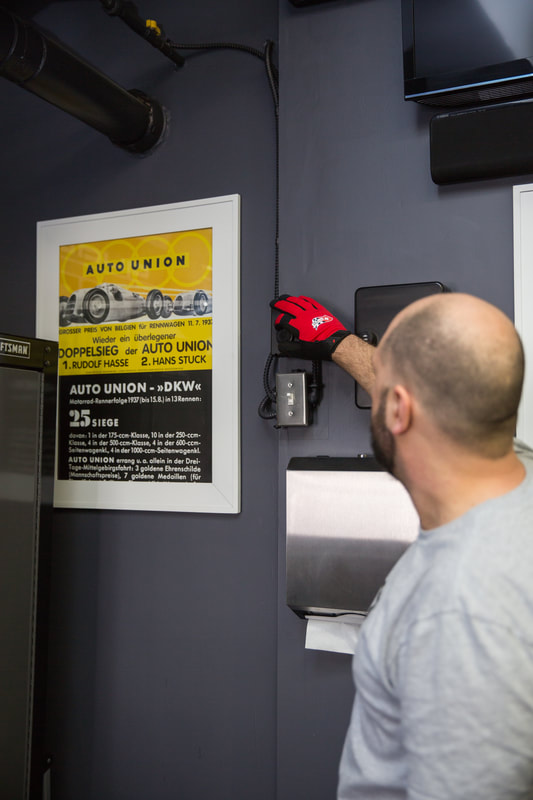
OPERATIONThe temperature is controlled with a basic wall-mount thermostat. The unit continuously radiates heat until the temperature set on the thermostat is reached. There is a power switch just below the thermostat. The garage is well insulated, so on a typical winter night, the unit only cycles 5 or 6 times for 10-15 minutes to keep the garage at a preferred 15°C. The unit is relatively quiet and the operational costs are reasonable. I have never calculated the exact costs, but my best guess is $10-20/month. Well worth the cost, especially on those days where the mercury drops well below freezing, which is too often. The heater ensures the garage is a comfortable place to spend time despite what is happening weather-wise outside.
|
This gallery illustrates the evolution of my heating system. You will notice the changes to the ducting along with the change in the unit's mounting angle.


If you have any questions or comments regarding my garage's heating system, feel free to contact me