|
Our carriage style cedar garage door is over five years old, and the original stain is starting to show signs of wear. I never really liked the stain the builder used anyway. I picked up a gallon of this stuff, and I hope it does a better job of showcasing the grain of the wood. I plan on tackling this job this week so stay tuned for updates. 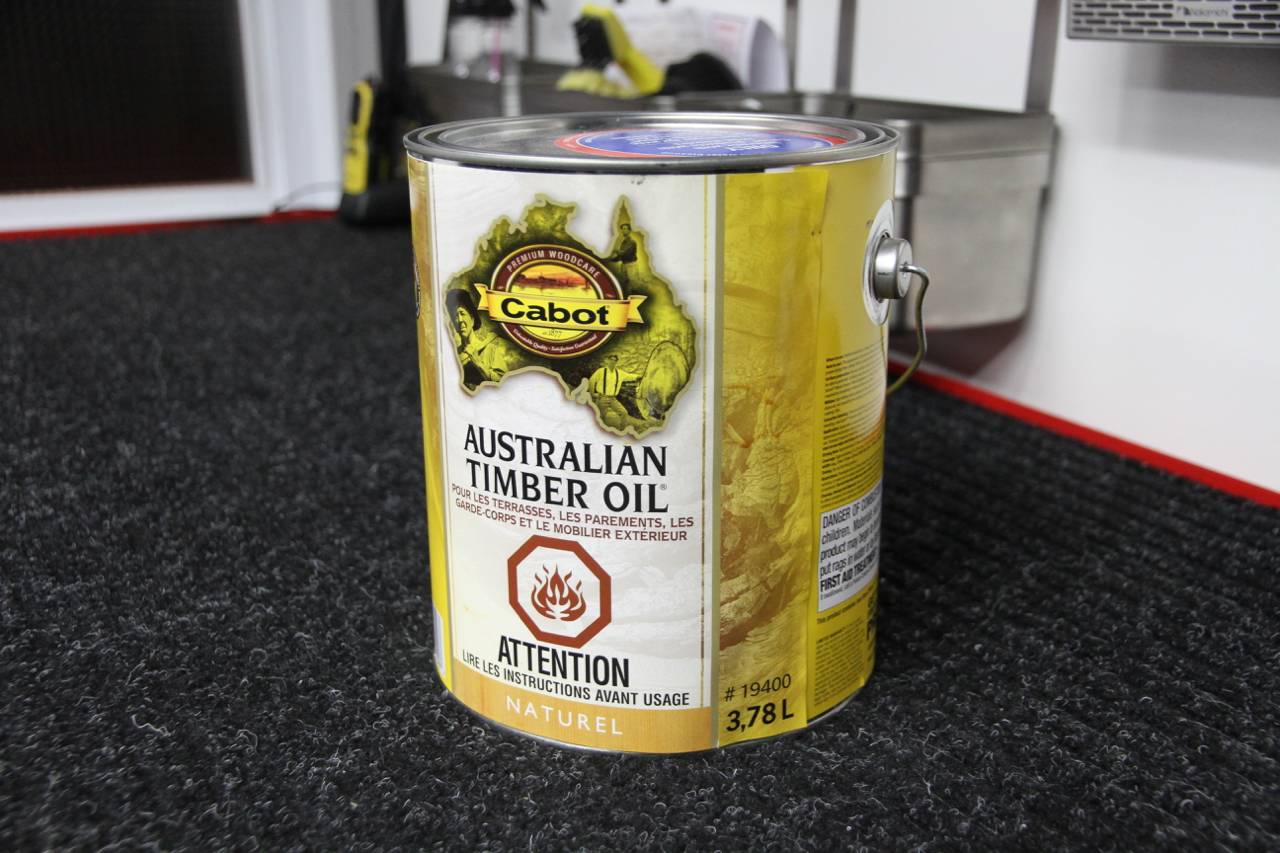 I can't believe how much time and energy it took, but the tile work above the car door is now complete. I love the look of charcoal grout, but what a pain! I am happy with the end result, though. I also decided to take down the shelf I had on the far wall since I don't really need it. I stored some jack stands up there, but they easily fit on top of the Craftsman cabinet in the corner. I am awaiting a cool sign so that wall will get a cool graphic in a week or so. Here's some shots of the finished tile. I'm zapped. Not sure how, but I stumbled upon this review for some crab shack on Trip Advisor, and I couldn't help but wonder if I have ticked someone off. Check it:  I would love to know the story behind all of this. Here's the link.
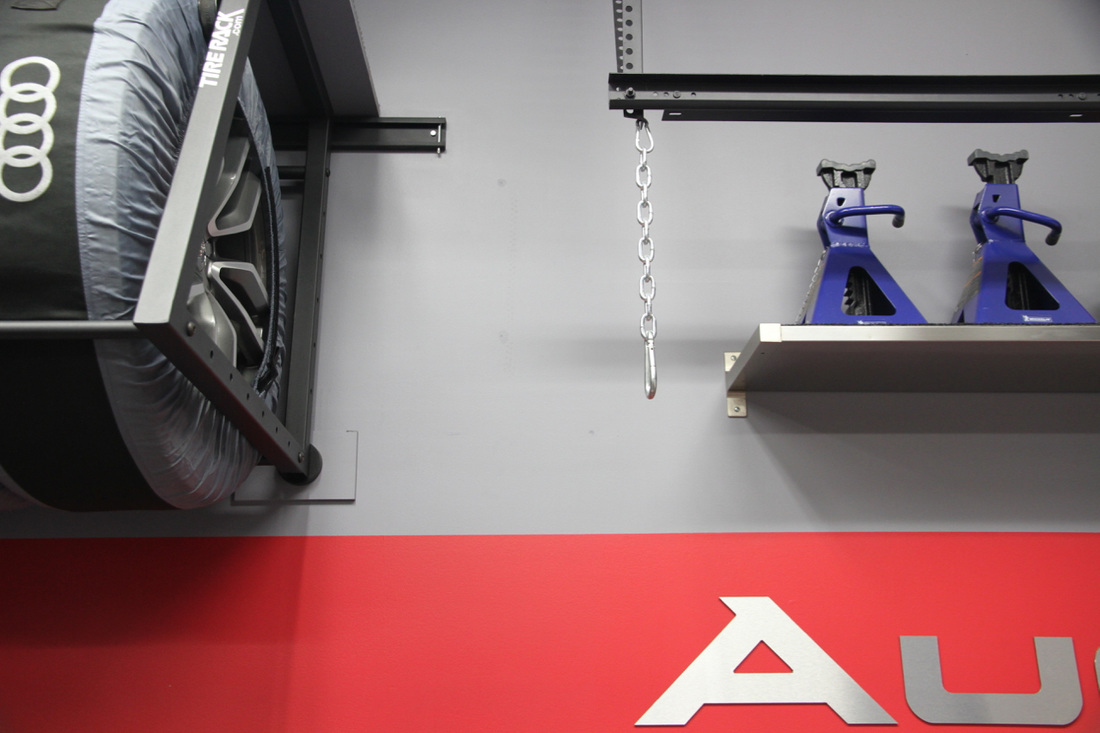
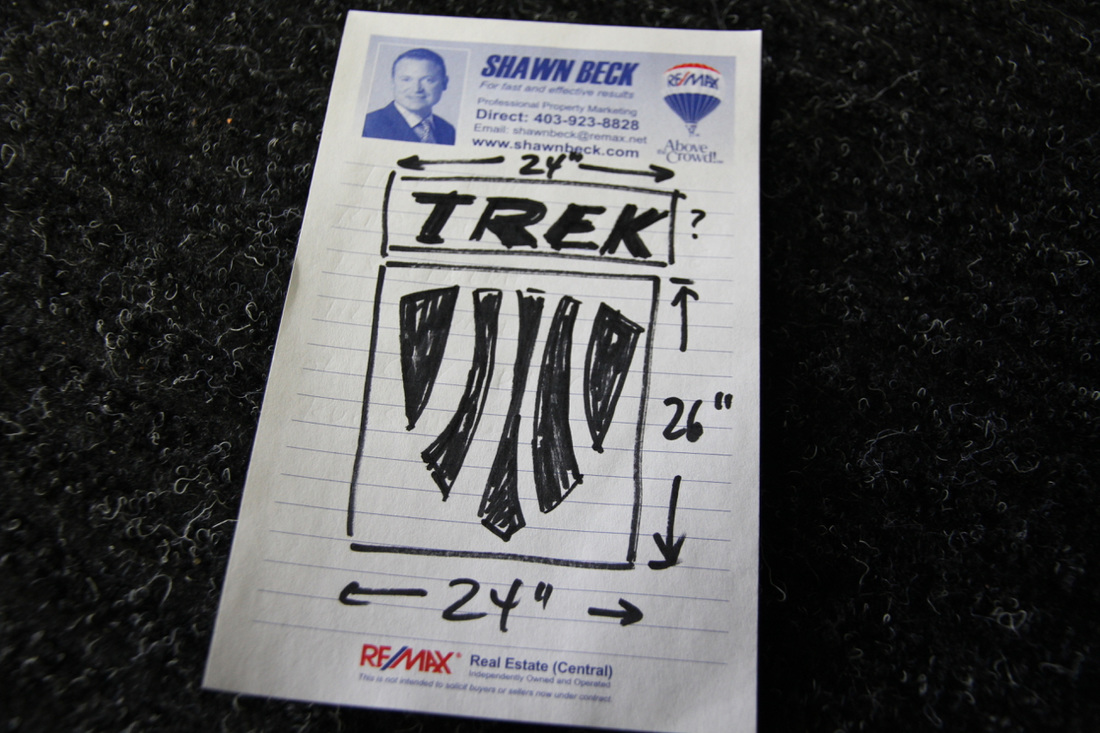
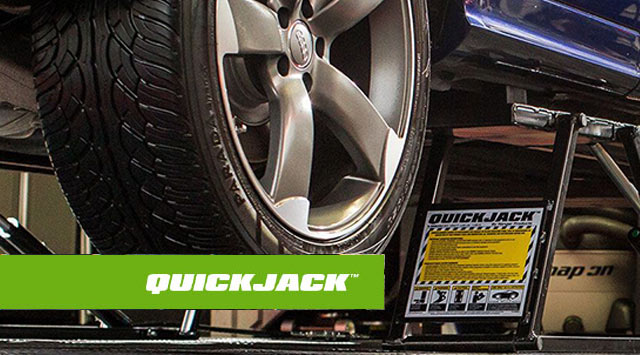
A long weekend in the mountains resulted in a thoroughly filthy SQ5. Here's a video demonstrating how I returned my car to showroom condition after 1000+ kilometres of spirited mountain driving. My tile project is progressing well. I had to trim the top row of tiles by hand so that took a bit of time, but other than that everything was quite straightforward. I'll let the mortar set for 24 hours and then apply the sanded grout. This whole project is completely unnecessary, but I think this is going to look amazing. Today, my 5-year-old son asked if he could play with the Matchbox cars I have had sitting in an office drawer. I have had some of these cars for many years, most of them in their original packages. I have been saving them for him, so we decided to open them up. Here's a few photos: The portion of wall above the garage door has always been a thorn in my side. The builder did a lousy job of finishing off this part of the garage, so I have been fixing it up for a number of years. Even though I have addressed it a number of times, I still feel like it needs something to better integrate it into the overall design theme. So, this week I will be installing white 3x6 subway tile along with a charcoal groat. This is a completely unnecessary project from many standpoints, but I think it will look great. Here's some photos that show the evolution of this area from construction to present day. The SQ5 eclipsed the 50,000 km mark tonight. We've had it for over 2.5 years, so 20K/year is pretty decent given the geographical size of this city. I have been nothing but impressed with every click we have put on this crossover. Here's to 50,000 more! 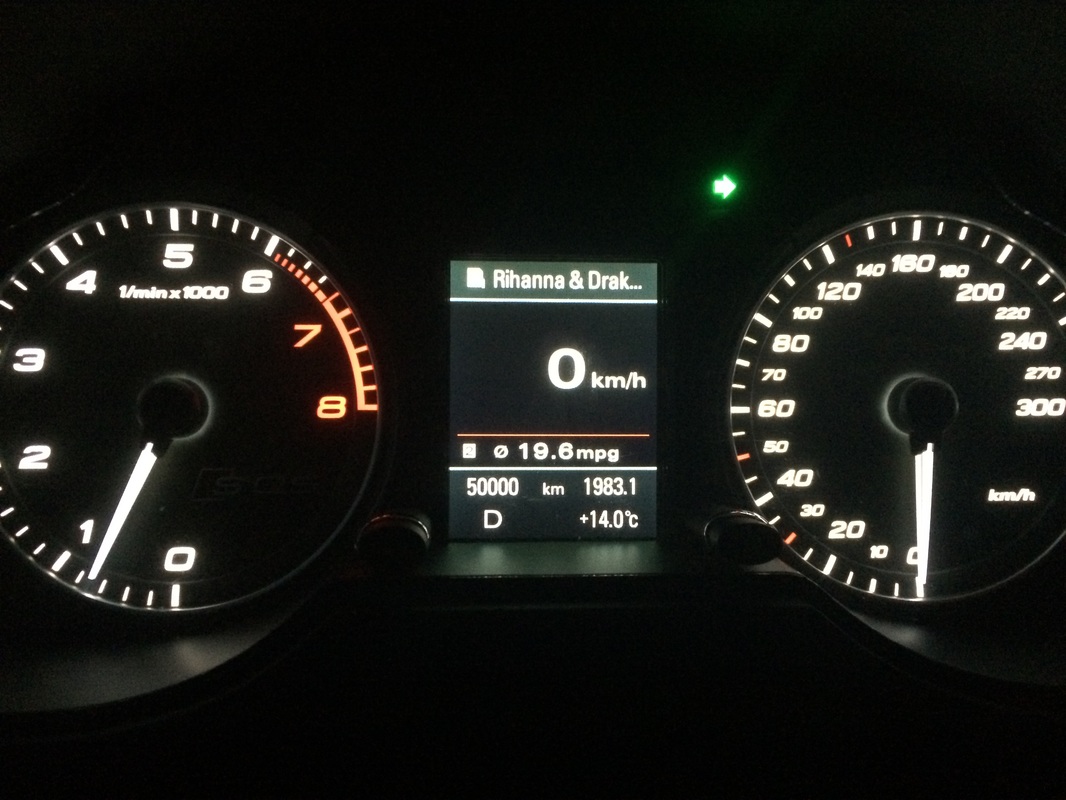 I have a Craftsman cabinet in the far corner of my garage that houses lots of paint cans and other various liquids and sprays, and it is mounted using a white panel that I picked up from Sears when I bought the cabinets. The white panel was a bit of an eyesore, and when I painted the Gladiator mounting panel for the ball caddy, it looked too good not to do with the upper panel. A few coats of the wall colour and it is pretty tough to even notice the mounting panel now. The first photo in the slideshow was taken a while back, but shows the white rail. I noticed that Sears Canada isn't showing these cabinets on their website any longer. Lots of Gladiator stuff, so I wonder if these cabinets are now obsolete. If so, that's too bad since I really like them. A Lowe's just opened in my neck of the woods so I stopped by to check it out. Man, is that a nice store. I picked up a ball caddy by Gladiator to help keep my son's various toys organized in the garage. It was a quick and easy install. Once the rail was in place, I painted it to match the wall. He loves it. A few months ago, I backed into my garage not realizing my son's bike was on the roof. The gooseneck came into contact with the garage door trim, resulting in a minor scuff. I finally got around to patching and painting the evidence of my rookie move. The video, as captured by our security camera, can be seen here. We've owned the SQ5 for 2.5 years and it is still on the brakes it came with. The only issue we've had is with some corrosion around the rotor hats. So, with the help of my QuickJack, I put the car in the air today and hit each hat with a coat of high-heat paint. The job took two hours. Here's a slideshow that demonstrates the steps I went to. The title says it all. I finished applying the high gloss acrylic sealer to the aggregate driveway. I do this every year to combat premature aging due to the sun and the salt on the winter roads. Here's some photos that illustrate the process. The annual process of sealing my garage floor and driveway is in full swing. I removed the RaceDeck floor and pressure washed the concrete. I allowed it to dry for a few hours and then took my Master Blaster Car Dryer to the cracks to ensure all the moisture was dealt with. I started by using a 1" brush to apply a liberal coating of sealant to the cracks in the pad. I really let the sealant seep down into the cracks and fill up the little gaps. Then, it was time to apply a thick coat of the sealant to the vulnerable parts of the pad. The stuff dries relatively quickly, so I will be pulling the floor back in soon. At that point, I will shift my efforts to completing the driveway. Sidenote: The sealant went up in price from $119/pail last year to $168. Robbery! Here's a slideshow showing my work: If there's one thing that goes well with Audis, it is Trek bikes. I am working with the guy that made my raised aluminum "Audi" sign to have a custom Trek sign made. I'm going to put the text above the logo. Since the signs will be aluminum, I am thinking of creating a painted shadow effect behind them to give them a 3D look. This is gonna be a fun little project. Stay tuned. I try to focus on a new detail every time I wash my SQ5. This time, I really focused on the door jambs. I was so inspired by the work I was doing, I decided to do a video and I titled it the Decadent Detail. The SQ was pretty bad due to an out-of-town jaunt up to Red Deer to see my Grandmother over the weekend. I think you'll like the video I threw together. Sidenote: my YouTube channel eclipsed the 700-subscribers mark. It wasn't cheap, but I'm worth it. I picked up the iBrid from Carzilla on Monday. What a slick little tool. While I was at Carzilla, I also picked up a new tire dressing that the owner recommended. It's a spray foam that supposedly penetrates the rubber leaving a coating that should last a few weeks. I also picked up a gallon of Chemical Guys' Citrus Wash & Gloss which is my go-to shampoo. I purchased three microfibre polishing pads that will help me when correcting harder paint. All the pads I currently own are foam, so this should be a neat experiment playing around with mf. Here's some shots of my new acquisitions. I forgot to get clay while I was there. My next trip will hopefully be my last. I'm going broke o'er here. This virtual tour should give you a great sense of how things are laid out in my garage. I have to say, things are approaching perfection. It's just a matter of fine tuning the little details at this point. I hope you enjoy. Here's a little "before and after" video I put together after conducting a quick interior detail on the SQ5. Nothing earth-shattering here. I used Sonax Leather Foam on the seats, 1Z Einszett Cockpit Premium on the panels, dash, and console, and Invisible Glass on the windows. I also used Weather Tech's cleaner on the floor mats. The video does a pretty decent job of showcasing the amazing interior of the SQ5. The process took 30 minutes. |

RAD GARAGE is my personal detailing theatre. I am a teacher who finds immense pleasure in completing deeply therapeutic, thorough and highly satisfying detailing projects in my residential garage. I have converted my suburban double car garage into a world class detailing environment and I enjoy caring for my own car and select cars belonging to others. The garage and the work I complete in it have allowed me to connect with other detailing enthusiasts from around the world.

I have teamed up with Teespring to offer viewers an opportunity to grab some RAD gear! Click here to see the current inventory of RAD merchandise available at my Teespring store!
Use "RAD10" to save yourself 10% until the end of March, 2021.

Carzilla is a local detailing store that caters to the North American community of professional and enthusiast detailers. I have been a longtime customer and I am fortunate to call the owner a friend. Besides stocking a vast quantity of top quality detailing products, the owner has supported various garage and detailing projects of mine over the years.
5% discount code
|


 RSS Feed