|
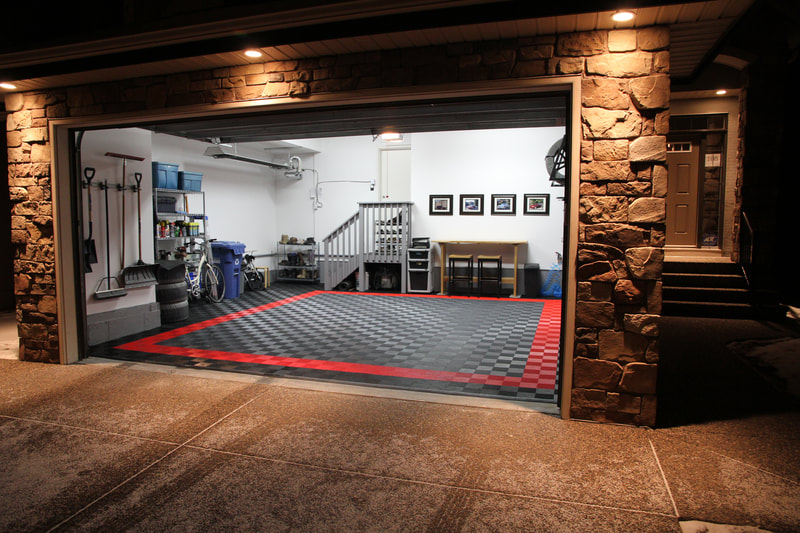
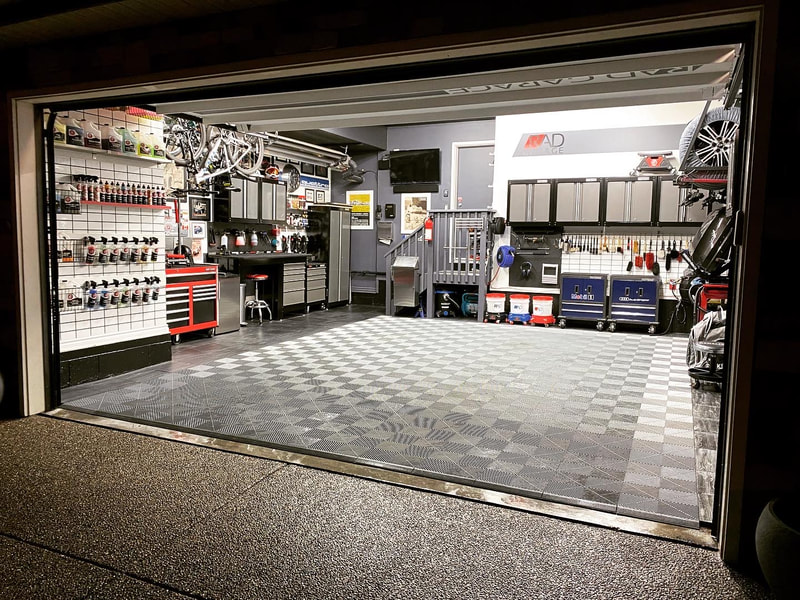
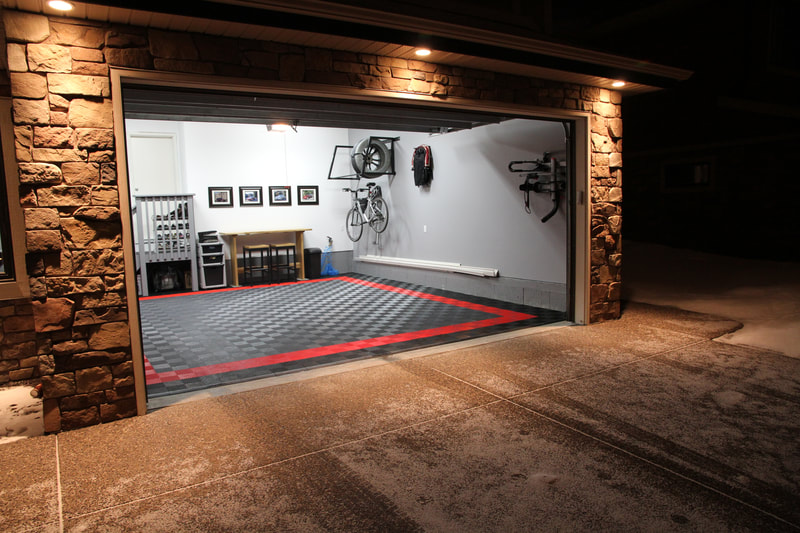
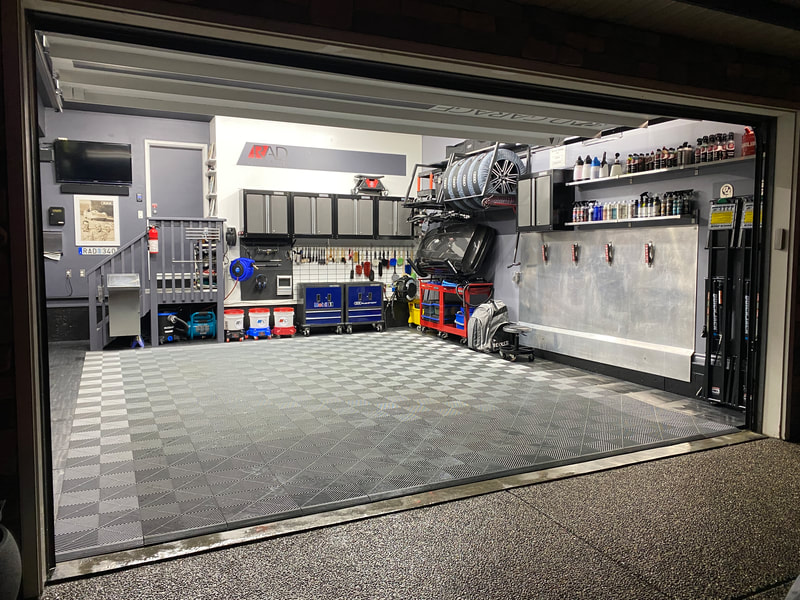
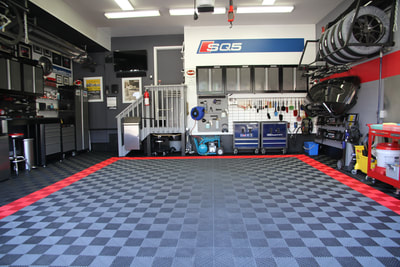
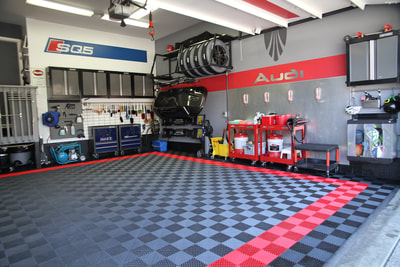
It sometimes shocks me how far this place has come in the past ten years. Here are some photos from 2010 shortly after we moved in and some from this past weekend. It's hard to believe a decade has already passed since we moved in to our dream home.
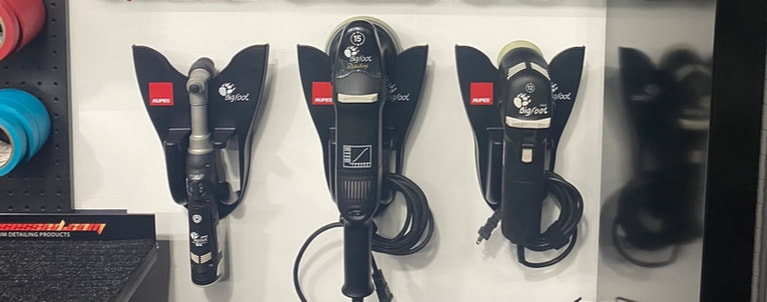
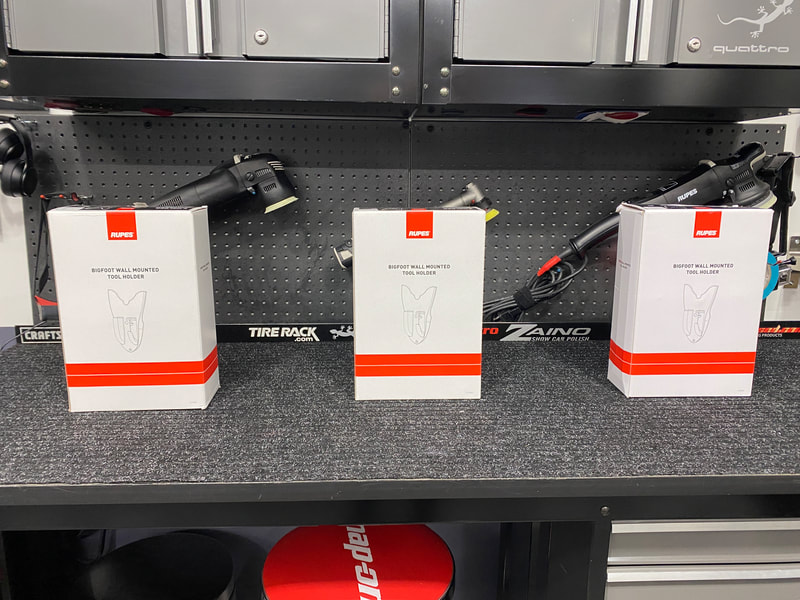
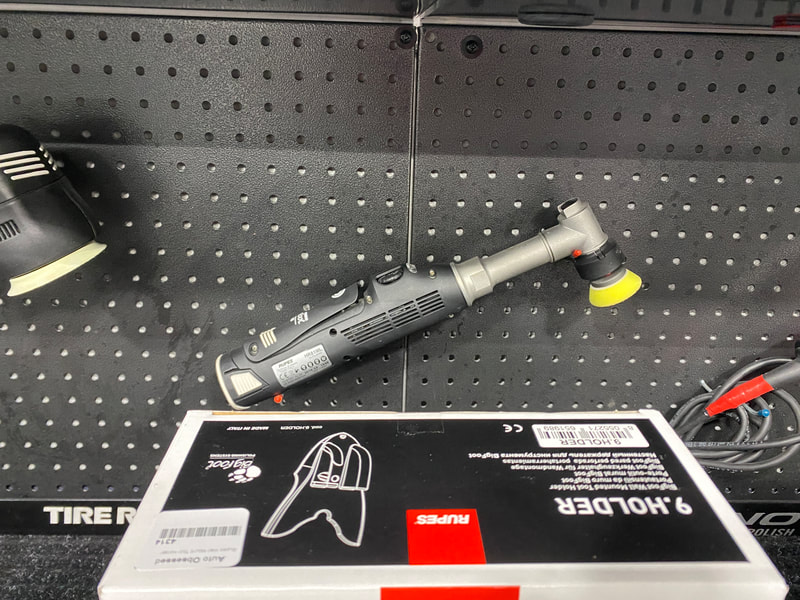
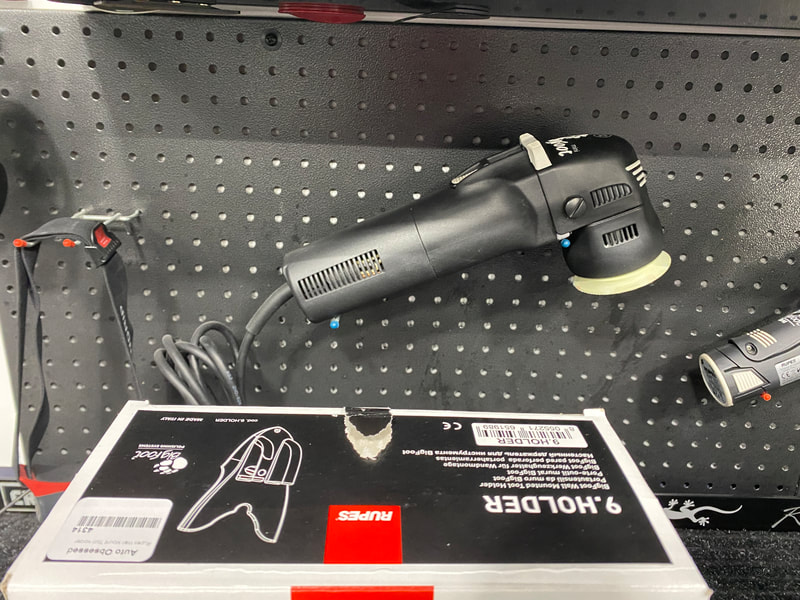
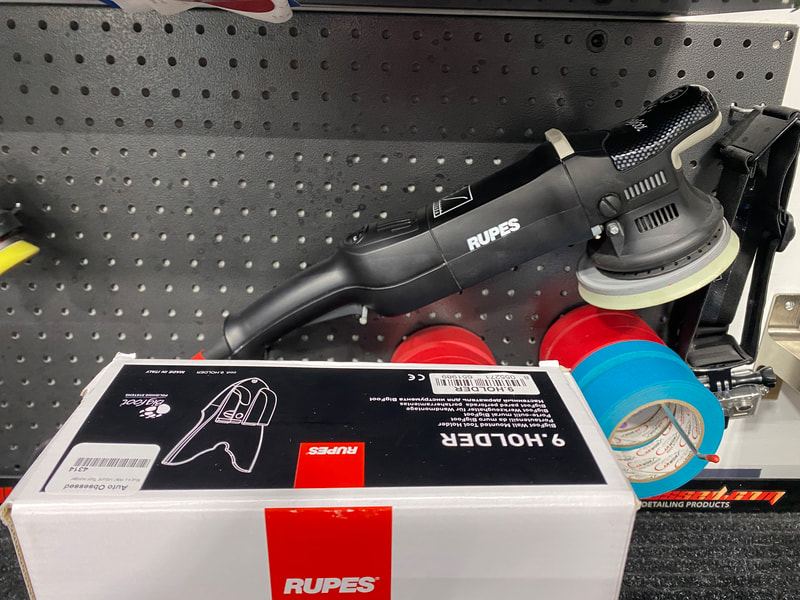
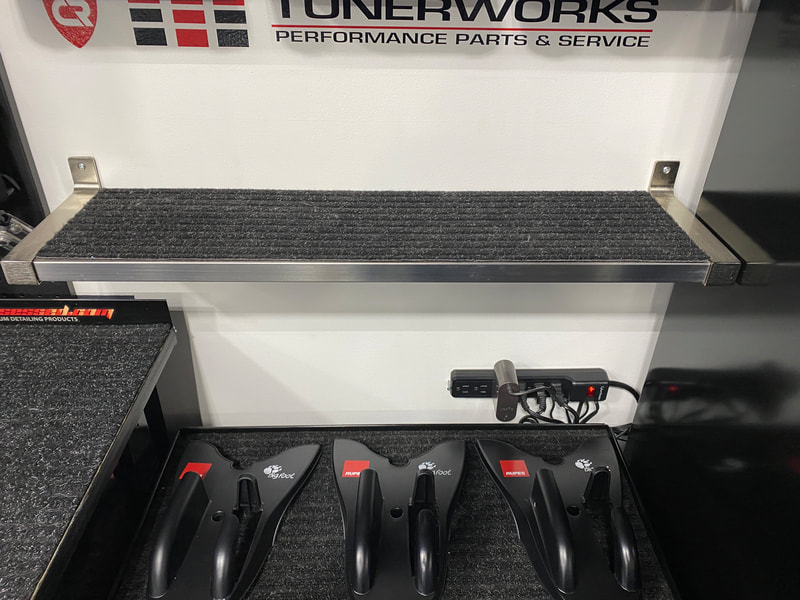
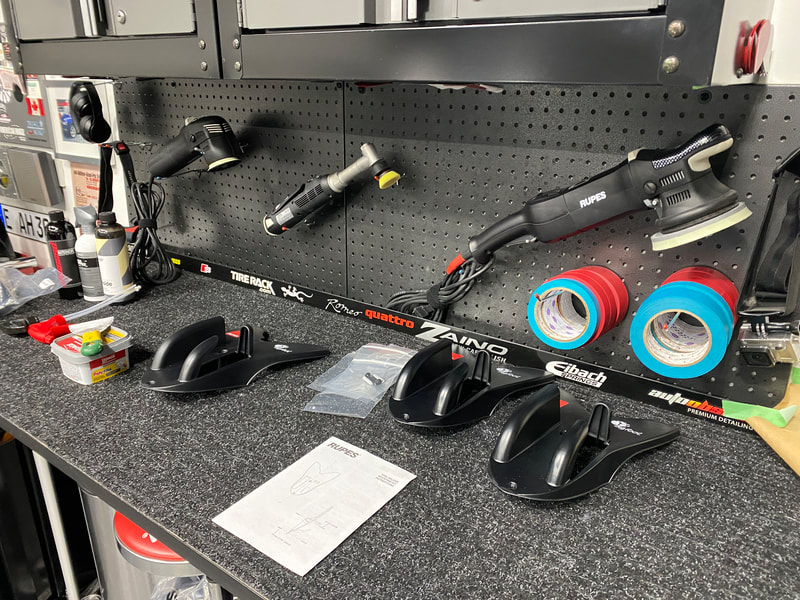
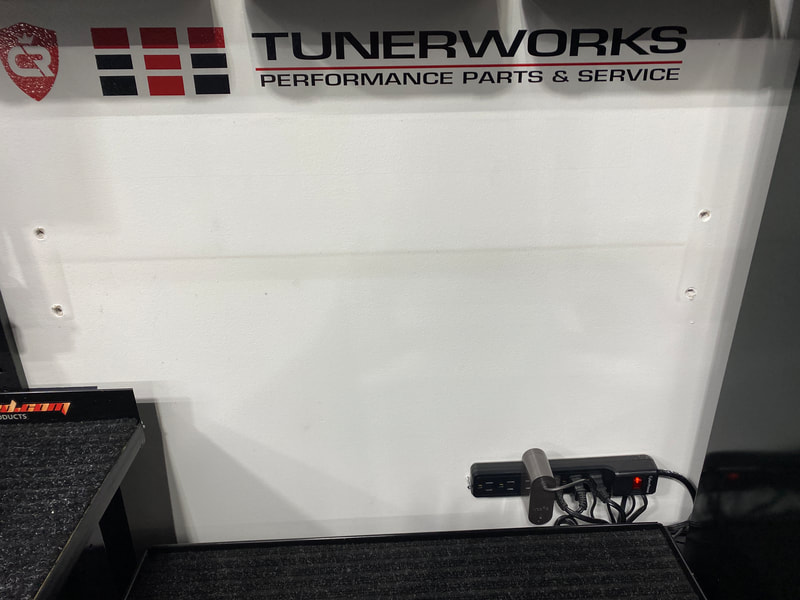
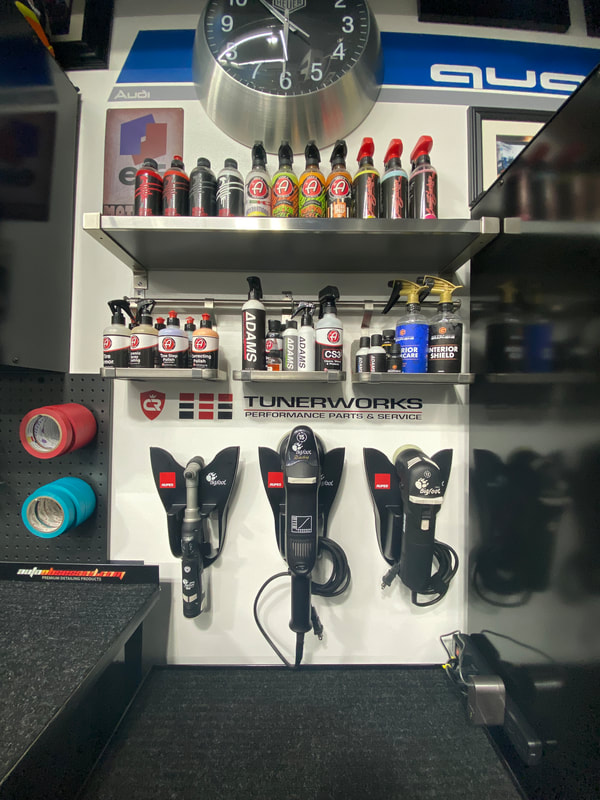
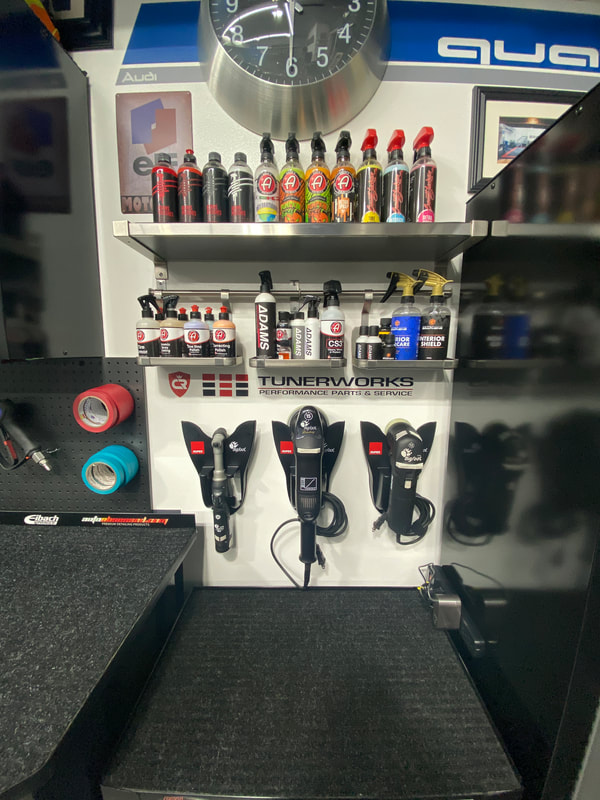
I've always liked having my polishers stored above my main work bench, but I've never been in love with the look of it. Recently, I took advantage of a great deal at Auto Obsessed, and I picked up three of the Rupes polisher hangers. I revamped a portion of the wall to the right of my main work bench and mounted the three holders to the wall. I have to admit, I'm not entirely sure this gave me the result I was after. The holders are made of light plastic and don't have the quality feel or appearance I was hoping for. I don't think they will be around forever.
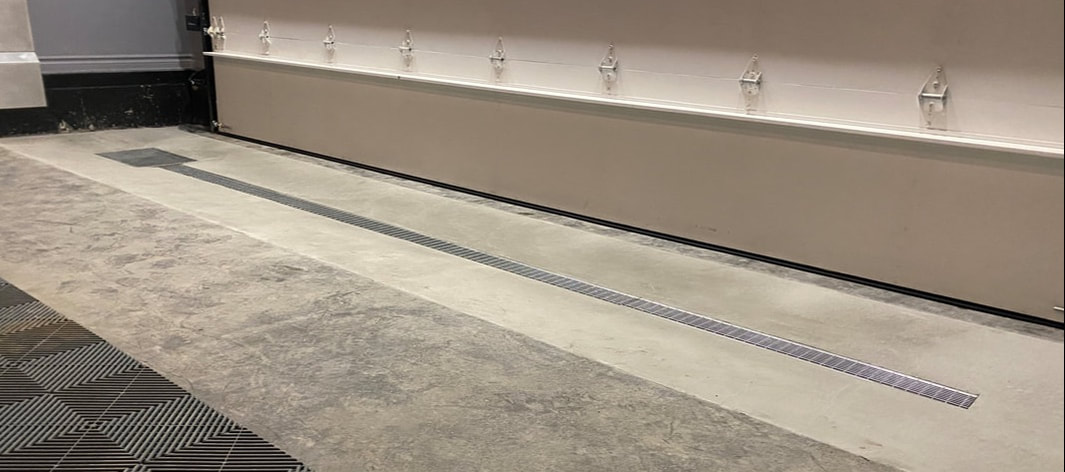
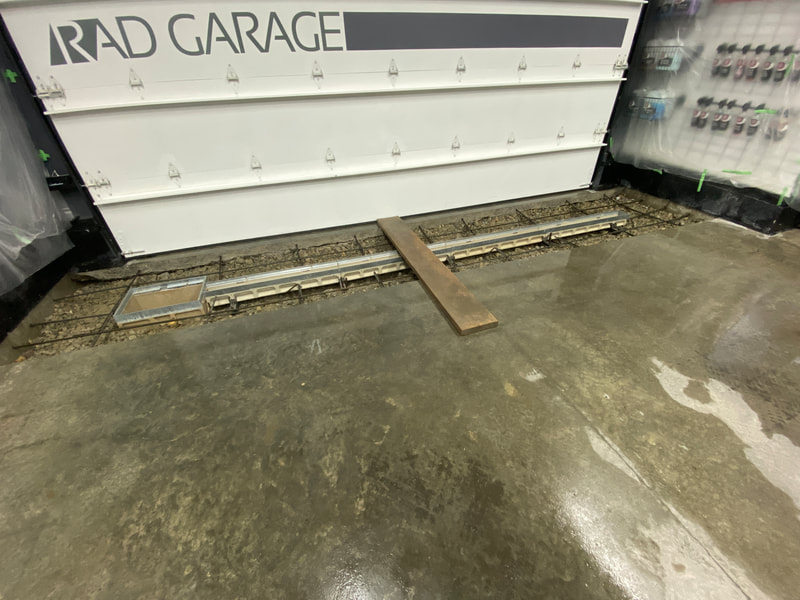
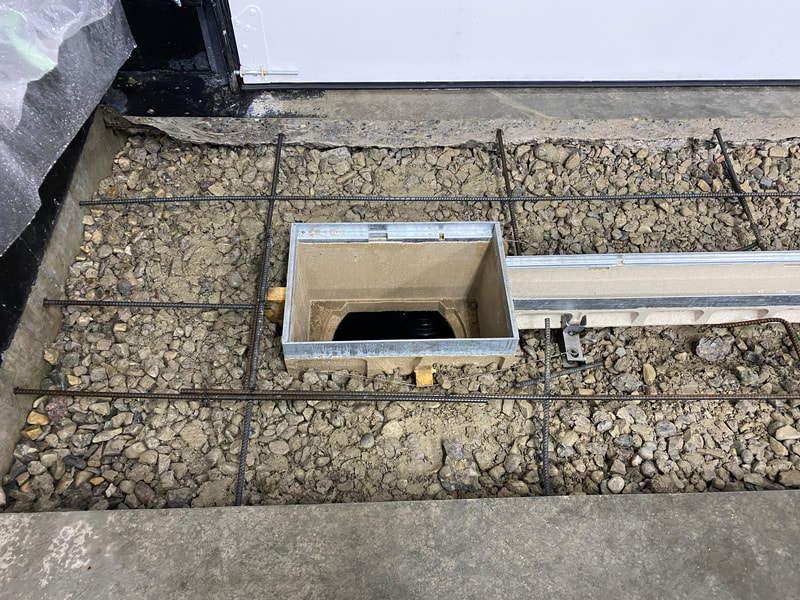
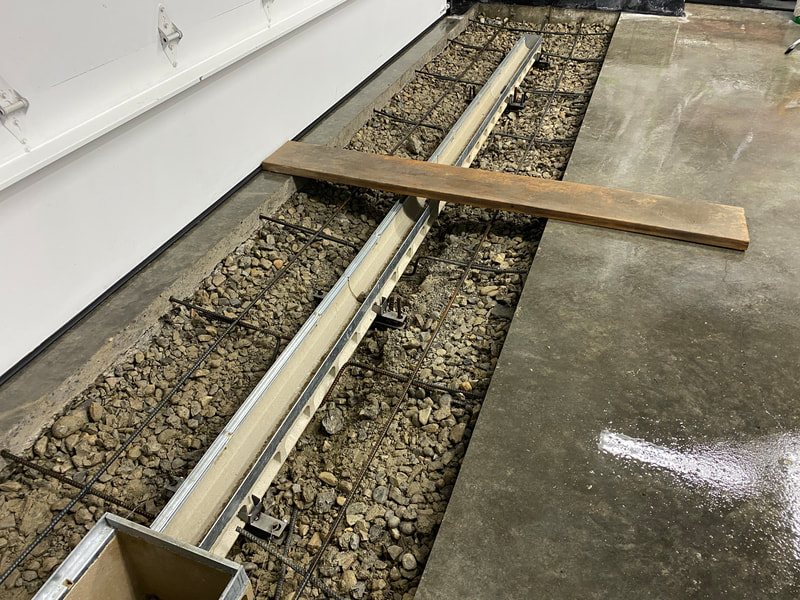
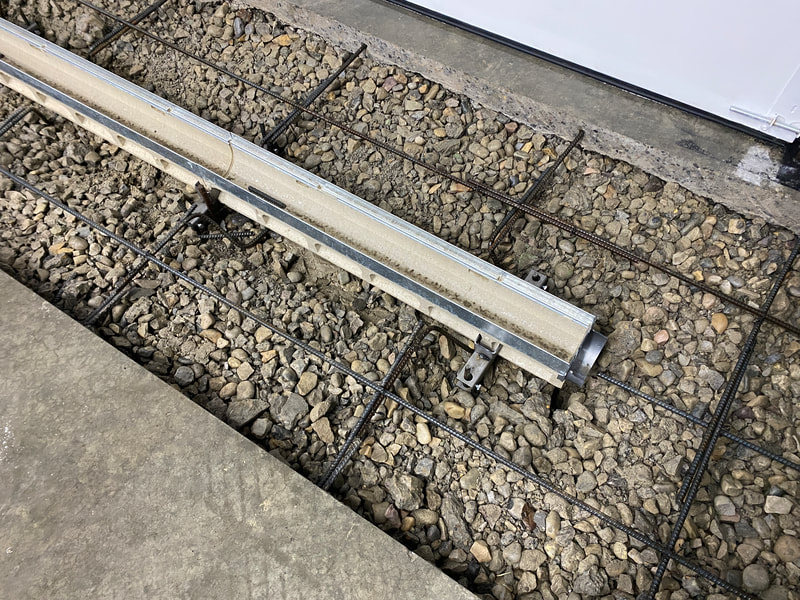
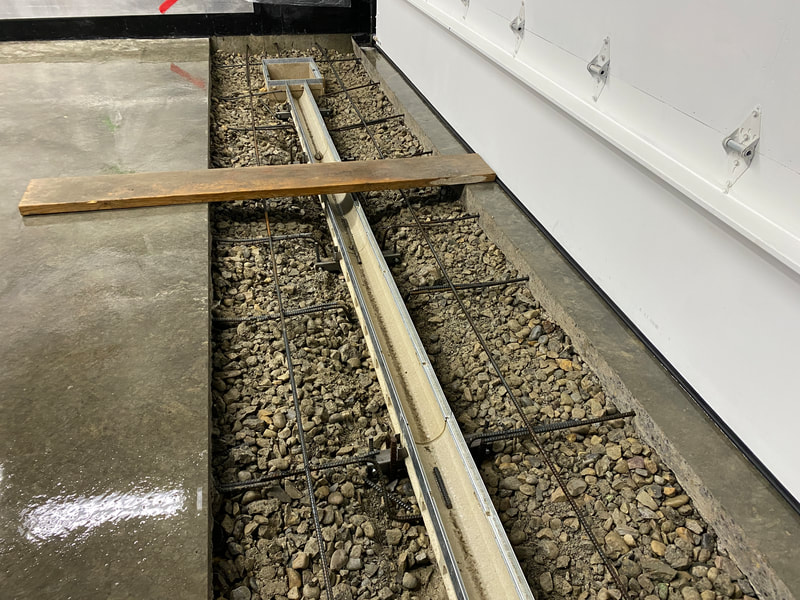
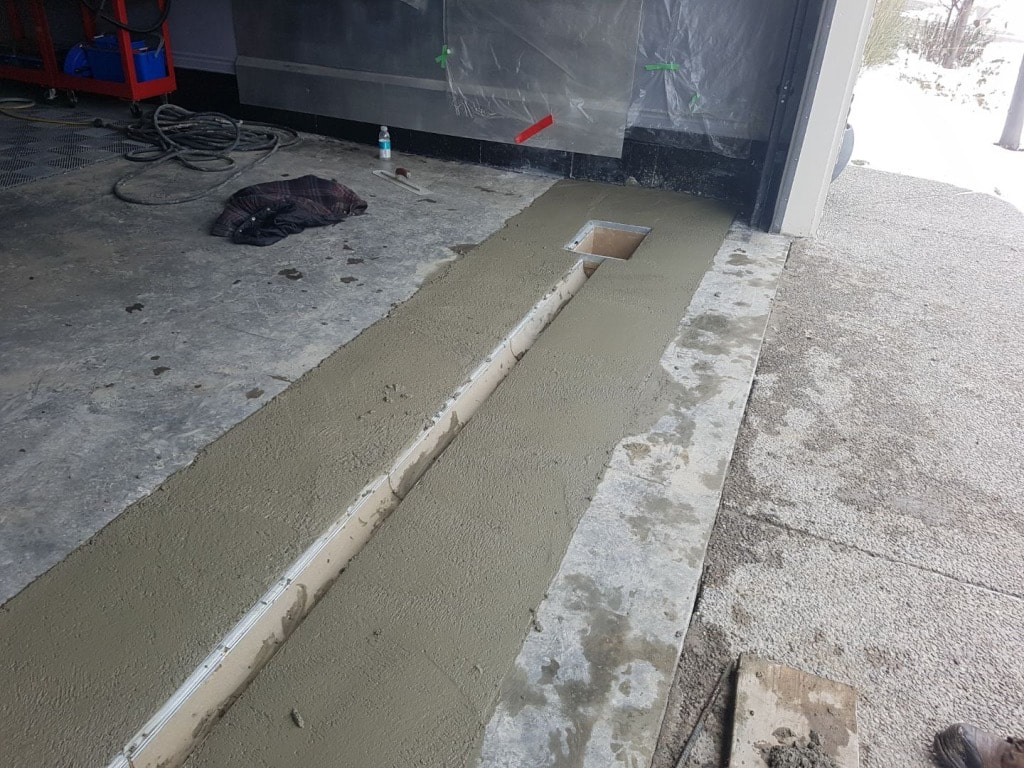
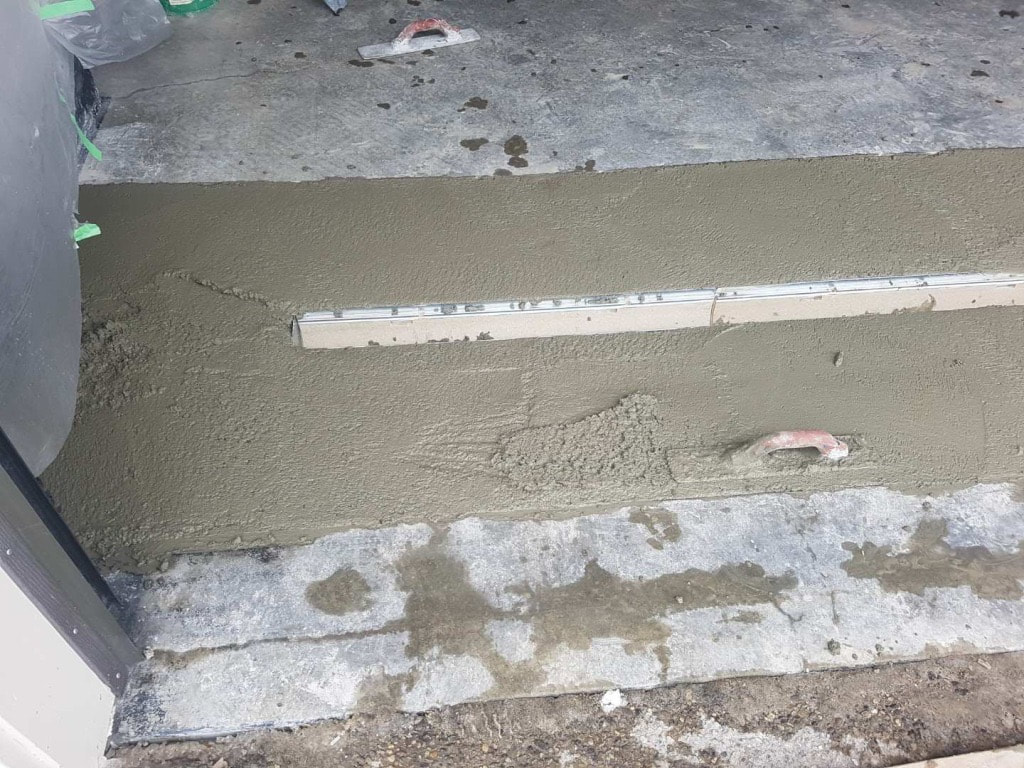
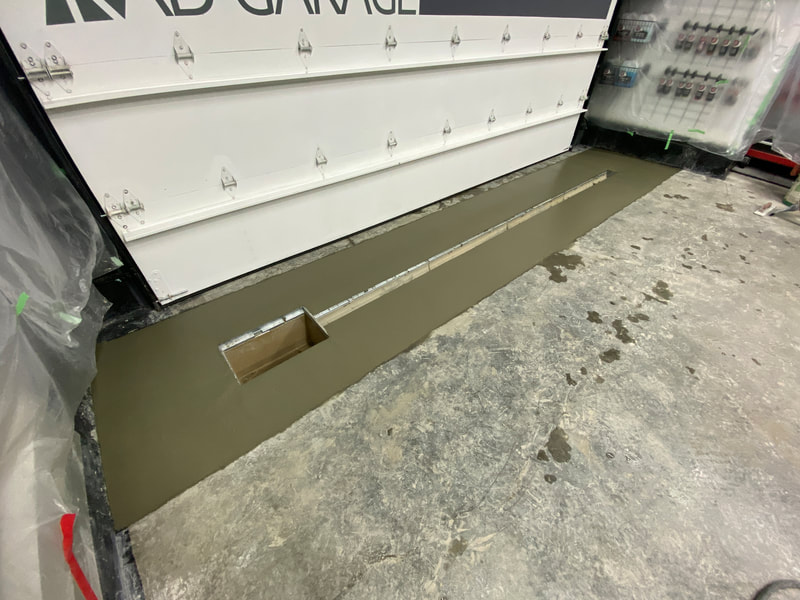
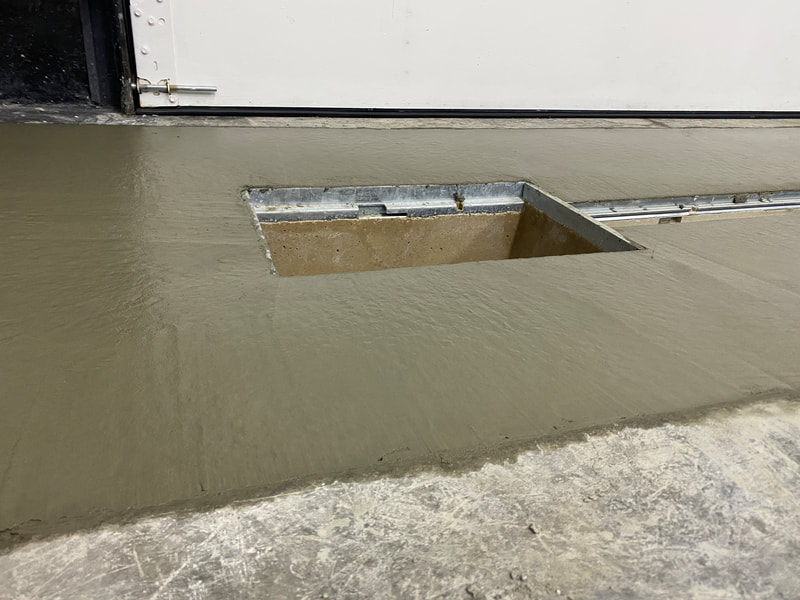
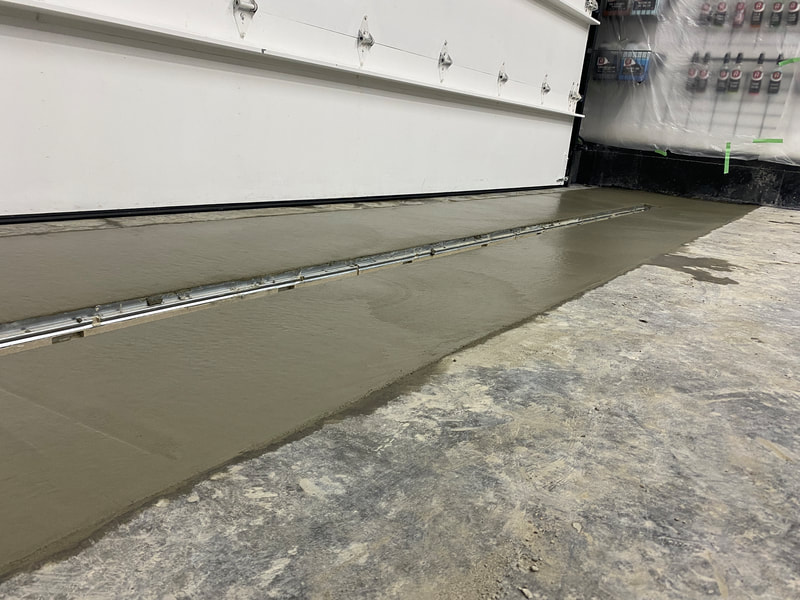
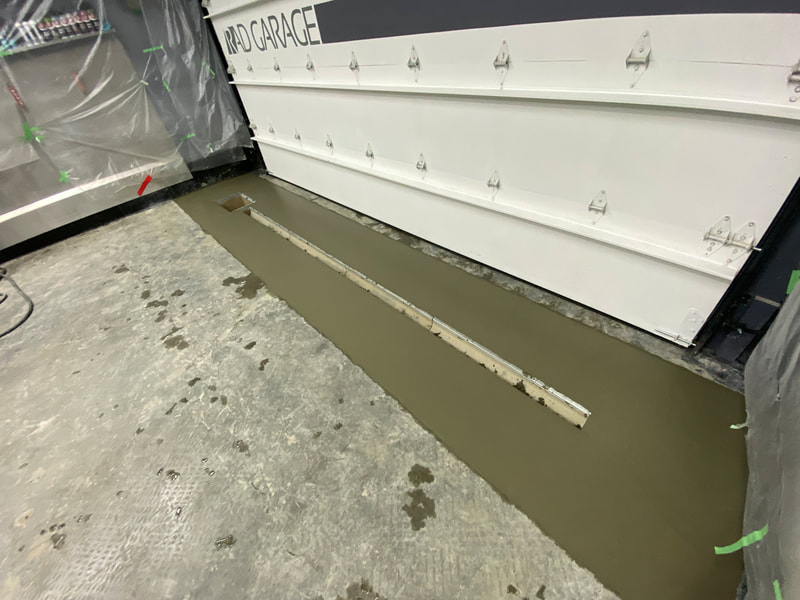
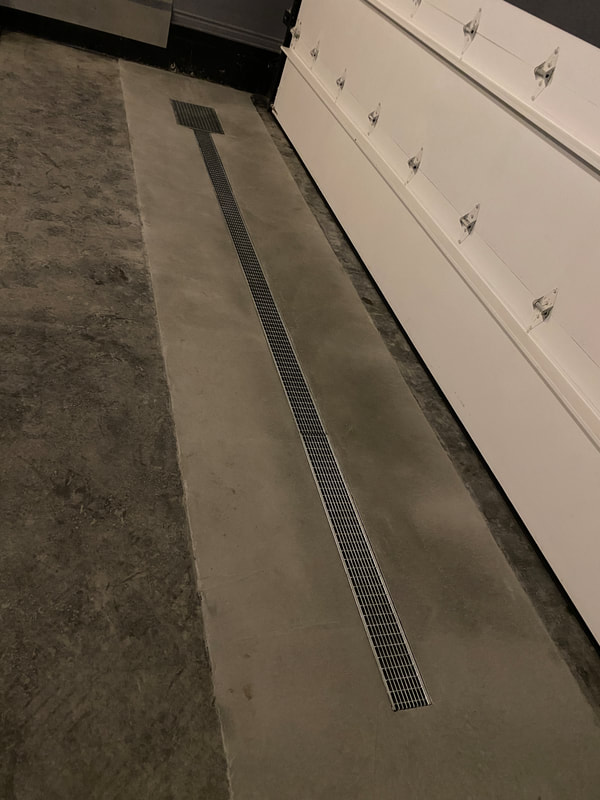
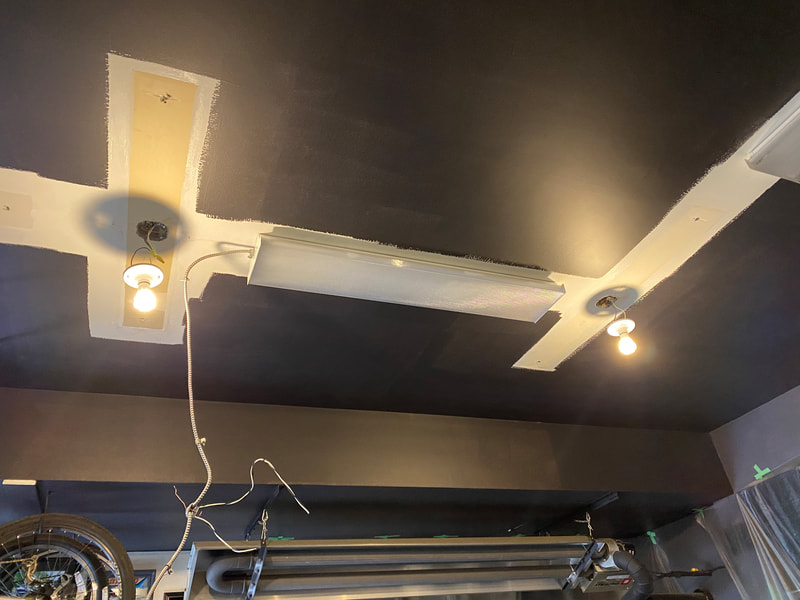
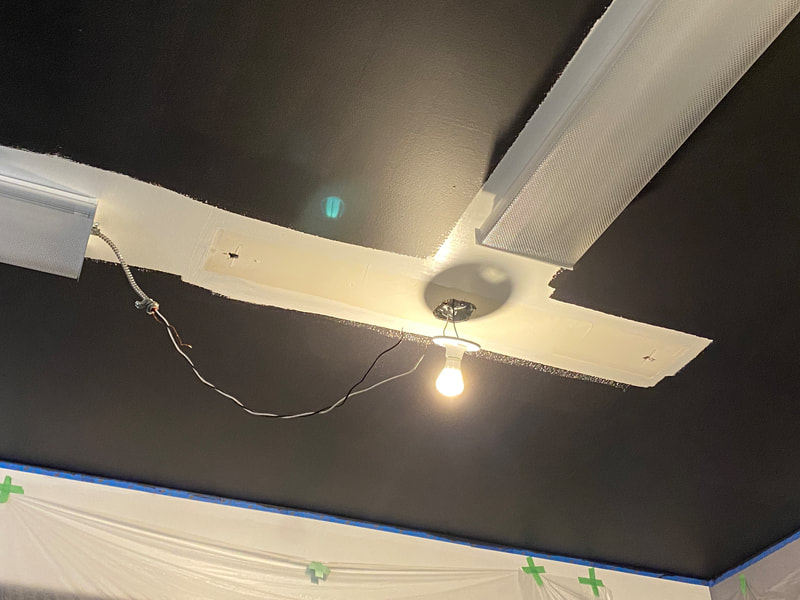
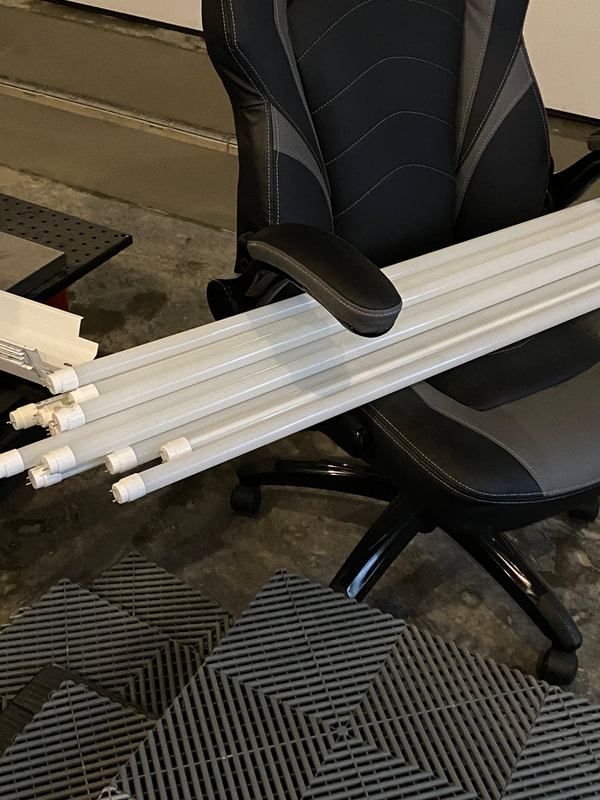
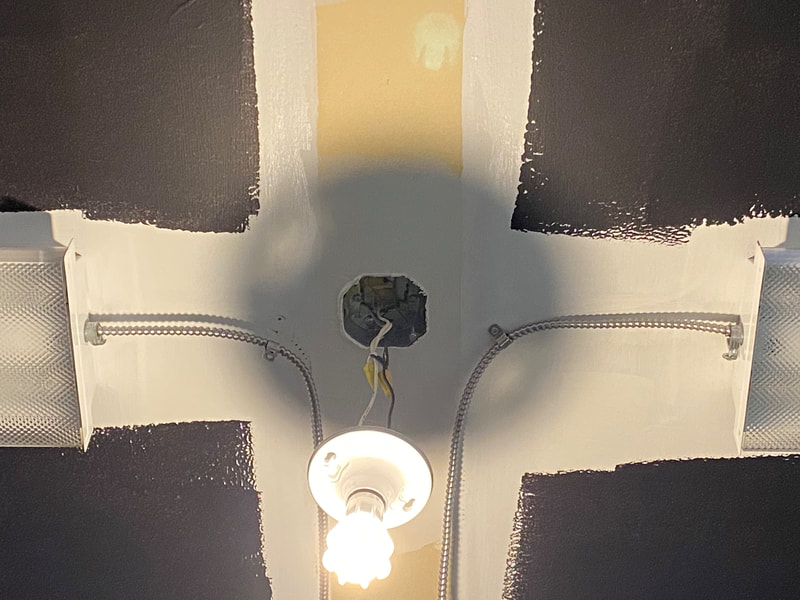
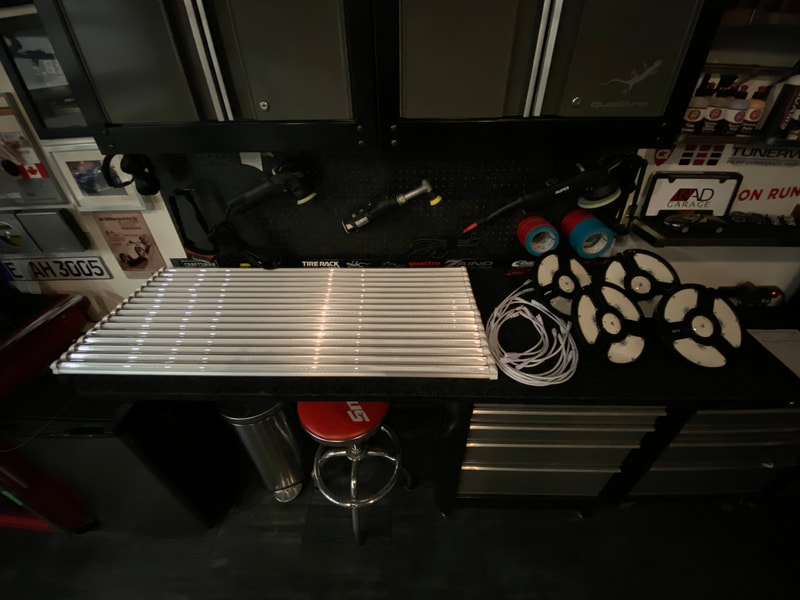
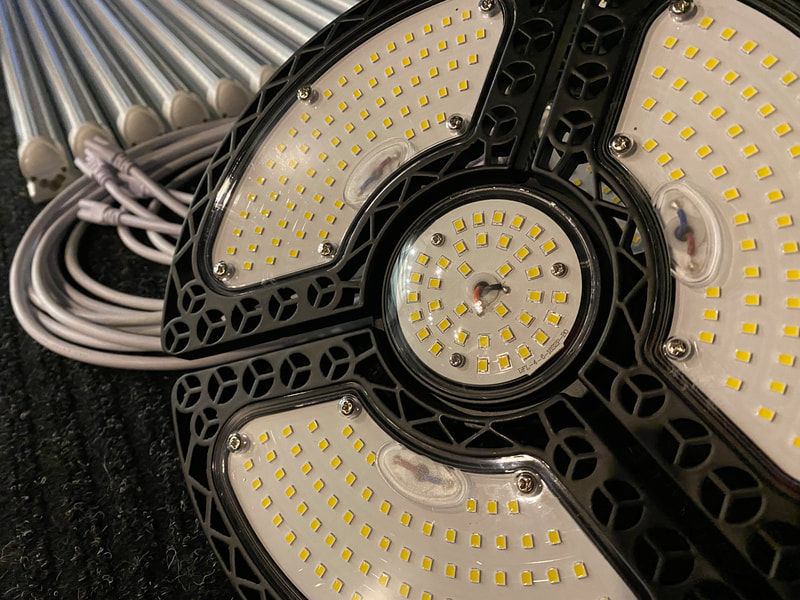
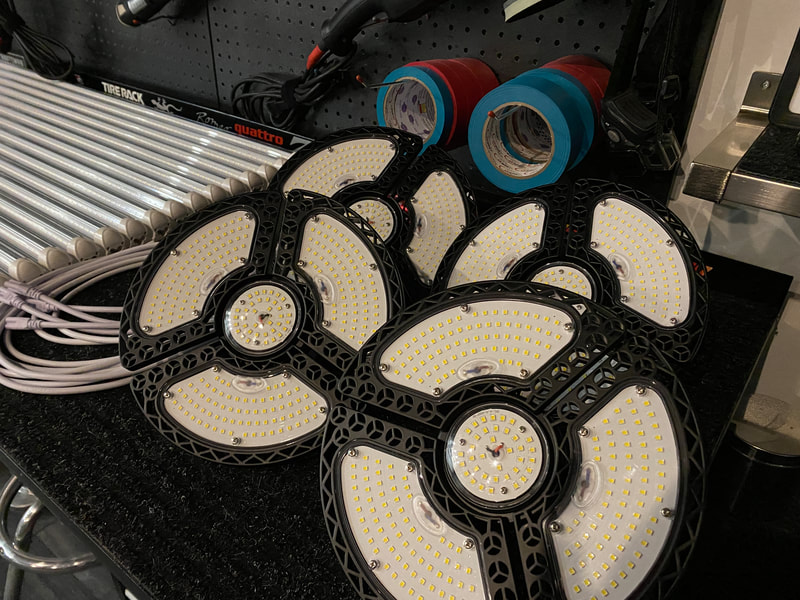
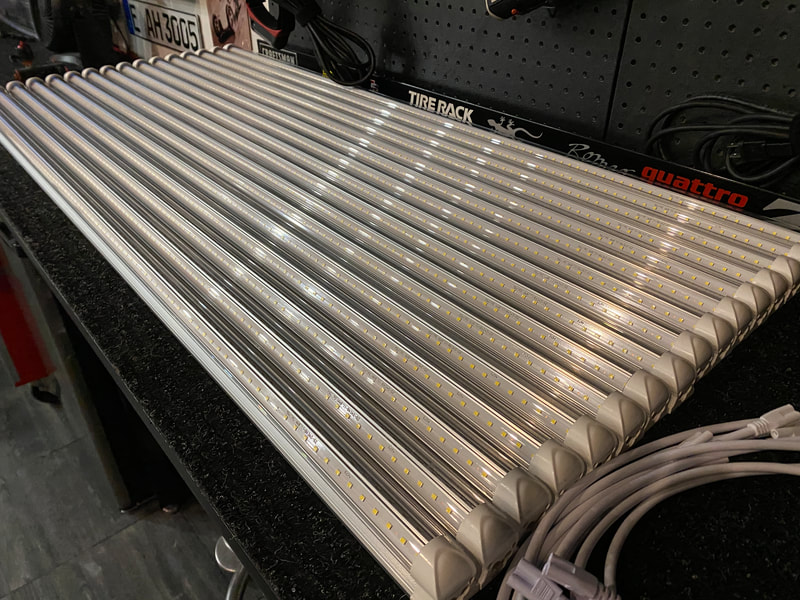
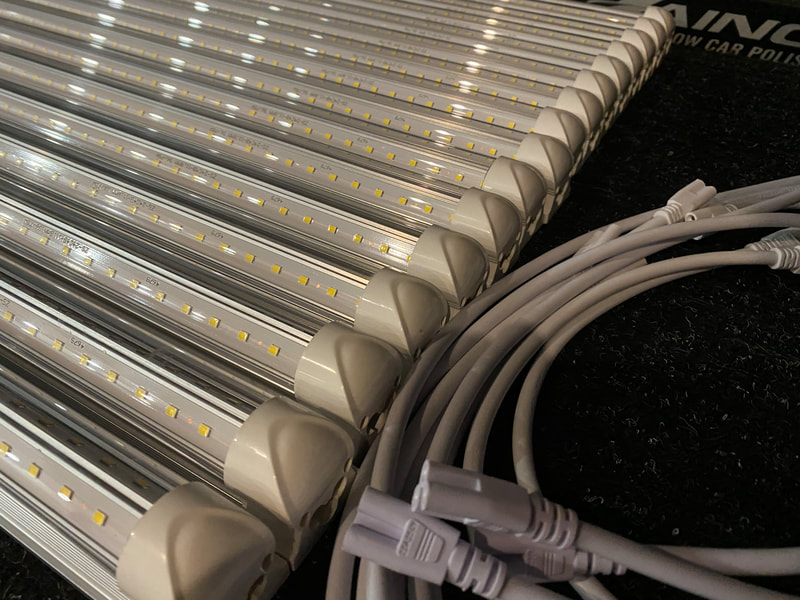
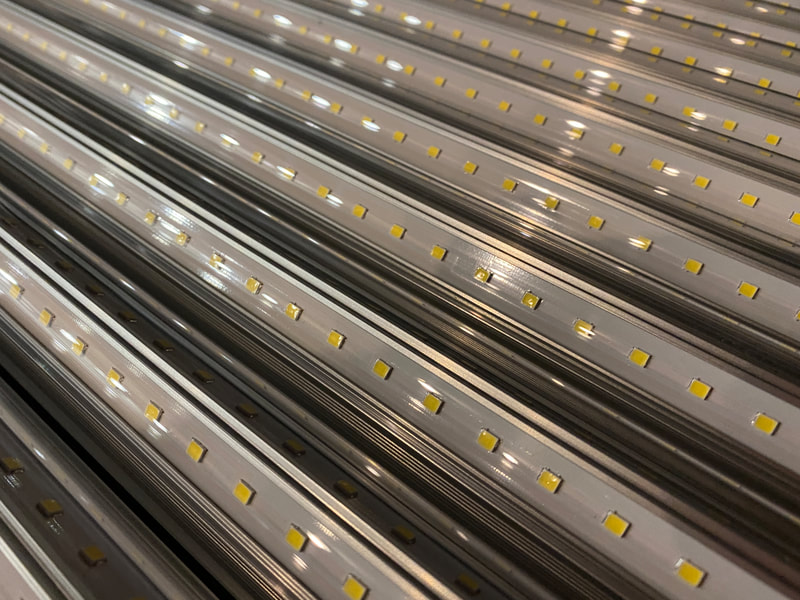
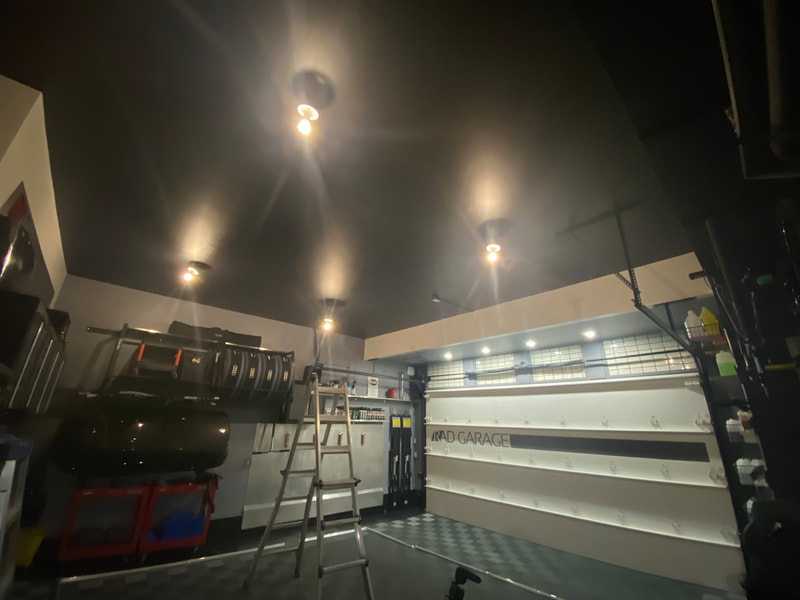
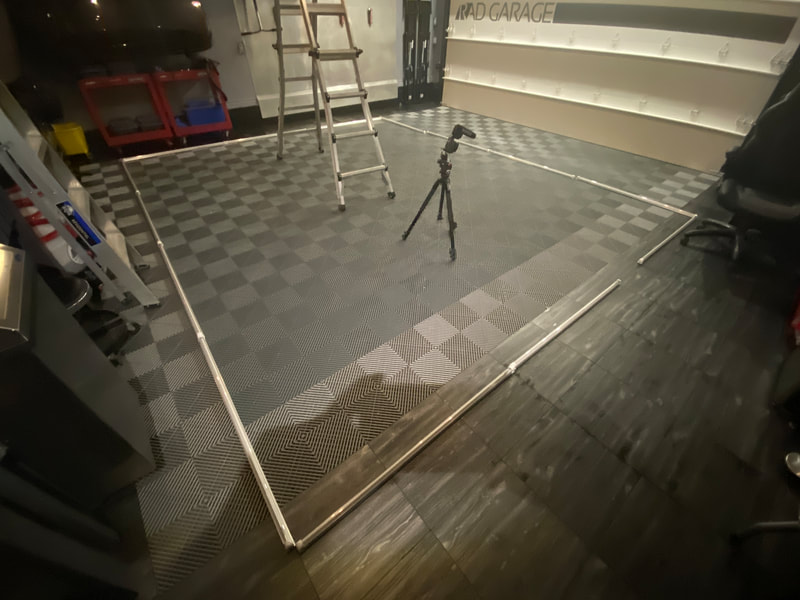
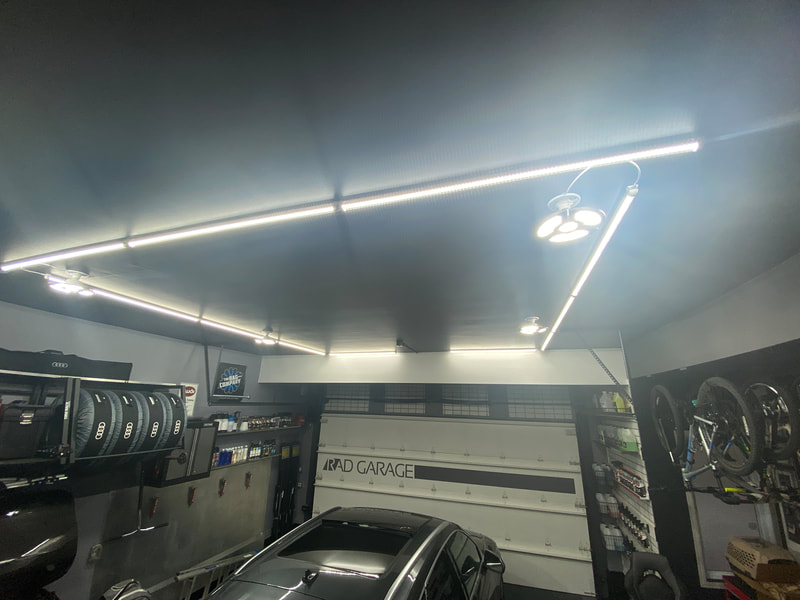
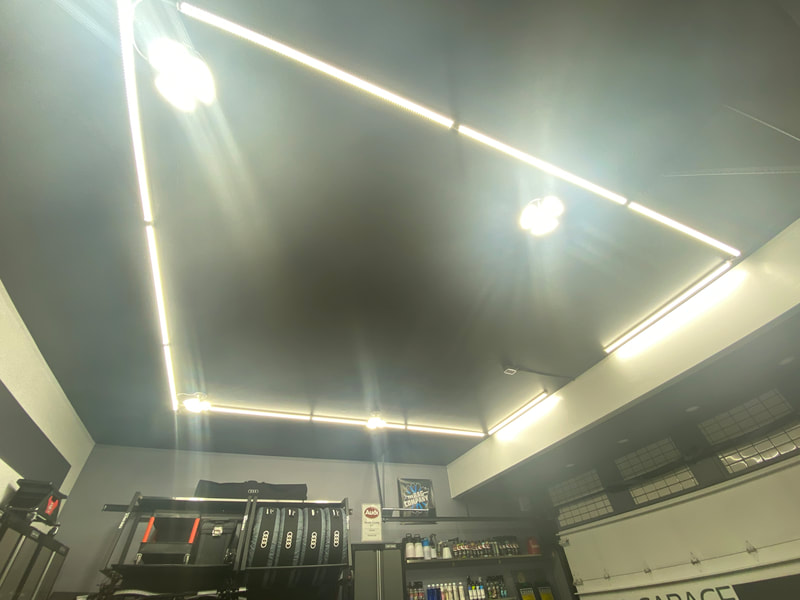
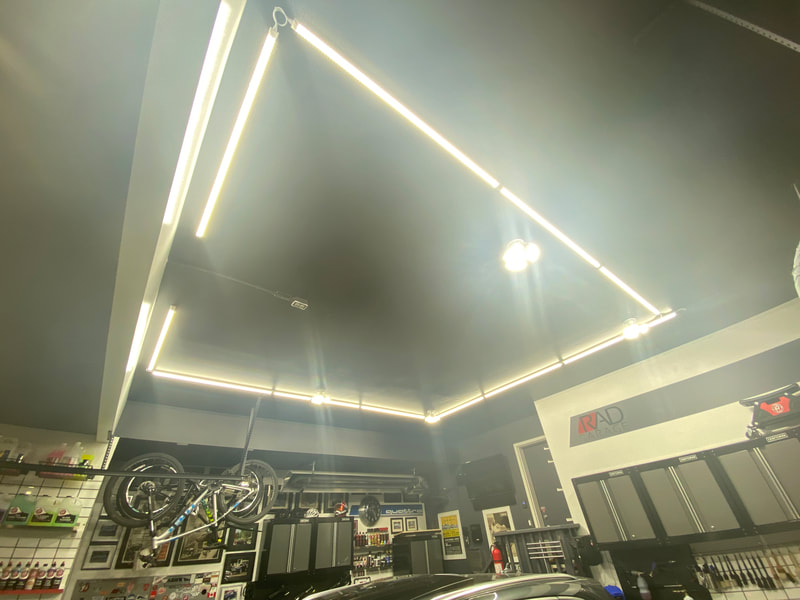
Winter is the perfect time of year to shift my focus to the garage itself. I have always endured drainage challenges that come with snow and ice melting and then freezing just outside the garage door. This ice damning can occur often in the winter, so conceiving a drainage system that prevents water from escaping the garage and wrecking havoc on my driveway has always been a goal of mine. I finally pulled the trigger and enlisted a concrete firm to install a channel drain/catch basin system. The installation process was labor intensive and required a 48" wide section of the existing floor to be demolished and removed by hand. Once the concrete was removed, four 1-meter sections of trench drain were precisely positioned one inch below the level of the existing floor and pitched towards a large catch basin with a 30-gallon capacity. The concrete was then poured and shaped in such a way that all water will be directed towards the channel sections. No water will now escape the garage and cause me headaches in the winter. While that job was in progress, I took it upon myself to paint the ceiling and install all new lighting. A company out of Saskatchewan called LevKom reached out to me and generously offered to supply me with all new LED lighting necessary to turn my space into an even more effective detailing environment. With the help of an electrician friend, we removed all nine existing fluorescent 2-bulb fixtures and installed four 60-watt "trilights" and eleven 30-watt 48" LED linkable tubes. The lighting install took six hours in total and turned out great. These three upgrades have breathed a lot of new life into my garage. I am still in the process of cleaning up all the dust from the concrete work and sanding of the ceiling, but it already looks even more amazing than before. In addition to just looking better, I am now able to conduct details year-round. The garage is now a much more comfortable and efficient place to do my thing! I have documented all of these changes in a 3-video series I call "Floor to Ceiling". This video demonstrates the demolition stage of the drainage project. The crew worked tirelessly for about six or seven hours removing a 48" wide portion of the existing slab. I wasn't able to record the footage of the actual drain and basin placement, but this video shows how they were placed in the excavated portion of the floor. This video demonstrates the final result after the concrete was poured to fill in the system. It also demonstrates the system in action as I perform a quick floor clean.
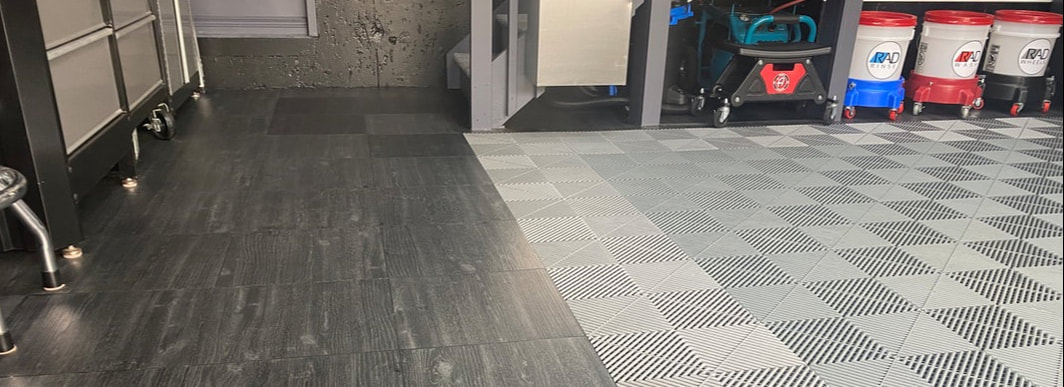
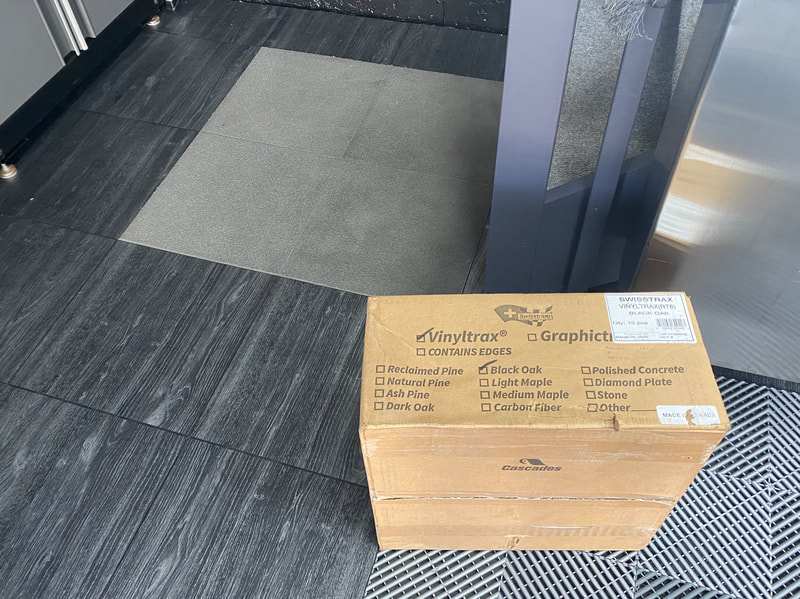
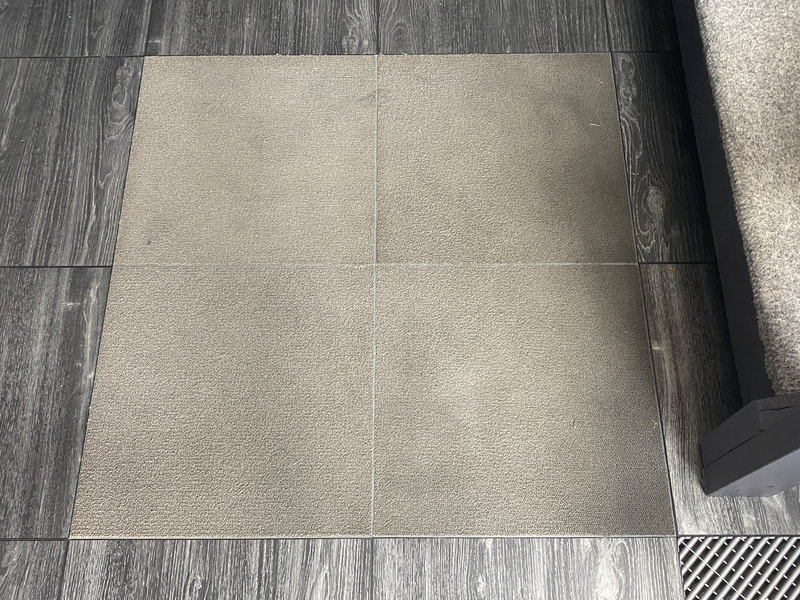
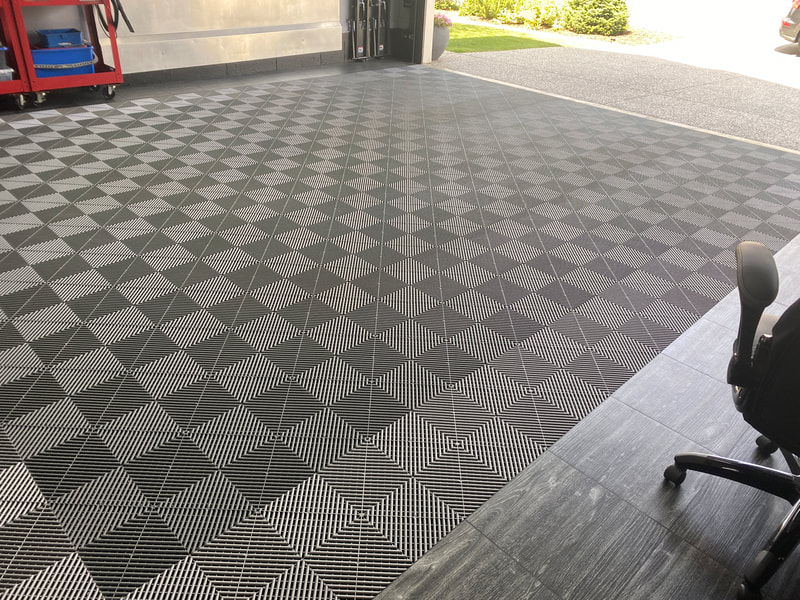
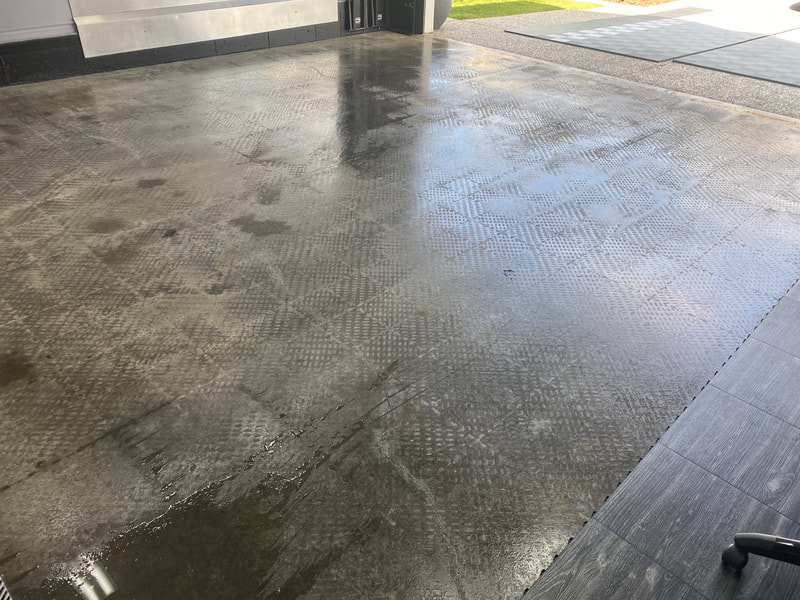
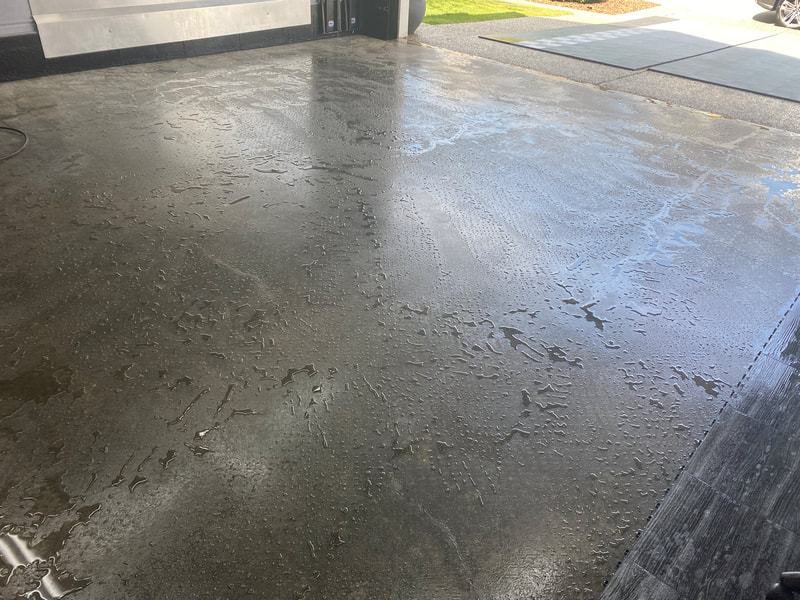
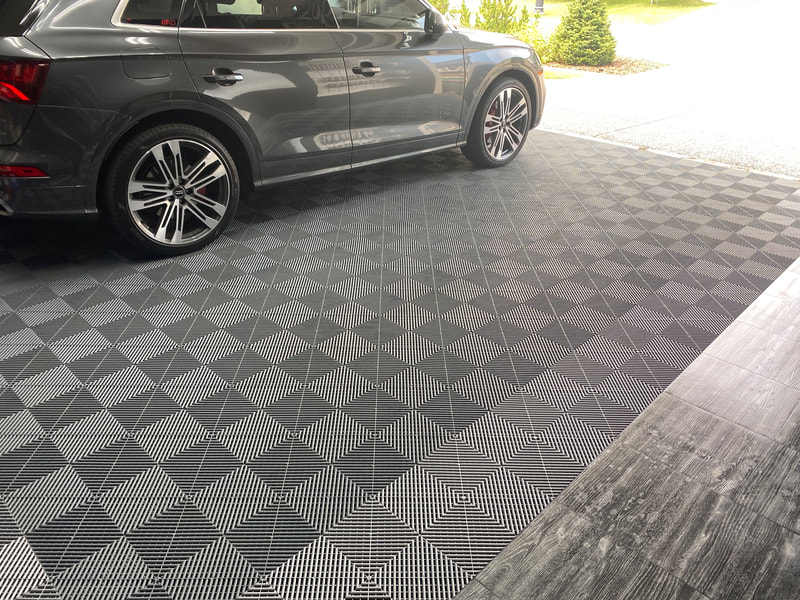
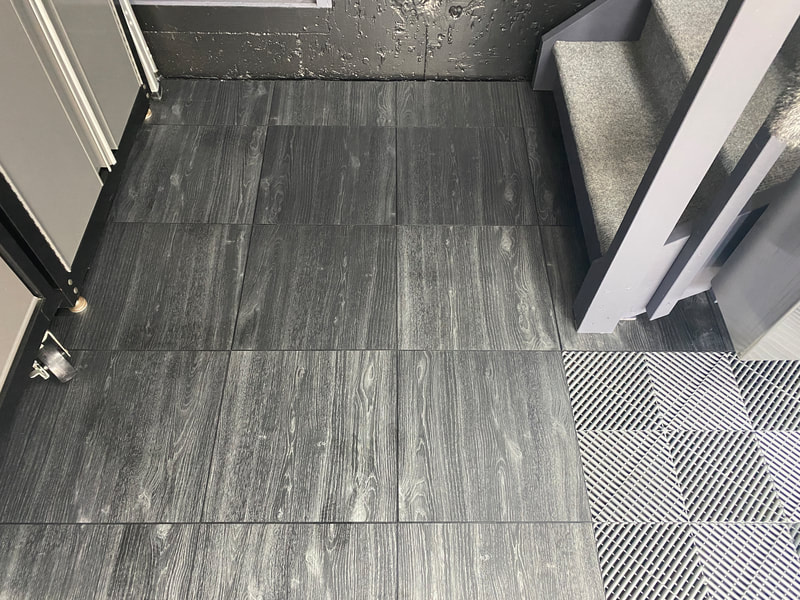
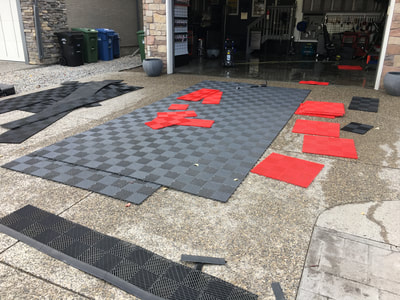
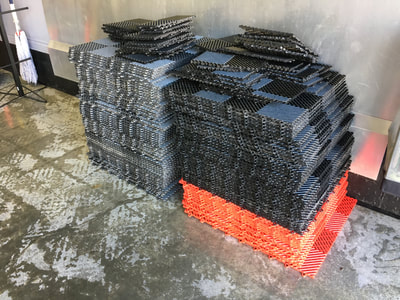
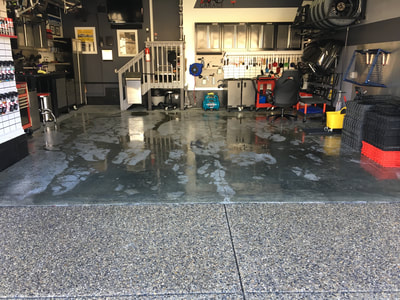
I ordered and received some solid black oak Swisstrax tiles to replace my aging "Carpetrax" tiles at the base of my garage stairs. These grey carpet tiles were looking a bit worn and dingy so I decided to swap them out. I also preformed a thorough clean of the garage floor by dividing the Swisstrax tiles in long sections and dragging them out onto the driveway. The garage is pretty clean as I tackle an exciting Golf R32 project.
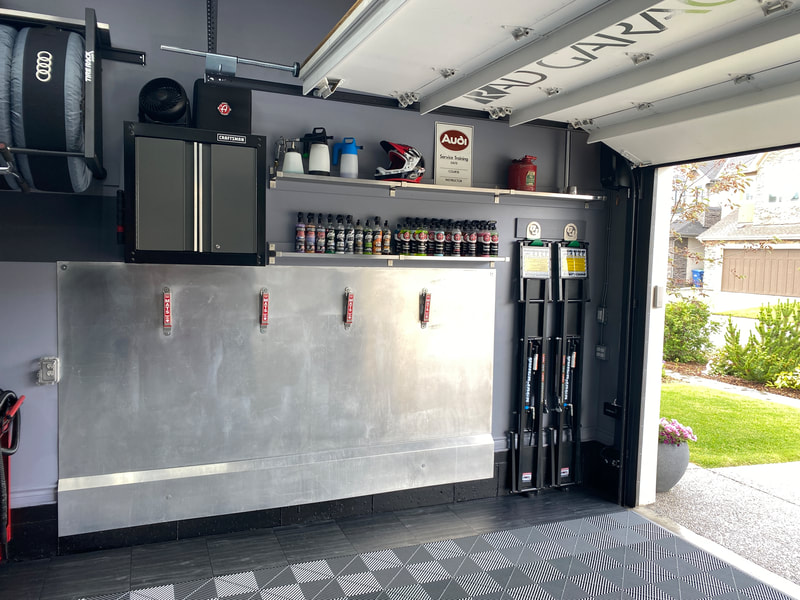
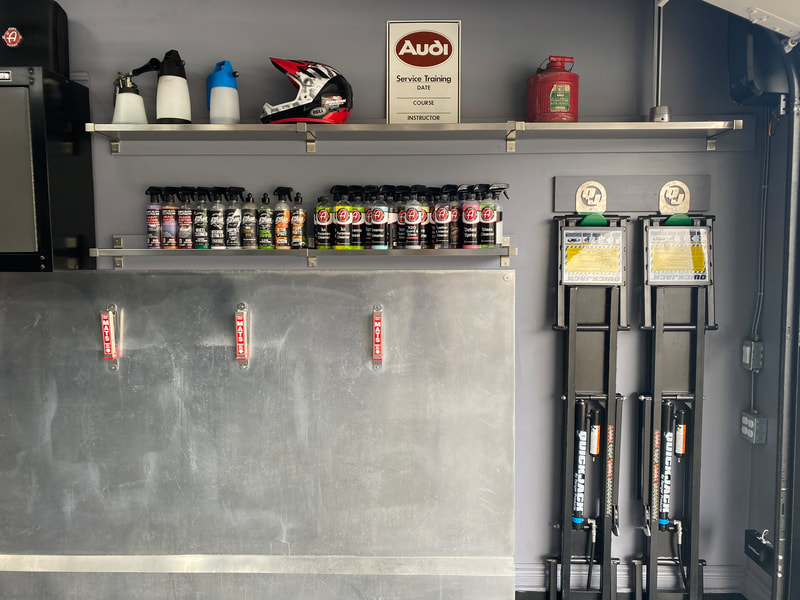
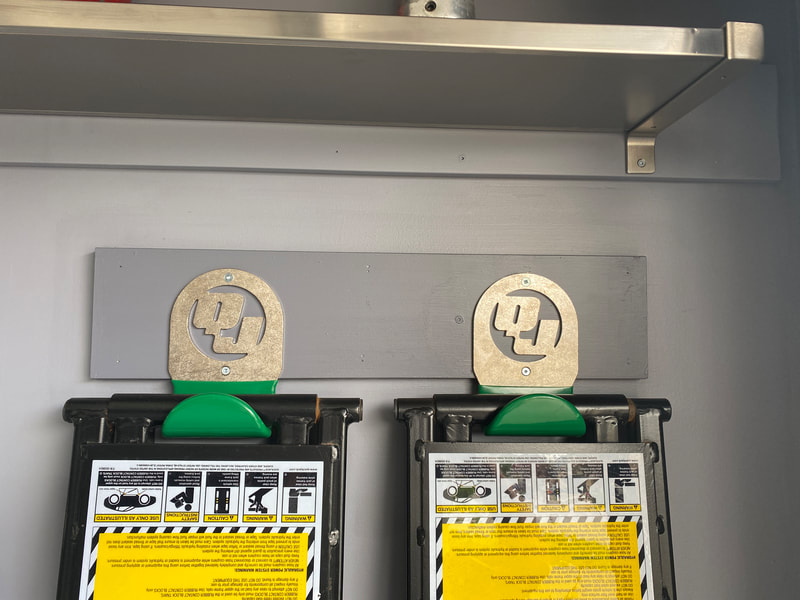
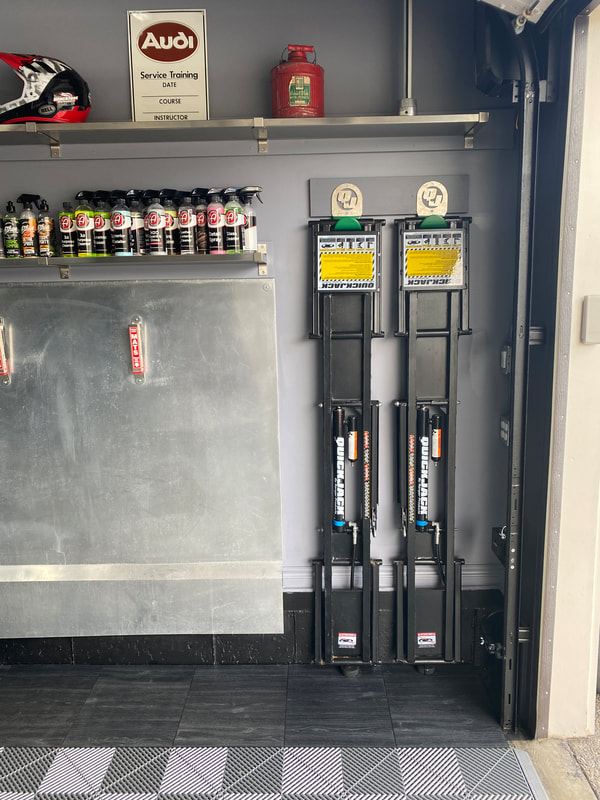
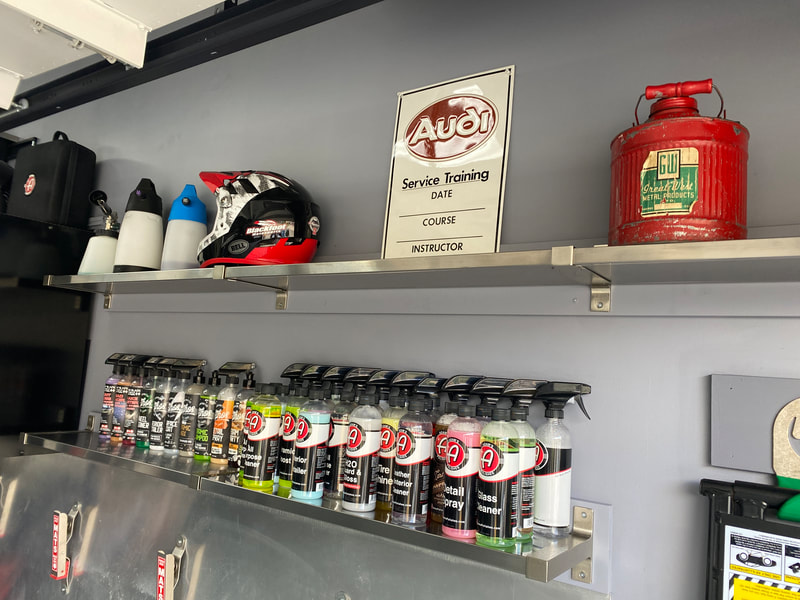
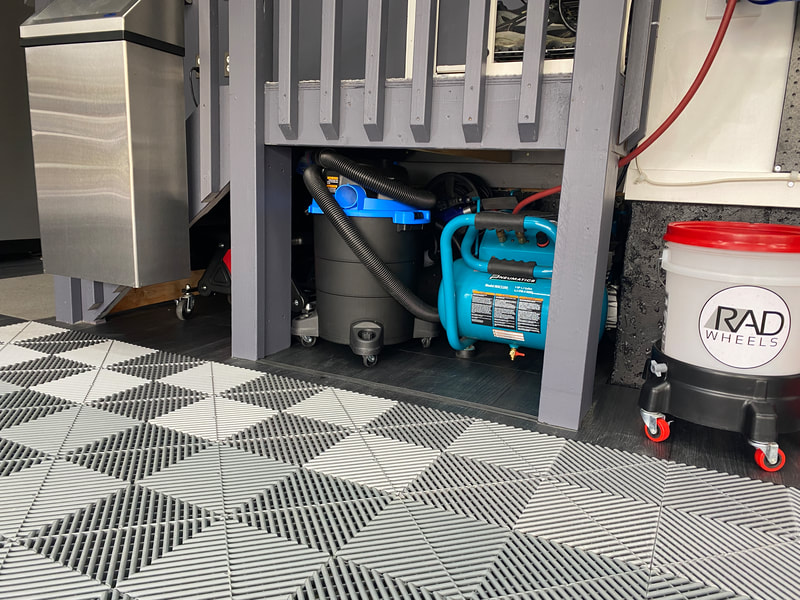
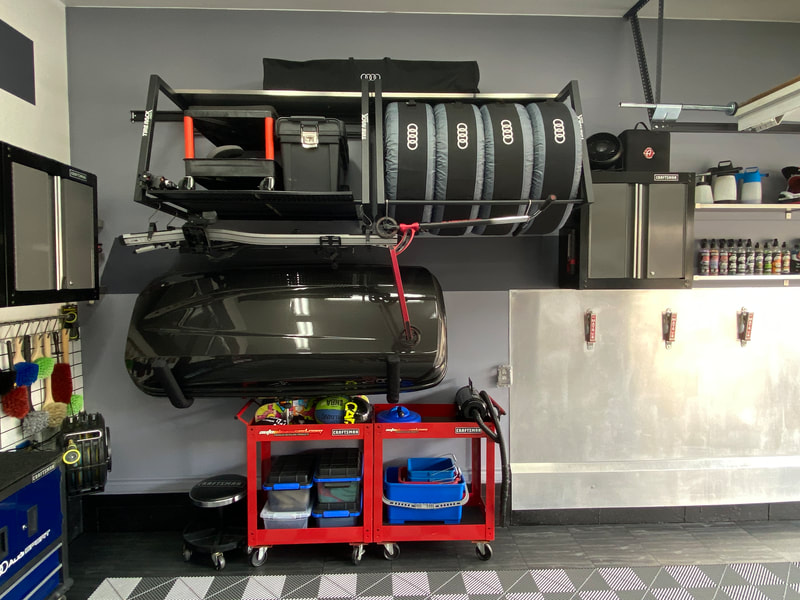
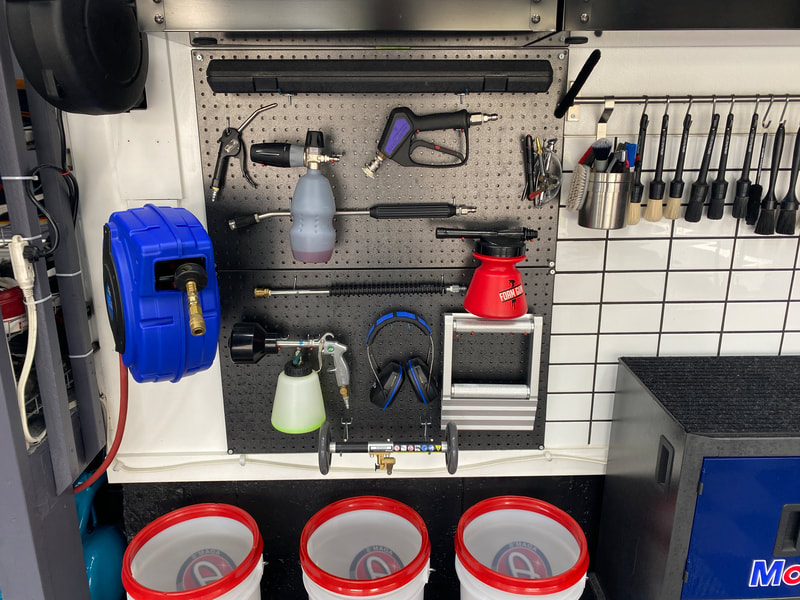
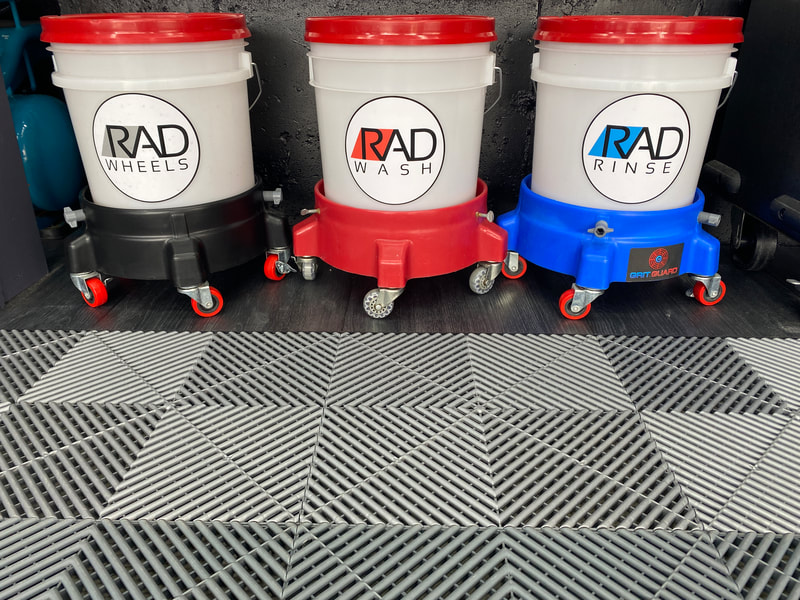
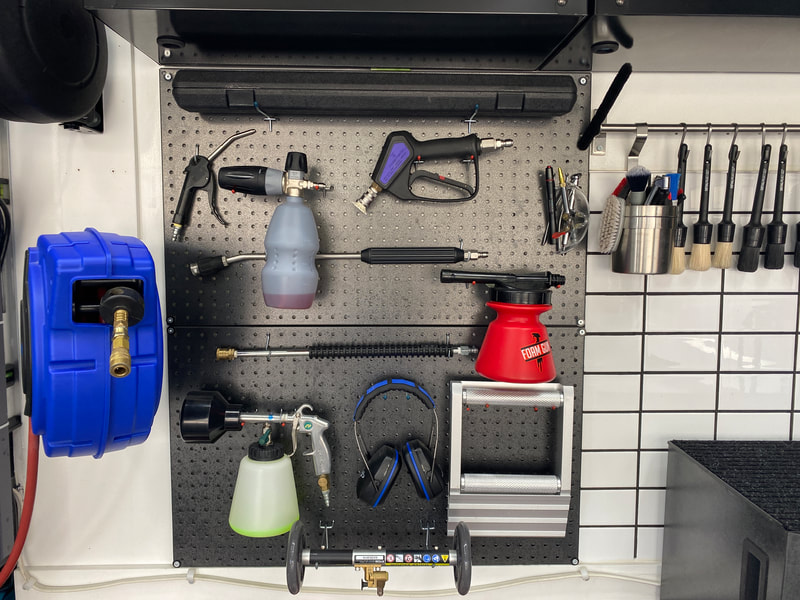
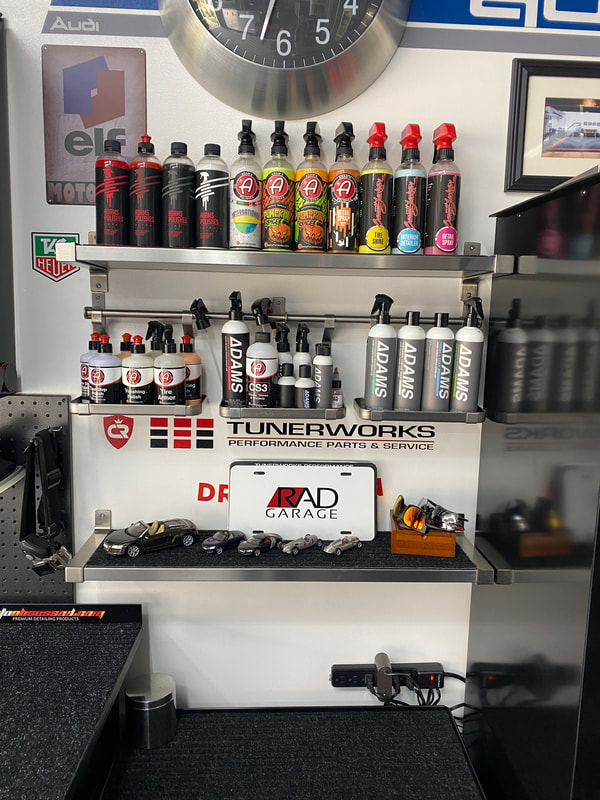
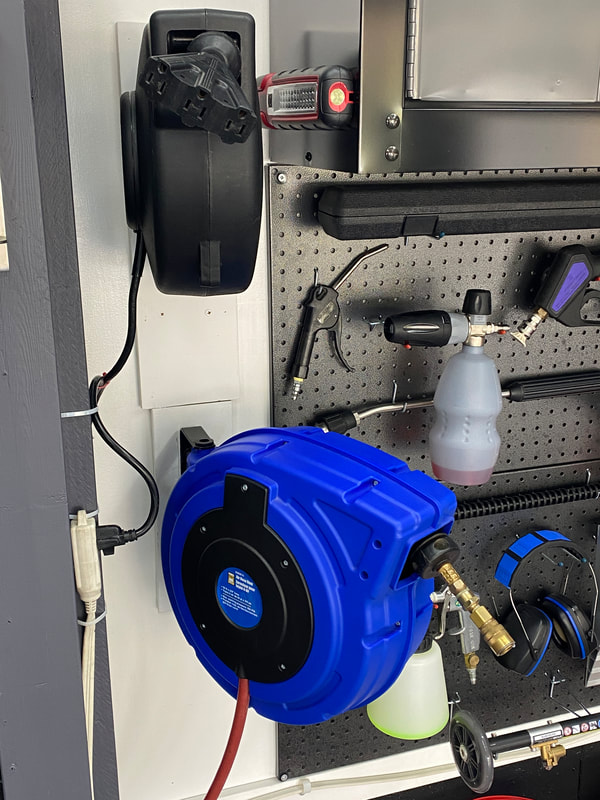
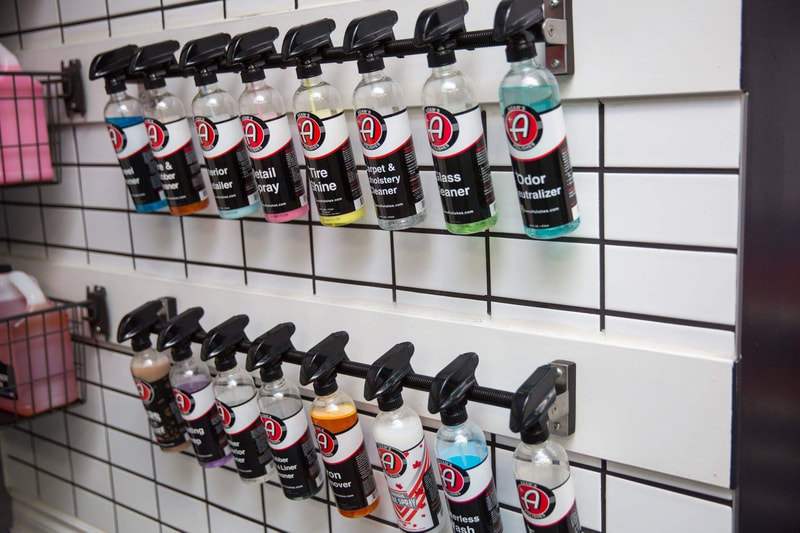
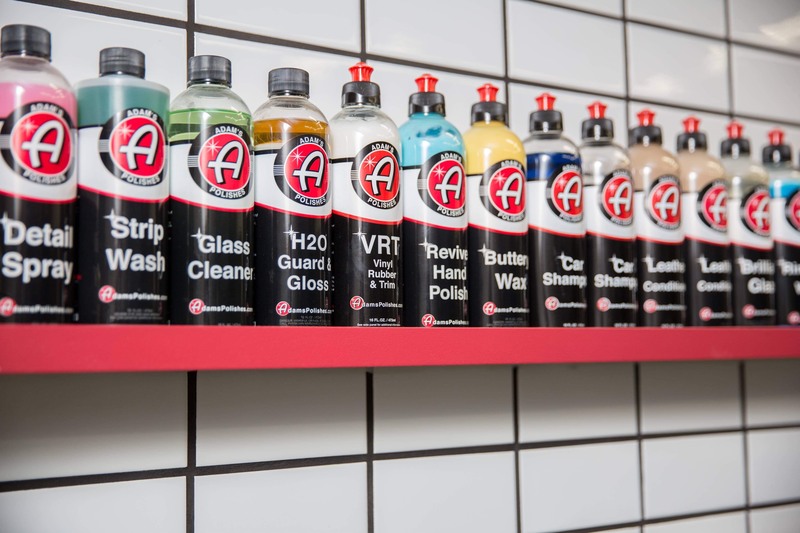
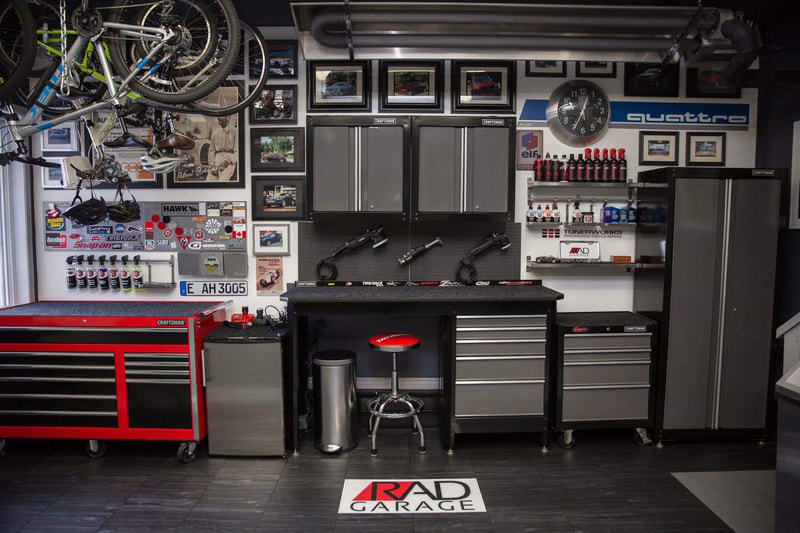
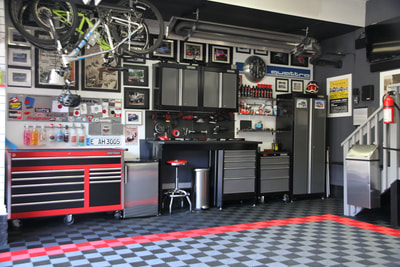
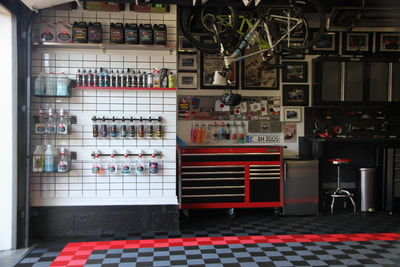
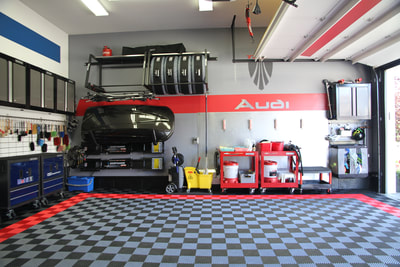
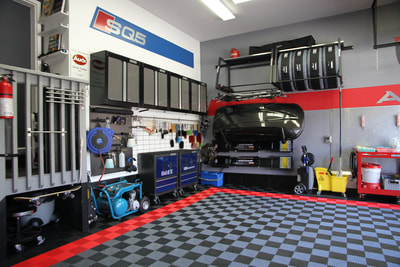
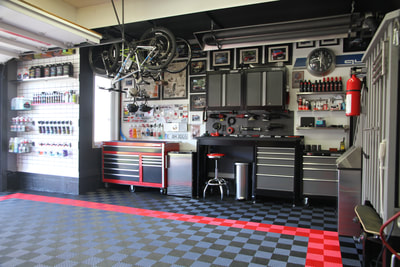
I am constantly making minor tweaks to the organization of my garage. Here are some recent photos that illustrate how and where I store my tools, products and equipment that enhance the efficiency of my garage.
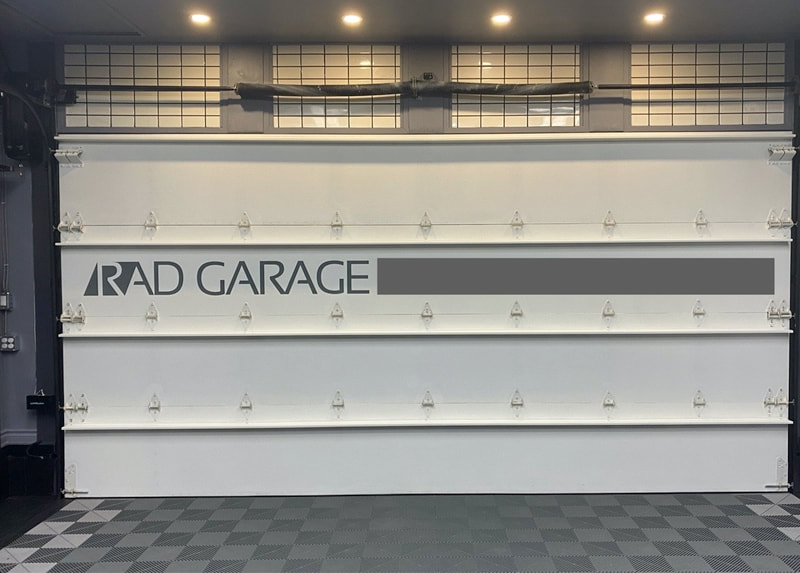
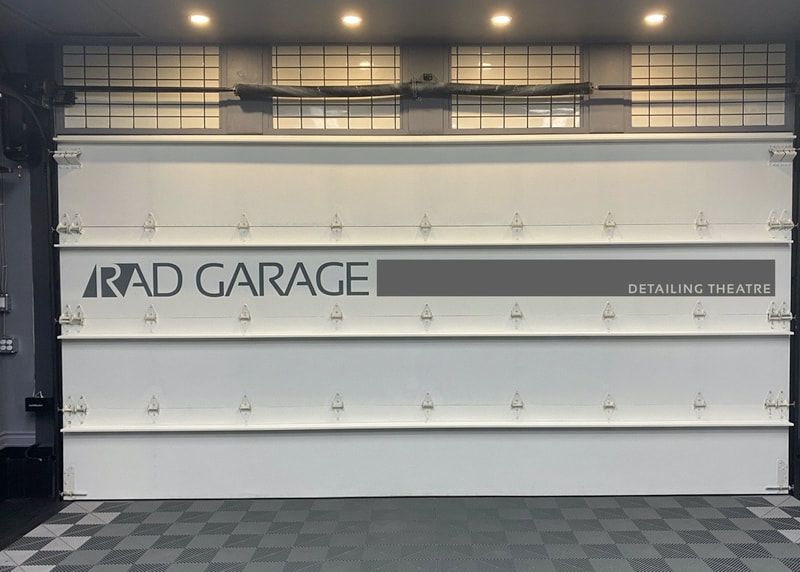
I hand-painted a grey stripe to play off the new decal on my door. I am now considering having some lettering printed out. Below, I have a photo of the garage door as it stands today, and next to that, I have a rendering of what I an considering doing.
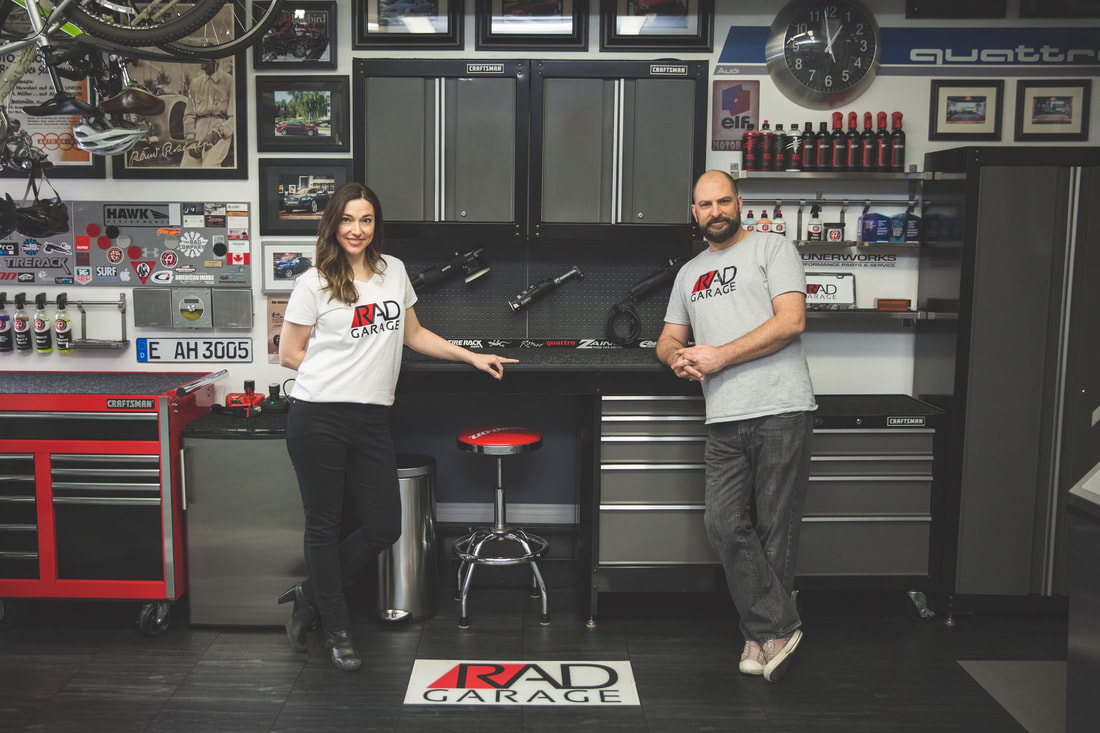
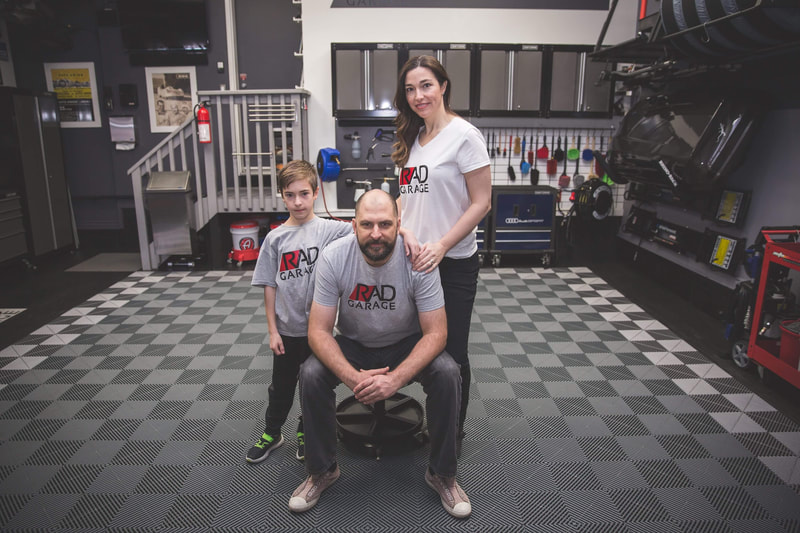
The weather conspired to keep me indoors all weekend, and I had nothing to detail or organize. So, I pulled out a few external hard drives and began reviewing photos of my garage spanning all the way back to when our home was under construction. I put a video together that demonstrates the evolutionary process that occurred in order for RAD Garage to become what it has become. Behold: A viewer of my videos, Ryan reached out to me the other day to let me know that my name came up during a video/podcast hosted by Matt Moreman over at Obsessed Garage. Matt and I have known each other since the early days on the garagejournal.com forums. Since those early days, Matt has gone on to build himself an empire called "Obsessed Garage". He's a heavy hitter in the detailing world so to have him speak so highly of me on his channel was definitely encouraging and inspiring. I've embedded the YouTube video below and timestamped it to the part of the video where Matt offers me some encouragement and advice to "chase it harder". It meant a lot coming from him. It's an ongoing battle keeping the garage clean, but I enjoy the process. I was able to do a full wash of the floor yesterday and then my son and I filmed a guided tour video. Check them out: Our friend came by last weekend to photograph my garage. Heather is super talented and I am very pleased with the final results of her work. Here's a little gallery highlighting her talent and the beauty of my place! I uploaded a new tour video to my YouTube channel. It had been a couple of years since I posted the last one and there have been a number of changes and updates in that time. I am hopeful that my garage will be chosen for inclusion in Pan the Organizer's series, "Pan & the Organizers". I sent him a 90-second video and I have my fingers crossed he will choose to feature it in his next video in the series. I'll post a link to the first episode he posted along with a link to my new tour video. Enjoy. Last weekend, a good friend came by to snap some photographs. She is quite talented so I am very eager to see how they turned out. She sent a few teaser pics and they look great. I even convinced my family to pose for a few. My plan is to use her shots to update my website. Since I had the garage tidied up, I did a new tour video because the last tour video is a couple of years old and things have changed a bit since then.
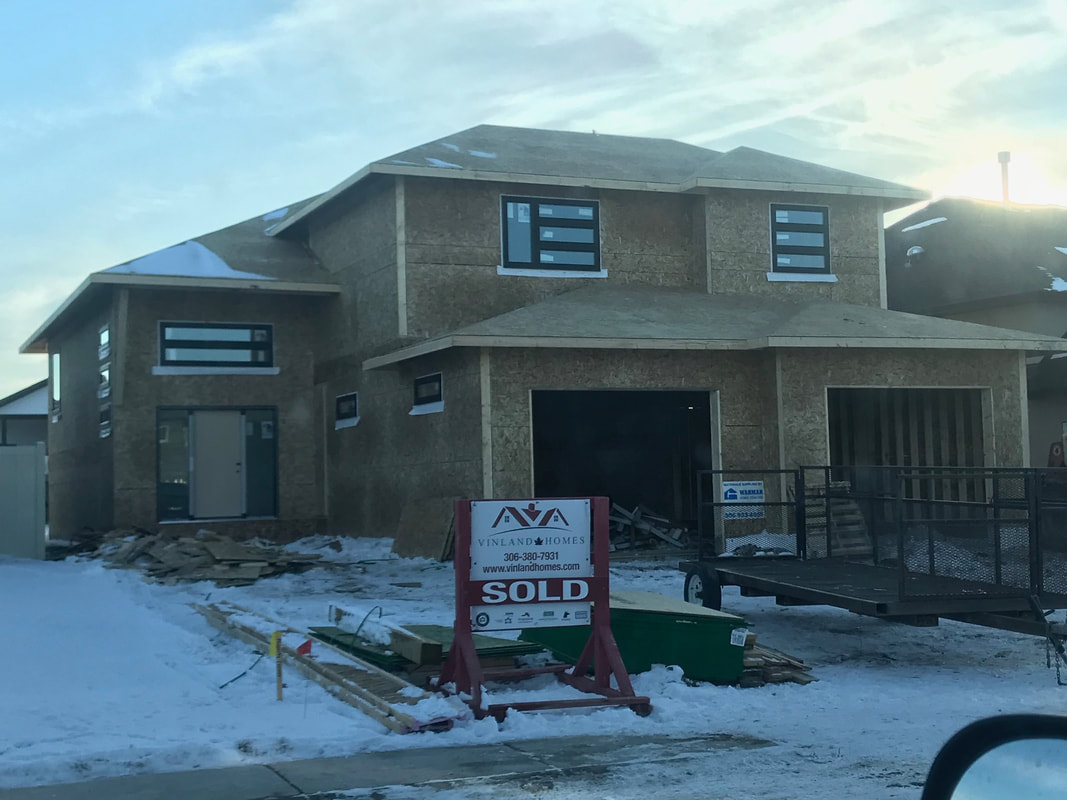
My quest to feature garages belonging to other enthusiasts takes me to Saskatoon, SK. Shaun Gullacher and I have been garage buddies for a few years. We became acquainted through the Obsessed Garage Facebook group page and have been communicating our fascinations with garages and detailing through texts and Instagram messages ever since. We had the opportunity to meet up this past summer when his family was in town. We took the kids to a play centre, dropped in on Chris at Carzilla, downed some burgers, and hung out in the RAD environment for a few magical hours. Since the summer, Shaun and his wife have begun construction of their dream home complete with the most epic of garages. The project is in full swing and I thought it would be fun to ask Shaun some questions about his project. Before I share his responses, here are the vitals:
What is the primary focus for your dream garage project?
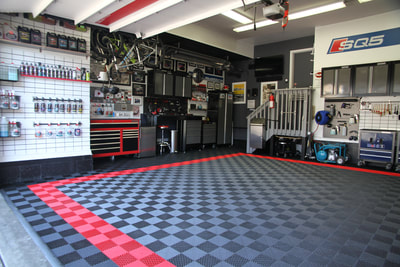
Primarily, the garage will be used for keeping my two vehicles clean as well as accommodating my side detailing business. I will also use the space for minor vehicle maintenance (oil changes/etc.). The focus of the garage is to have a large enough space to comfortably park two vehicles year round and have enough room to move around the vehicles while they are in the garage. Getting kids in and out of the vehicles daily with out having to worry about doors opening and hitting the other vehicle or other items in the garage. Having the space to be able to unload those big grocery hauls from Costco on cold January nights in the comfort of a heated garage with the doors down. After three weeks of suffering with a bare concrete floor, my Swisstrax floor arrived this weekend. Here are some photos of the install process and final result. I am very pleased with how things have come together. I need two Pearl Grey tiles and the edges weren't included with the order, so it's about 98% complete at this point. I am looking forward to putting it to good use and sharing my insights into its performance. Here's a video I put together: After many years, I have decided to part with my RaceDeck Free Flow floor. I found a local buyer who picked it up a few weeks ago. Living without a flooring system for the past little while has been terrible. I am really looking forward to installing my new floor soon. Stay tuned to see what I have planned!
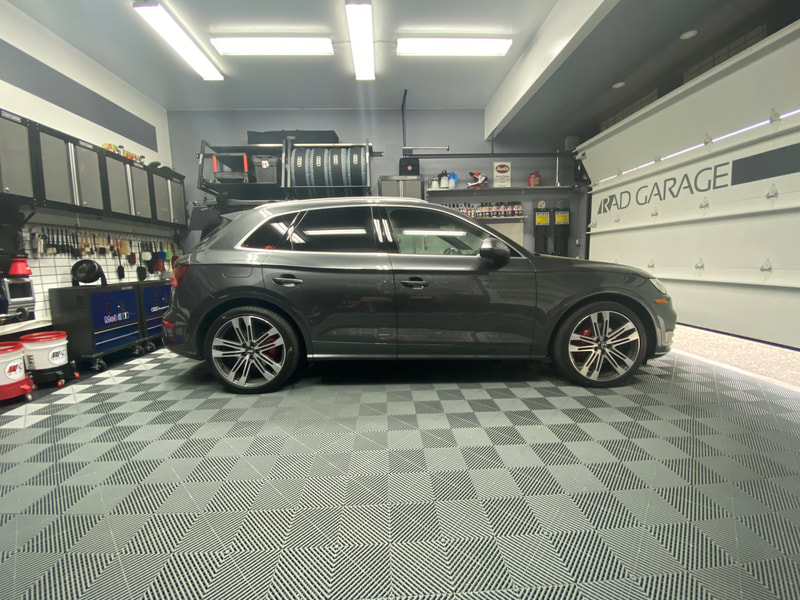
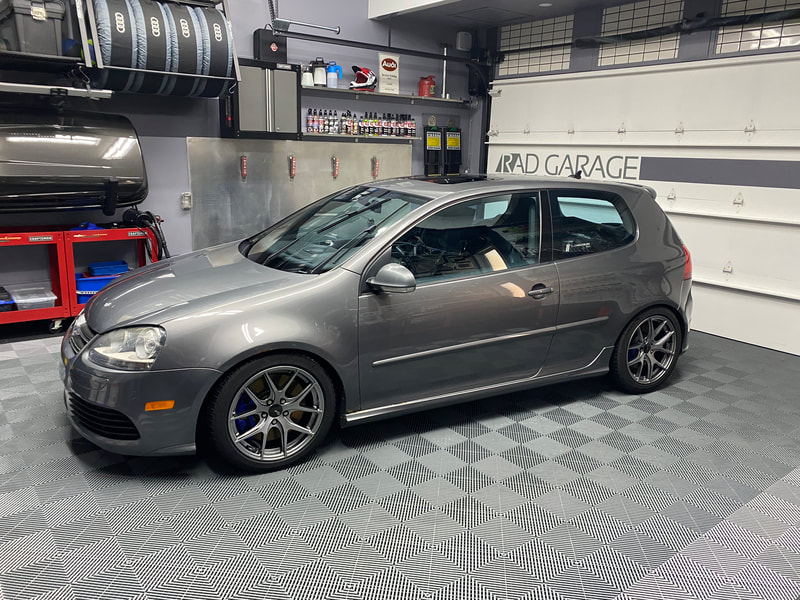
Here's a collection of photos that represent the current state of my garage. No major changes, just little tweaks here and there. I'm pretty much satisfied with how I have things laid out. Time to just use and enjoy it.
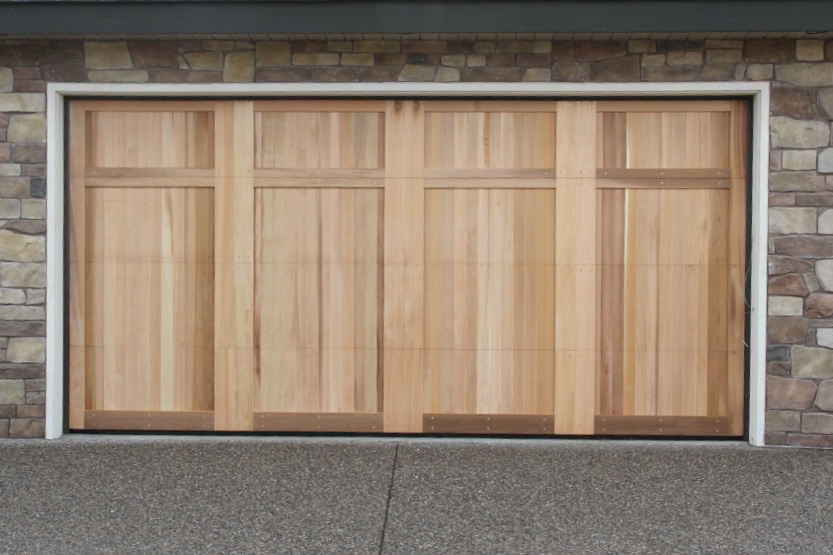
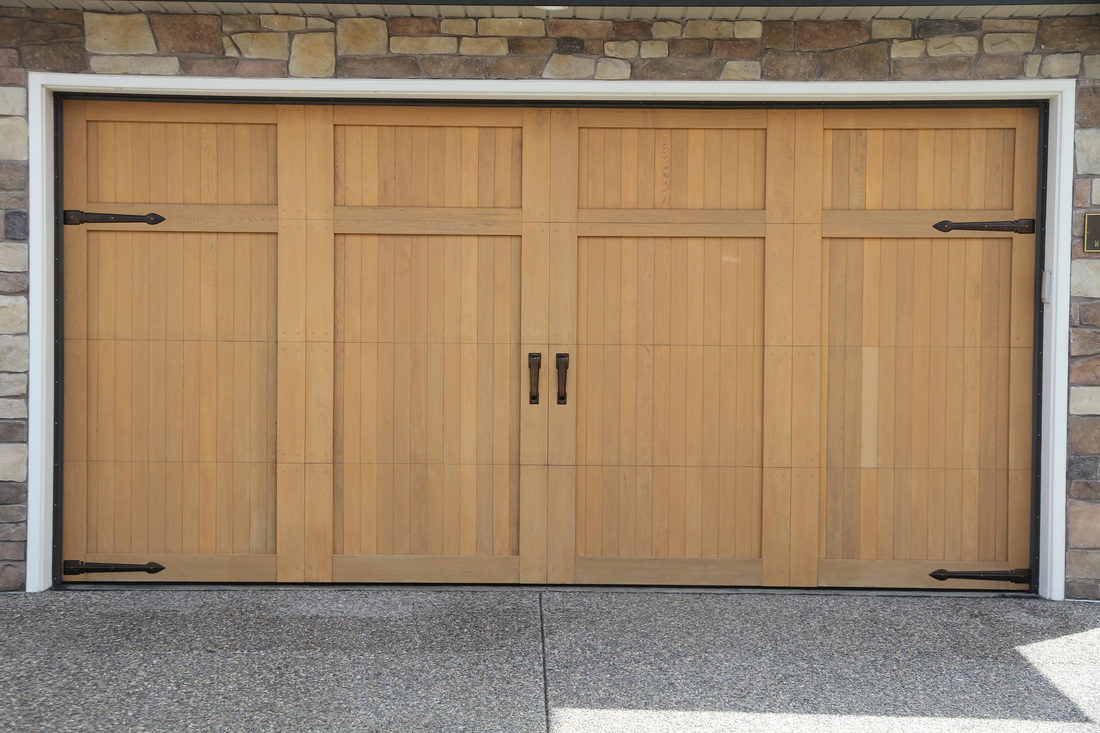
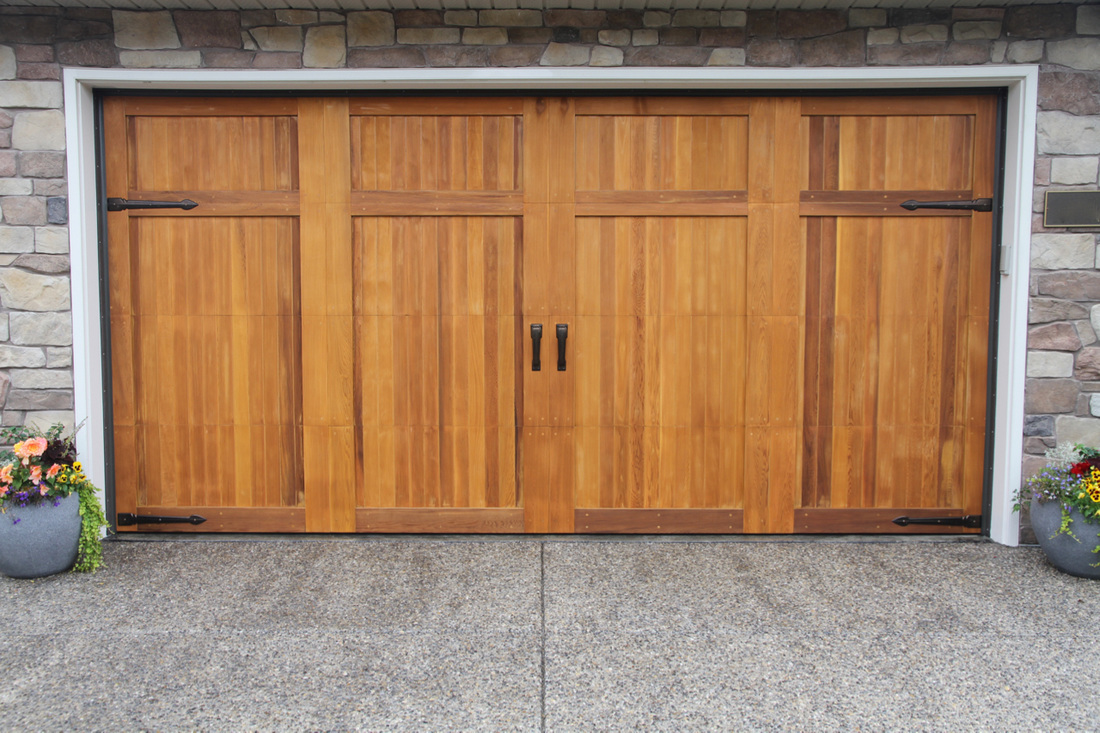
I recently removed a shelf I was using to store jack stands. I relocated the shelves to the top of my tire racks. I plan on adding a raised aluminum "Trek" sign to this wall space. Here's a few shots that illustrate the evolution of this part of the garage. It took me two full days, but our cedar garage door has been stained, and very pleased with the result. The builder used a stain/paint and we never really liked it. I sanded it down for four or five hours and then applied a coat of Cabot's Australian Timber Oil and it brought out the character of each board. The sanding process left me with a lot of cleaning in the garage. I had to clean every inch of the garage, but that is all done and things have never looked so great. Here are some photos that will take you through the process of getting this door to the point it should have been when we moved in. My tile project is progressing well. I had to trim the top row of tiles by hand so that took a bit of time, but other than that everything was quite straightforward. I'll let the mortar set for 24 hours and then apply the sanded grout. This whole project is completely unnecessary, but I think this is going to look amazing. The portion of wall above the garage door has always been a thorn in my side. The builder did a lousy job of finishing off this part of the garage, so I have been fixing it up for a number of years. Even though I have addressed it a number of times, I still feel like it needs something to better integrate it into the overall design theme. So, this week I will be installing white 3x6 subway tile along with a charcoal groat. This is a completely unnecessary project from many standpoints, but I think it will look great. Here's some photos that show the evolution of this area from construction to present day. This virtual tour should give you a great sense of how things are laid out in my garage. I have to say, things are approaching perfection. It's just a matter of fine tuning the little details at this point. I hope you enjoy. I was sifting through a whack of external hard drives and came across some grainy old pics of the garage. They were taken not too long after we took possession of our house. I think I had the Sony Ericsson S003 at the time. These photos seem way older than five years, but that's because a lot has changed in that time. Anyway, here are some photographs that capture some milestones in the evolution of my garage. I knew I was going to make the most of our double garage when we decided to build our house, but I had no idea it would evolve the way it has. I get a kick out of looking back over the years and seeing each step in the evolution. Here's a pic of the garage while the house was under construction and one from a few months ago.
|
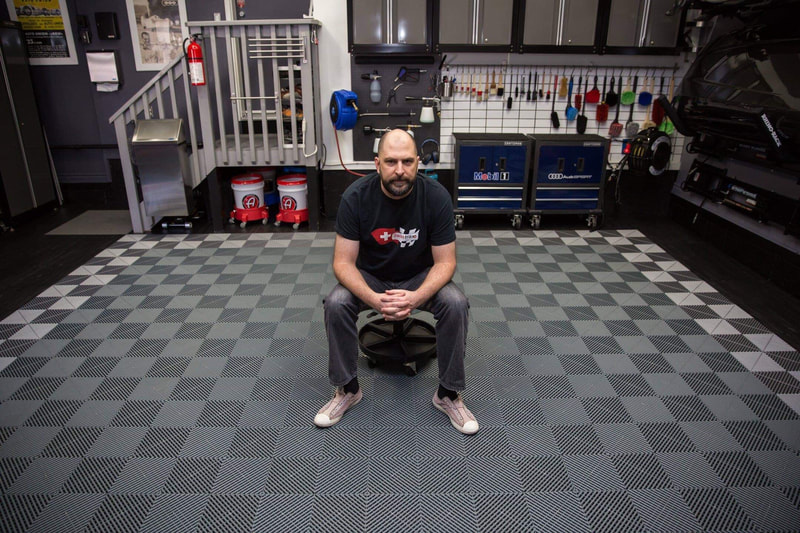
RAD GARAGE is my personal detailing theatre. I am a teacher who finds immense pleasure in completing deeply therapeutic, thorough and highly satisfying detailing projects in my residential garage. I have converted my suburban double car garage into a world class detailing environment and I enjoy caring for my own car and select cars belonging to others. The garage and the work I complete in it have allowed me to connect with other detailing enthusiasts from around the world.
I have teamed up with Teespring to offer viewers an opportunity to grab some RAD gear! Click here to see the current inventory of RAD merchandise available at my Teespring store!
Use "RAD10" to save yourself 10% until the end of March, 2021.
Carzilla is a local detailing store that caters to the North American community of professional and enthusiast detailers. I have been a longtime customer and I am fortunate to call the owner a friend. Besides stocking a vast quantity of top quality detailing products, the owner has supported various garage and detailing projects of mine over the years.
5% discount code
|


















 RSS Feed