|
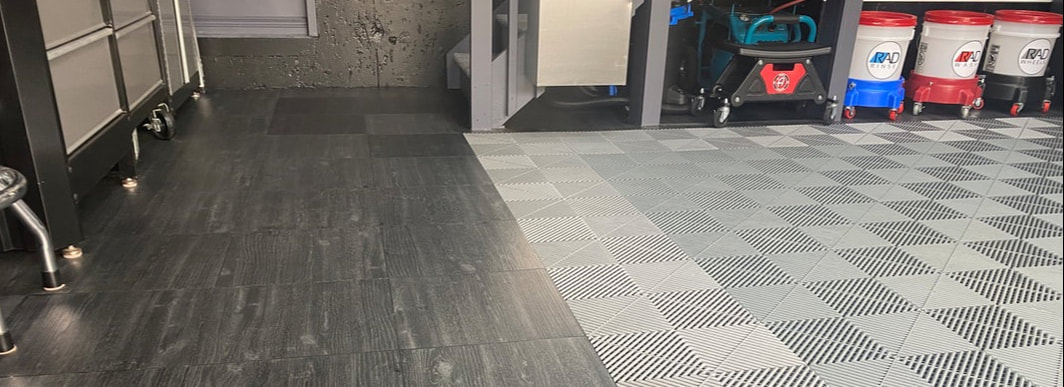
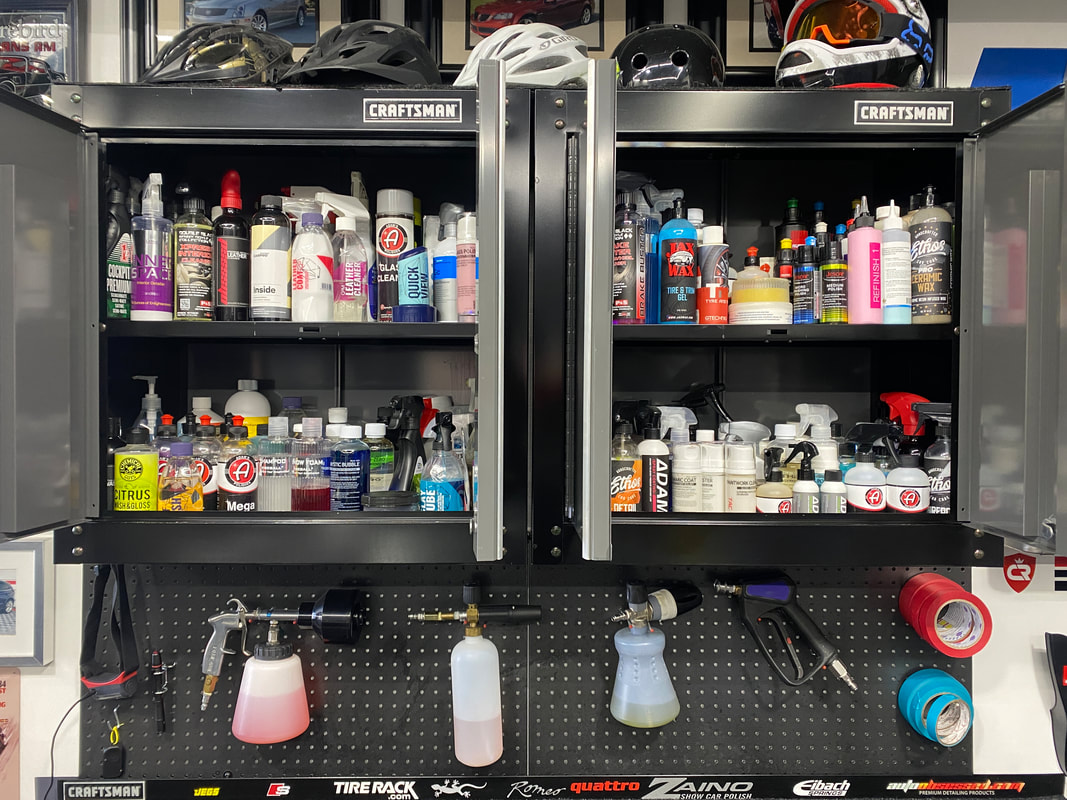
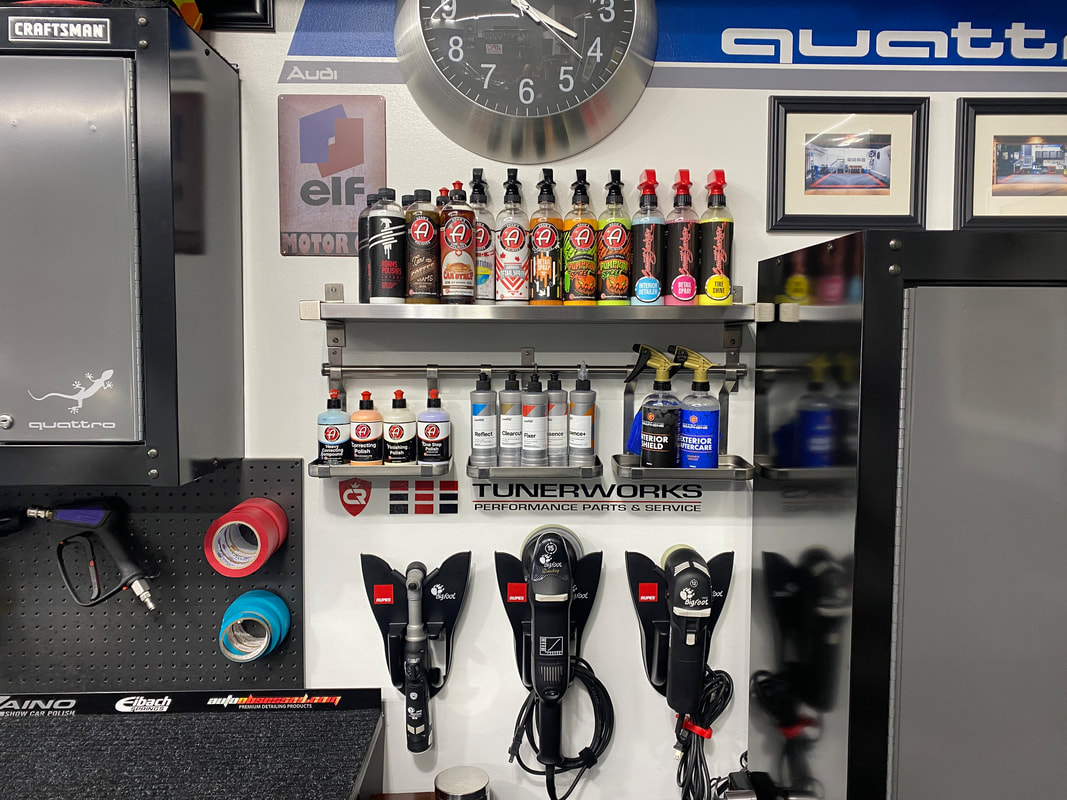
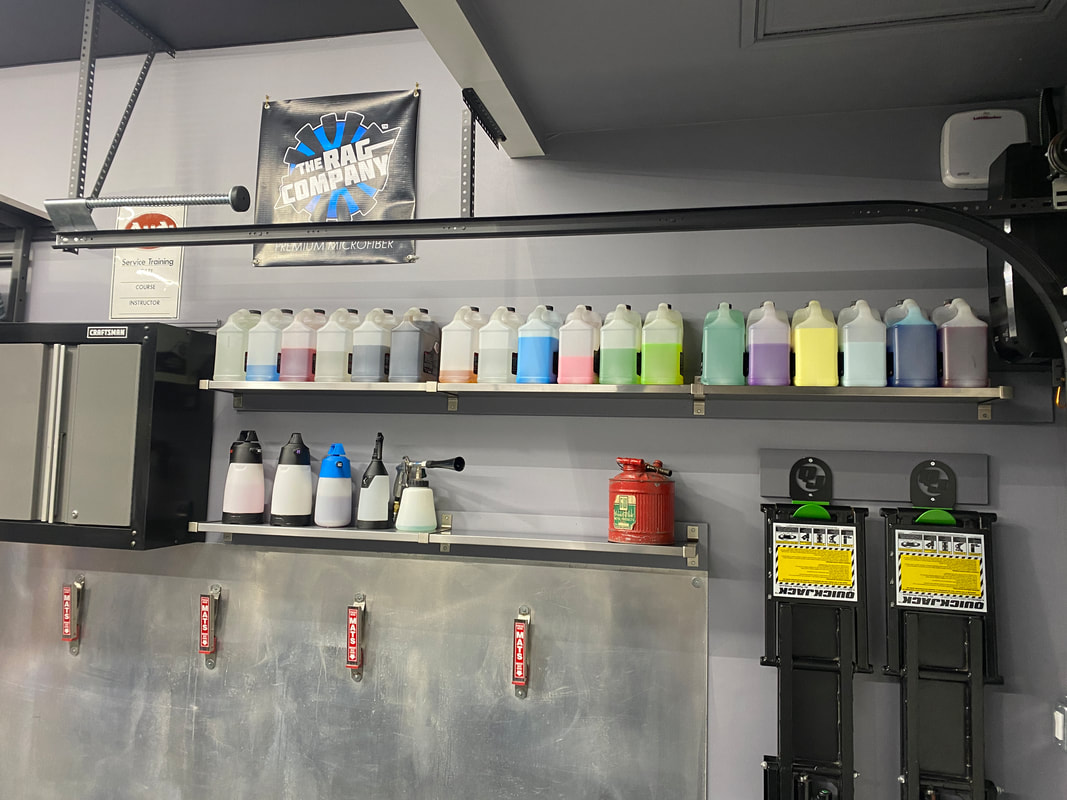
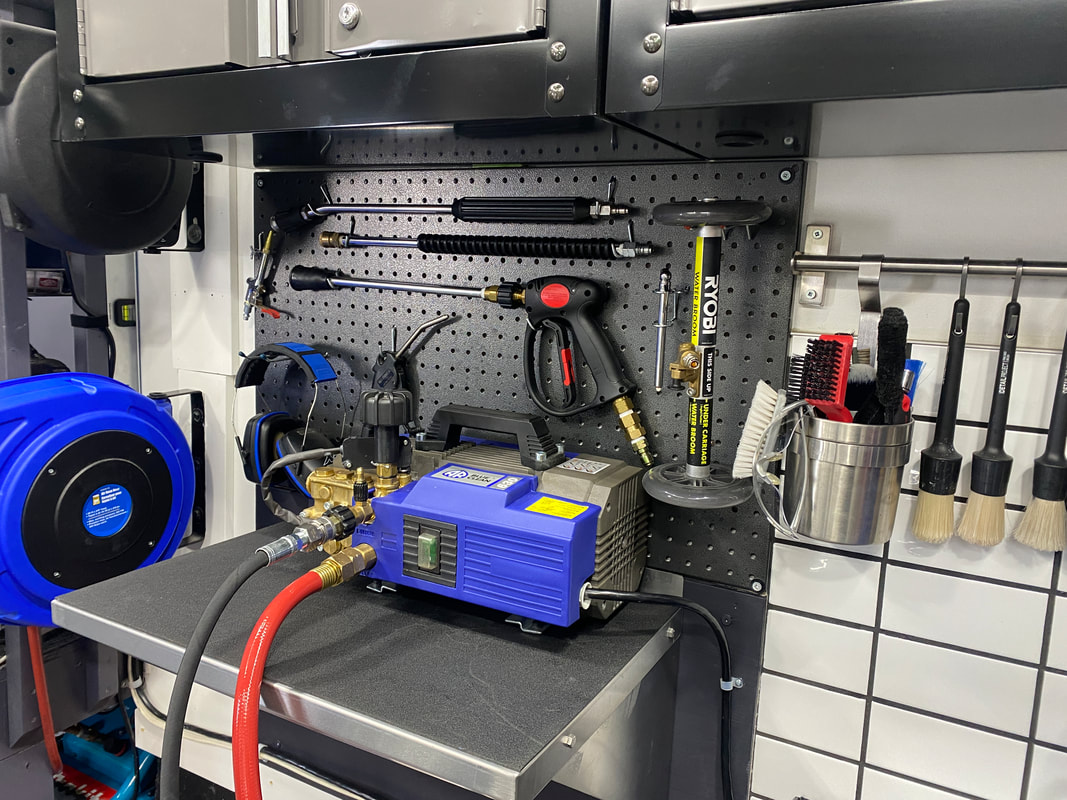
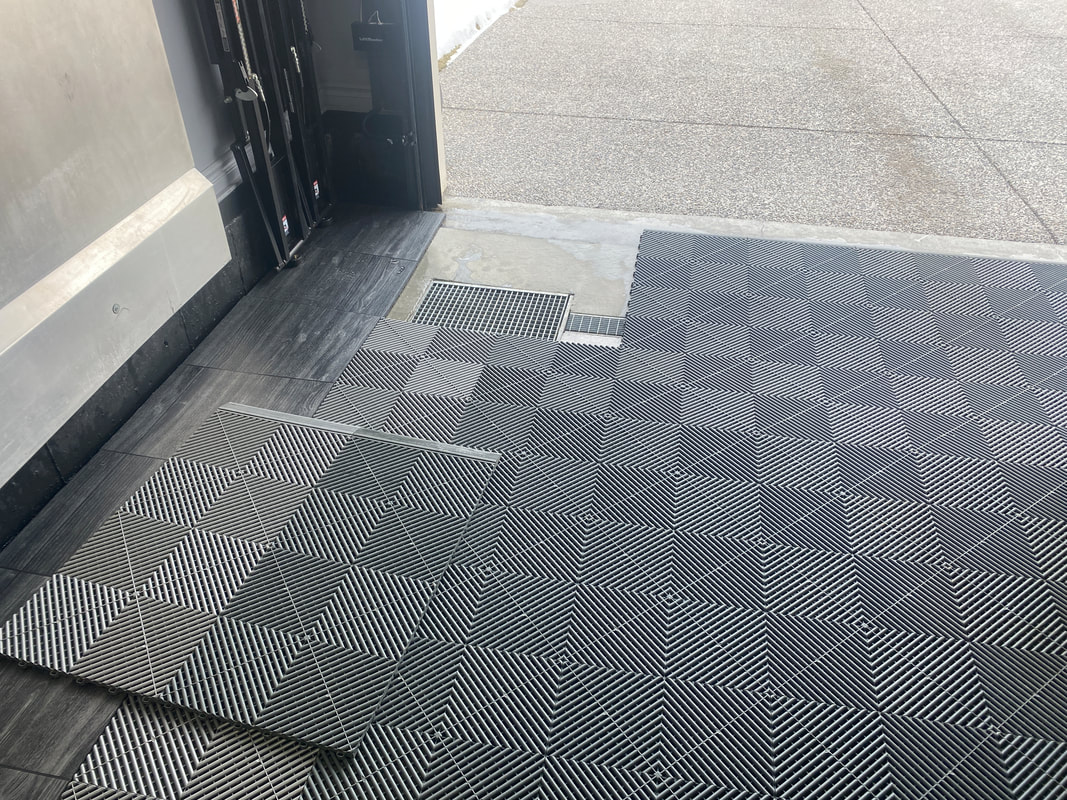
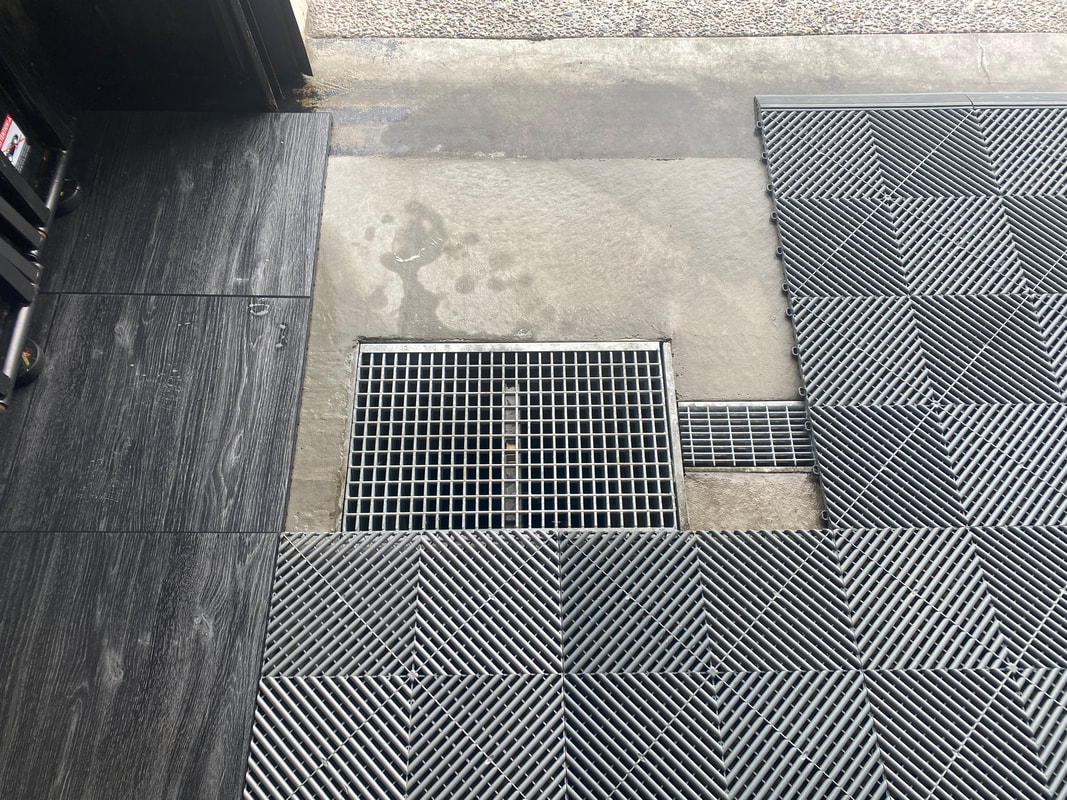
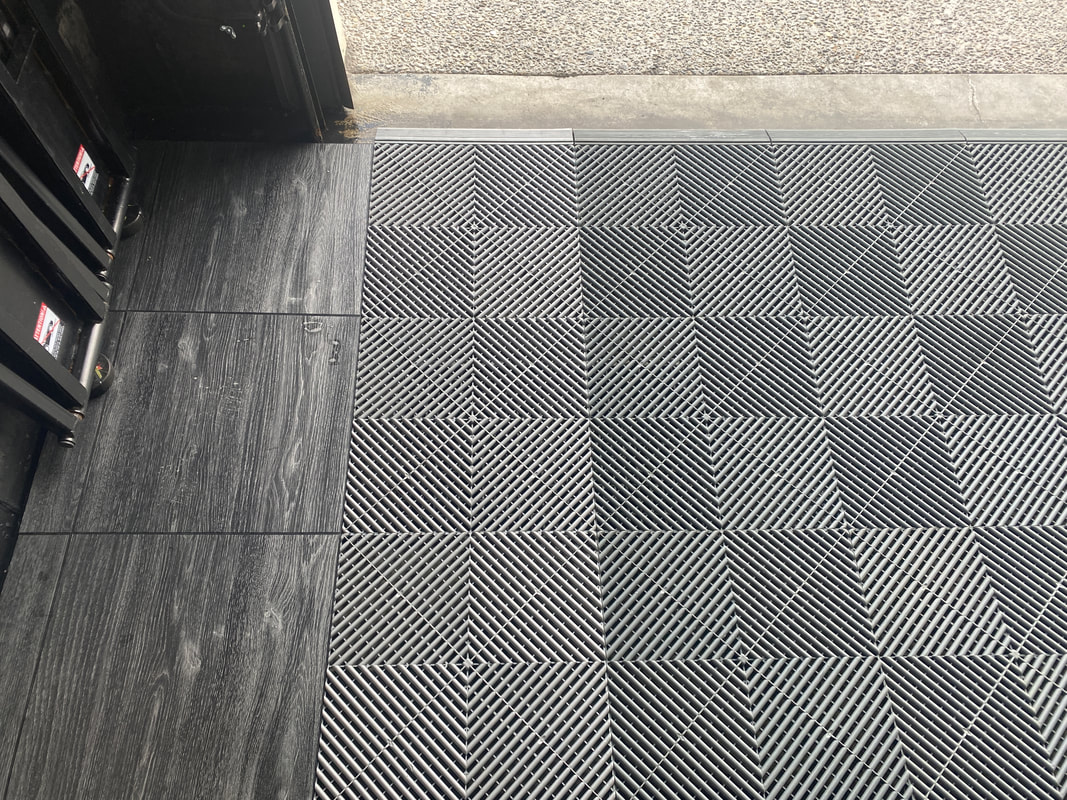
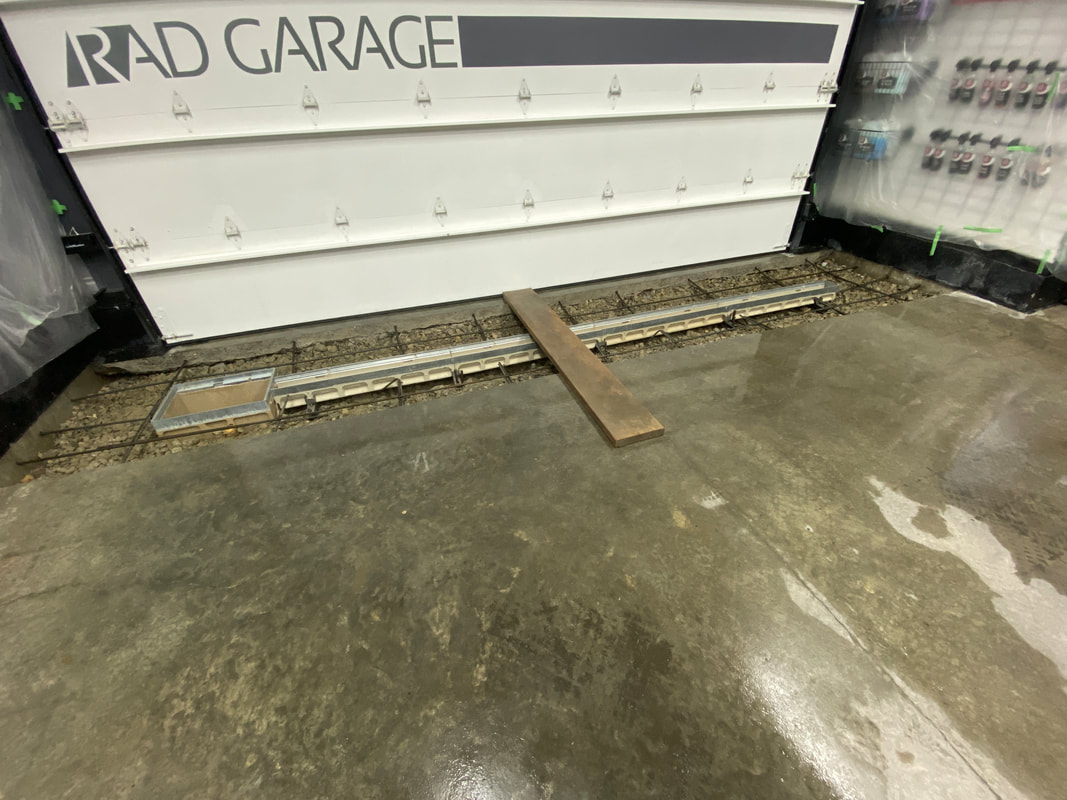
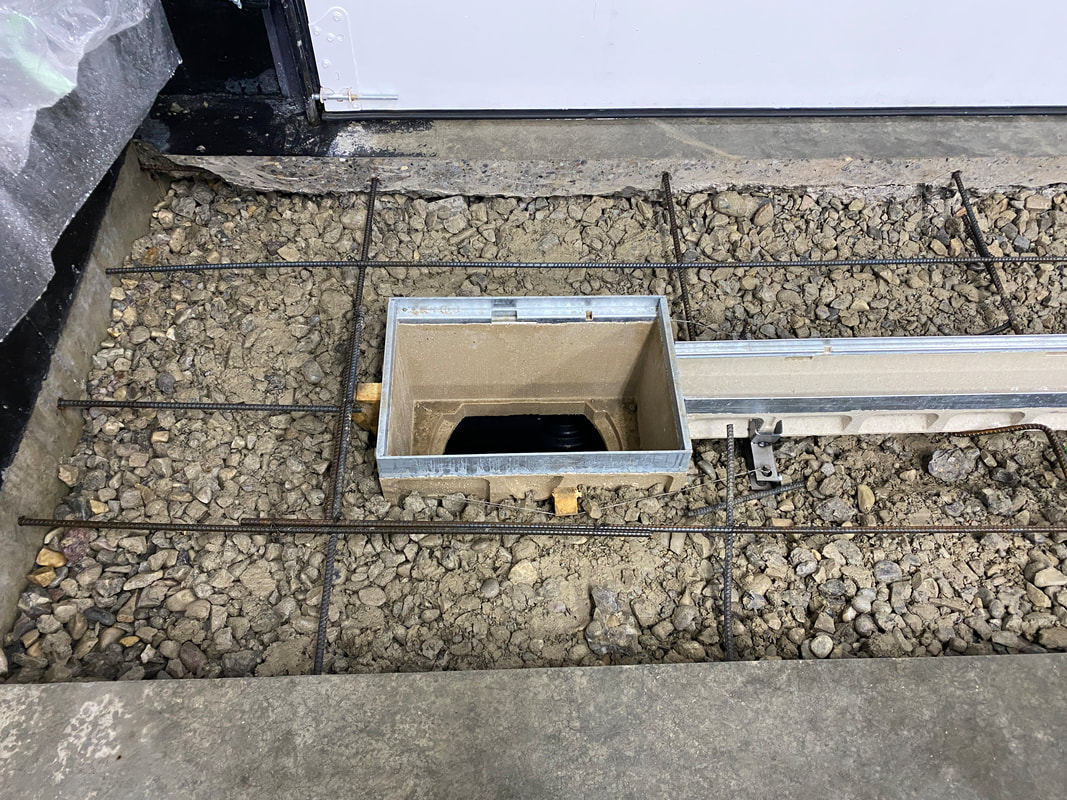
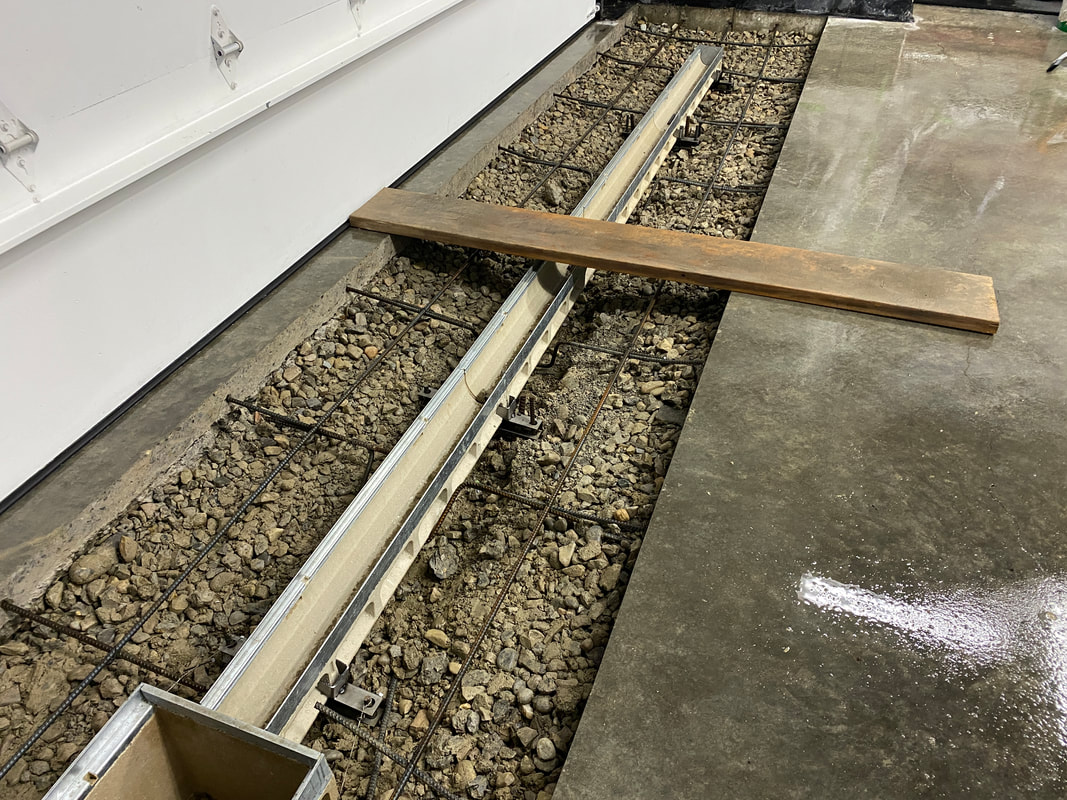
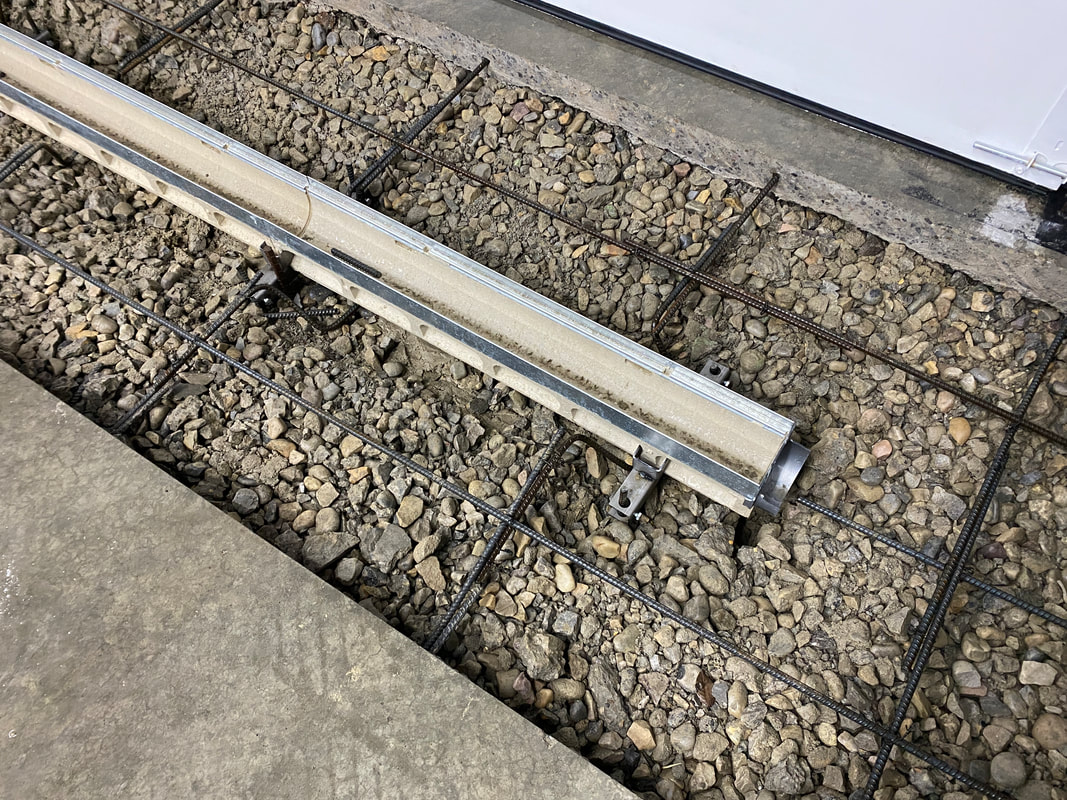
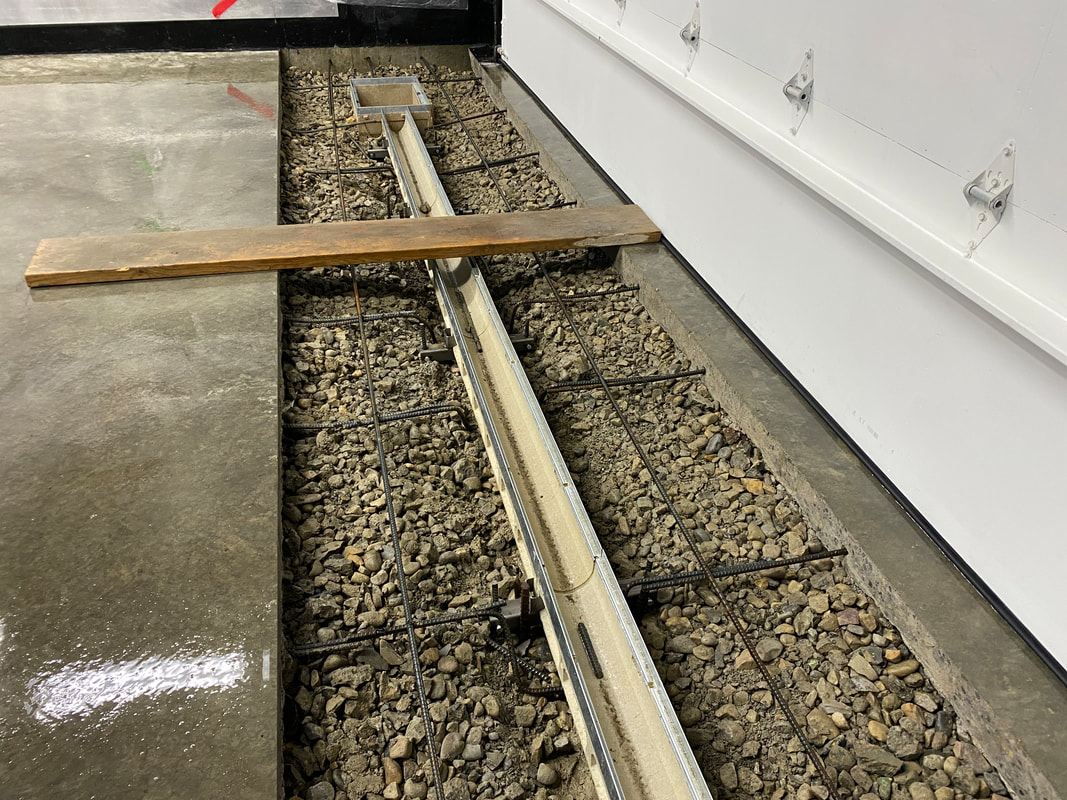
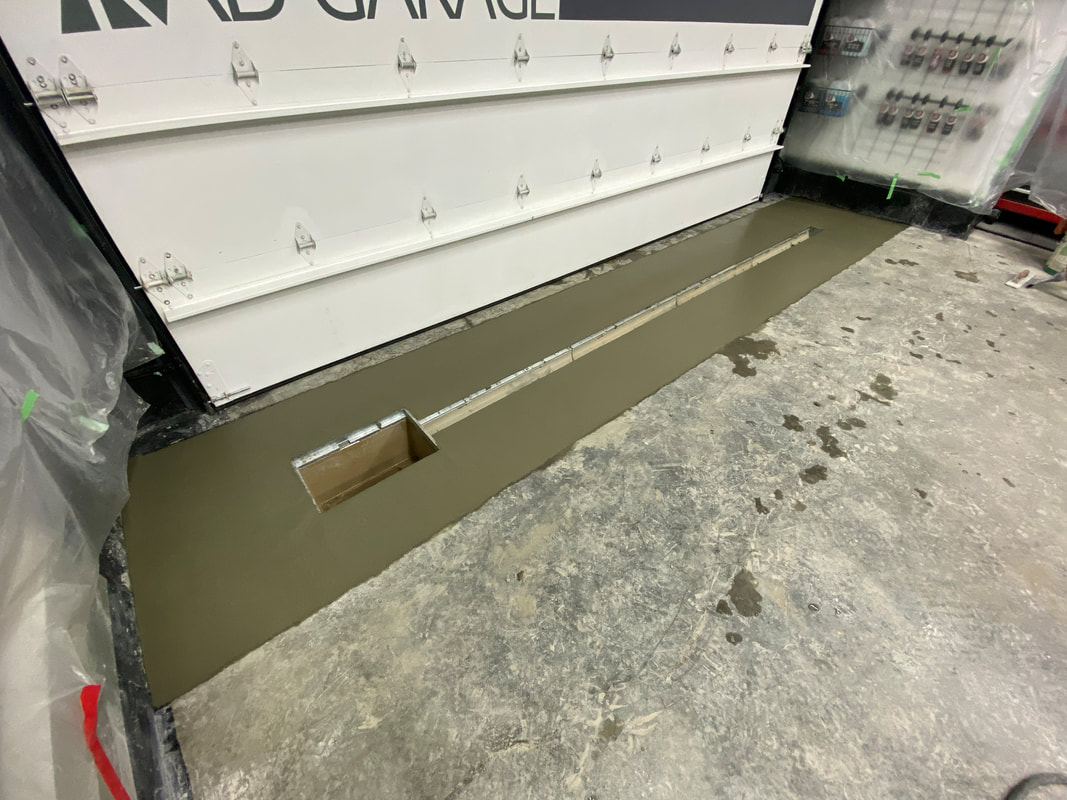
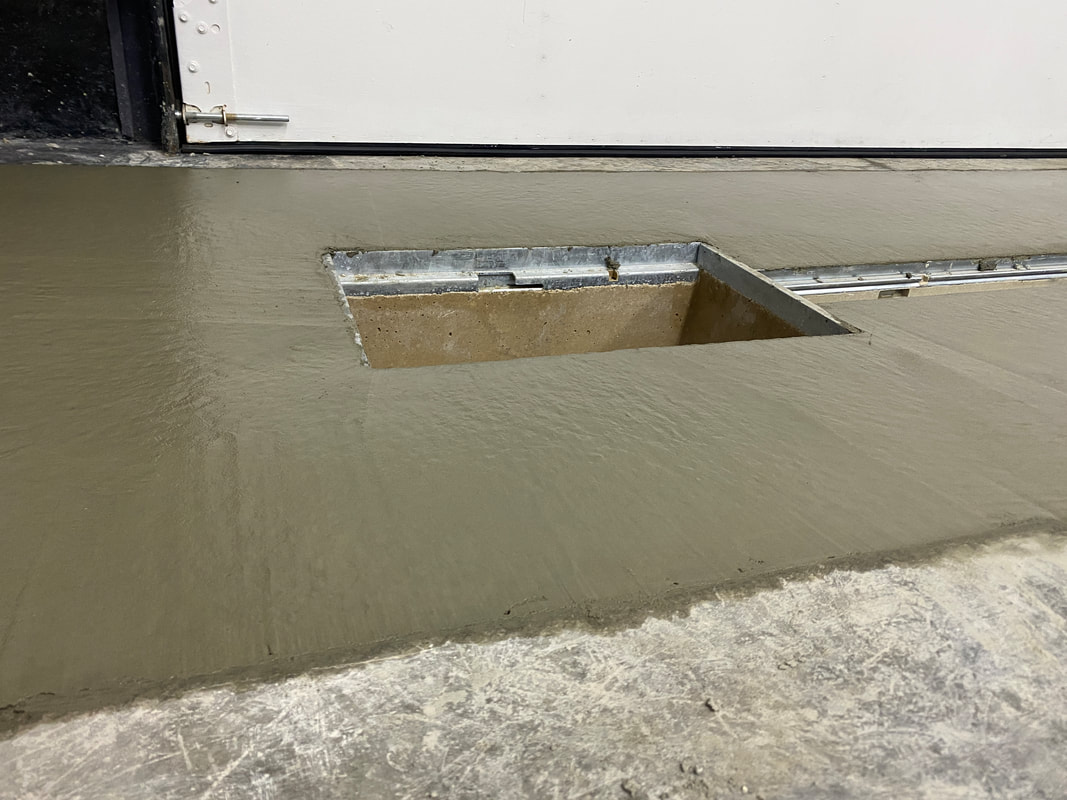
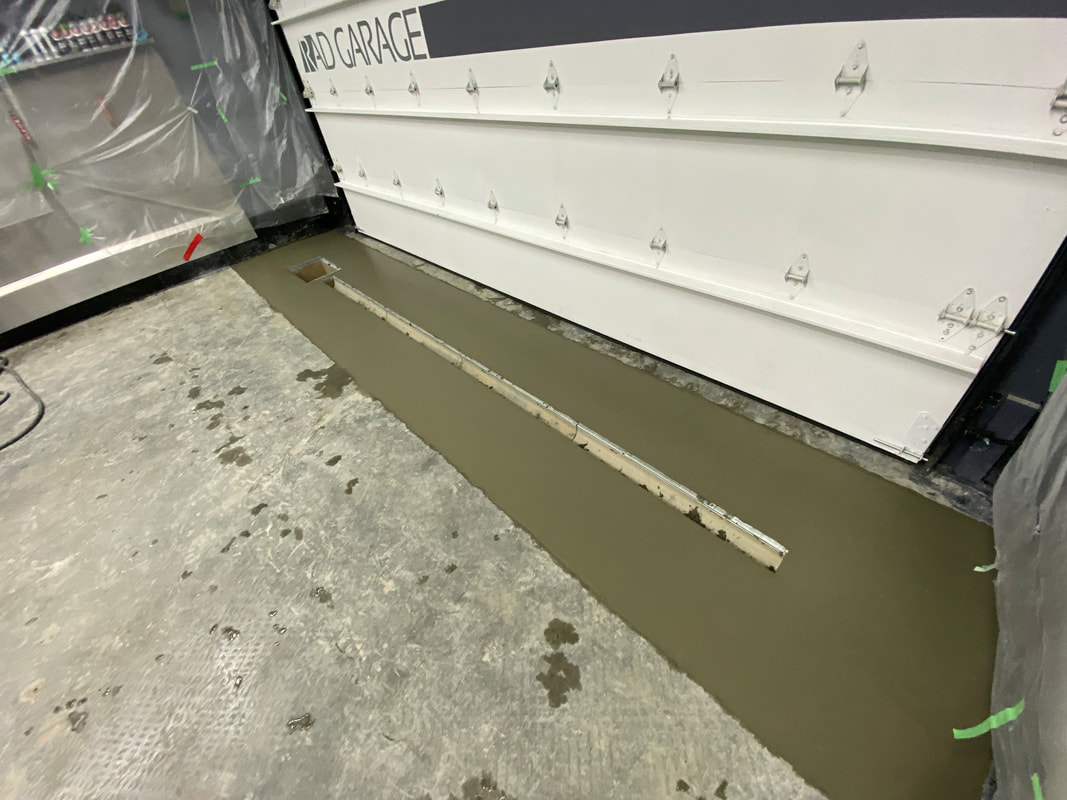
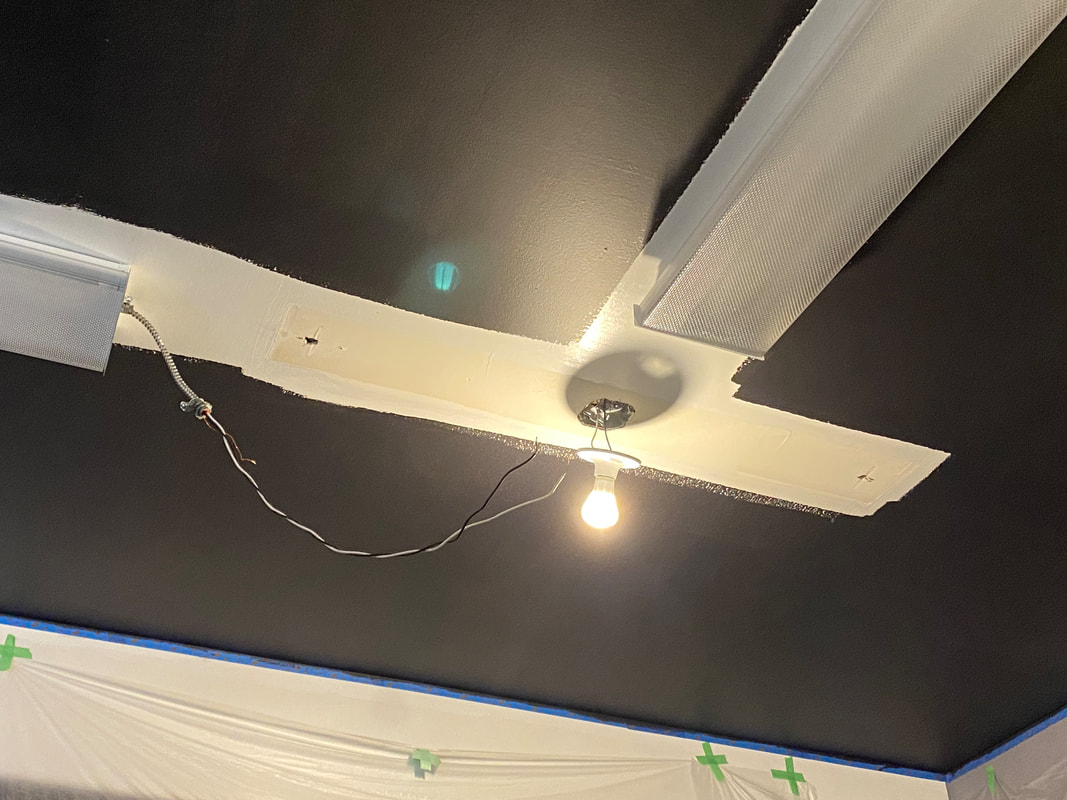
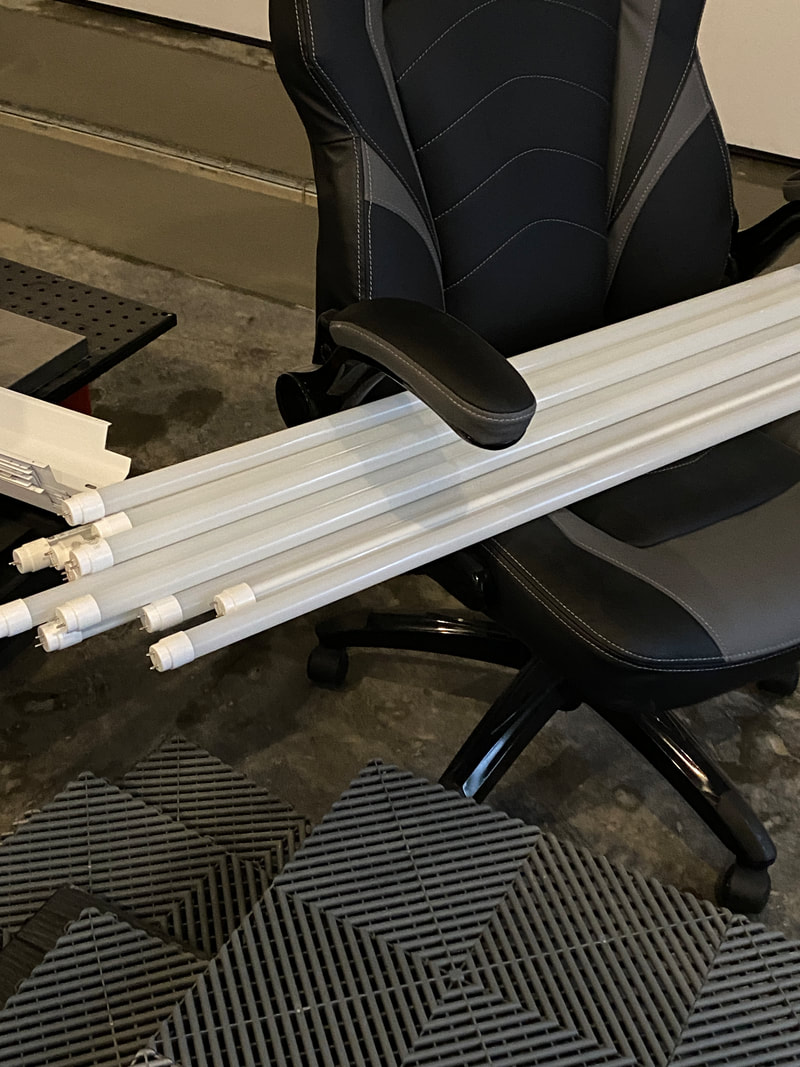
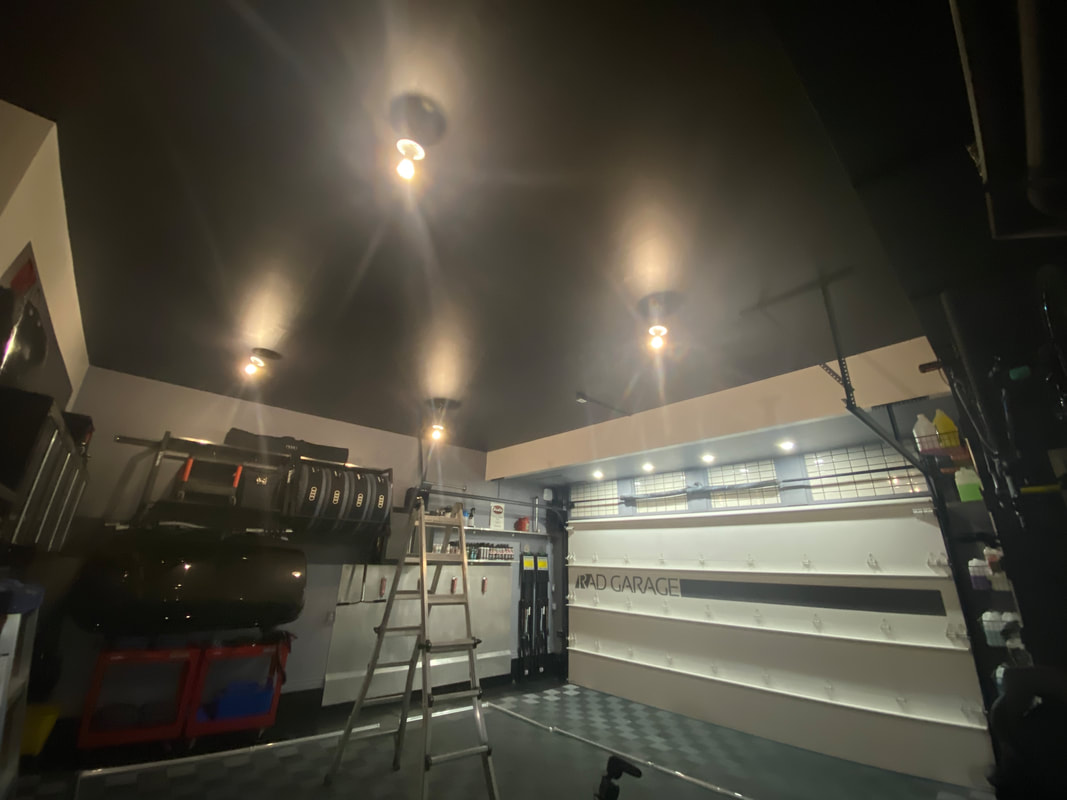
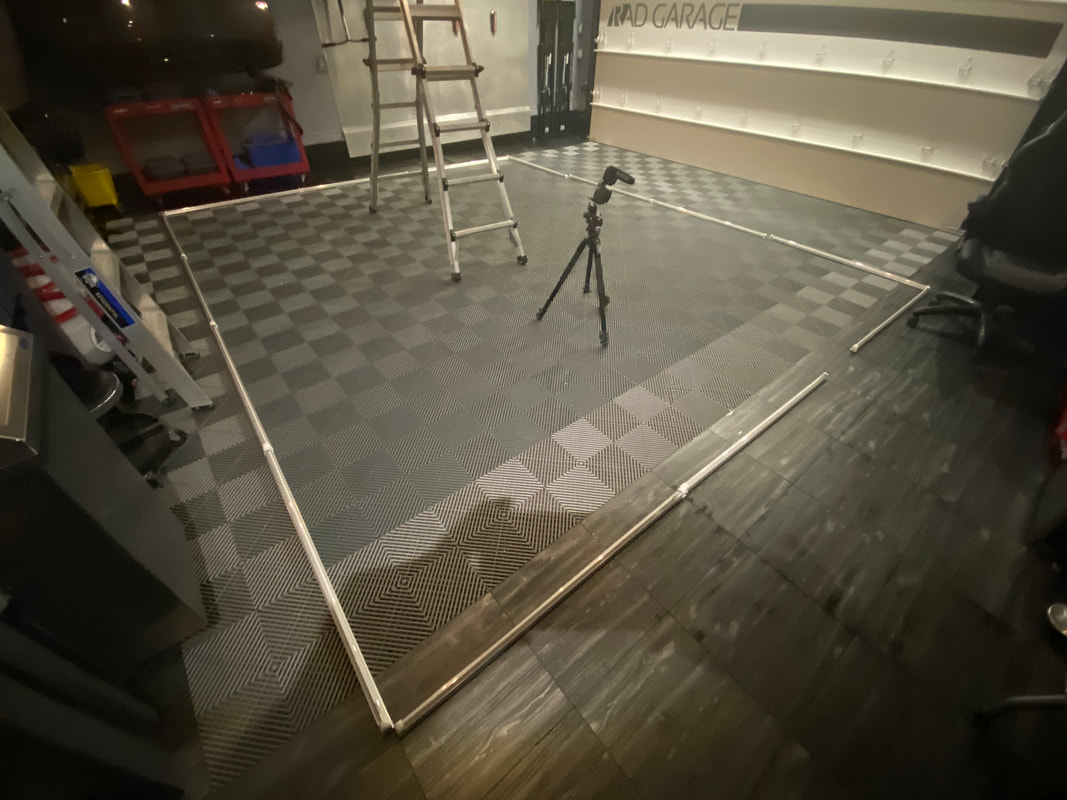
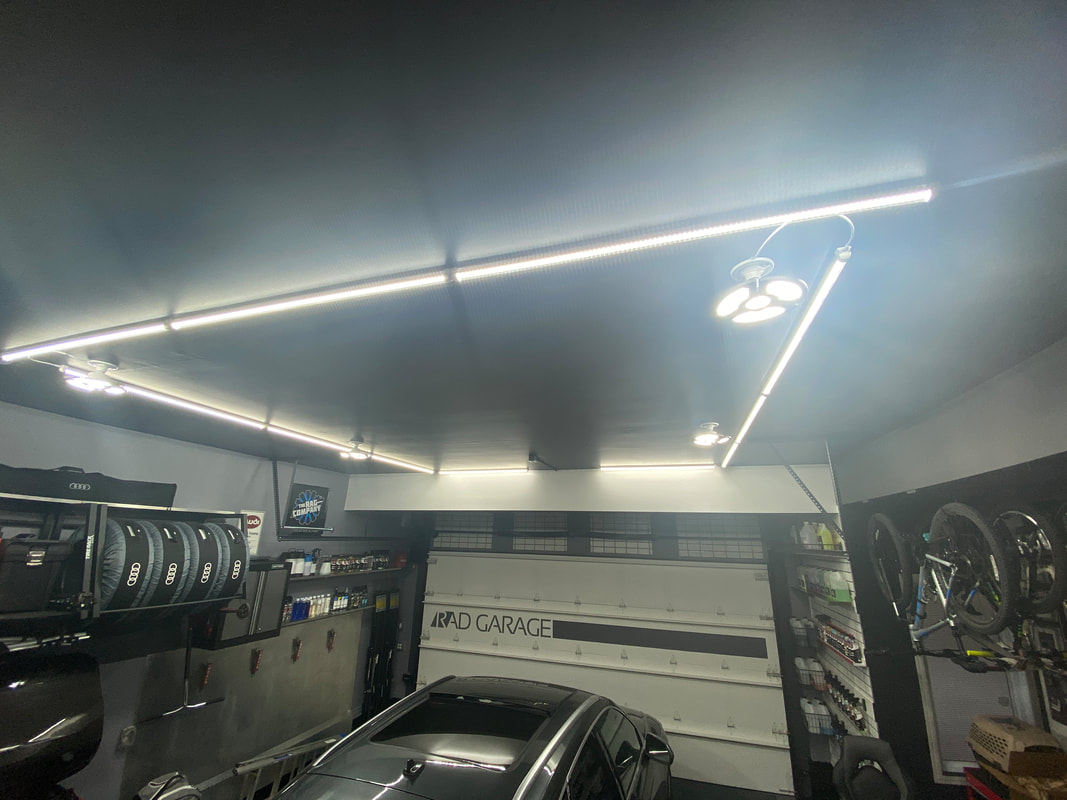
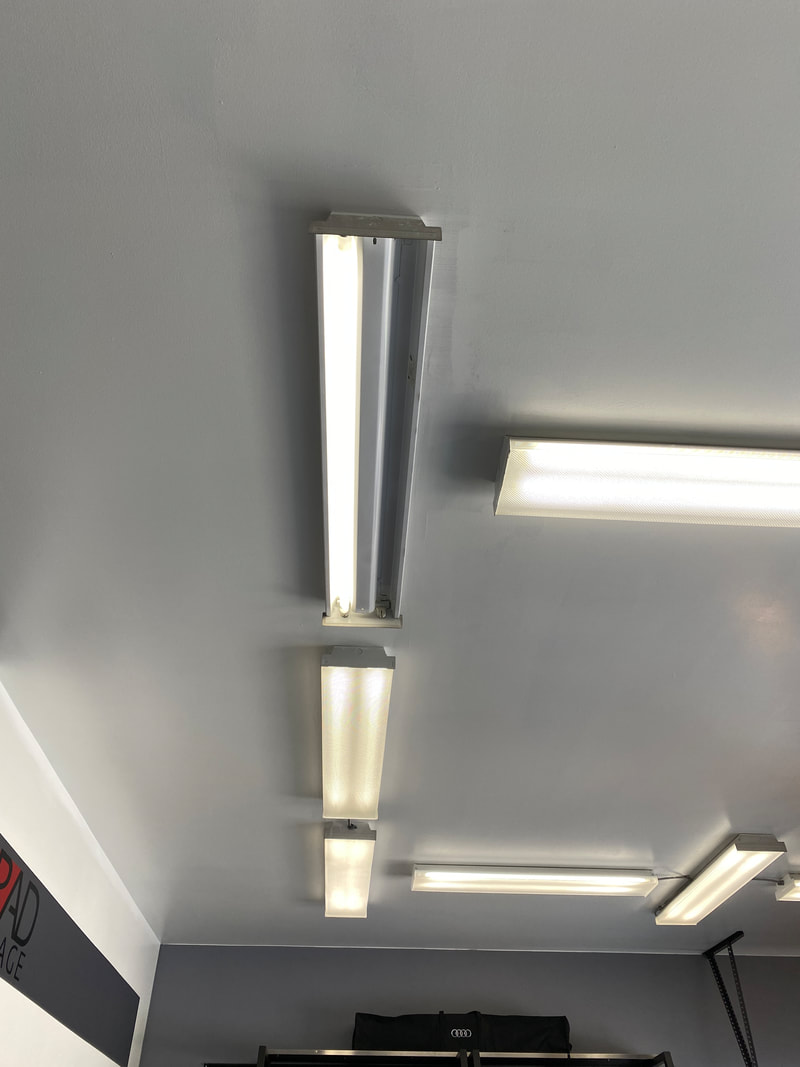
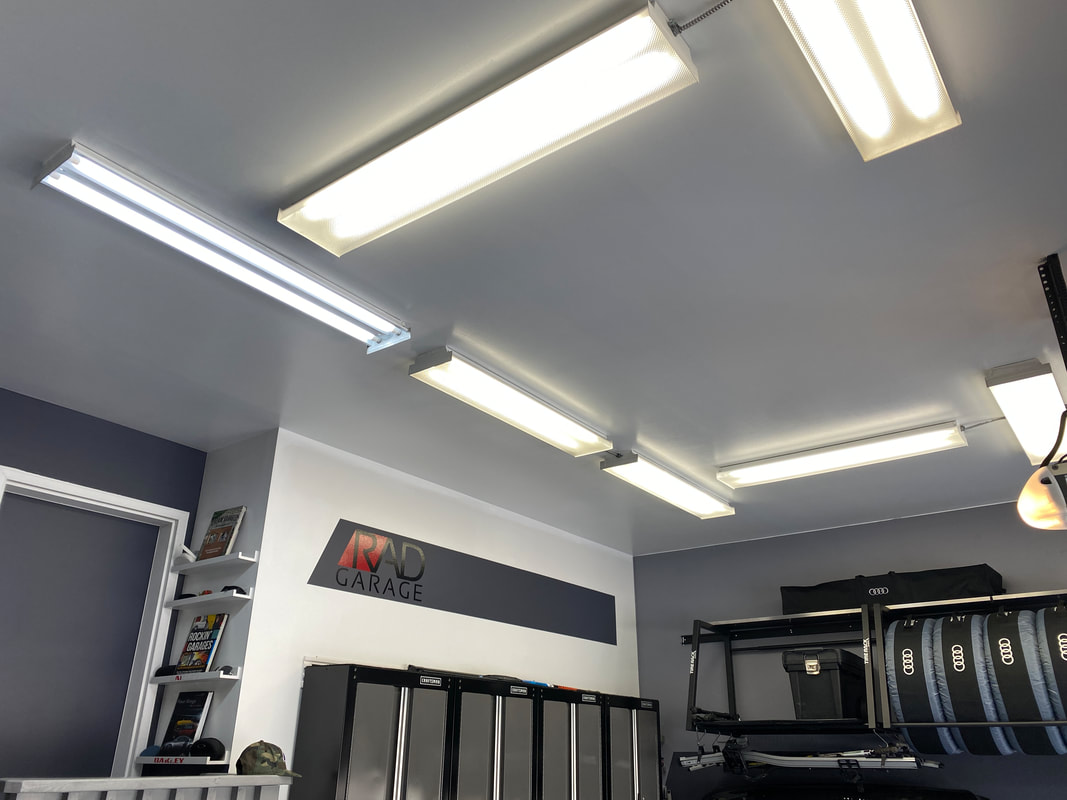
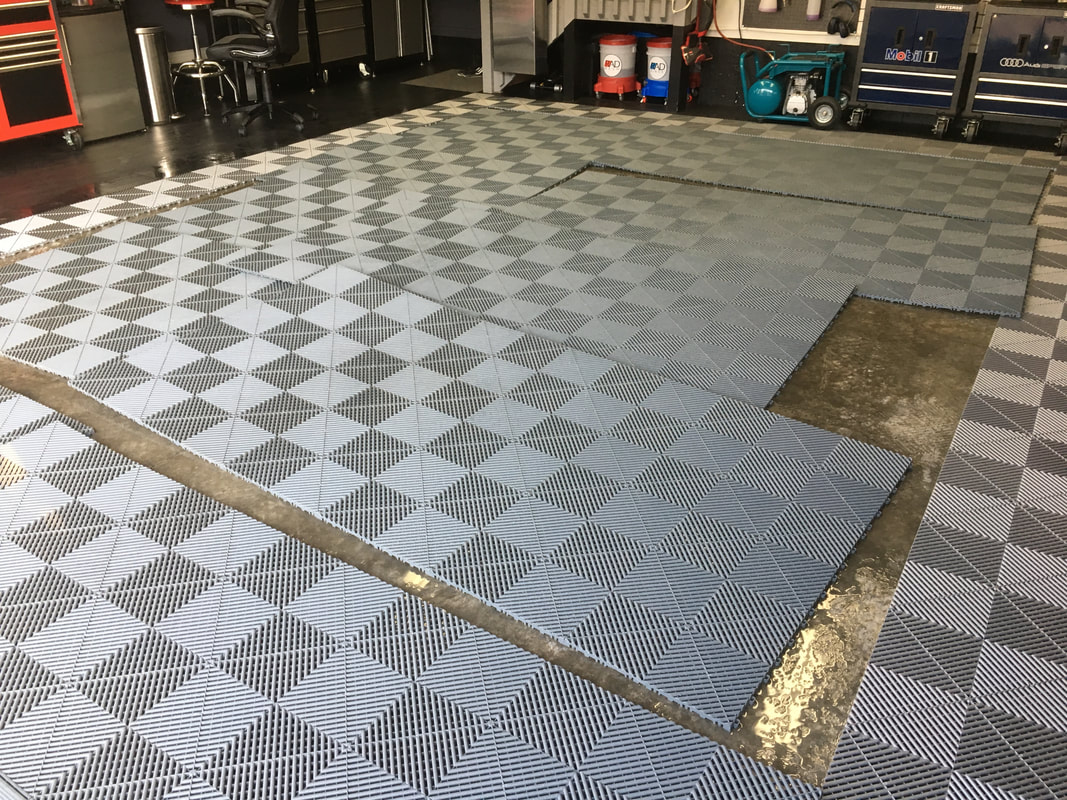
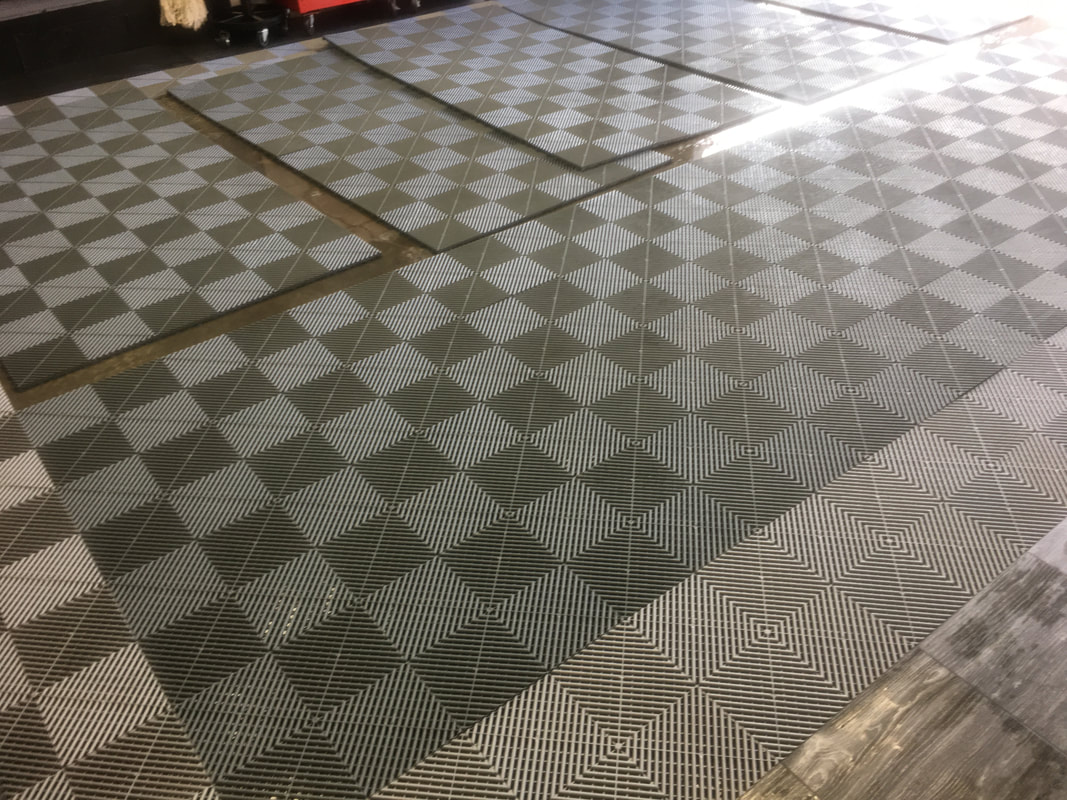
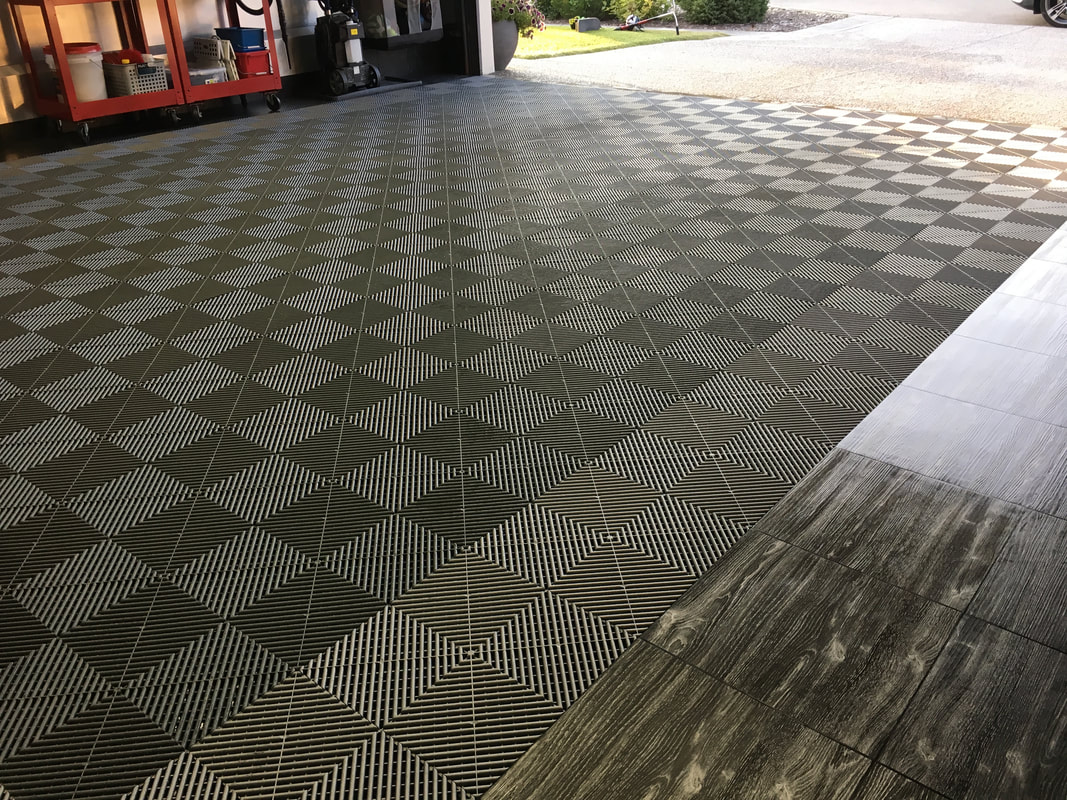
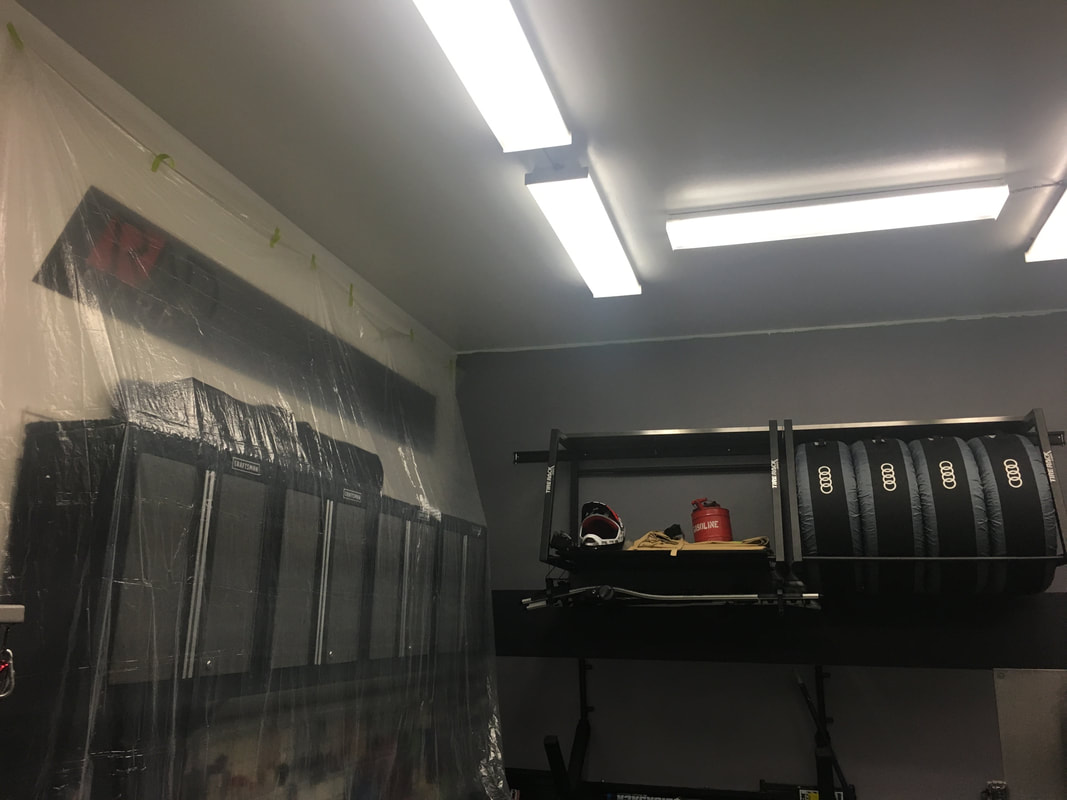
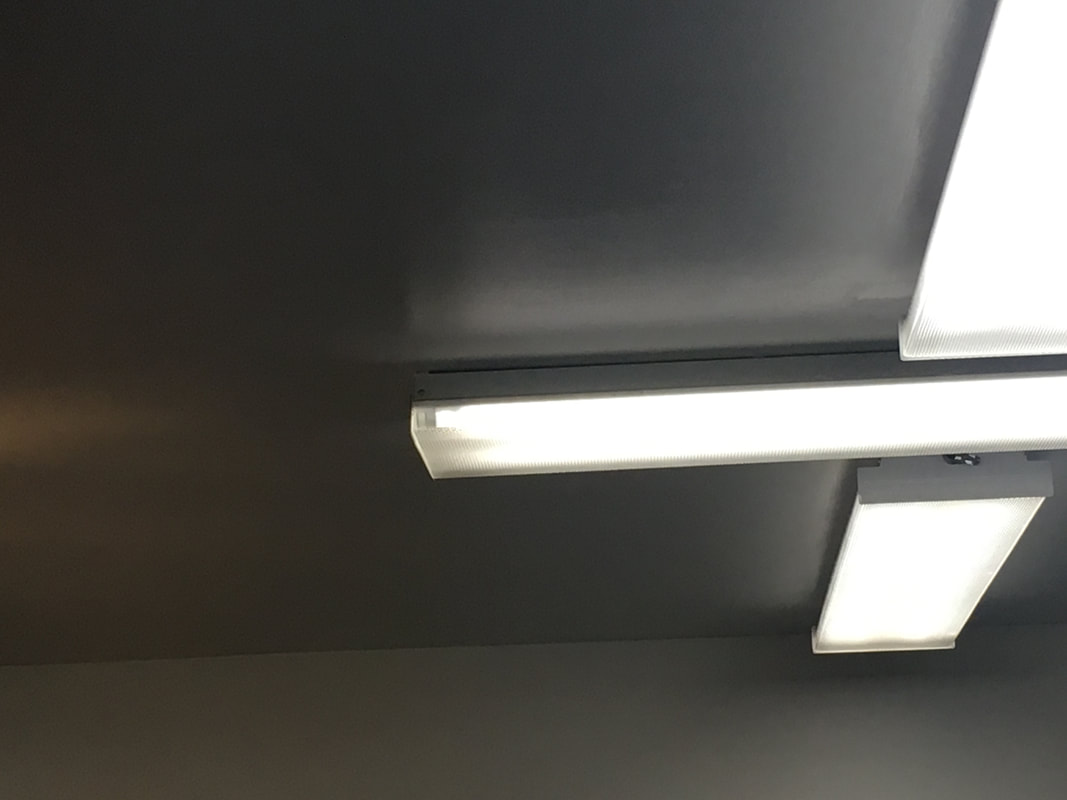
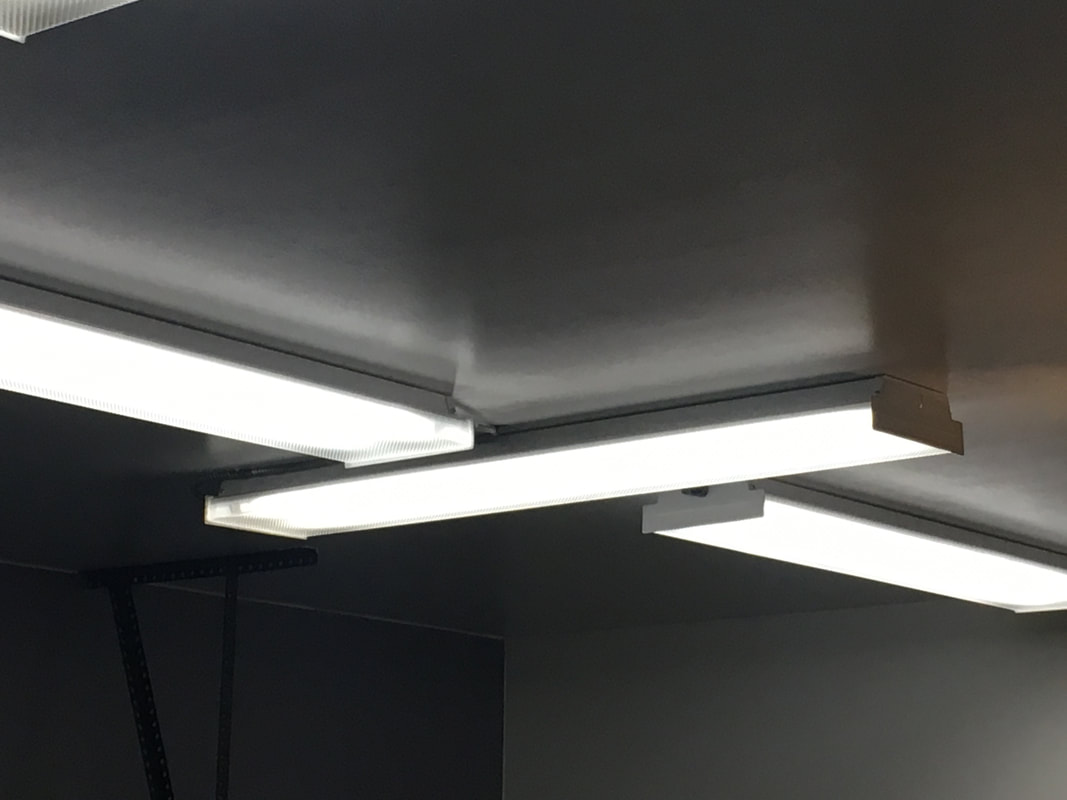
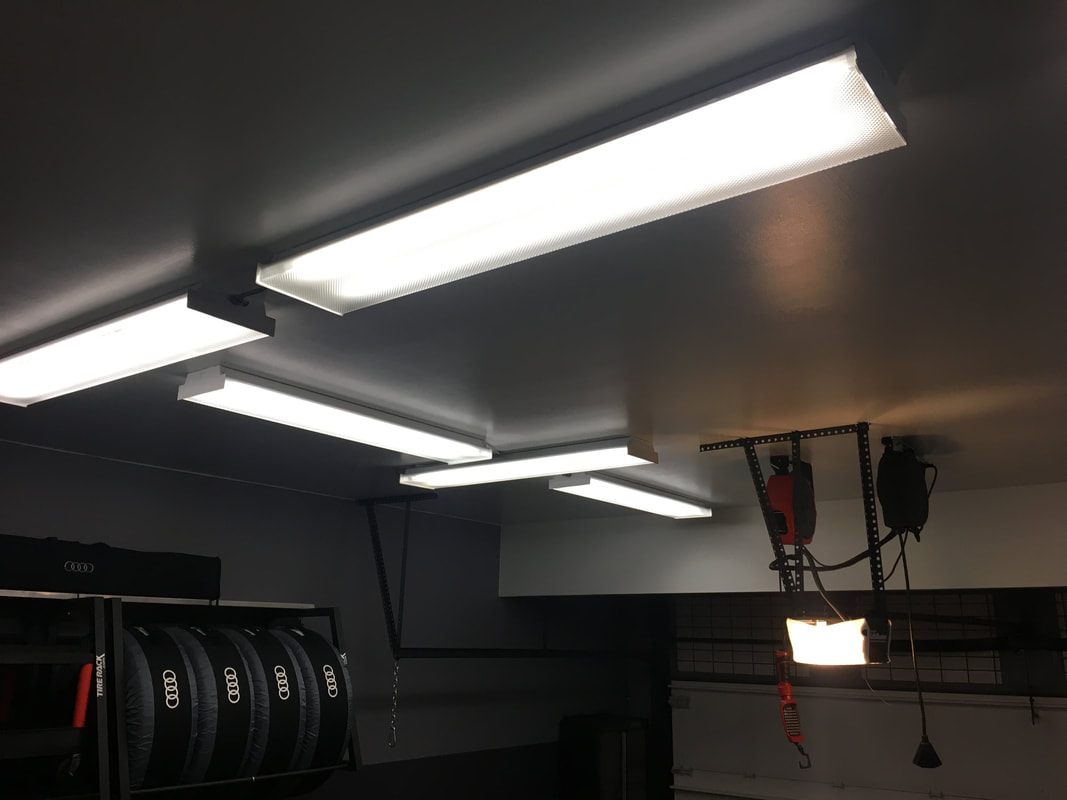
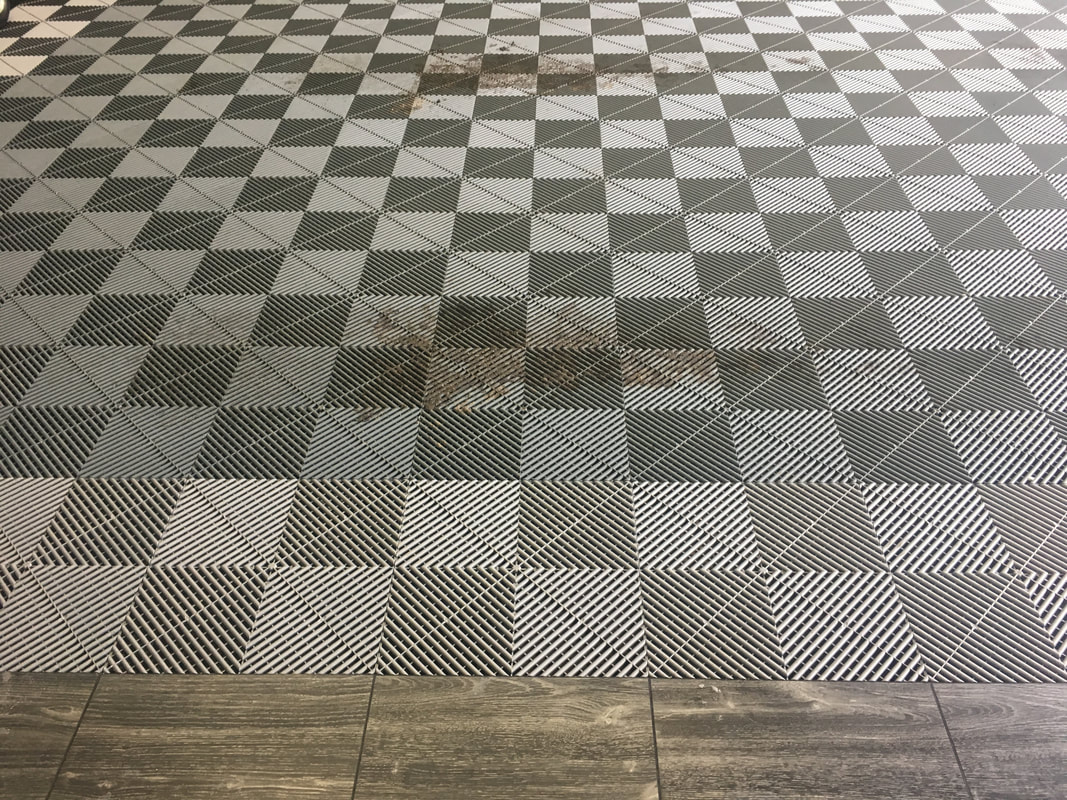
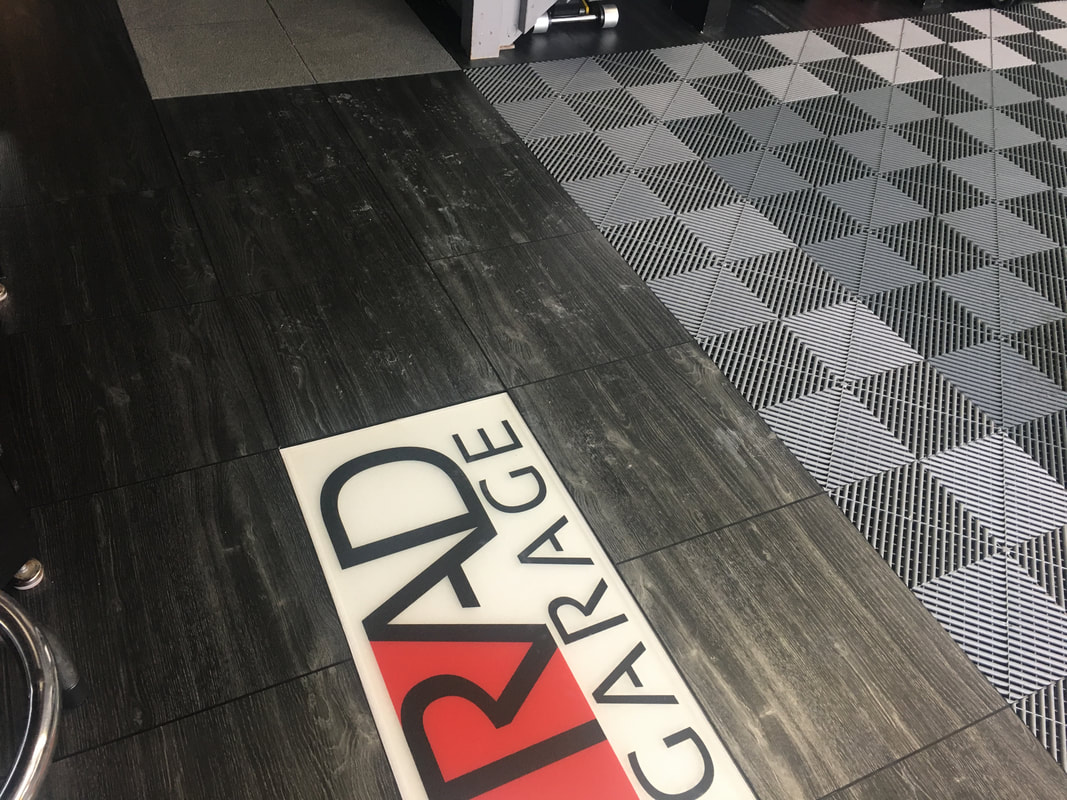
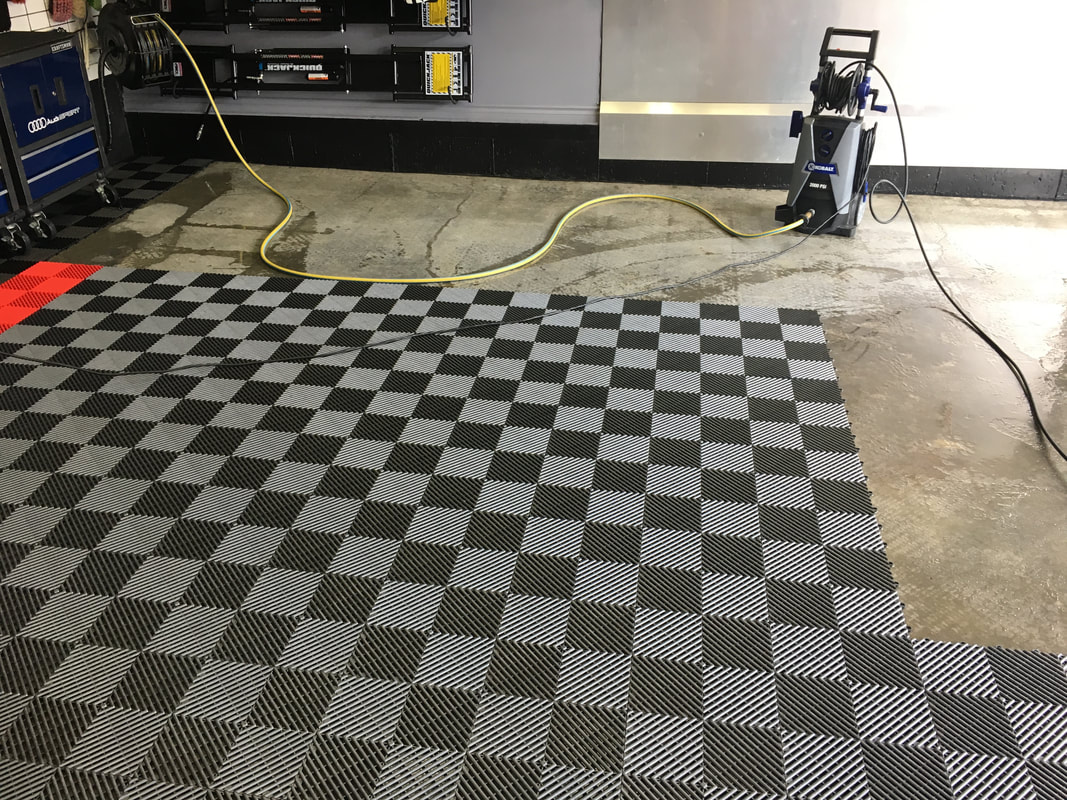
I highly doubt there's a Canadian garage with a cleaner floor than mine. Maintaining a spotless floor during the inhospitable Canadian winter isn't always an easy feat, but the Swisstrax floor and channel drain/catch basin system are a huge help. The weather threw me a bit of a bone this weekend, so I took the opportunity to clean the floor and empty the basin before another polar vortex hits! Check it out: An extended Family Day weekend presented an opportunity for me to do some serious organizing in the garage. The garage was already highly organized, but with the spare time I set my sights on each and every drawer and cabinet in the space. Each of them is now completely and utterly dialled in. Here's some pics demonstrating just how organized I have this place at the moment. The trick will now be maintaining it to this level. There's a few significant changes to the product displays coming up so stay tuned. Here's a few photos that demonstrate how the catch basin grill can be accessed under the Swisstrax floor. I have filed off the connectors between two tiles of the Ribtrax and the solid Oak Vinyltrax. This allows for quick and easy access to the catch basin. I am quite fortunate how well all of this worked out. 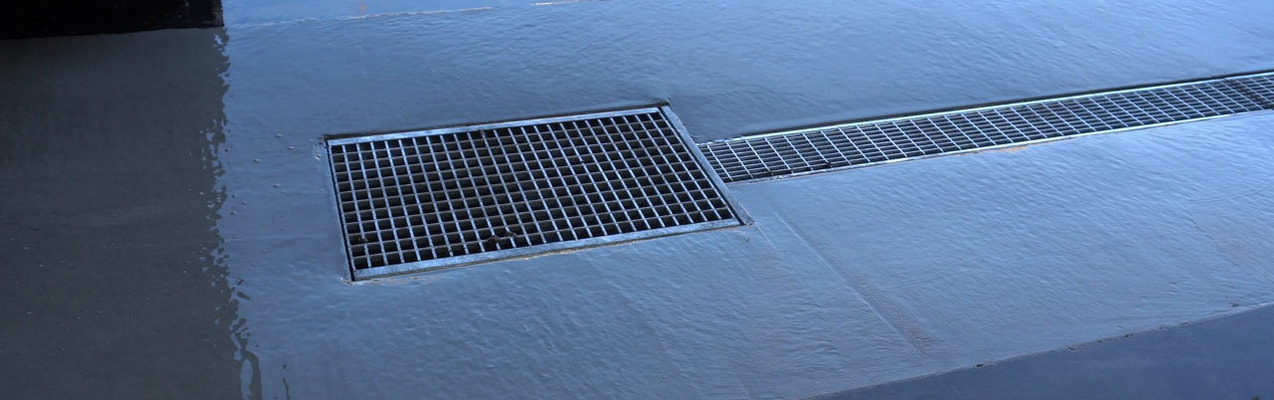 The weather Gods threw me a bone this weekend with double-digit Celsius temps, so I pounced on the opportunity to perform a much needed cleaning of my garage floor. This was the first time cleaning the floor with the new drainage system. In this video, I demonstrate the process of rinsing the debris into the channel drain and then emptying the catch basin with my 1/6 horsepower sump pump. The entire process was highly satisfying and took me just over an hour. The garage is easily the cleanest garage in the city. 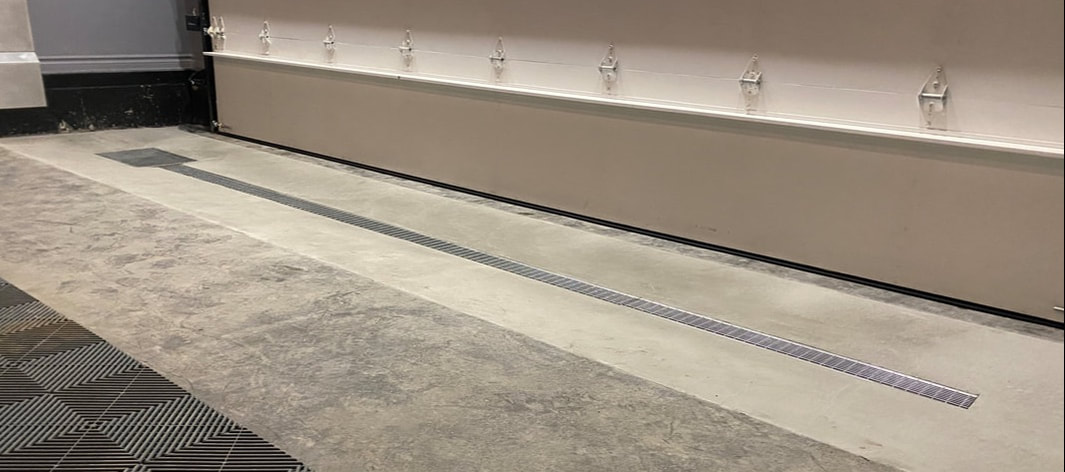 Winter is the perfect time of year to shift my focus to the garage itself. I have always endured drainage challenges that come with snow and ice melting and then freezing just outside the garage door. This ice damning can occur often in the winter, so conceiving a drainage system that prevents water from escaping the garage and wrecking havoc on my driveway has always been a goal of mine. I finally pulled the trigger and enlisted a concrete firm to install a channel drain/catch basin system. The installation process was labor intensive and required a 48" wide section of the existing floor to be demolished and removed by hand. Once the concrete was removed, four 1-meter sections of trench drain were precisely positioned one inch below the level of the existing floor and pitched towards a large catch basin with a 30-gallon capacity. The concrete was then poured and shaped in such a way that all water will be directed towards the channel sections. No water will now escape the garage and cause me headaches in the winter. While that job was in progress, I took it upon myself to paint the ceiling and install all new lighting. A company out of Saskatchewan called LevKom reached out to me and generously offered to supply me with all new LED lighting necessary to turn my space into an even more effective detailing environment. With the help of an electrician friend, we removed all nine existing fluorescent 2-bulb fixtures and installed four 60-watt "trilights" and eleven 30-watt 48" LED linkable tubes. The lighting install took six hours in total and turned out great. These three upgrades have breathed a lot of new life into my garage. I am still in the process of cleaning up all the dust from the concrete work and sanding of the ceiling, but it already looks even more amazing than before. In addition to just looking better, I am now able to conduct details year-round. The garage is now a much more comfortable and efficient place to do my thing! I have documented all of these changes in a 3-video series I call "Floor to Ceiling". This video demonstrates the demolition stage of the drainage project. The crew worked tirelessly for about six or seven hours removing a 48" wide portion of the existing slab. I wasn't able to record the footage of the actual drain and basin placement, but this video shows how they were placed in the excavated portion of the floor. This video demonstrates the final result after the concrete was poured to fill in the system. It also demonstrates the system in action as I perform a quick floor clean.
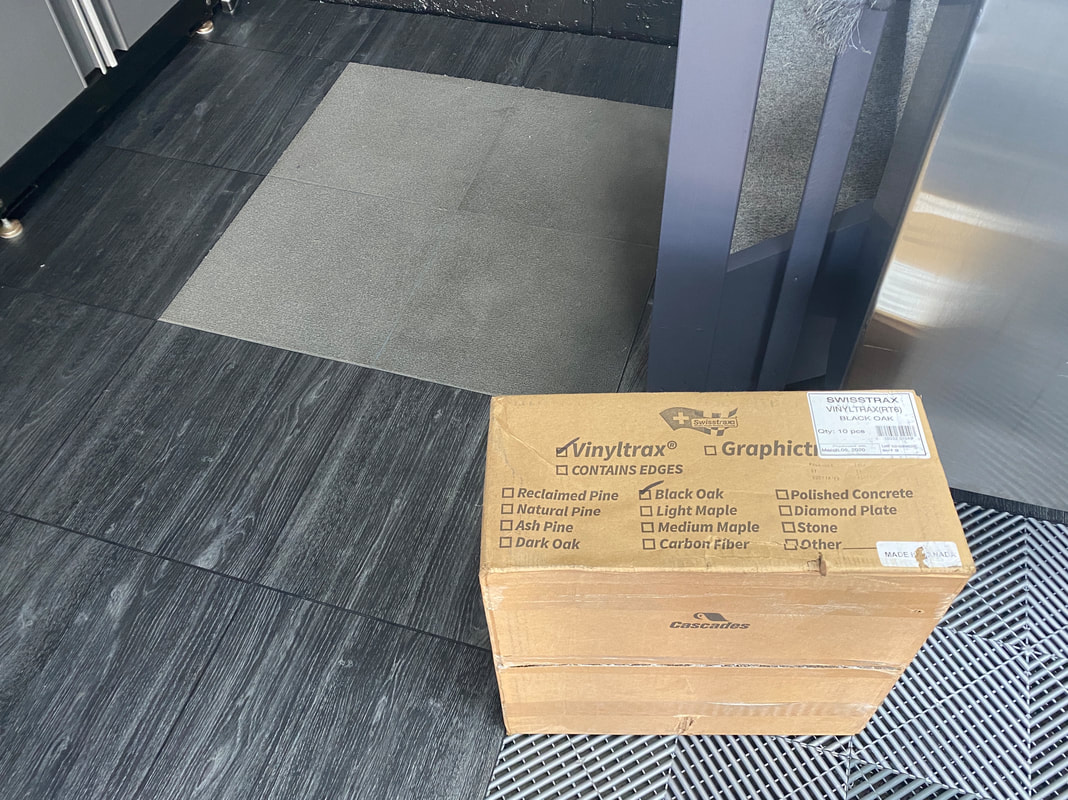
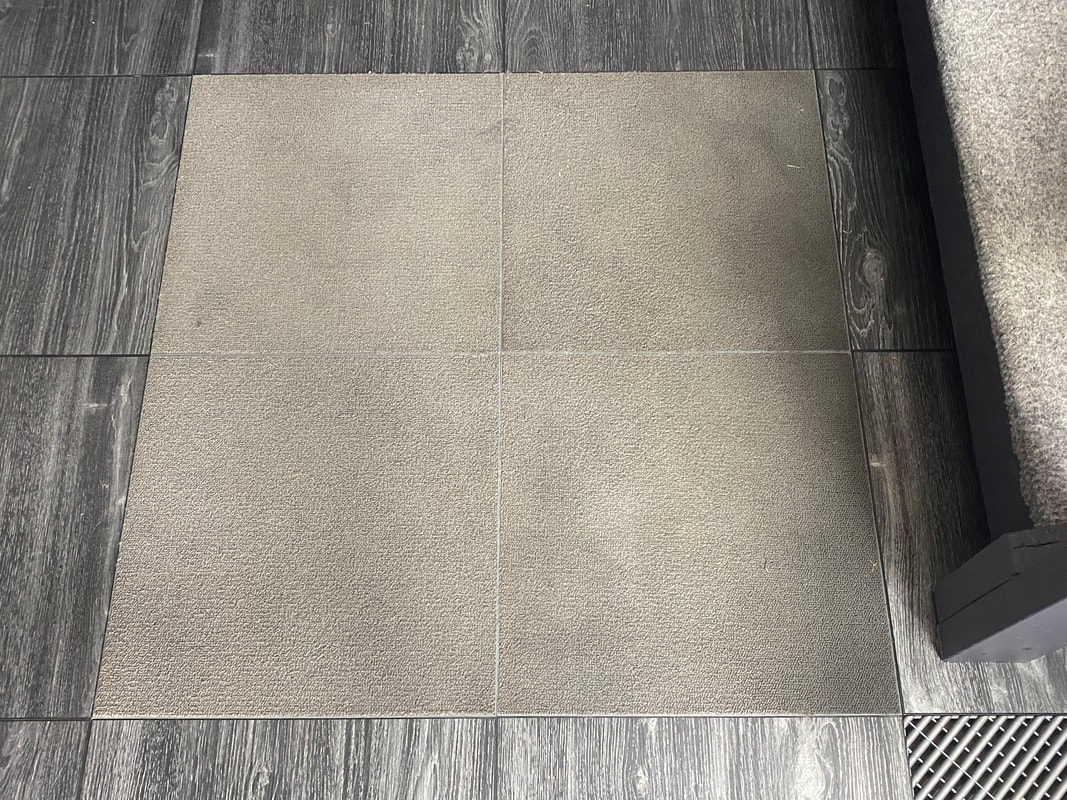
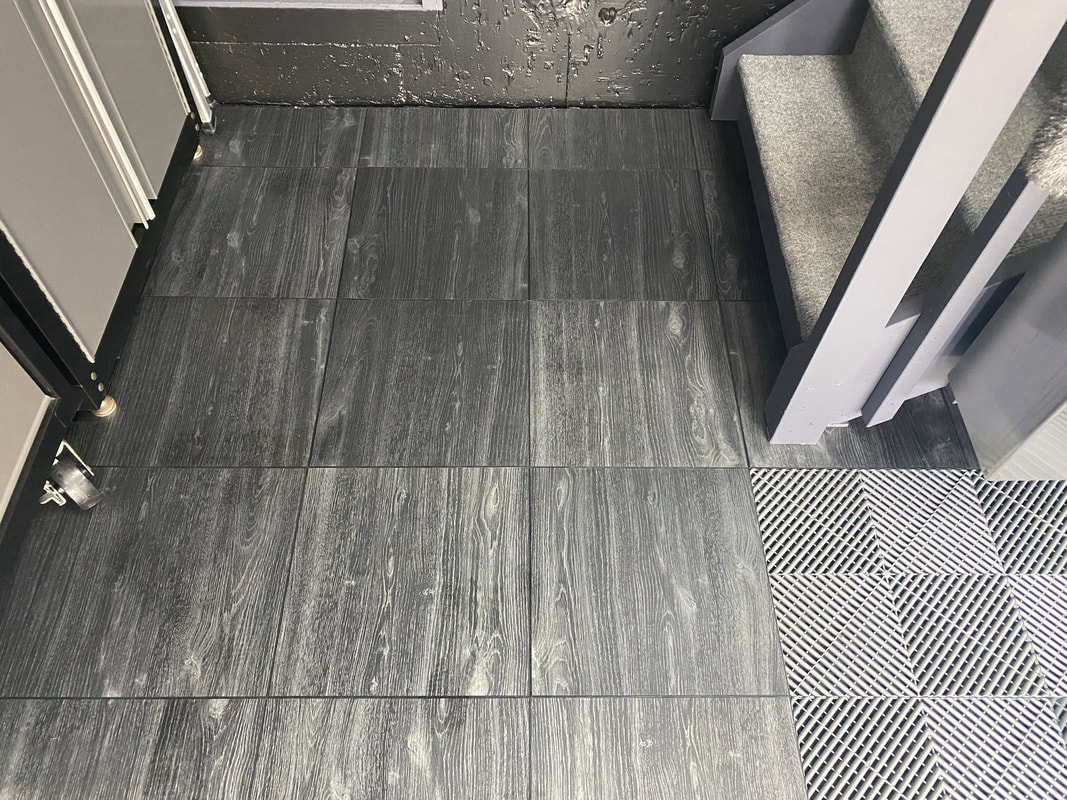
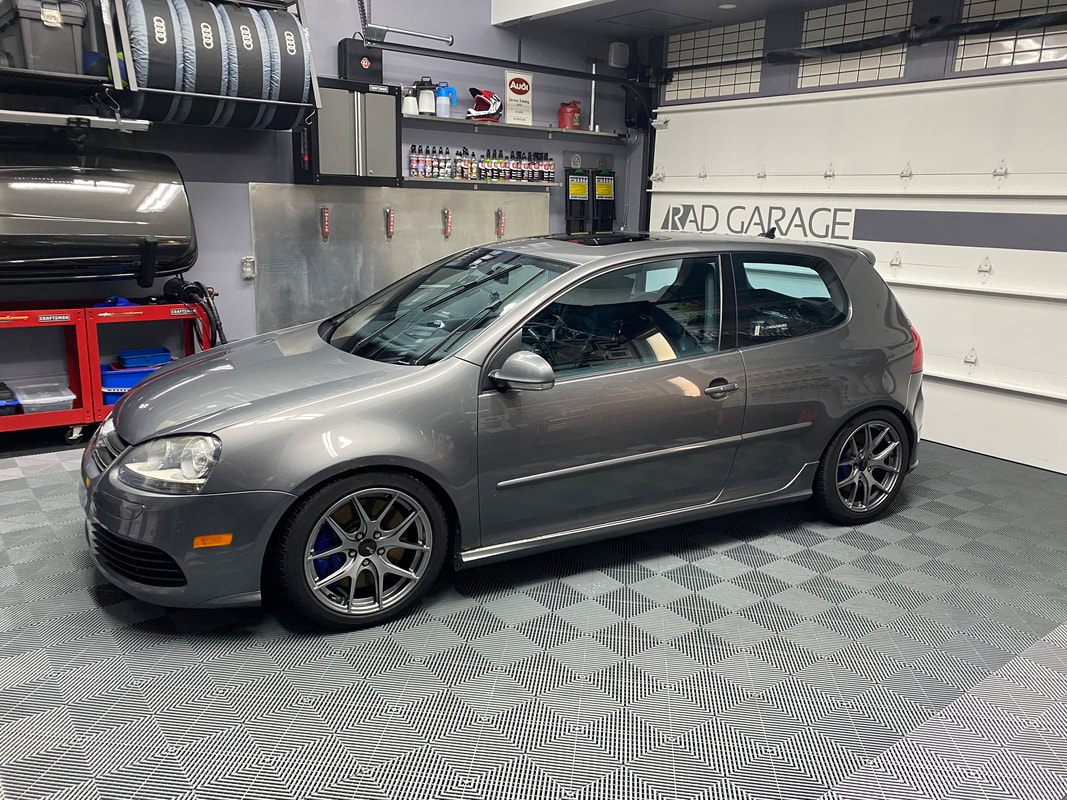
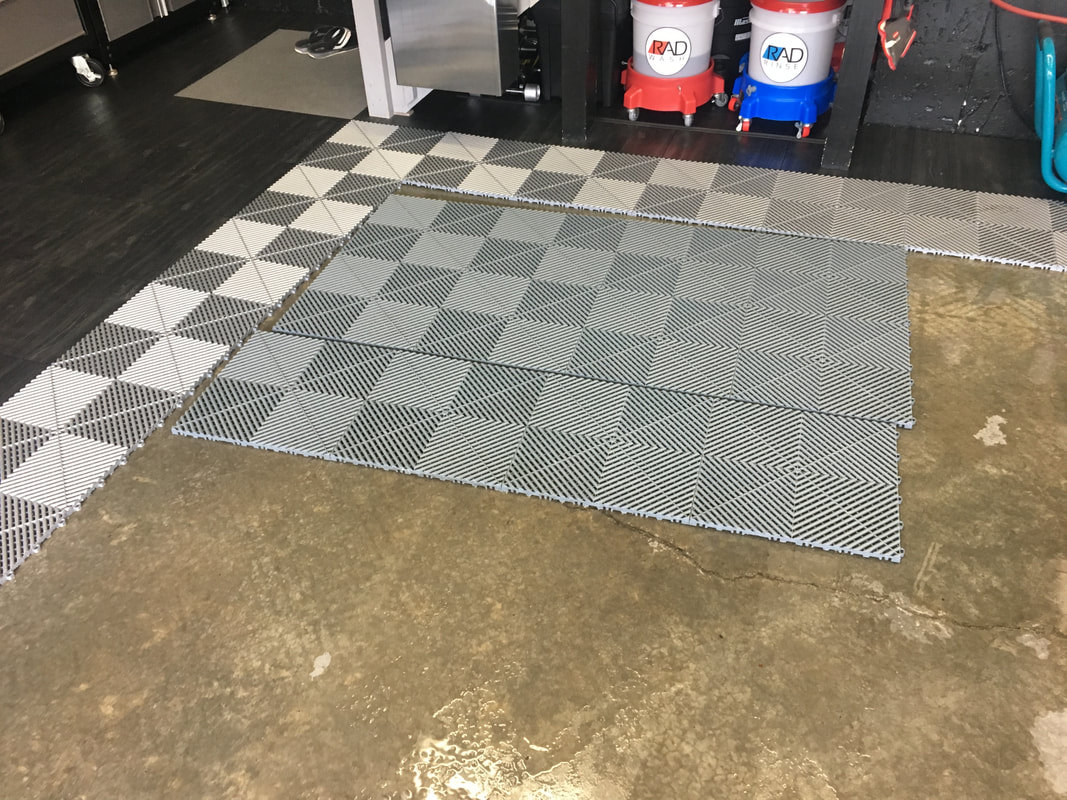
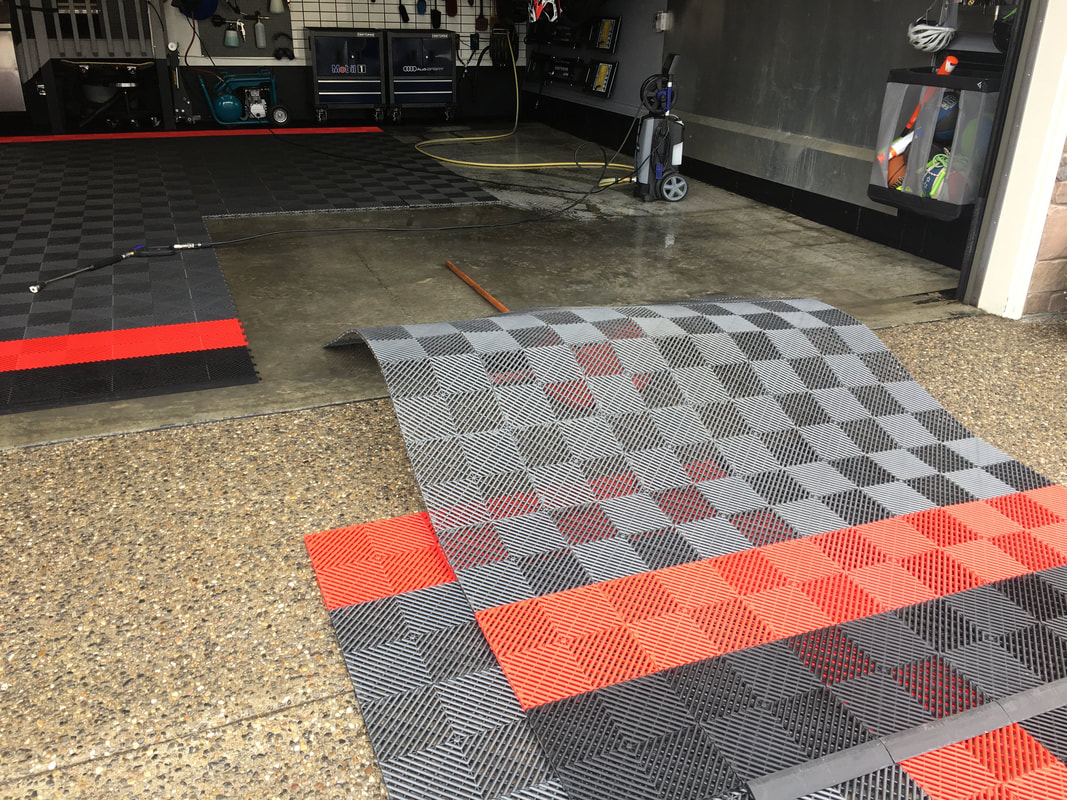
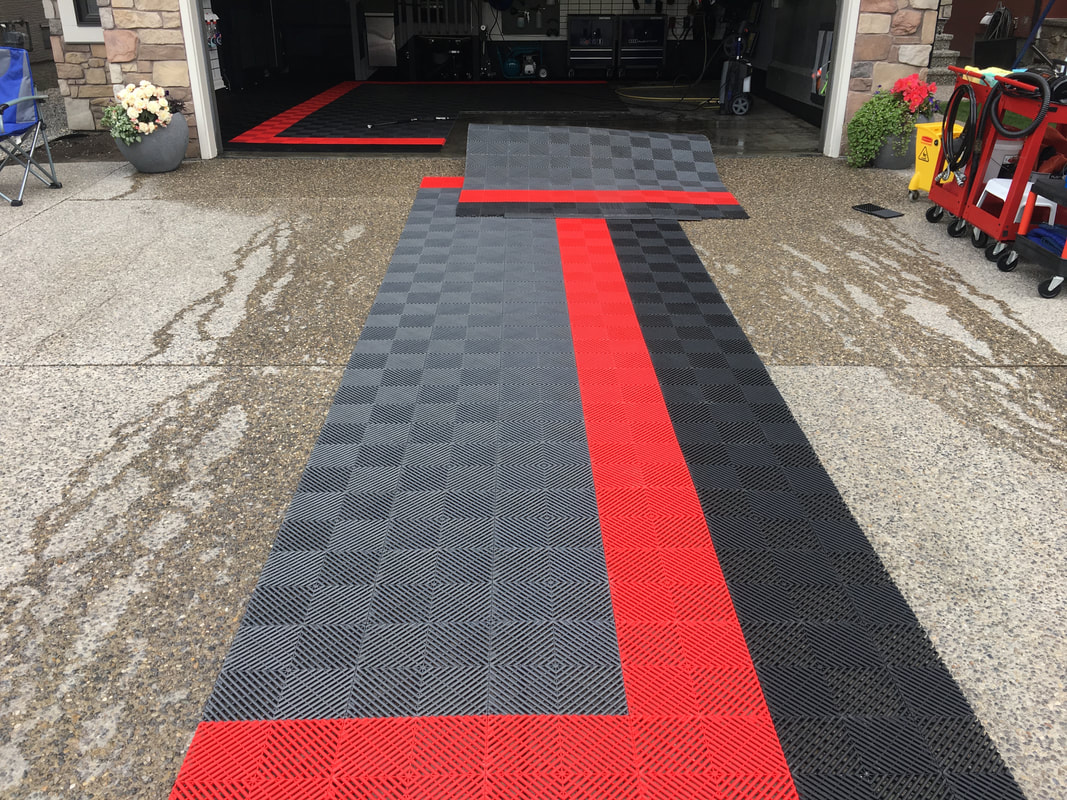
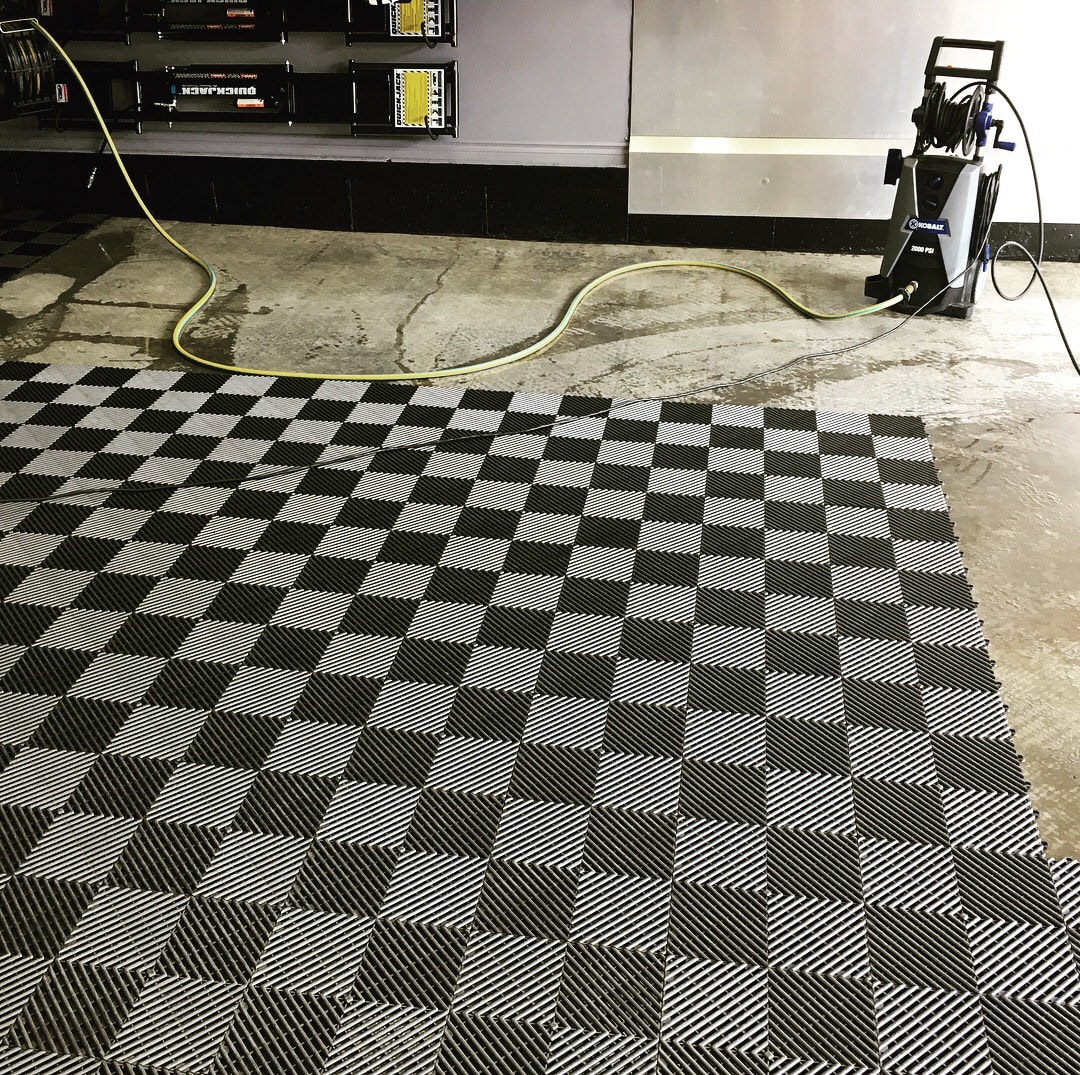
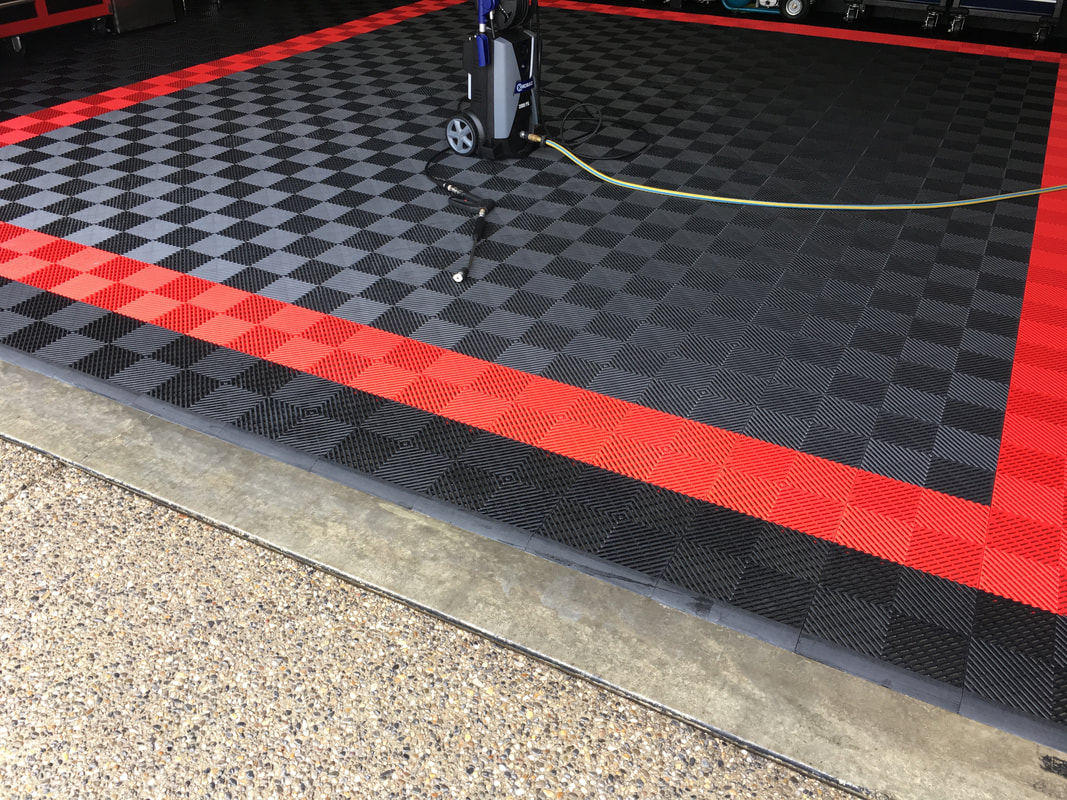
 I ordered and received some solid black oak Swisstrax tiles to replace my aging "Carpetrax" tiles at the base of my garage stairs. These grey carpet tiles were looking a bit worn and dingy so I decided to swap them out. I also preformed a thorough clean of the garage floor by dividing the Swisstrax tiles in long sections and dragging them out onto the driveway. The garage is pretty clean as I tackle an exciting Golf R32 project. I was feeling pretty good about the state of the garage the other day so I threw some photos on two different car/garage enthusiast Facebook groups I belong to. Obsessed Garage and DetailWise are private pages, but worth joining if you are interested in seeing the car and garage-related craziness other people are up to.  I'm obviously a huge fan of Swisstrax flooring. Recently, there has been a lot of conversation in the comment section of my videos as well as on the Facebook forums I belong to. I felt it was necessary for me to share my experience with a Swisstrax floor in terms of function, practicality and maintenance. I have uploaded two videos to my channel that hopefully provide the information a person would need in order to make a decision regarding the suitability of this floor to their garage.
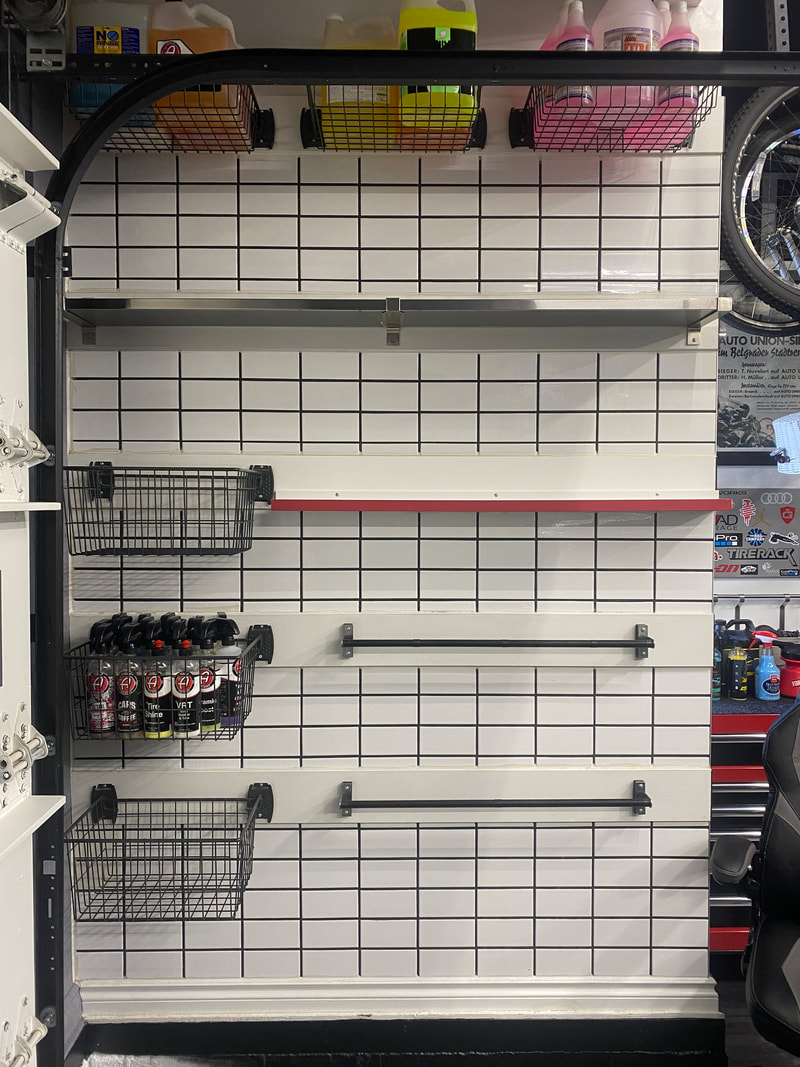
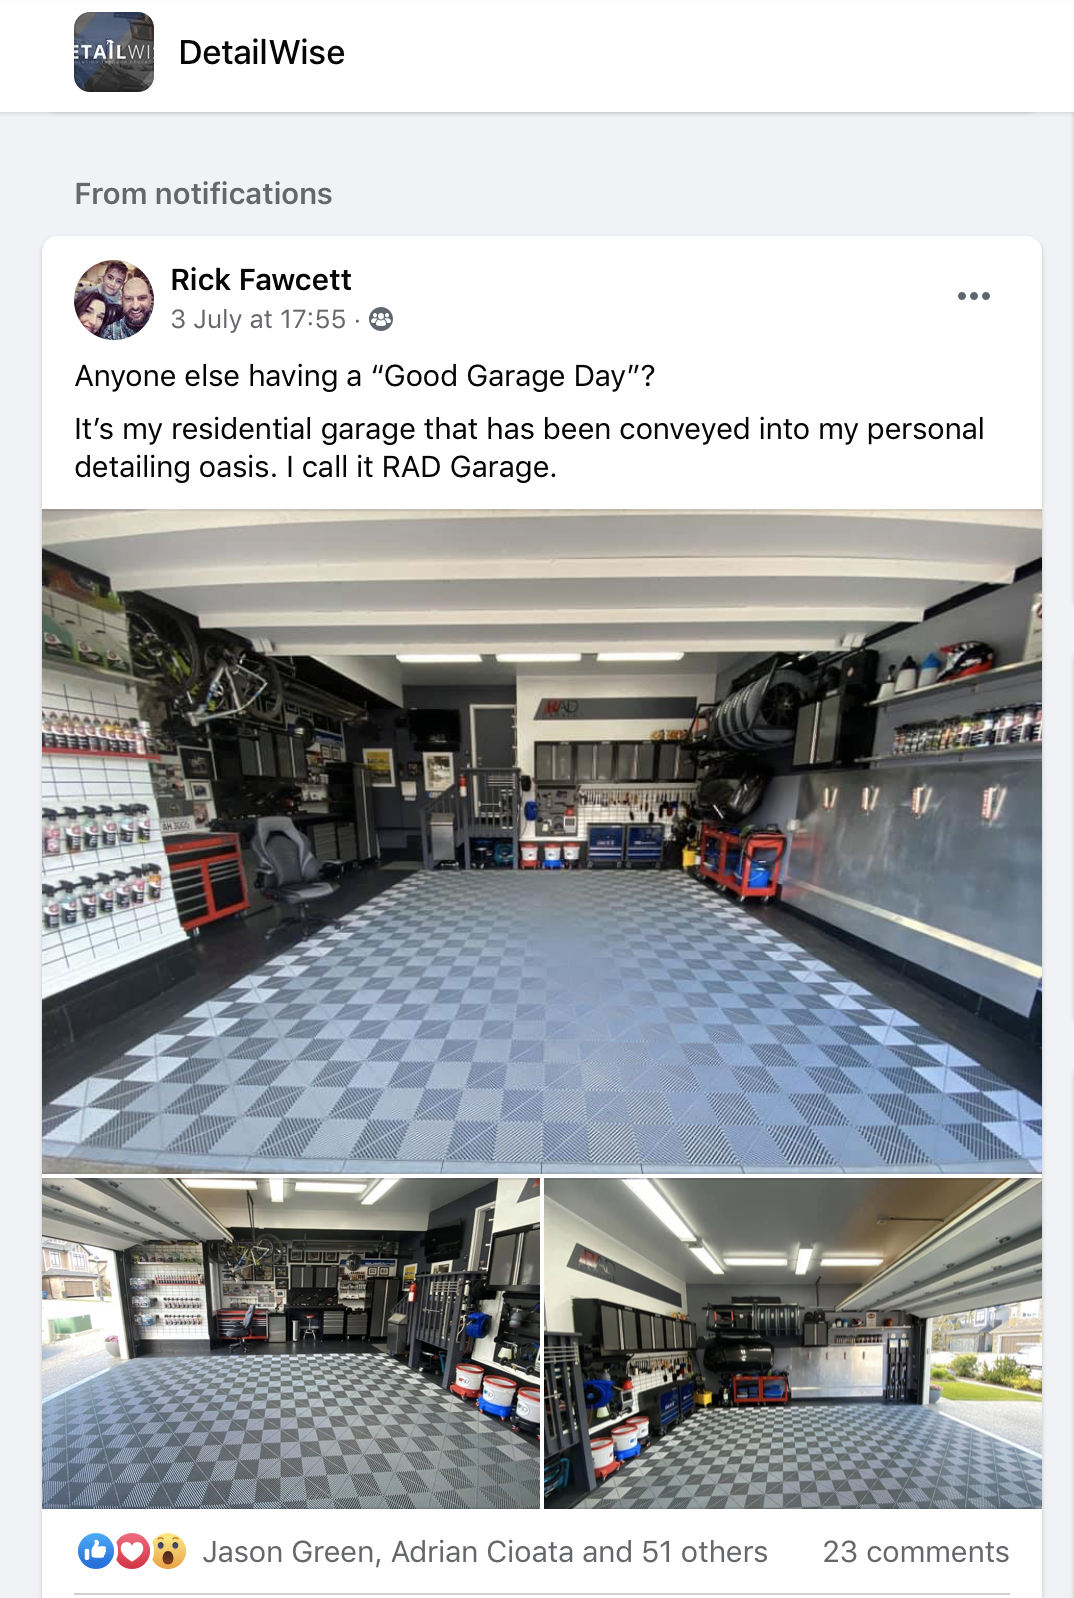
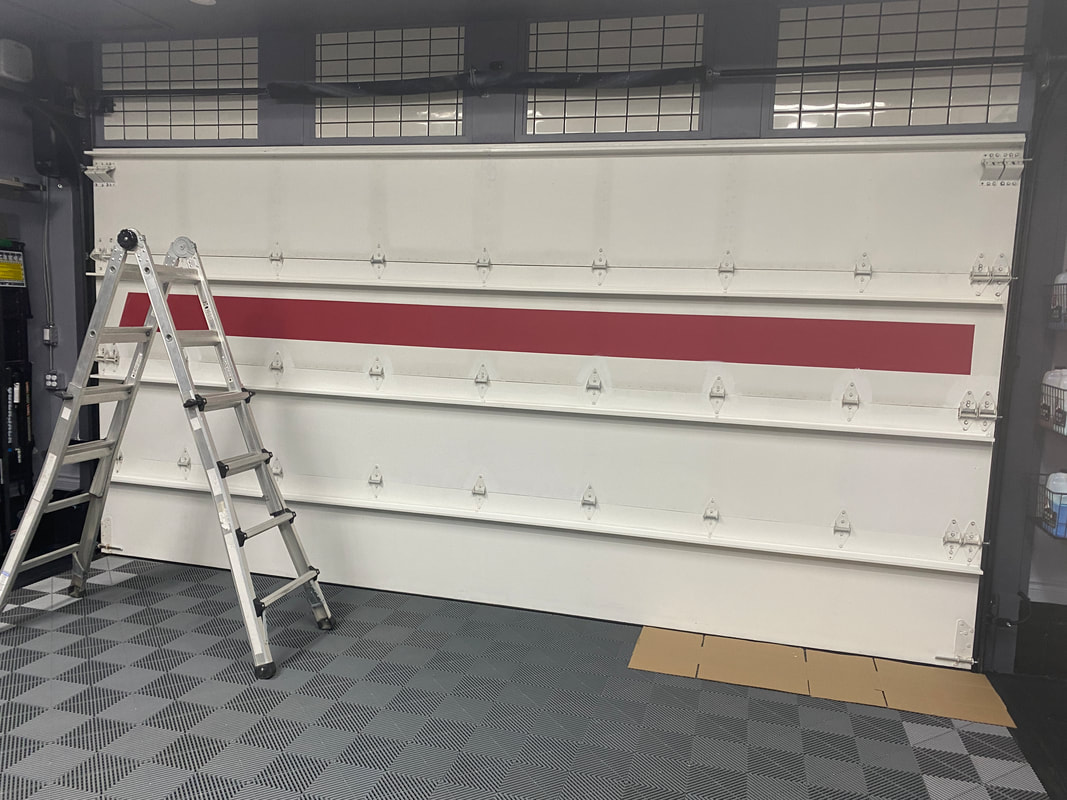
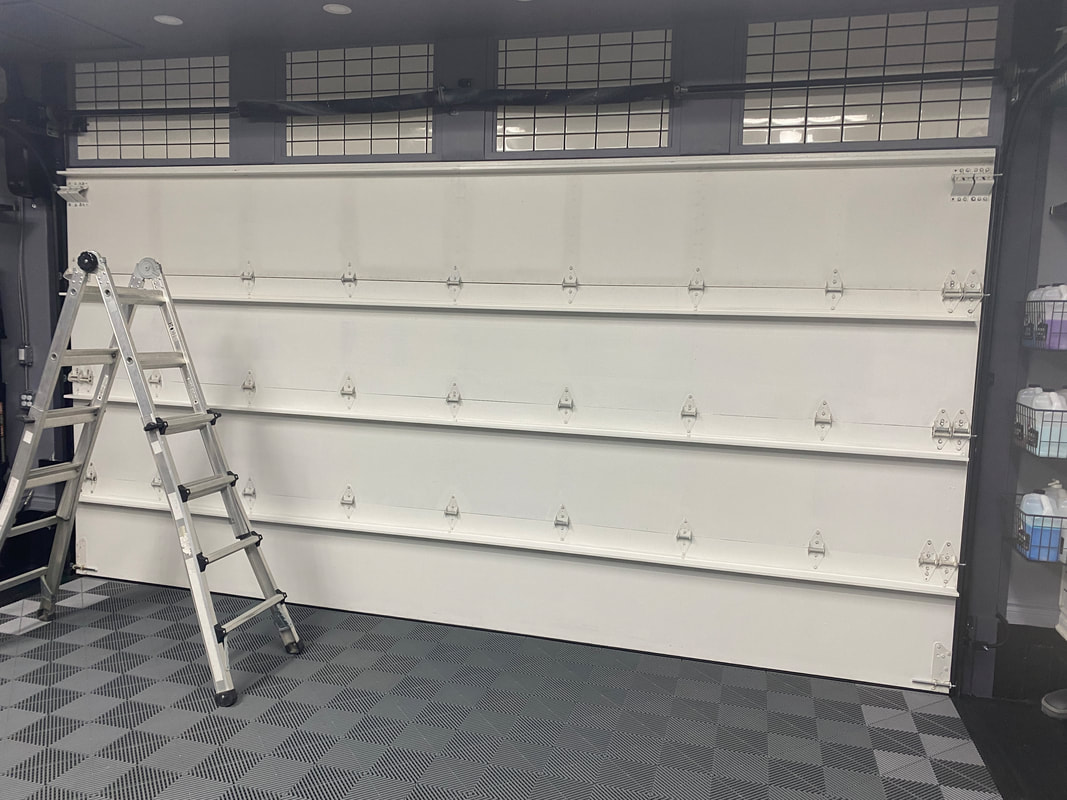
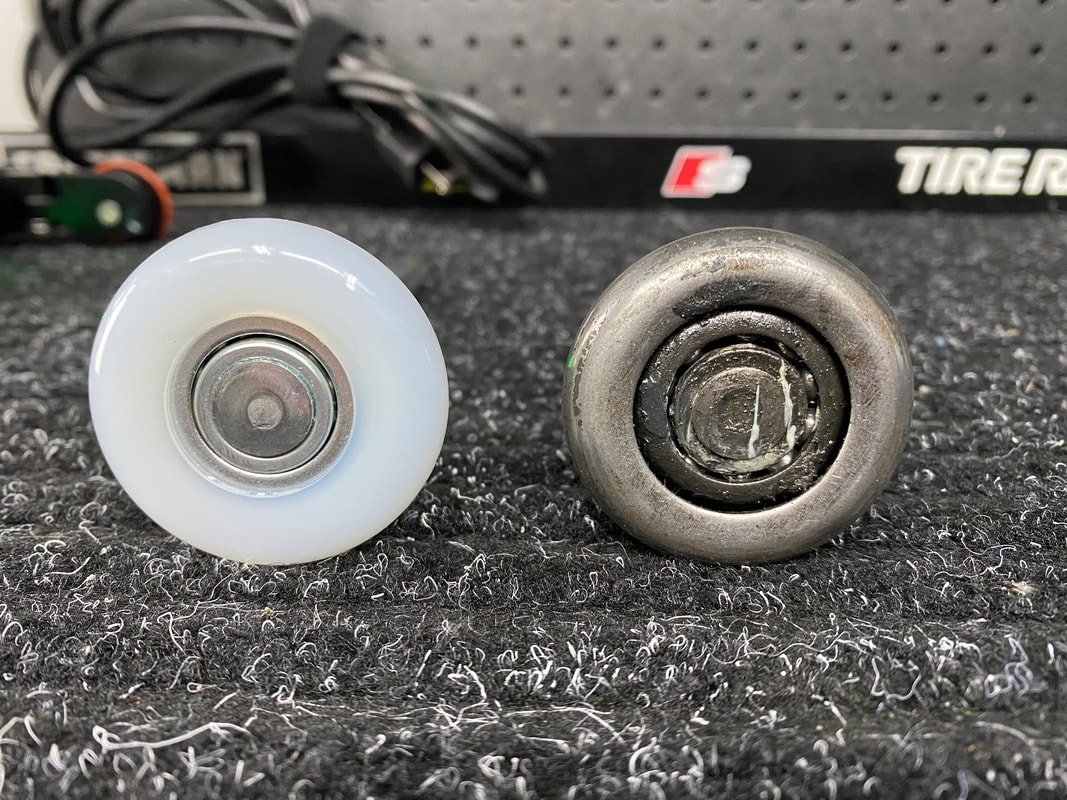
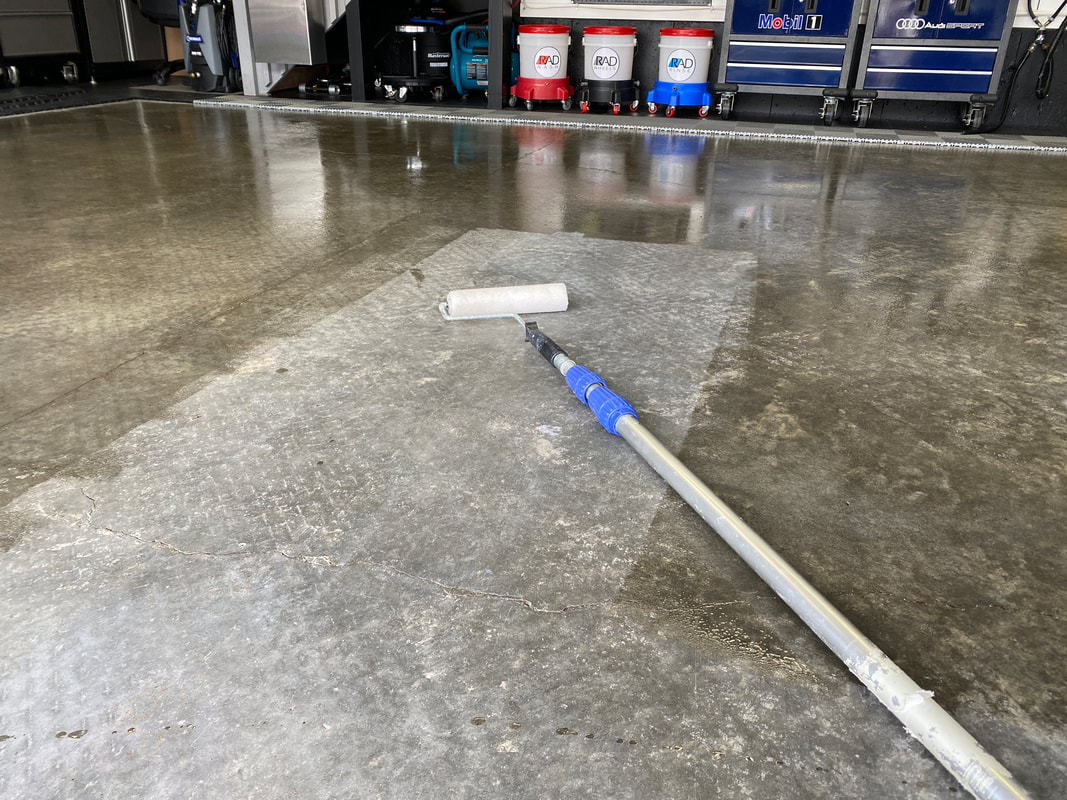
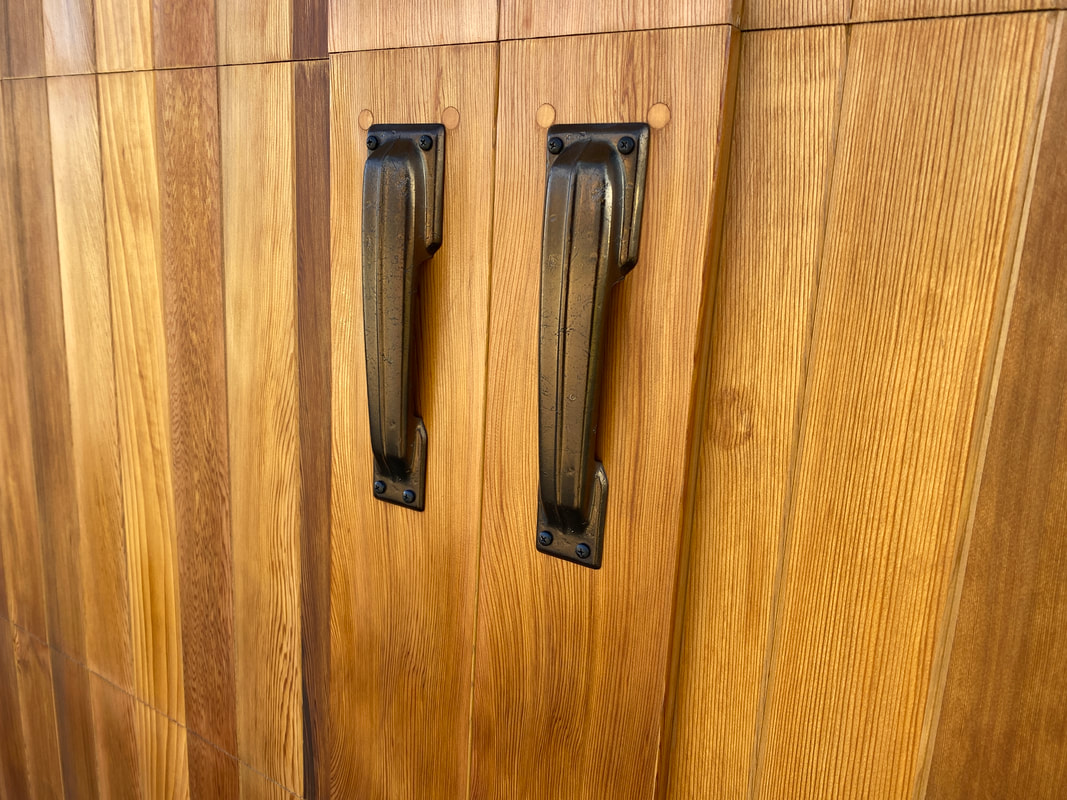
As with pretty much every aspect of my garage design, I am changing up the look of the inside of my garage door. I've enjoyed the red stripe in the Audi motif, but I thought it was time for a bit of an overhaul. I recently repainted the entire interior side of the door with a white eggshell paint from Rona. Now, what will I do with it? I guess you'll just have to check back in a few weeks to see. The ten metal rollers on the garage door were starting to make a lot of noise so I contacted a garage door technician to see if it was possible to replace them with something quieter. I now have these nylon rollers that have dramatically quieted things down. I am now planning on doing a few upgrades to the door opener. Stay tuned. 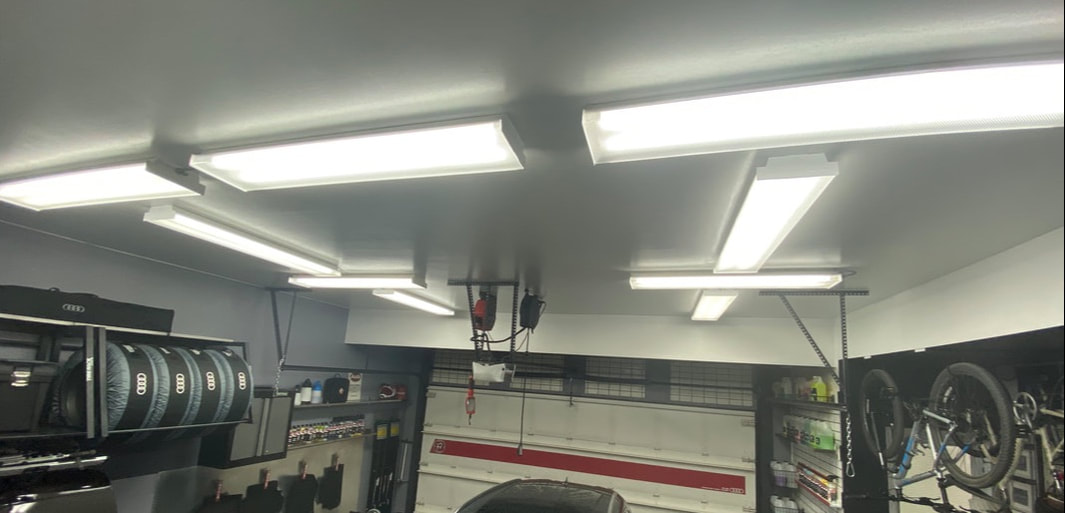 My garage now features 18 X LED 6500K "Daylight" bulbs After almost ten years, my first fluorescent bulb burnt out in the garage. I went down to the local Lowe's to source a new one but ended up leaving with 18 LED bulbs to replace all of my remaining fluorescents. I chose GE 15W LED T8 48-in Daylight bulbs that work seamlessly with my existing fixtures. The difference this had made to the overall amount of light in the garage is absolutely night and day. These bulbs are rated to last 36,000 hours. They emit light that measures 6500 on the Kelvin Color Temperature Chart. This temperature of light is often referred to as crisp and invigorating. It does give the garage a much more clinical tone, which I appreciate. These bulbs are rated at 1800 Lumens and rate 80 on the color rendering index (CRI). I admit, I don't know exactly what all of this technical jargon means, but what I do know is that my garage is way brighter than it used to be. Capturing the difference on camera isn't easy, but here are some pics I snapped during the replacement process. In addition to installing the new bulbs, I took some time to clean the diffusers and some of the dust that accumulated on the fixtures. I picked up a "contractor's box" of 16 bulbs ($127.49) plus an additional 2-pack ($28.04). I lucked out and found them on sale which left me with savings of almost $30. In the end, this was a very economical way of improving the overall amount and temperature of light in the garage and I couldn't be more pleased. 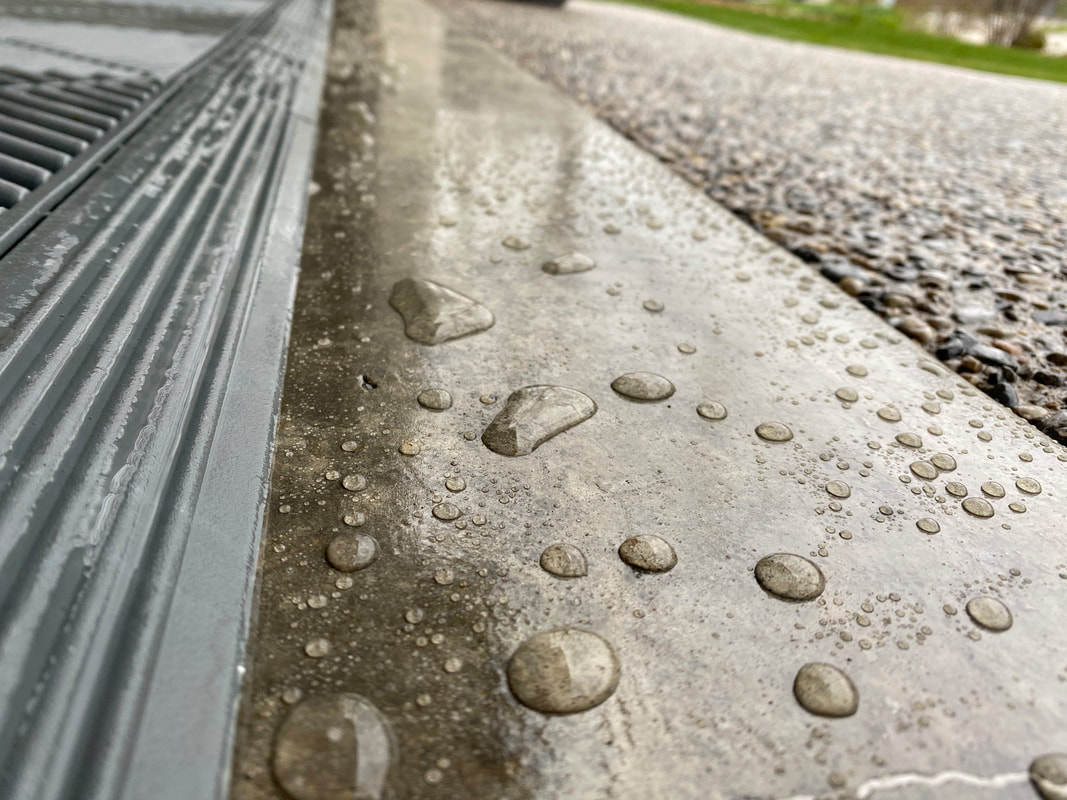 I used up the entire contents of my 18.9 litre bucket of high gloss concrete sealer on the driveway and rear patio, but my neighbor had some left over from his project. He generously allowed me to have it so I put it to good use on my garage floor. I do this every couple of years to add a layer of protection to the garage floor. The amount of road salt mixed with muddy water the floor sees in a given year is substantial, and by coating the floor it makes me feel better about the floor's condition and longevity. I have yet to see any signs of damage to the floor and I think the use of the sealer is the major contributor to its condition. Sealing the floor was easy. I just pressure washed the floor and allowed it to air dry before painting on the sealer with a standard paint roller. The whole coating process took less than fifteen minutes. I anticipate the sealer will last about a year. I found it comical that a professional concrete sealing company would leave a "door knocker" considering how good my driveway and walkway look. I guess they thought it was worth a shot! The amount of money these pros are asking is just ridiculous. For a job ANYONE with a paint roller can perform, I don't know where they get off charging what they charge.
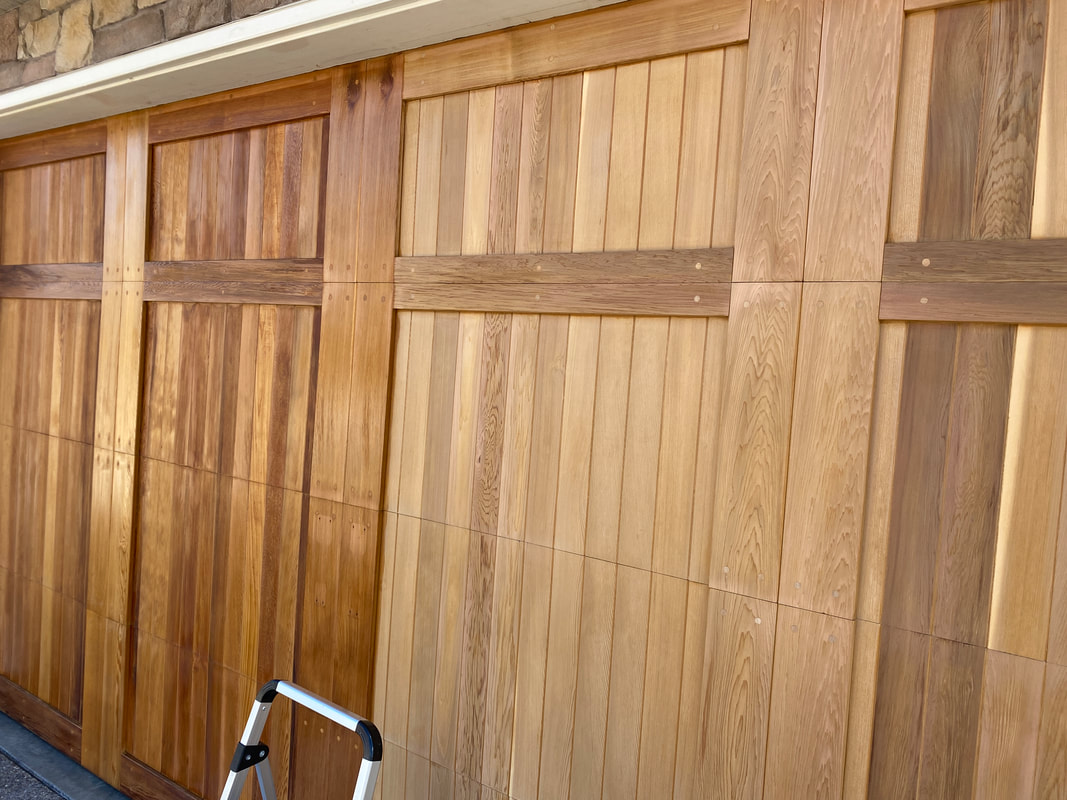
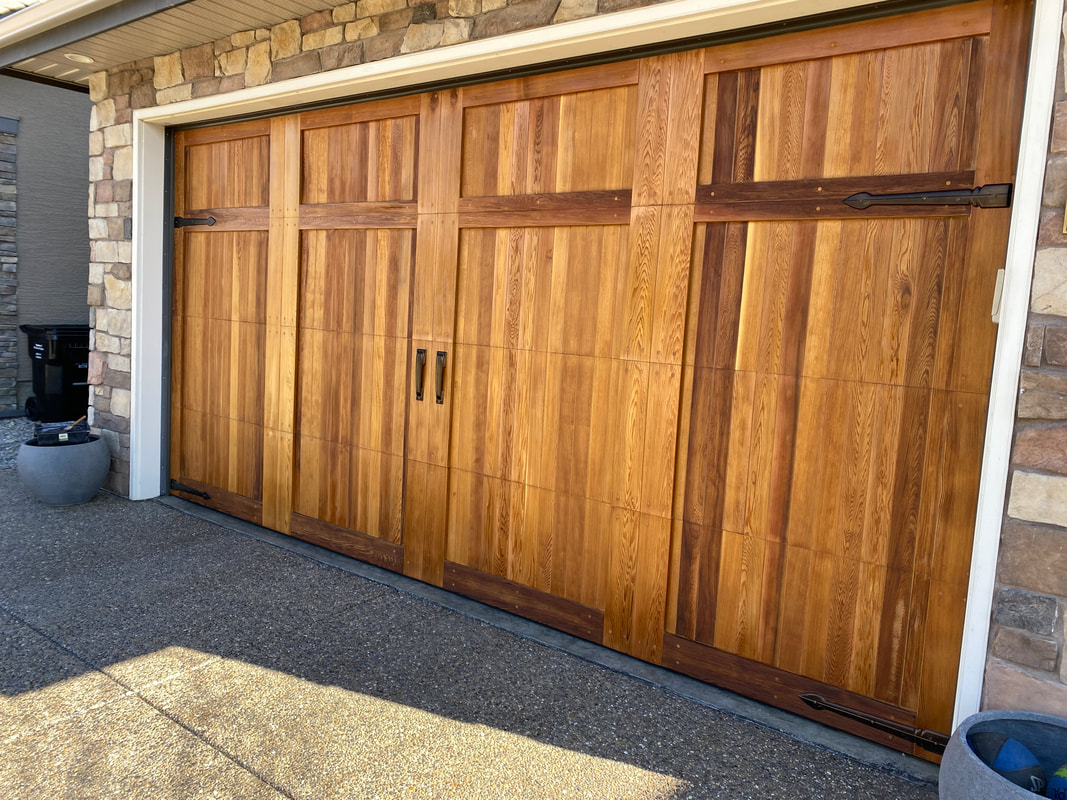
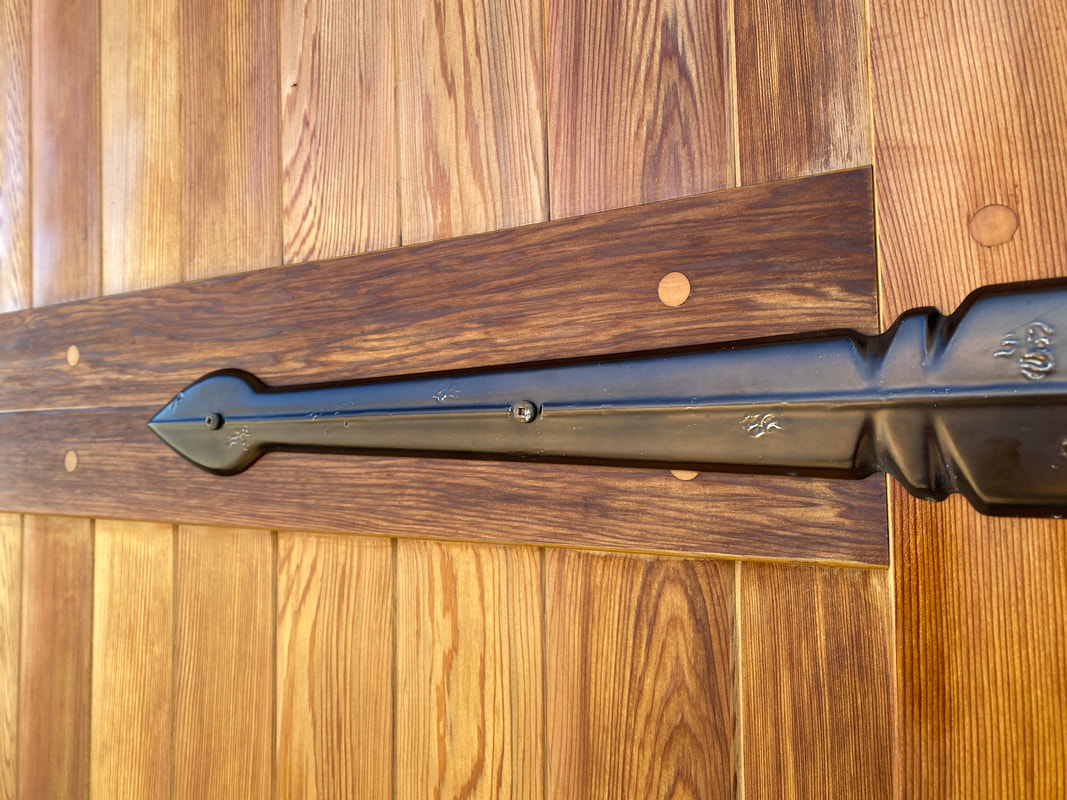
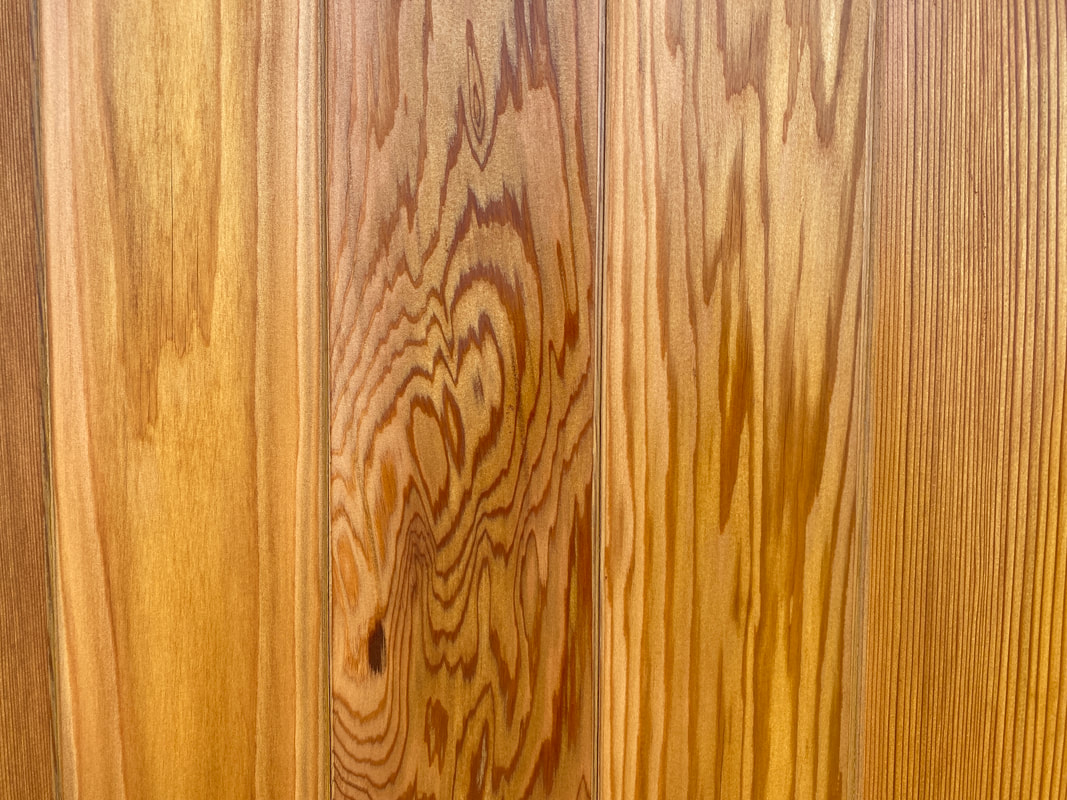
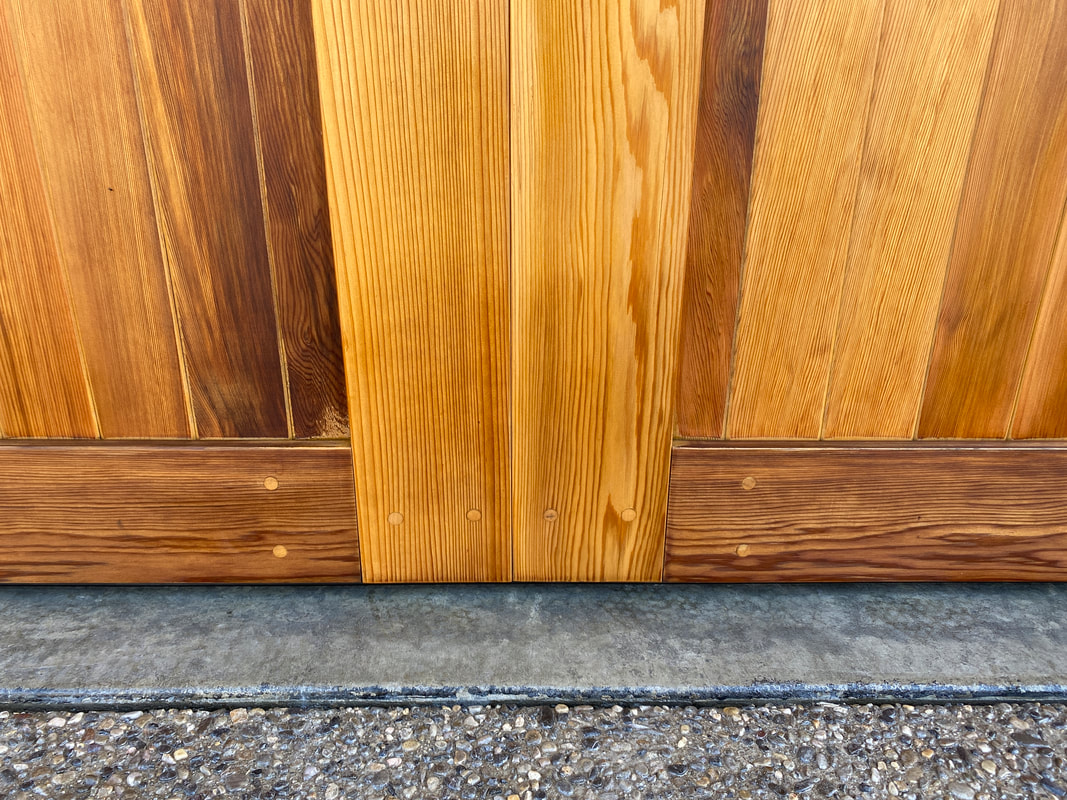
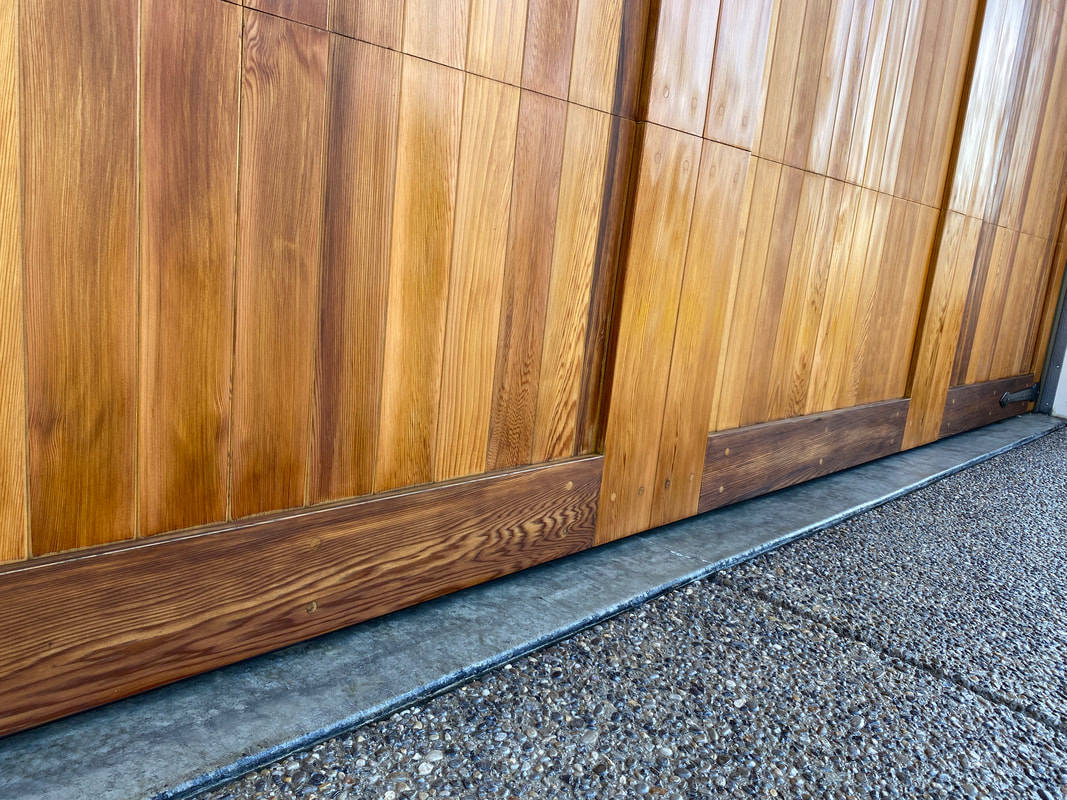
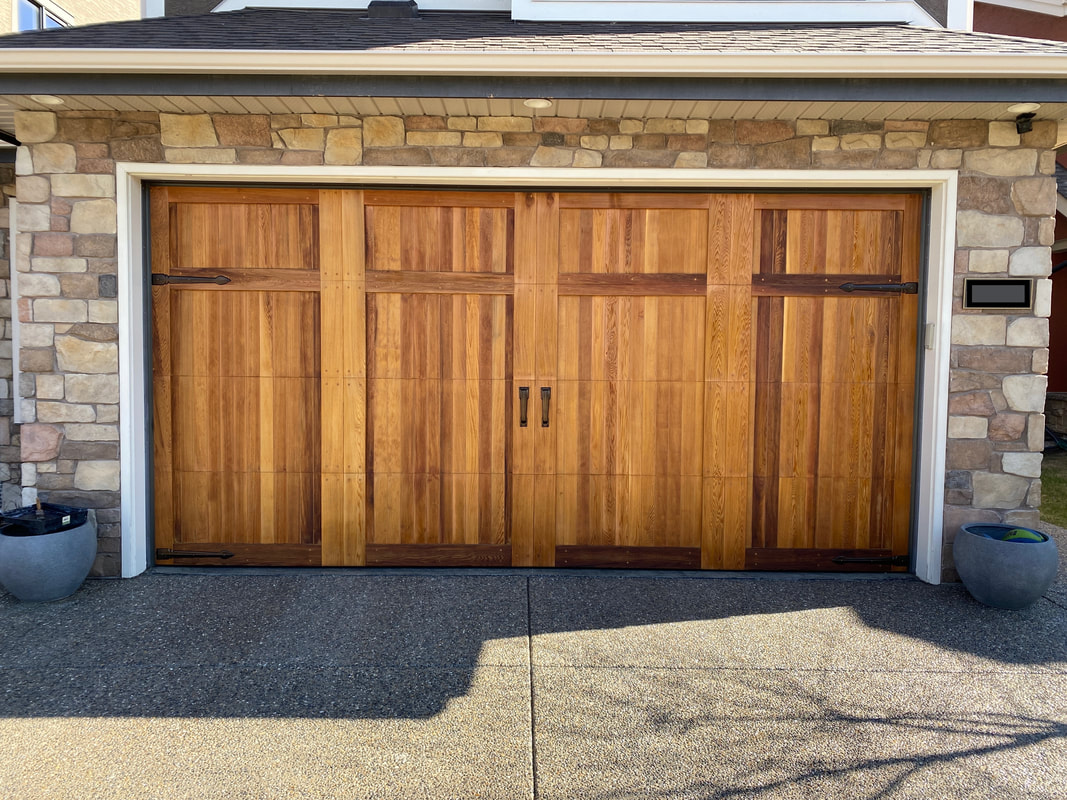
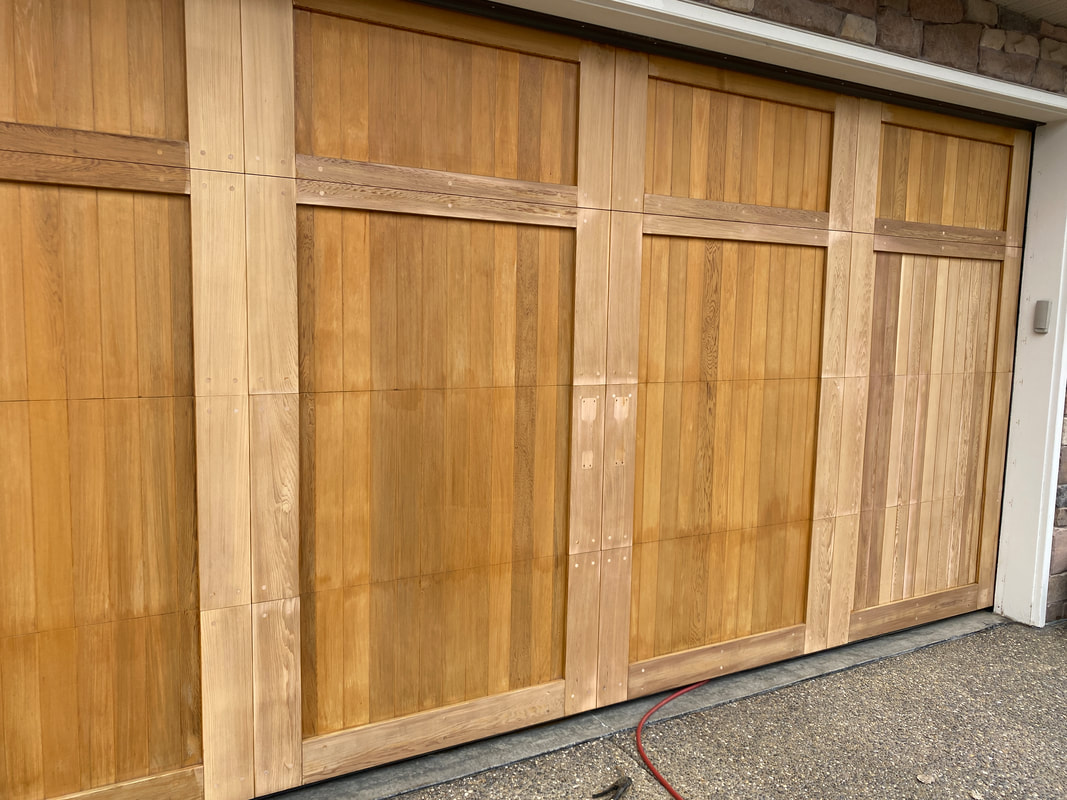
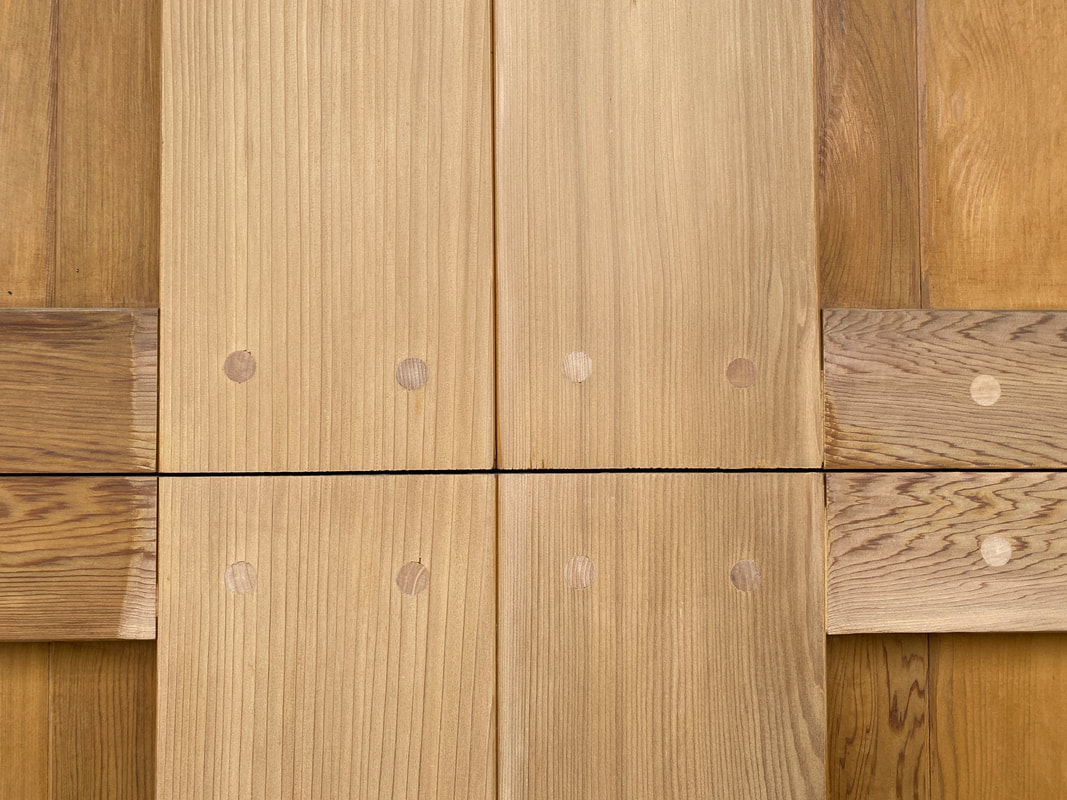
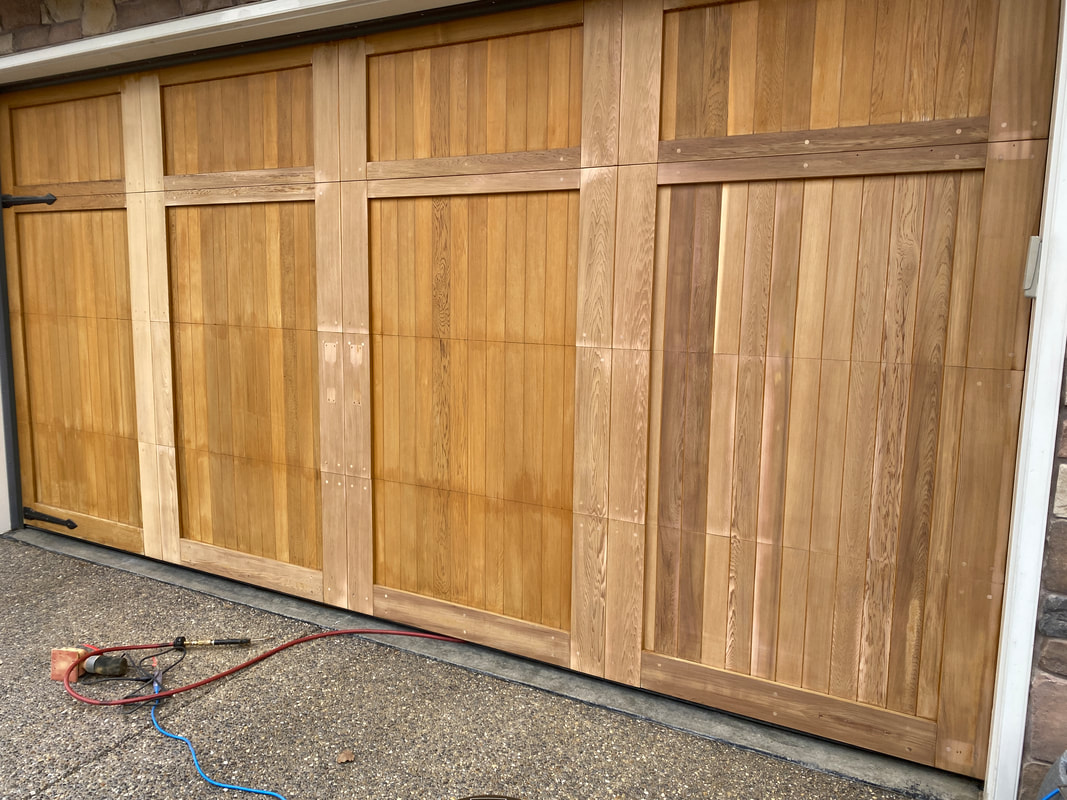
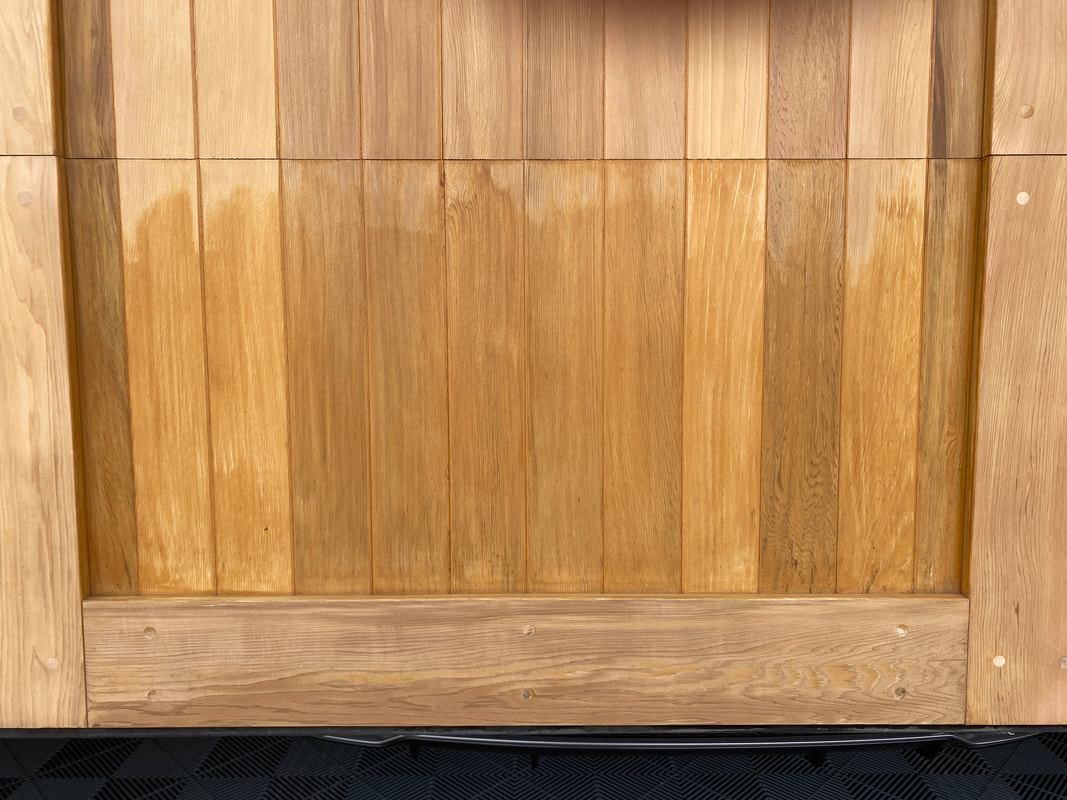
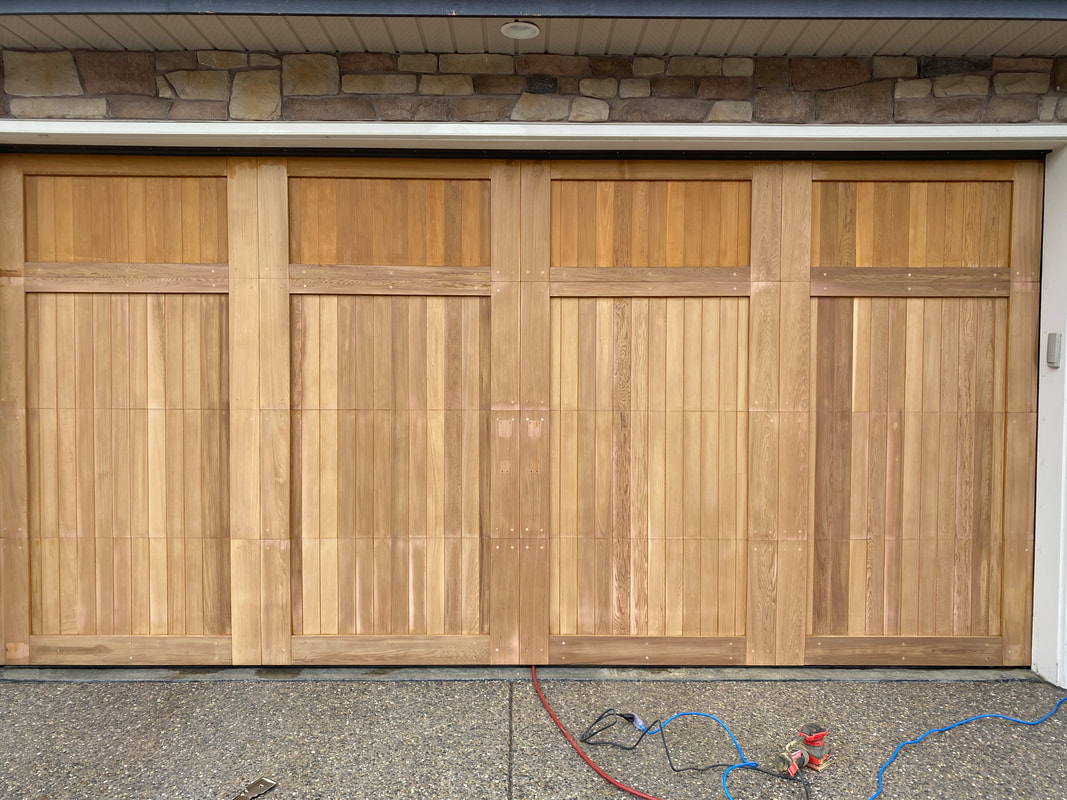
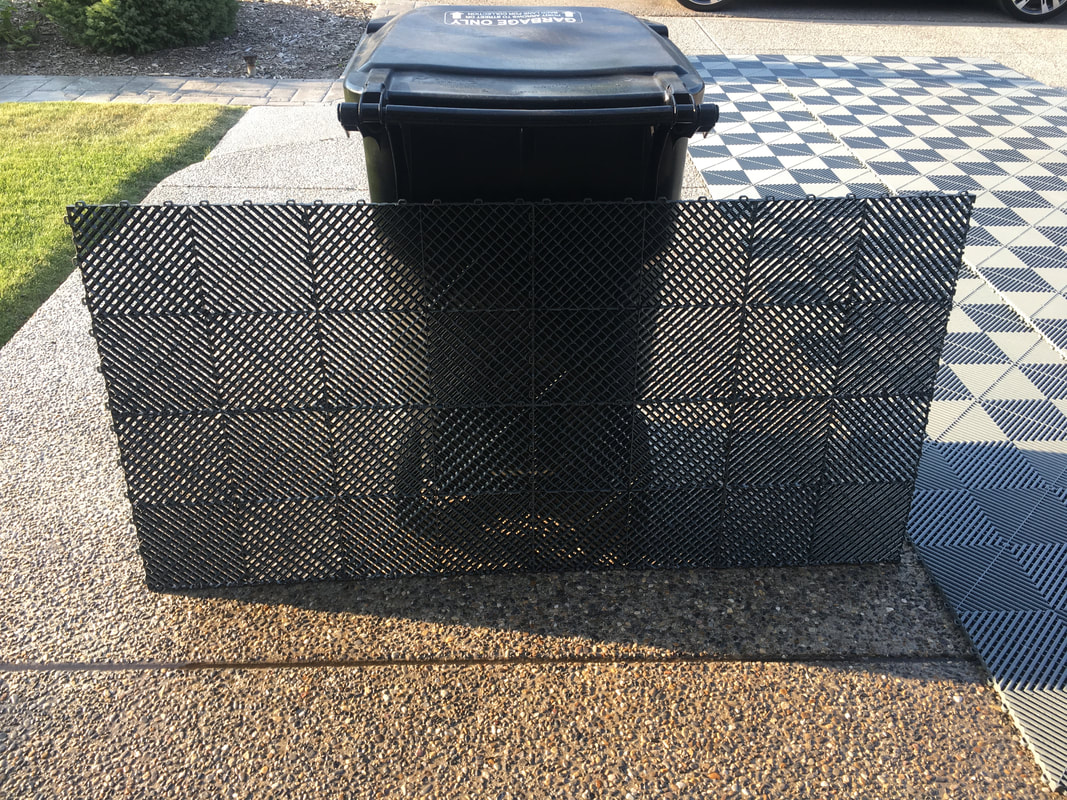
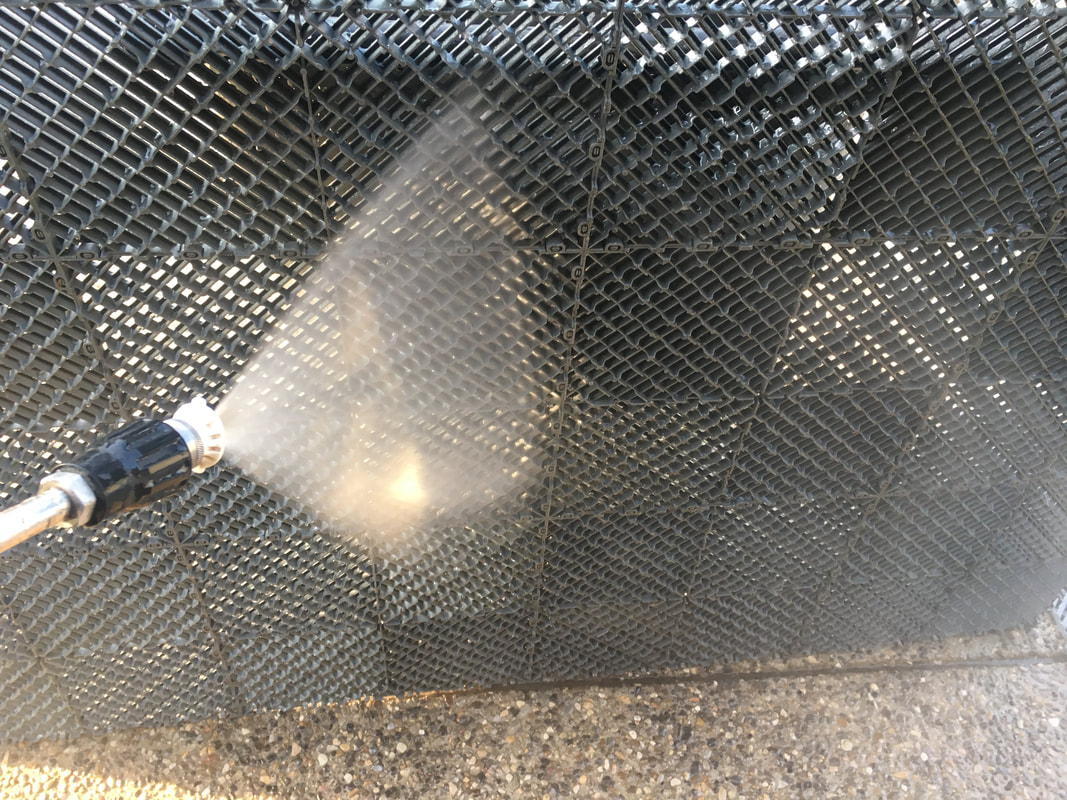
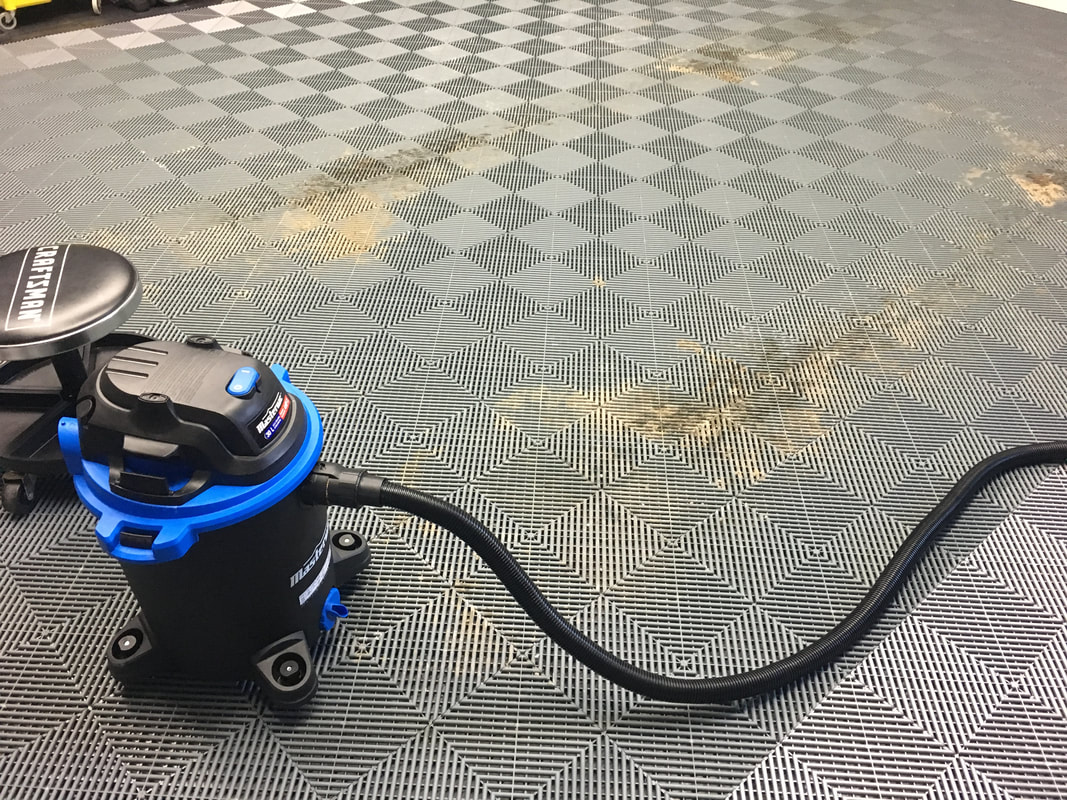
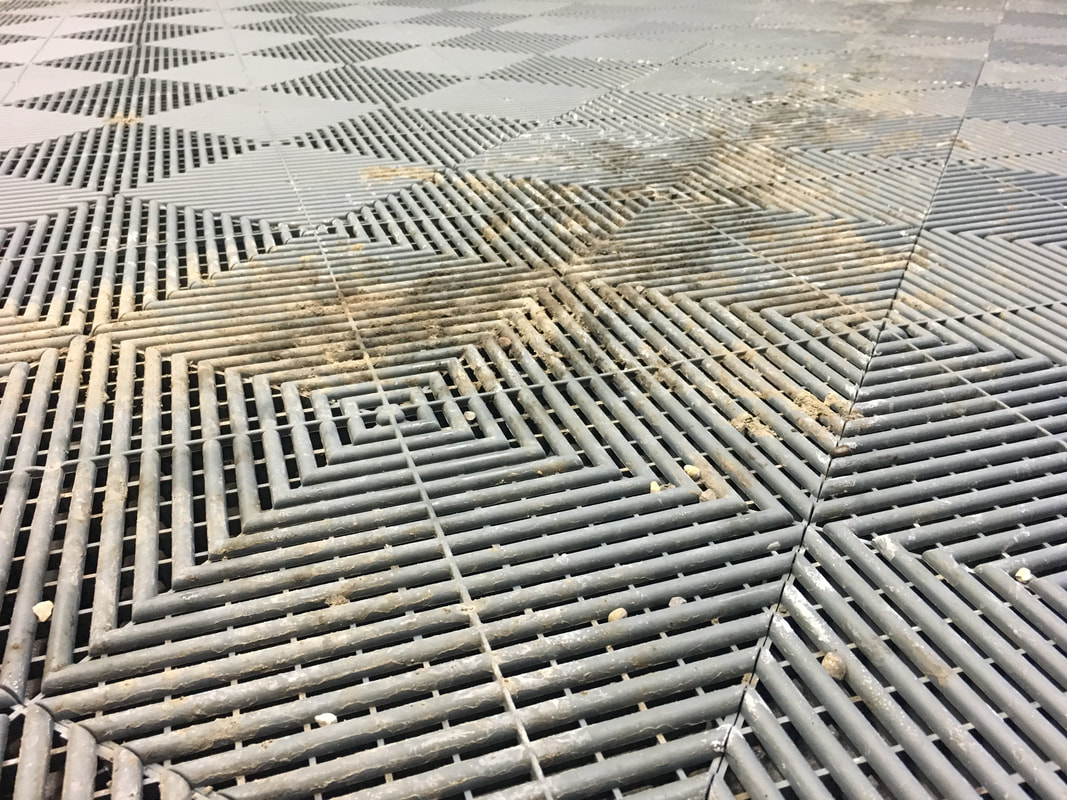
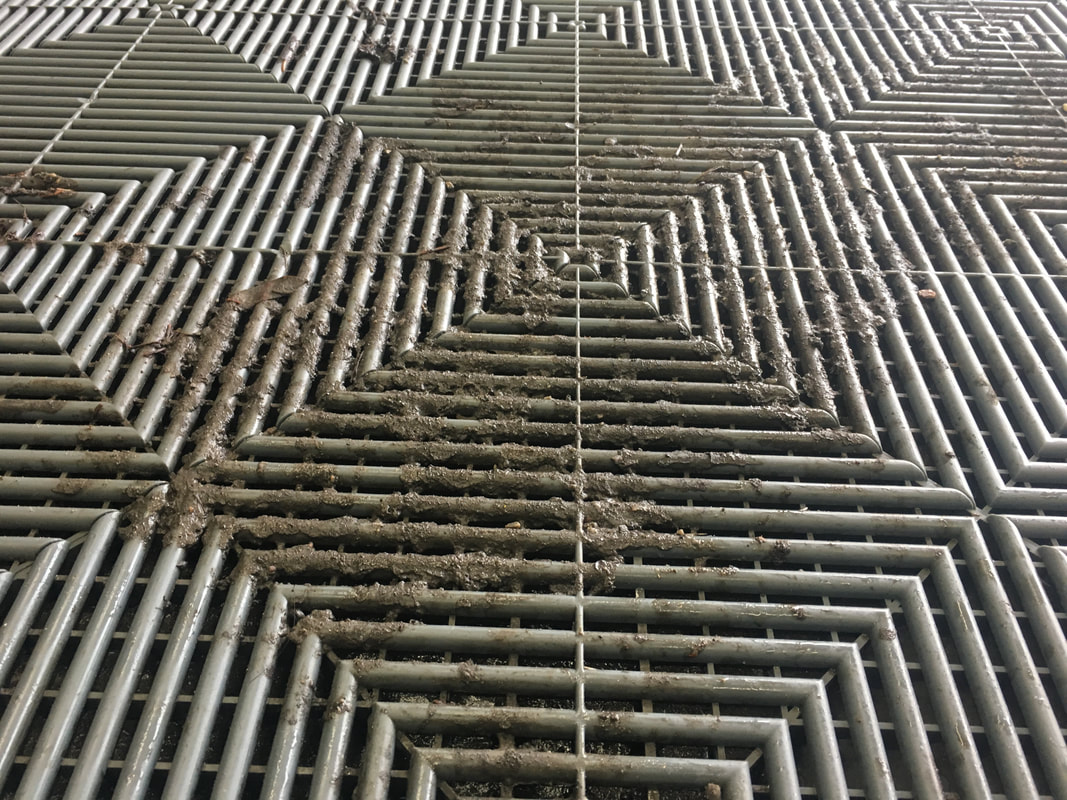
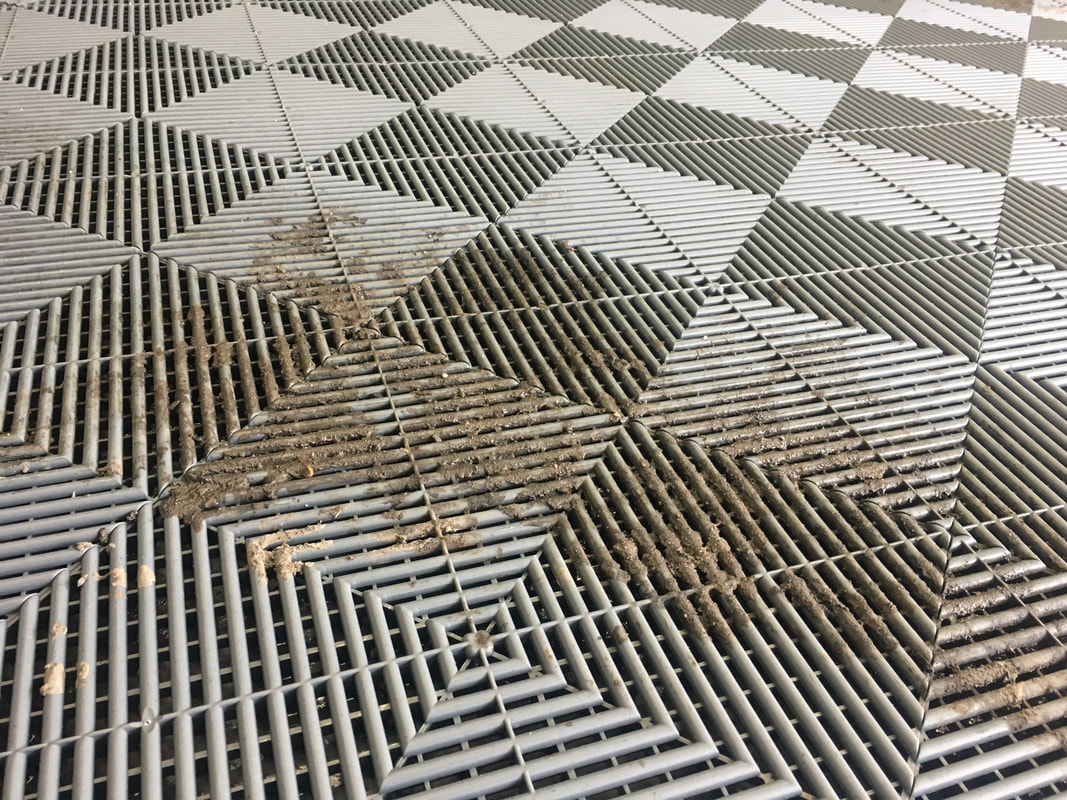
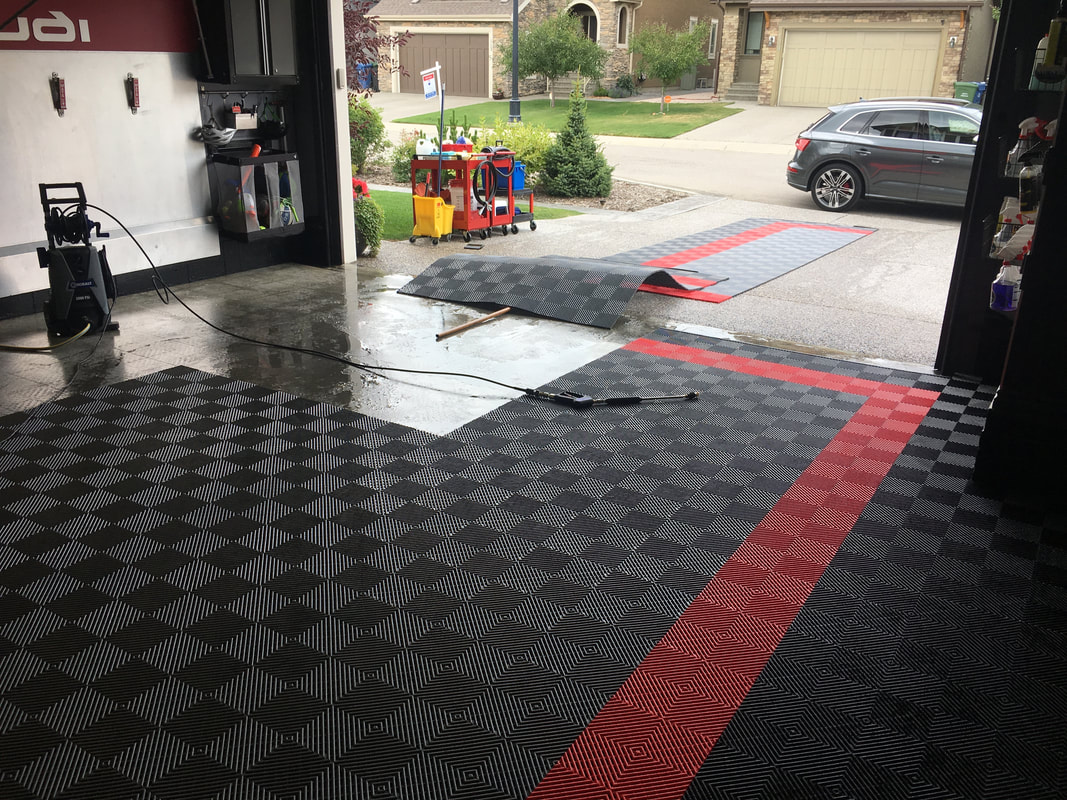
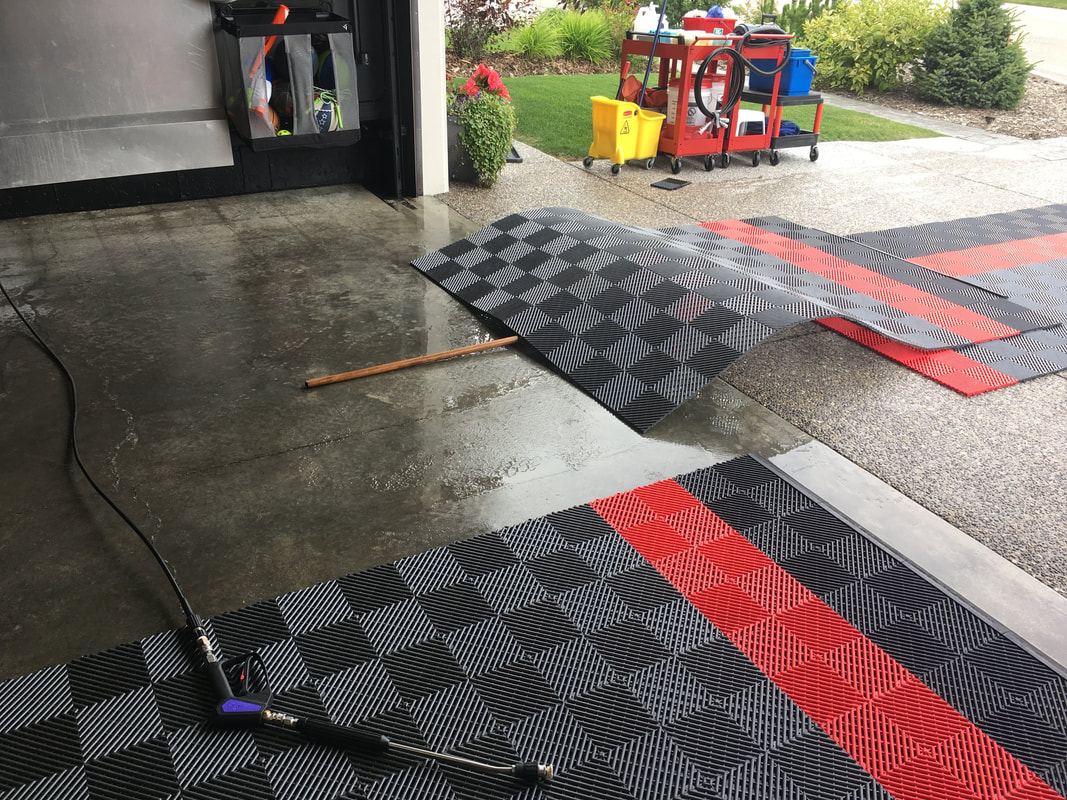
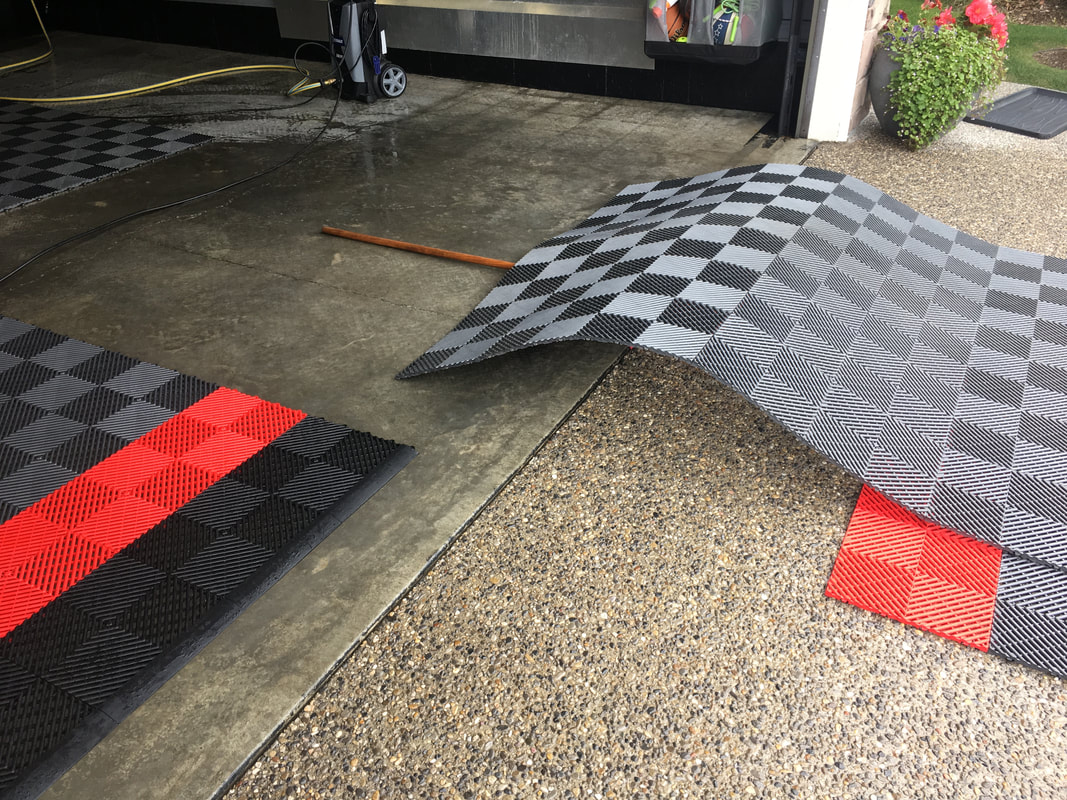
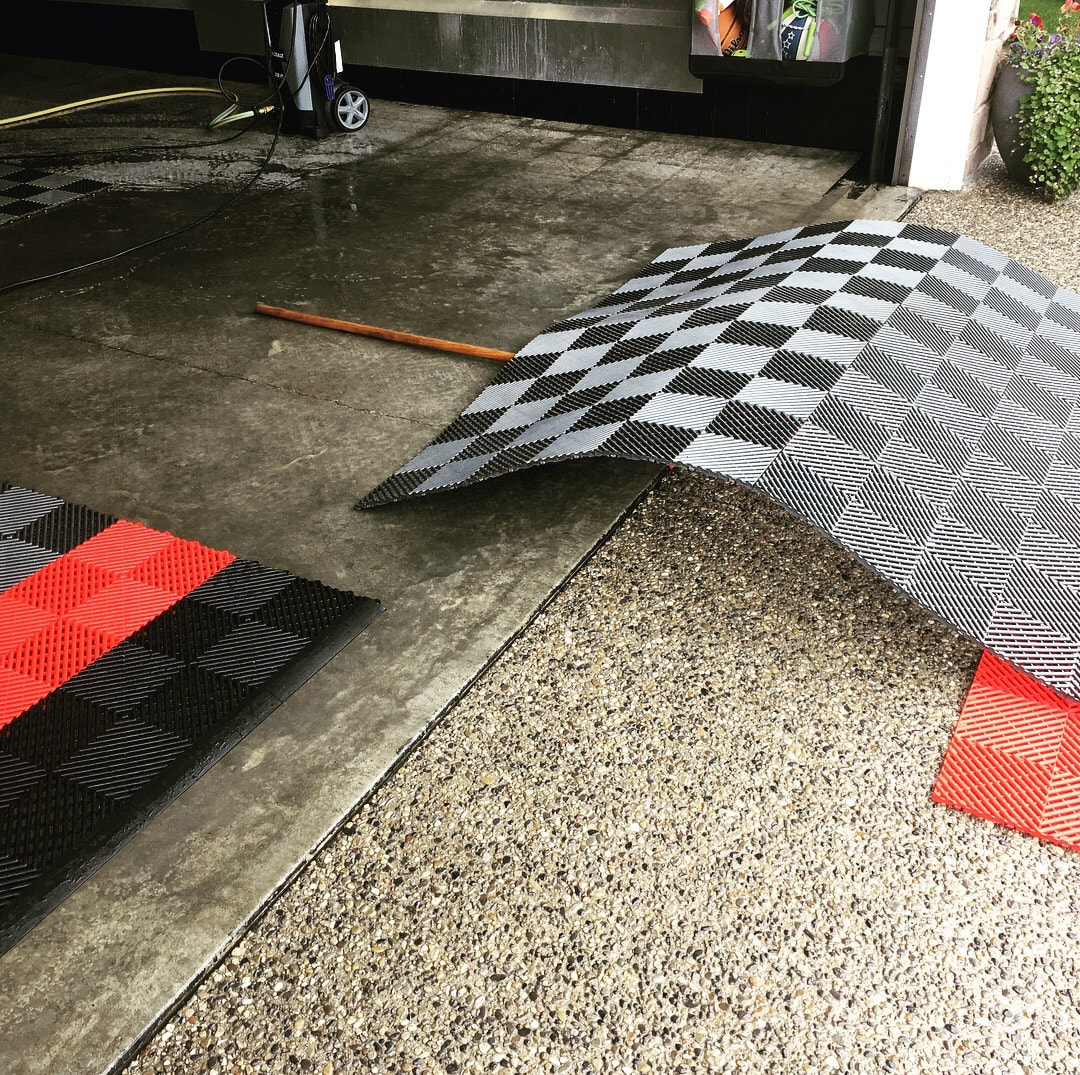
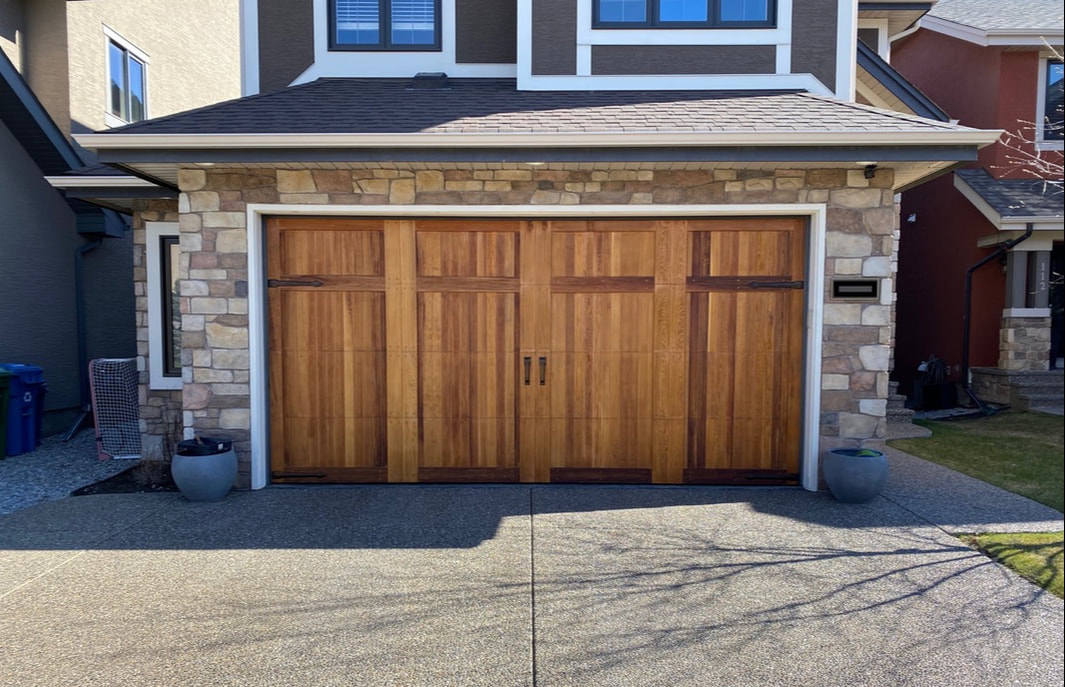 It wasn't the easiest of jobs, and I spent a few hours wiping the dust off every surface of the garage's interior, but the job is complete and I am more than pleased with the results. My initial plan was to reapply a coat of Cabot's Australian Timber Oil, but I went with Thompson's Water Seal instead. The red cedar looks absolutely decadent. I'm hoping the Thompson's lasts longer than the Timber Oil did. I only got two years out of that stuff. These photos show the progression of this rewarding project. 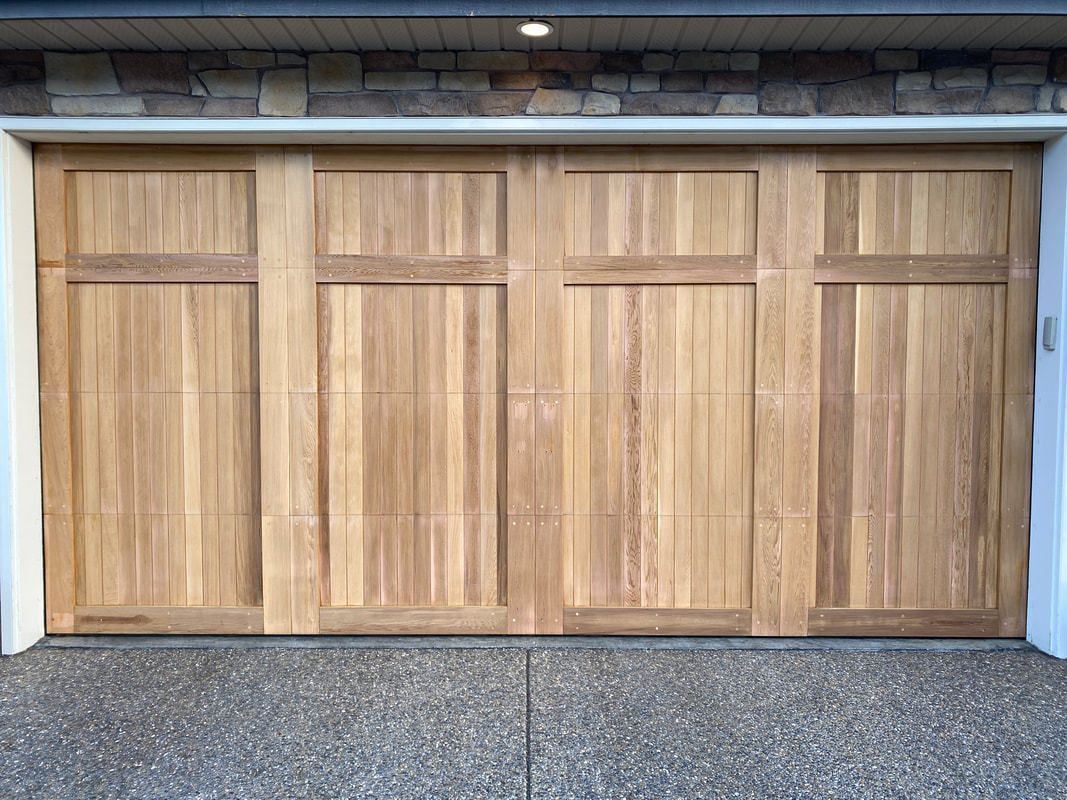 The door took eight hours to completely sand, but it looks so good in its raw finish. I will be applying a coat of Cabot's Australian Timber Oil as soon as the weather calms down. I like to sand and re-stain the garage door every couple of years. Sanding this 16x8 foot red cedar door is not an easy task. I bought a new Craftsman palm sander but it does a terrible job of capturing the copious amounts of dust. I had planned on doing a video to capture the process but it the dust is so bad that I didn't want to risk bringing harm to any of my video equipment. The sanding took me approximately eight hours, but I'm now ready for staining. The weather has turned a bit nasty so it may have to wait a few days, though. You just can't win! I'm not weird, you're weird. I love my driveway and applying an acrylic sealer to it every couple of years is something that gives me immense pleasure. Here's my attempt to capture the beauty of the process through cinematic videography. I think you will agree that my exposed aggregate driveway is the envy of the neighborhood. Be sure to stick around to the very end of the video to see the driveway glisten in the evening sun! I've posted four episodes of my new series called, "Wash & Chat". It's a fun way to connect with viewers. I will still produce artsy videos with chill music, but this is another way for me to enjoy sharing my garage and the projects I complete with viewers. Feel free to check them out when you have the time. I will warn you, they are around the thirty-minute mark in length. 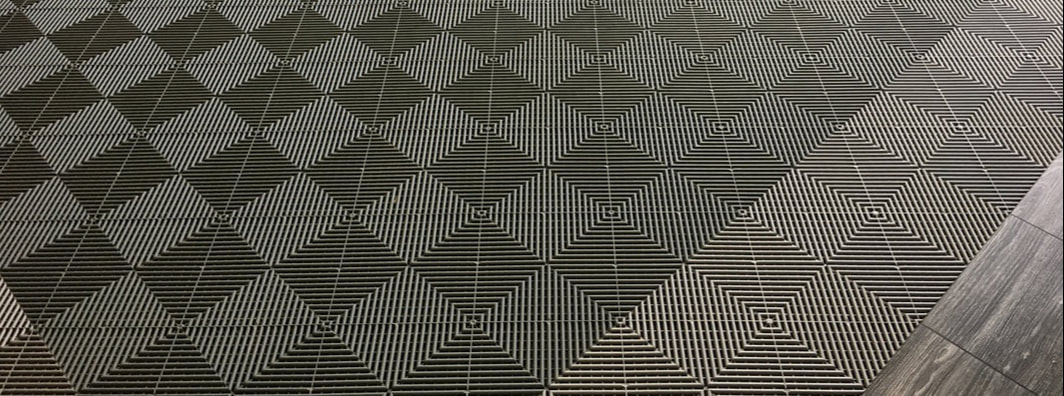 It took me an hour to haul the centre section of my Swisstrax floor onto the driveway, clean the garage floor and then set things up again. I used to "snake" the floor in long sections, but the Swisstrax doesn't have the flex or strong connections for that, so I have to break it up into 3x4 or 4x4 sections and stand those sections up against a garbage bin to power wash both sides. Here is a little photo gallery that demonstrates the various steps in my floor tile cleaning process. Let me explain to you how cold and miserable February has been in these parts. The average daily temperature for last month was minus-19 and we had snow on 25 of 28 days. The mercury dipped below minus-30 on 14 occasions. This has made keeping the garage clean very challenging. I spent a few hours in there today cleaning up the mud and rocks that have accumulated over the past week or two. I am really hoping March will bring milder weather, because I don't know how much more of this I can take. At any rate, here's a video demonstrating the process I went through to bring things back to a tidy state. This city has been caught in the icy clench of a nasty cold spell for two weeks and counting. There has been no opportunity for me to do any major cleaning of my garage floor. Day after day, I track mud, rocks, salt, and all kinds of debris into the garage where it falls onto the floor, dries out and creates an unsightly mess. Today, I finally found the inspiration to tackle the job. Step 1: Vacuum
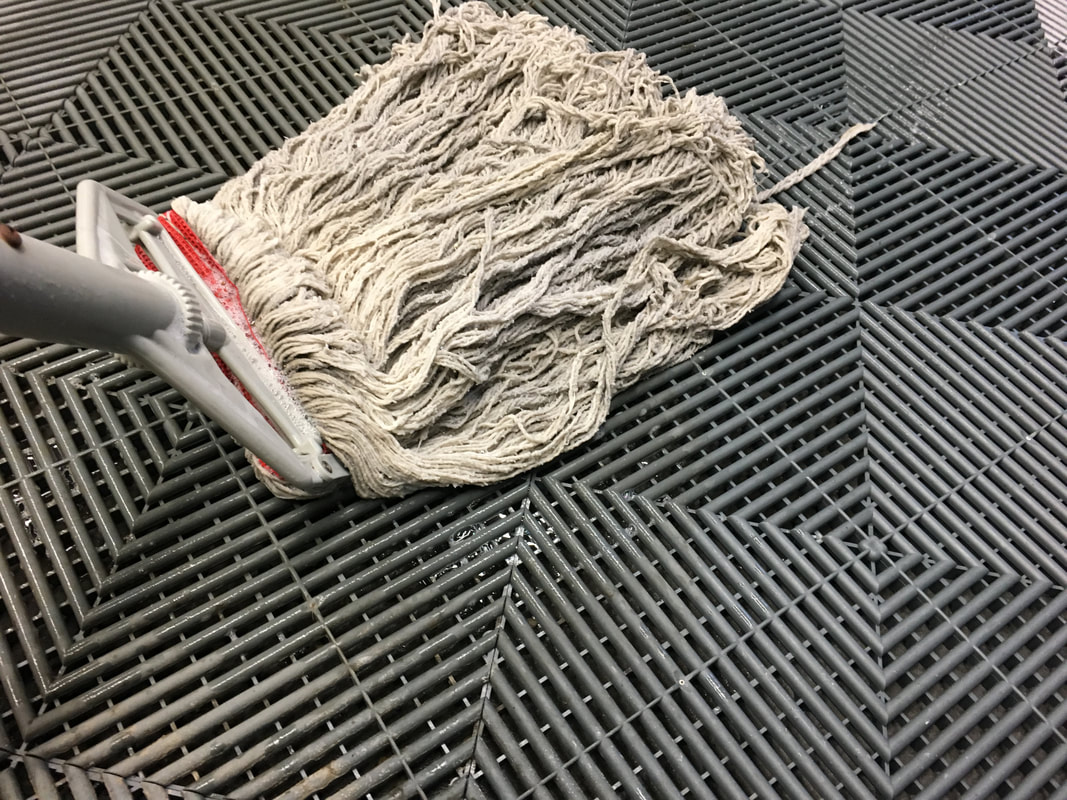
Step 2: Mop
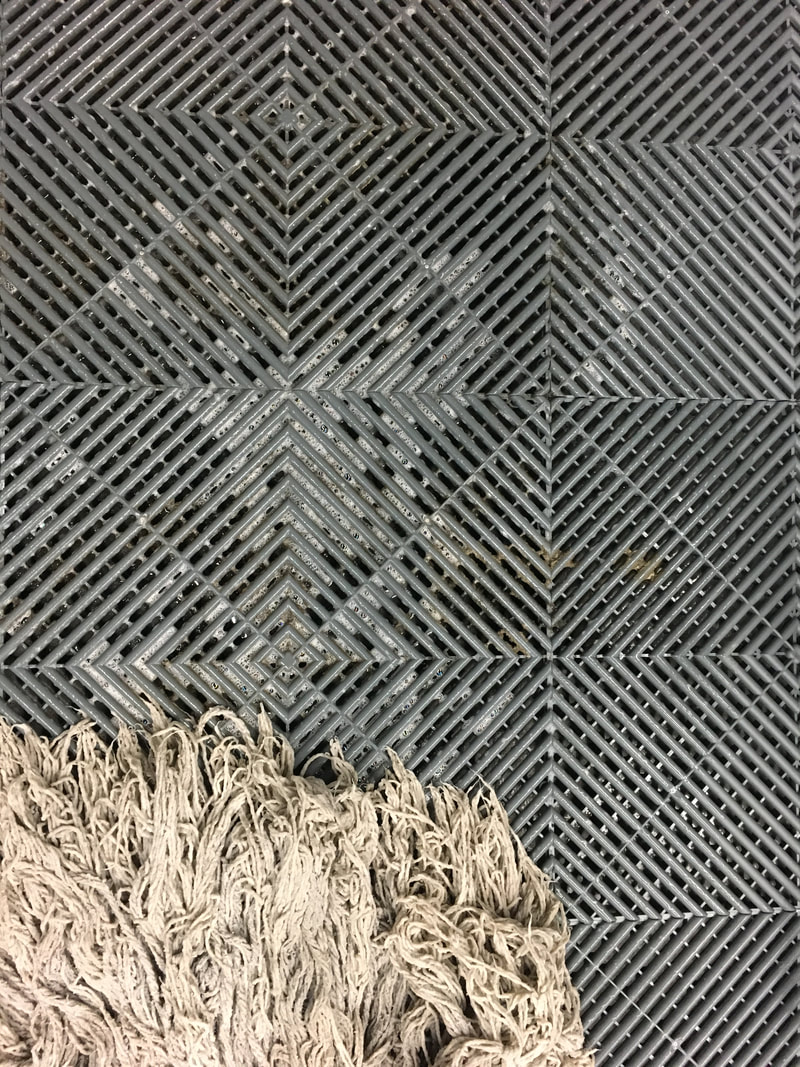
Step 3: Scrub
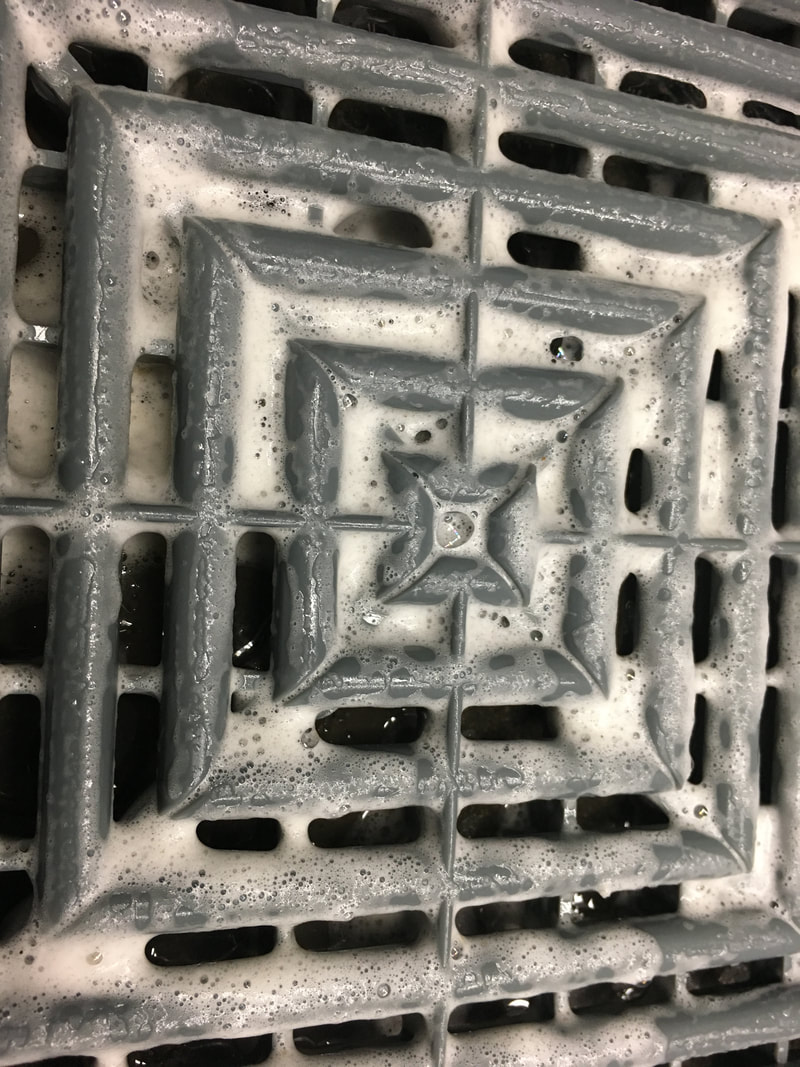
Step 4: Mop
Result 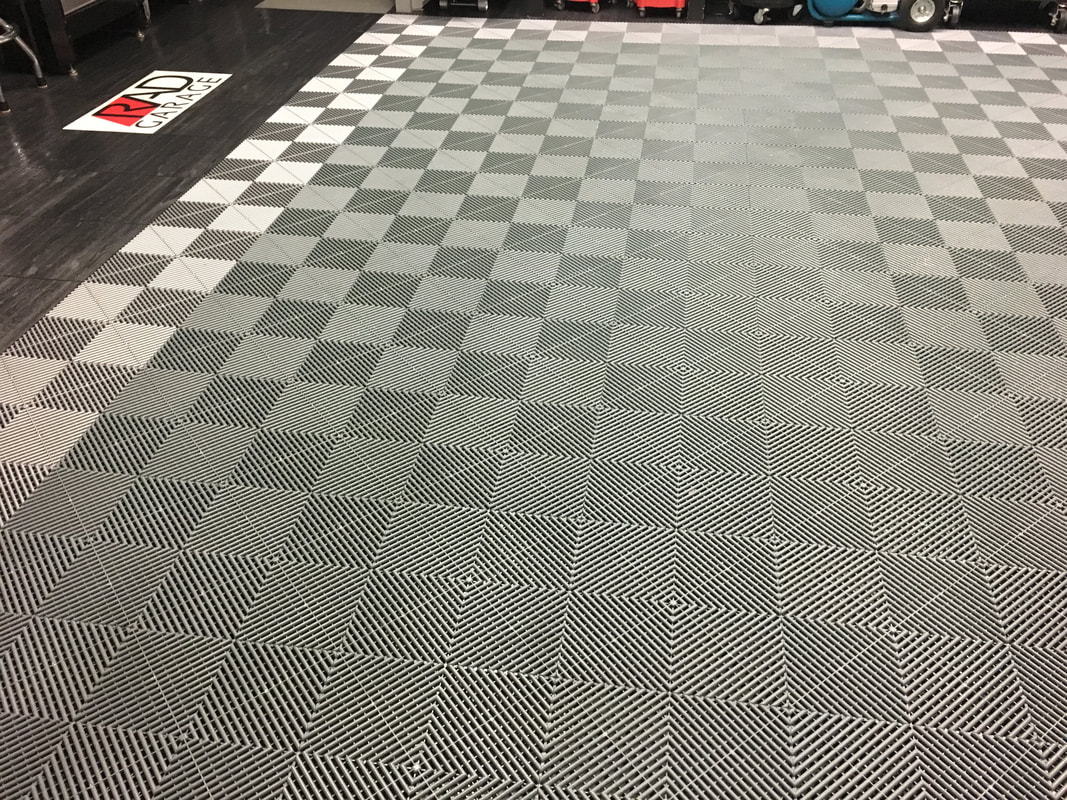 This was a job that I had been putting off for years. I painted the entire garage with a white primer back when I first took possession of our house in 2010. Since then, I have been meaning to put a proper coat of paint up there, but I just never seemed to find the time or desire. When I ripped up the RaceDeck floor to sell, I took advantage and got 'er done. Capturing the results is tricky with my iPhone, but hopefully these pics will give you an idea of how things turned out. I like how the paint added a reflective effect to the ceiling. Here is a link to the paint I used. It is a "semi-gloss finish" interior acrylic latex paint from Rona.
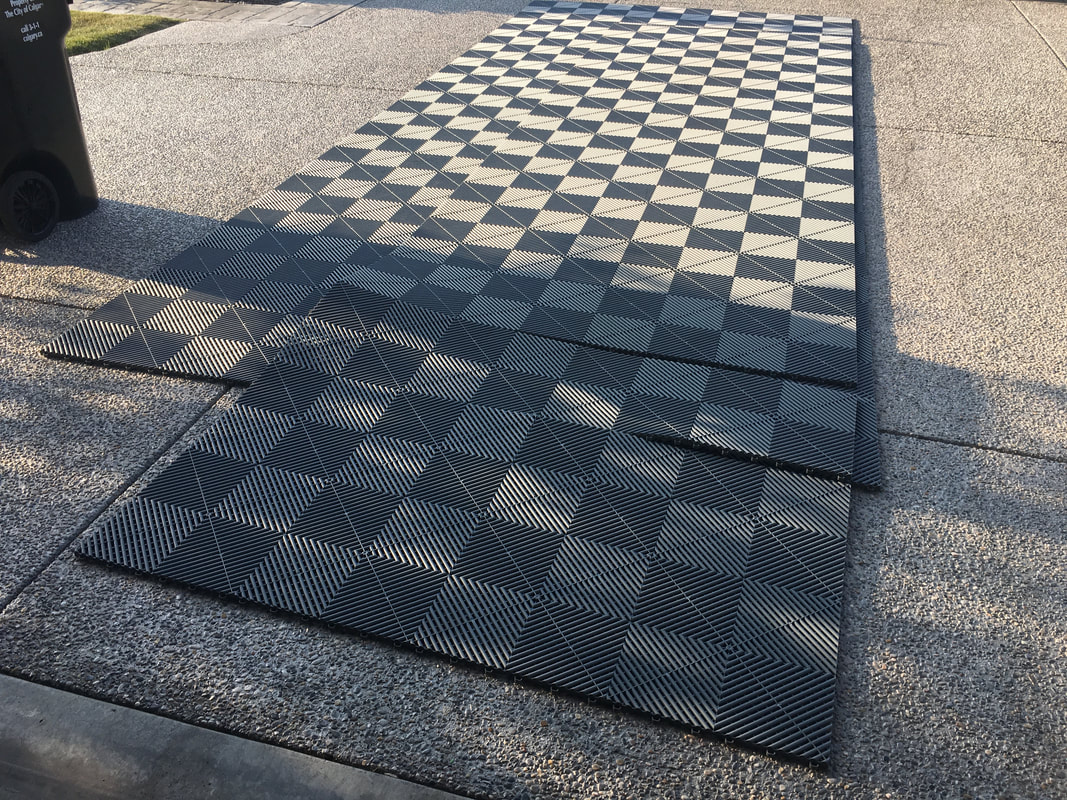
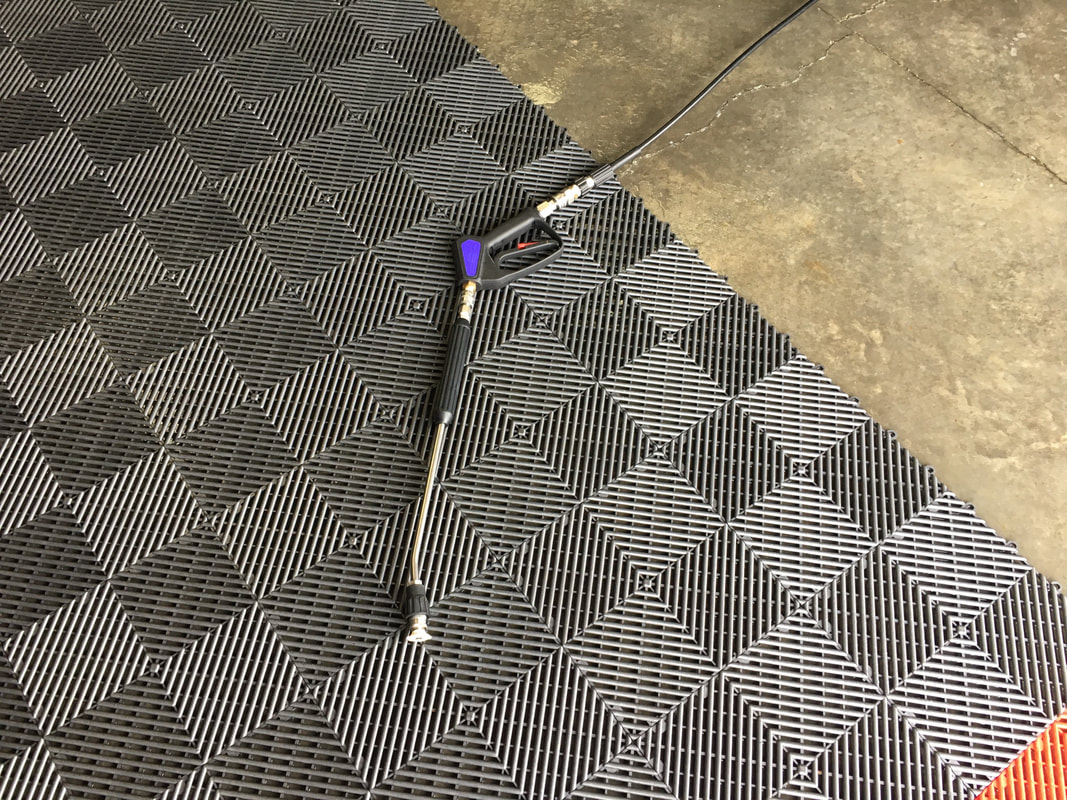
I uploaded a new tour video to my YouTube channel. It had been a couple of years since I posted the last one and there have been a number of changes and updates in that time. I am hopeful that my garage will be chosen for inclusion in Pan the Organizer's series, "Pan & the Organizers". I sent him a 90-second video and I have my fingers crossed he will choose to feature it in his next video in the series. I'll post a link to the first episode he posted along with a link to my new tour video. Enjoy. Because my home has a north-facing front, the driveway gets no sun. Ever. That means the driveway ices up pretty quick if I try to clean my floor with my pressure washer. But, when the weather throws me a bone, like it did today, I feel guilty if I don't take advantage and perform a complete clean of the garage floor and driveway. Here's a little look at how I deal with the floor in the winter. The first step is to disconnect the middle portion (slate grey colour) of the floor. Since I have one car, and I park in the center of the garage, filth only accumulates in the middle of the garage. I unfasten the connectors with a paint lid removal tool and drag it out to the driveway in two equal sections. I use my pressure washer to wash the debris that has accumulated under the floor to the front of the garage, but not quite onto the driveway. Once I have the bulk of the muck at the apron, I use a squeegee to push it into a pile. The thick mud and rocks then get sucked up in my Shop-Vac. I rinse any leftover dirt and residue into the gap between the slab and the driveway and do a final sweep of the concrete floor with my pressure washer and squeegee it dry.
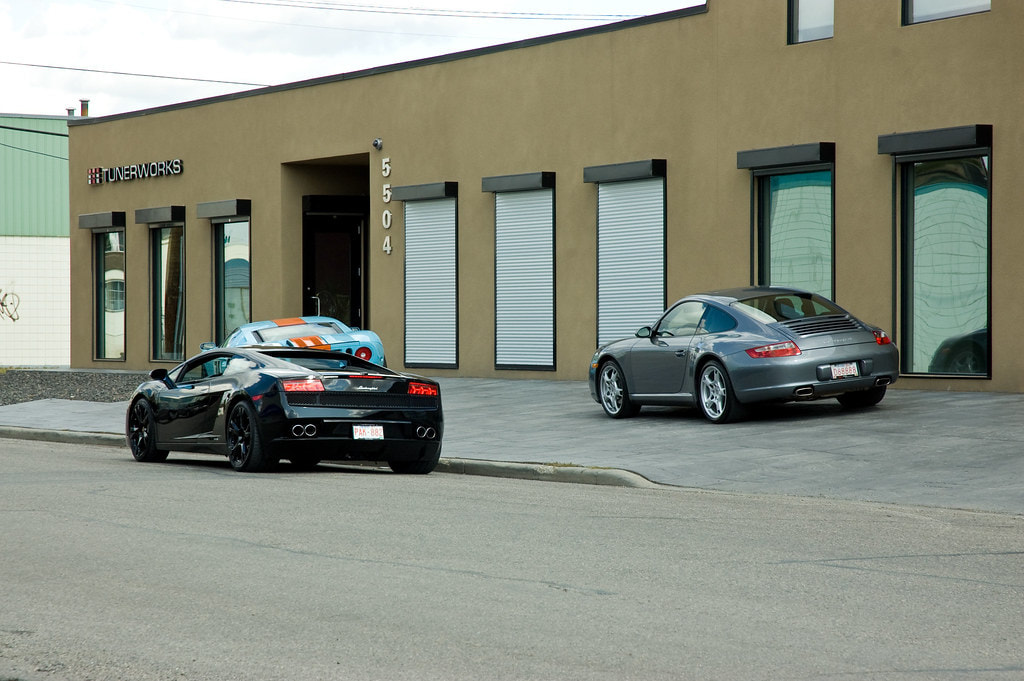
I'm always talking about and showing off my own garage, but I also spend a significant amount of time obsessing about other peoples' garages. One garage that has always impressed me is the one that belongs to Tyson Hugie. This past holiday season, Tyson emailed me to share a flooring project he was undertaking. He had an epoxy coating applied to his garage floor and he wanted to share the process with me. I enjoyed the story and photos he sent and thought it would be interesting to share the story here on my blog. 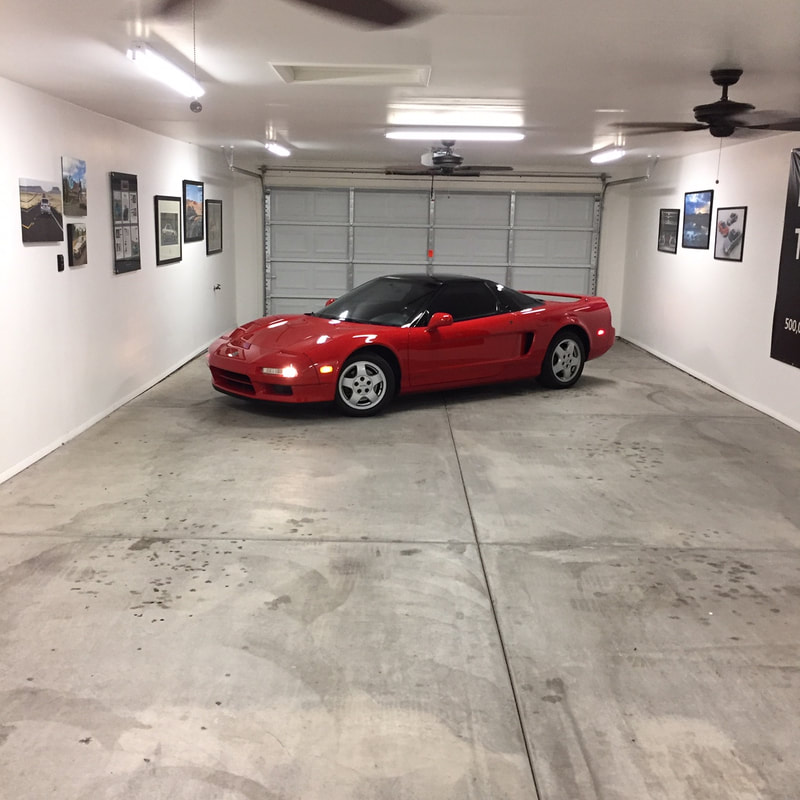 Tyson's Arizona garage is a shade under 1000 square feet and is set up in a triple tandem configuration (6 cars). In addition to being large, it is home to an extensive collection of Acura cars. Currently, he owns eight of them! What makes his collection even more impressive is that they are all impeccably maintained and driven on a regular basis. In fact, he gained notoriety a few years back when his pristine 1994 Acura Legend coupe surpassed the 500,000 mile mark. In the early summer of 2013, Acura honored this incredible milestone with a red carpet ceremony. Six months later, Acura presented him with the keys to a silver 2013 ILX. Tyson has done a fantastic job of documenting his automotive passion and accomplishments on his "Drive to Five" website and has been featured in a number of videos on Acura's YouTube channel.
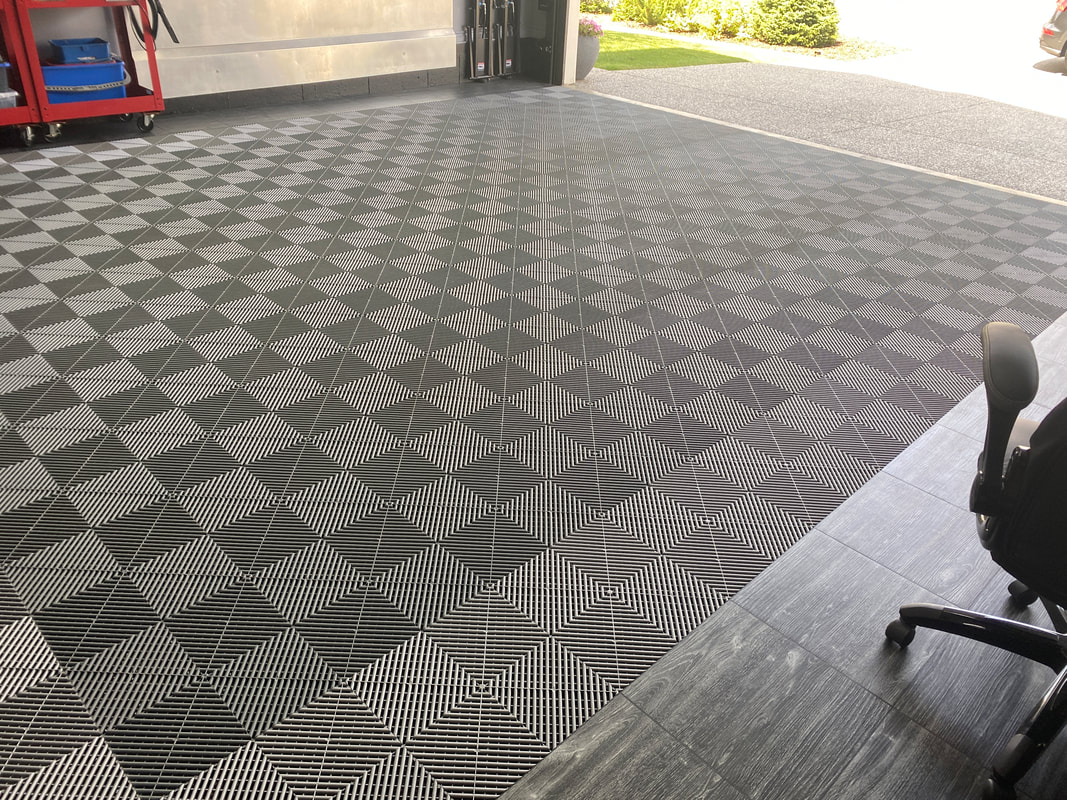
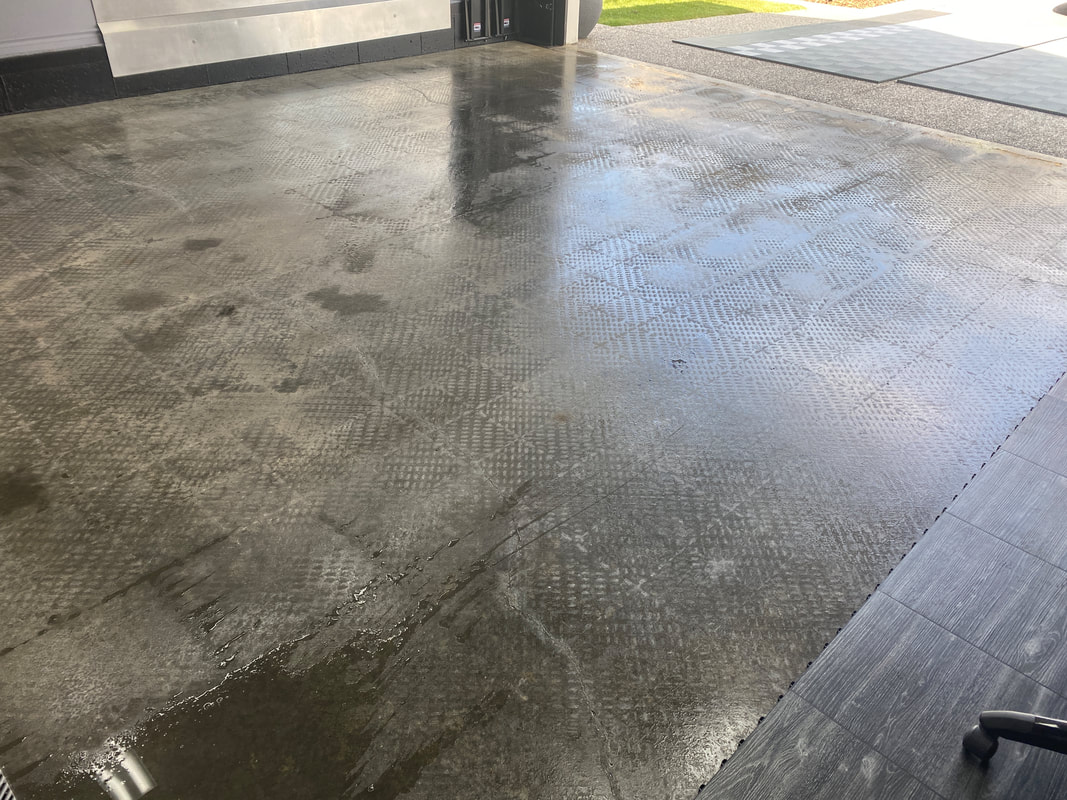
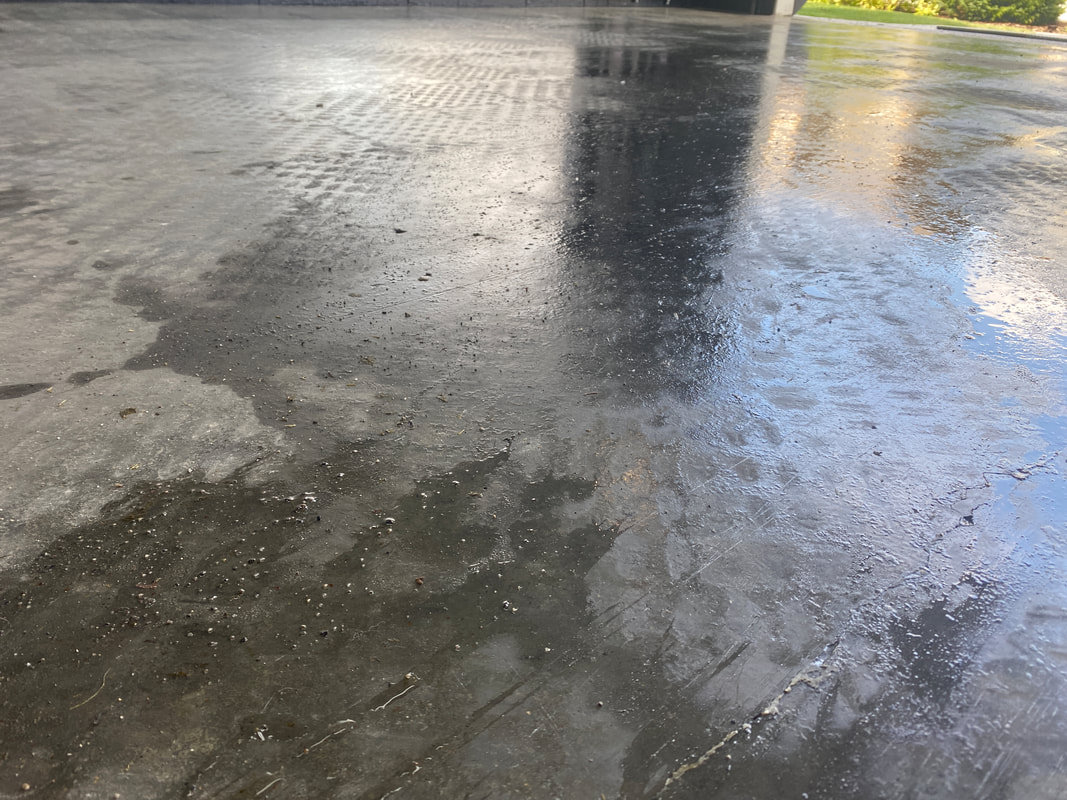
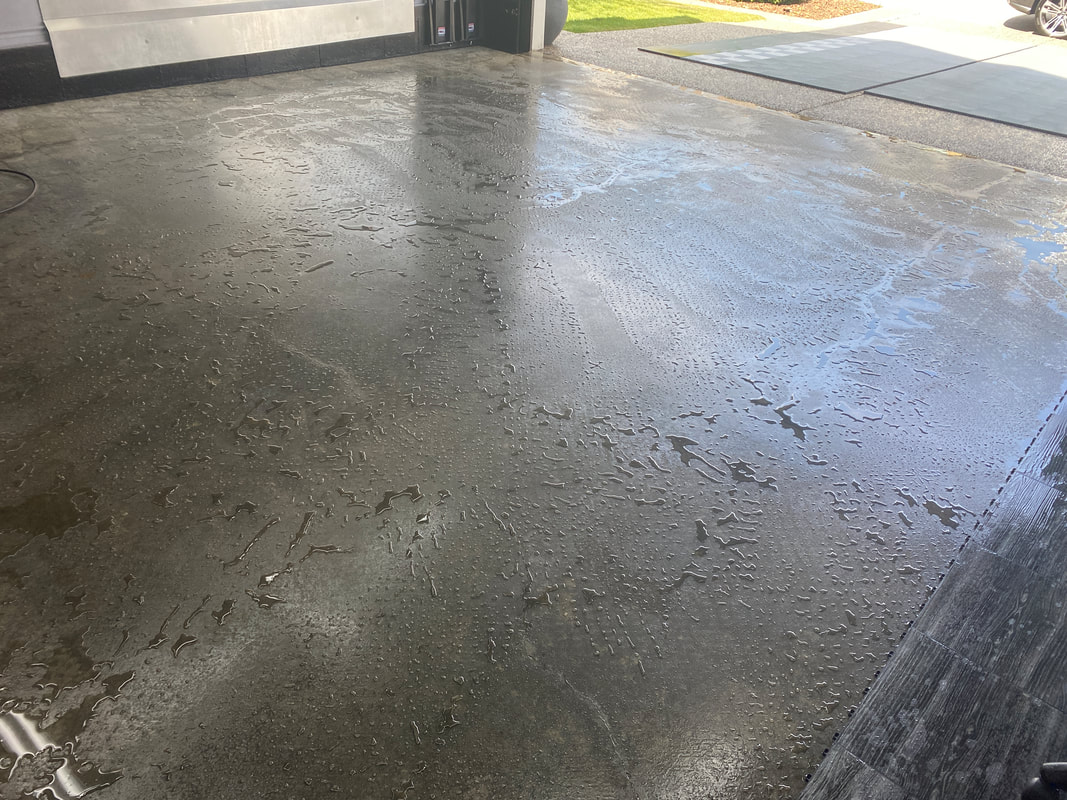
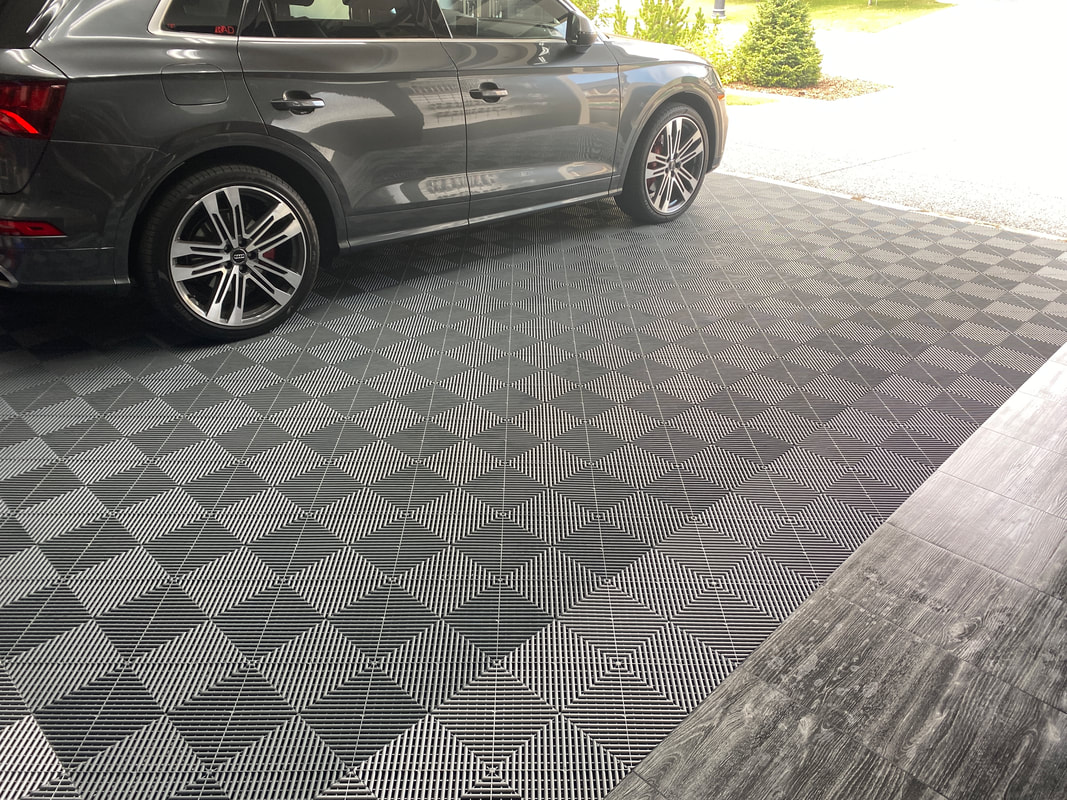
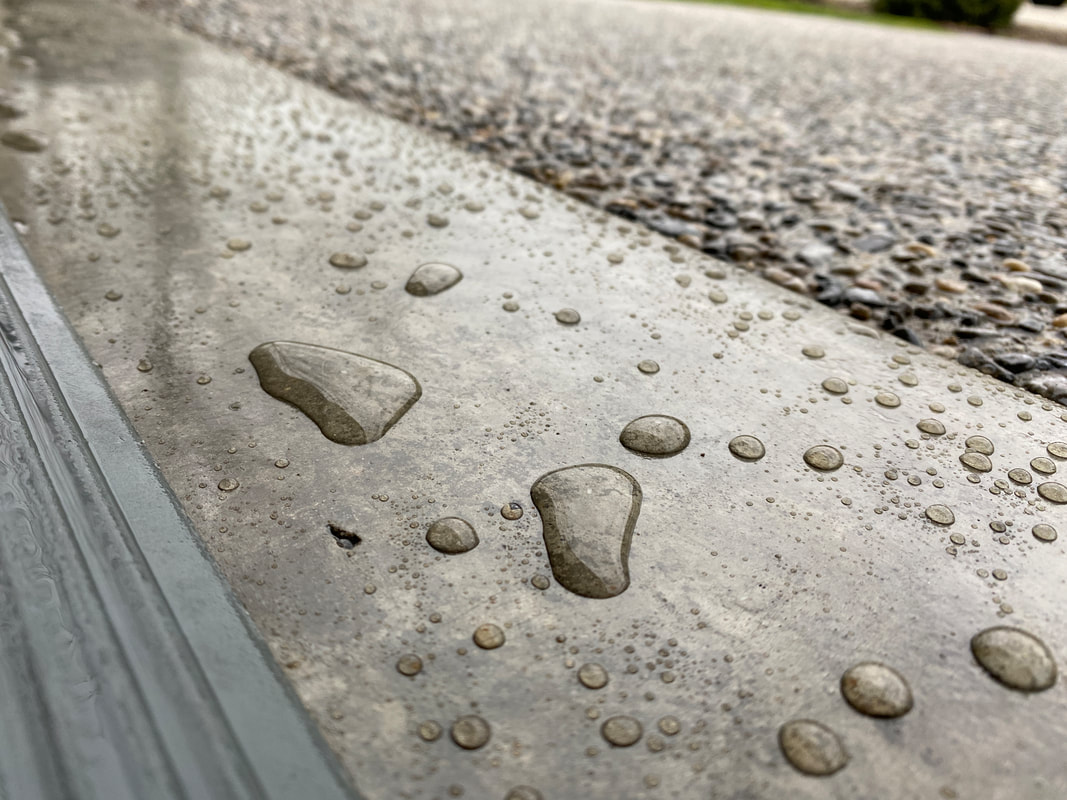
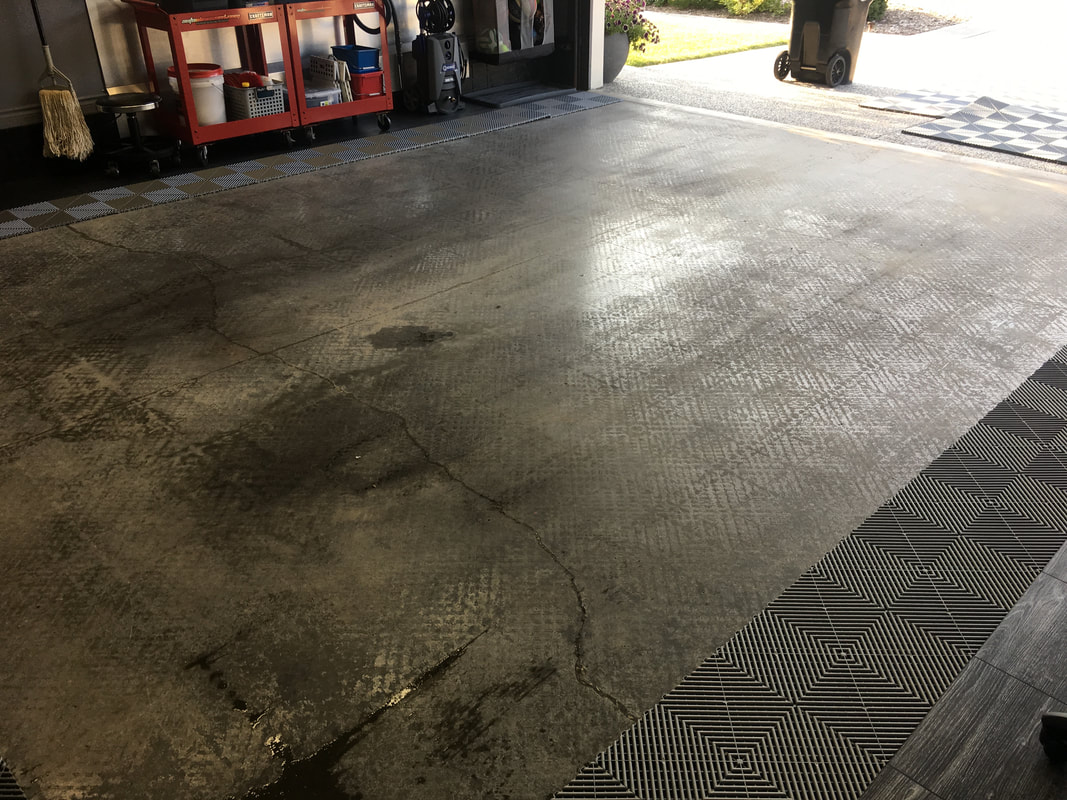
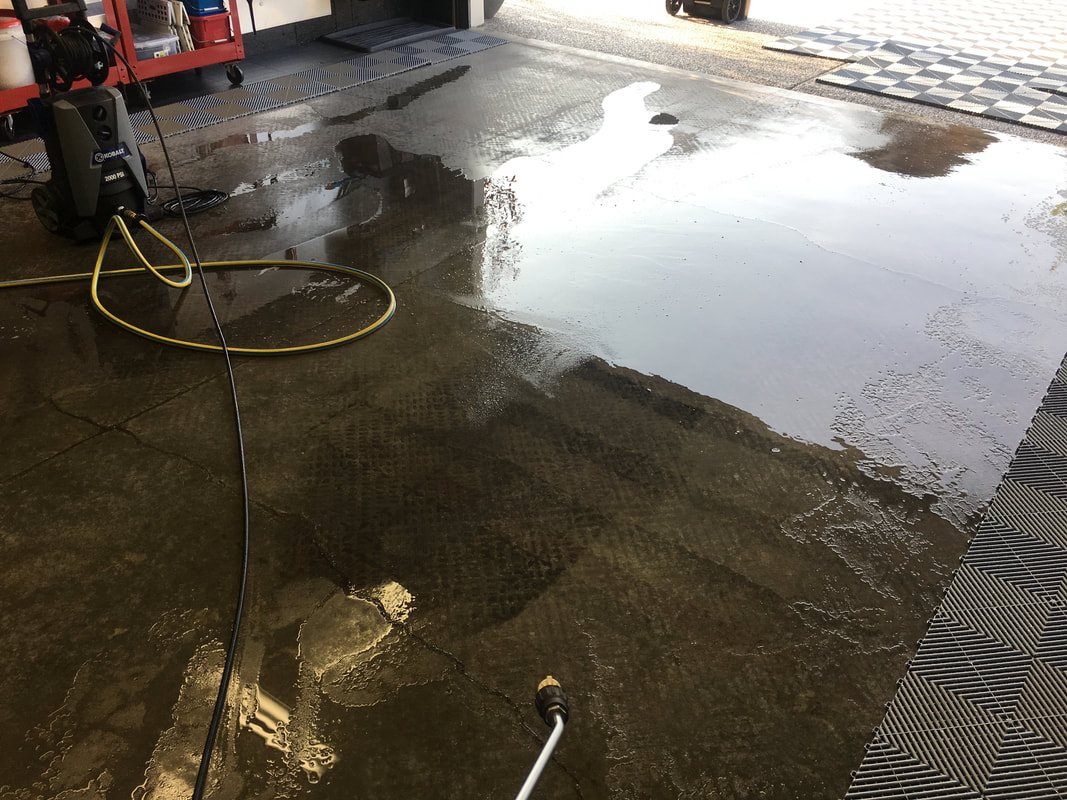
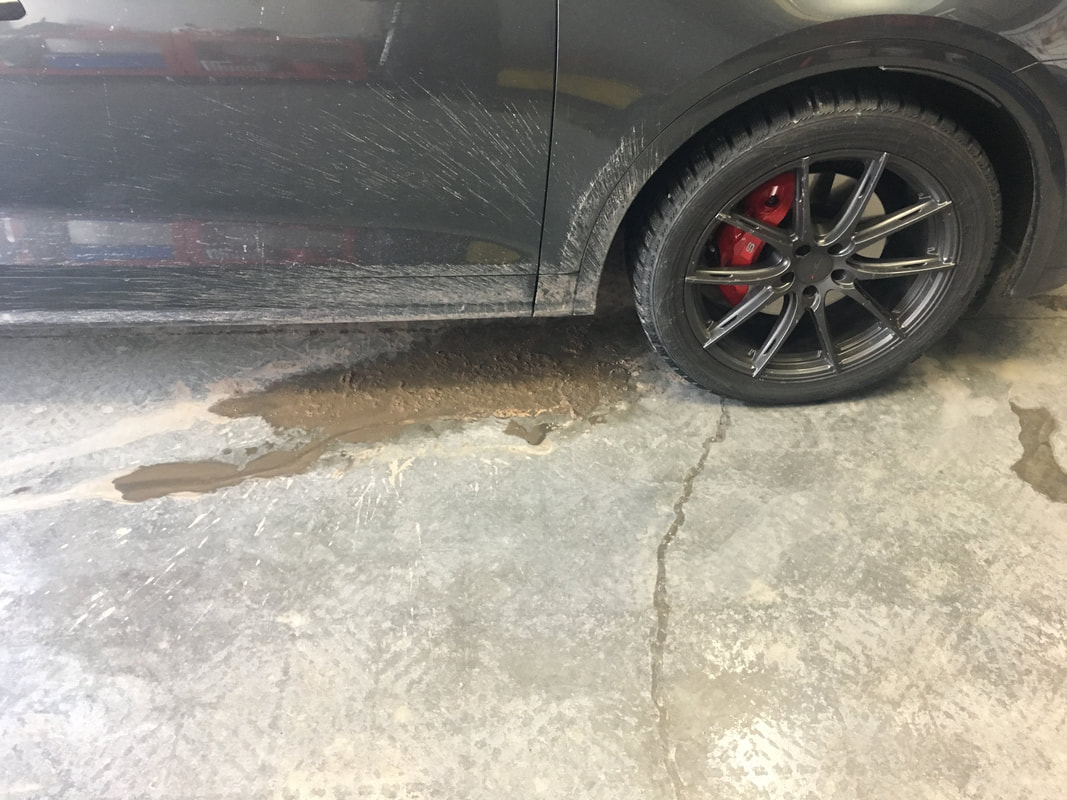
After I parted ways with my RaceDeck Free Flow floor, there was a period of time when I was living with a bare concrete floor. Thankfully, it was only for a few weeks, but the experience left a mark on me and helped to solidify my belief that a modular flooring is a better option than an epoxy coating. These photos demonstrate the constant battle I face with water accumulating on the floor. After two weeks of having to watch where I stepped so I didn't track the filth all over the garage and into my car, I was relieved when my Swisstrax order finally arrived. I understand that epoxy is the option some garage owners prefer, but not having to worry about where I step, or what I step in is a massive advantage, in my mind, to having a modular tile floor. My Swisstrax floor is always dry despite the constant snow that gets tracked in on the tires and undercarriage of my car. While I do think epoxy coatings look nice, I would be constantly dancing around the garage trying to avoid slop and water and that's just not something I have any interest in doing. Completing a number of detailing projects meant the floor was in dire need of a cleanse. Here are some photos showing the process I follow when the floor needs cleaning. |

RAD GARAGE is my personal detailing theatre. I am a teacher who finds immense pleasure in completing deeply therapeutic, thorough and highly satisfying detailing projects in my residential garage. I have converted my suburban double car garage into a world class detailing environment and I enjoy caring for my own car and select cars belonging to others. The garage and the work I complete in it have allowed me to connect with other detailing enthusiasts from around the world.

I have teamed up with Teespring to offer viewers an opportunity to grab some RAD gear! Click here to see the current inventory of RAD merchandise available at my Teespring store!
Use "RAD10" to save yourself 10% until the end of March, 2021.

Carzilla is a local detailing store that caters to the North American community of professional and enthusiast detailers. I have been a longtime customer and I am fortunate to call the owner a friend. Besides stocking a vast quantity of top quality detailing products, the owner has supported various garage and detailing projects of mine over the years.
5% discount code
|


 RSS Feed