|
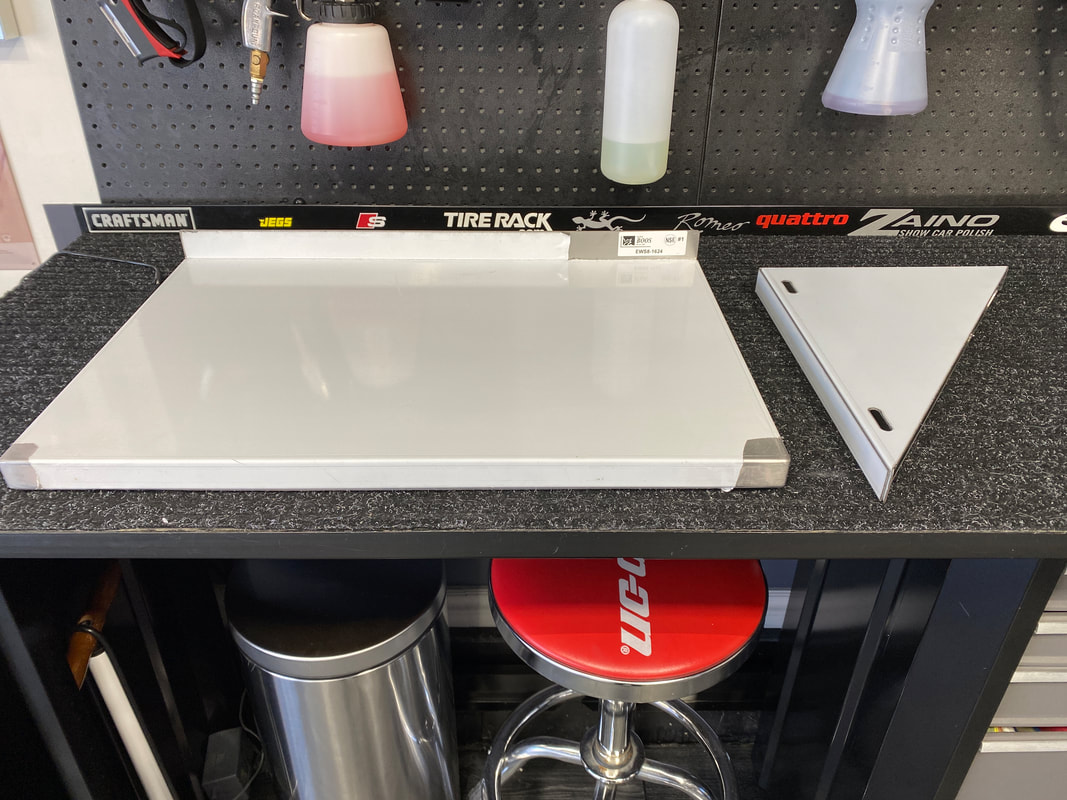
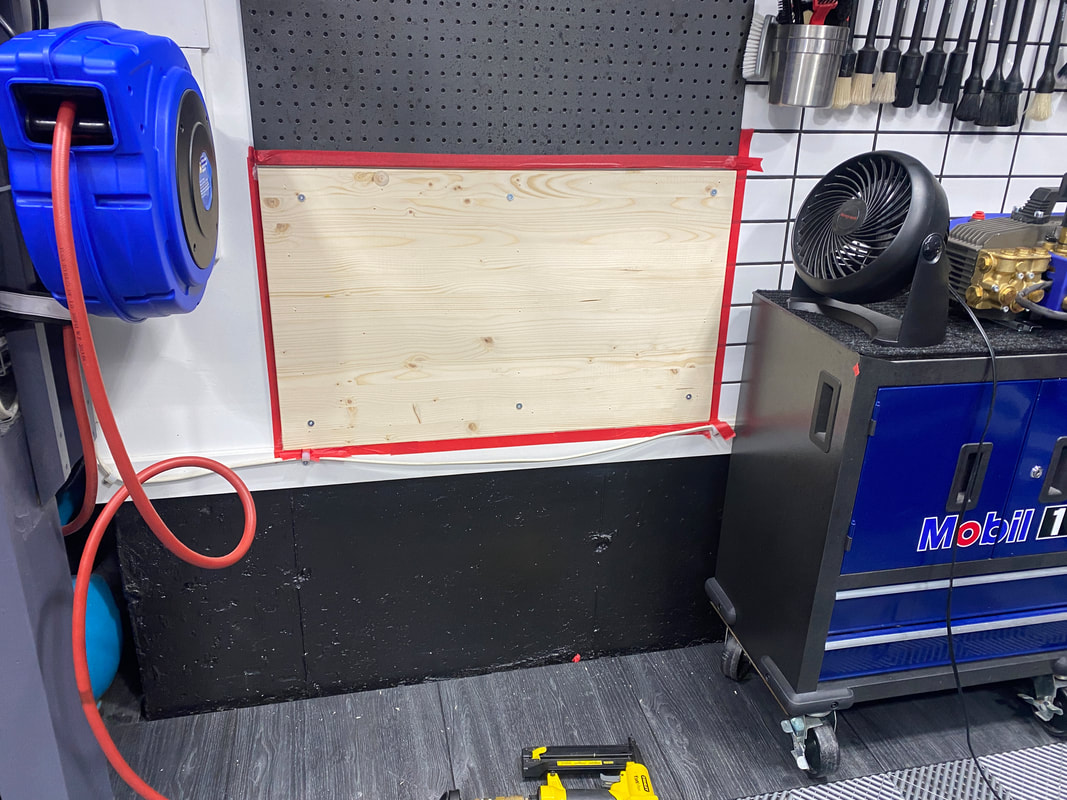
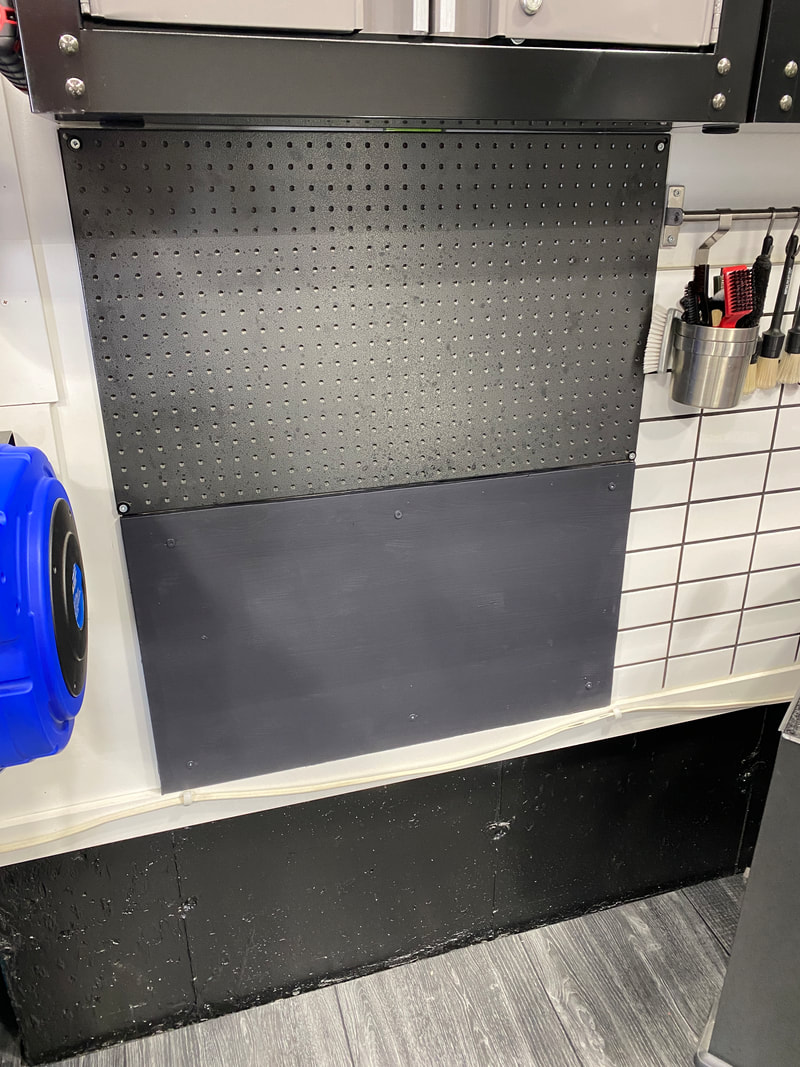
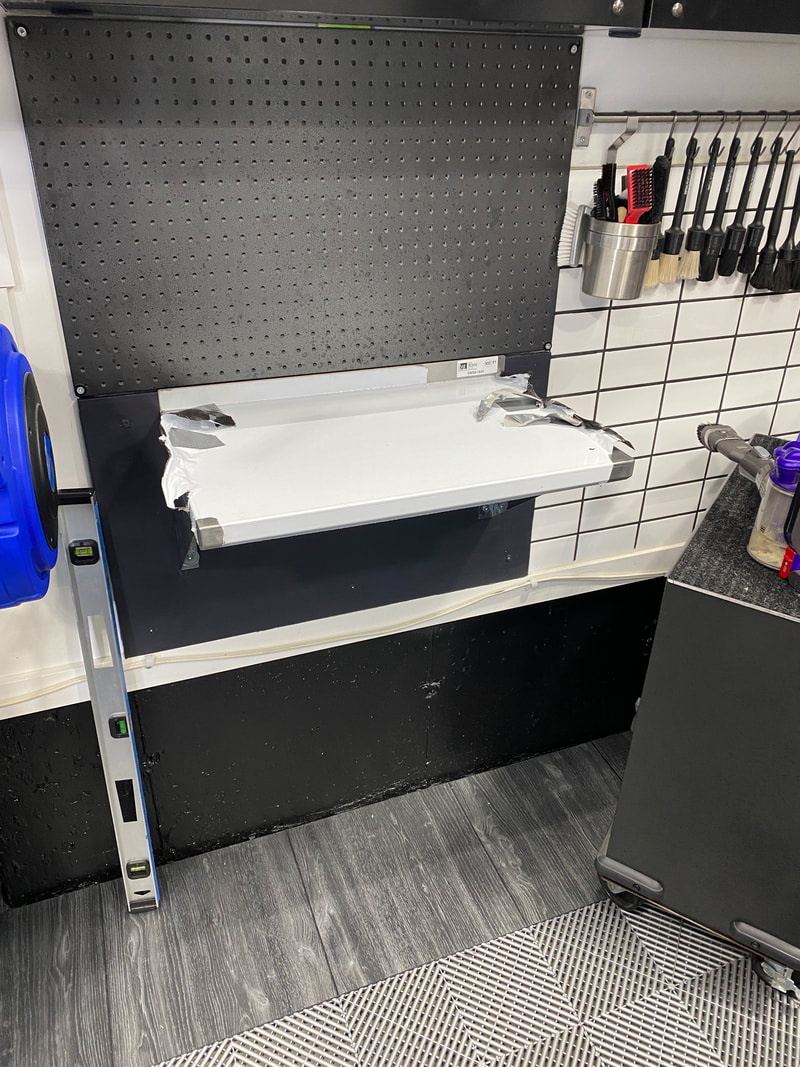
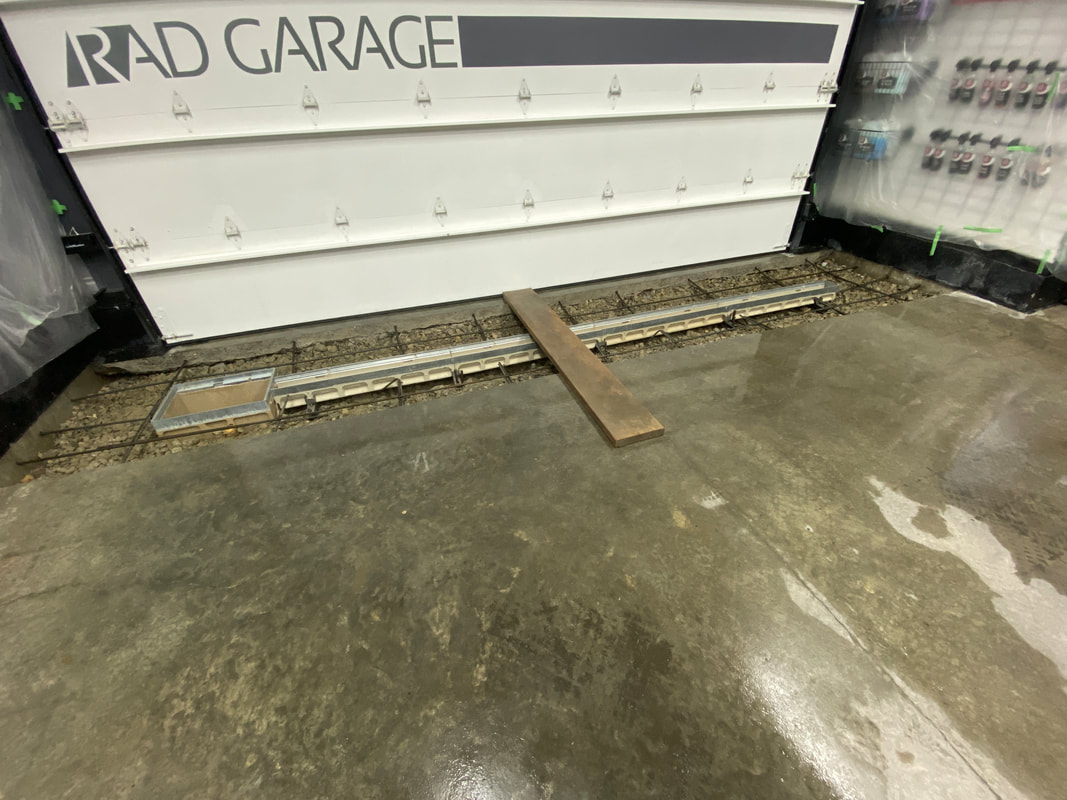
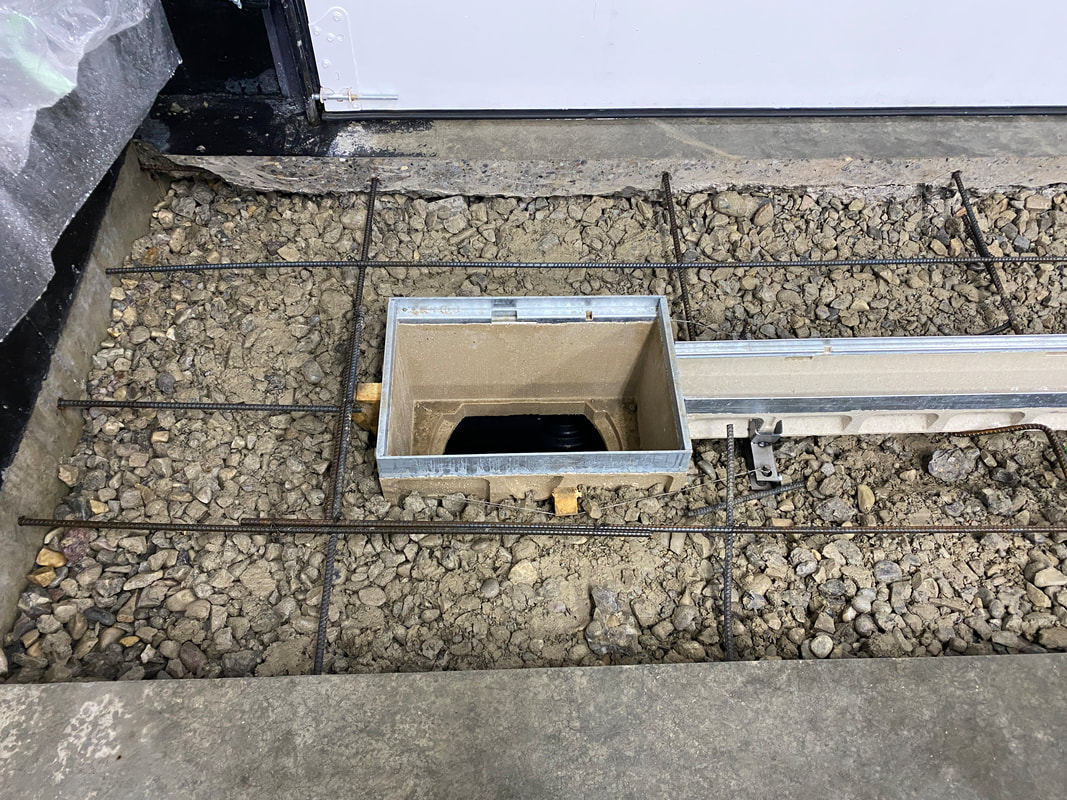
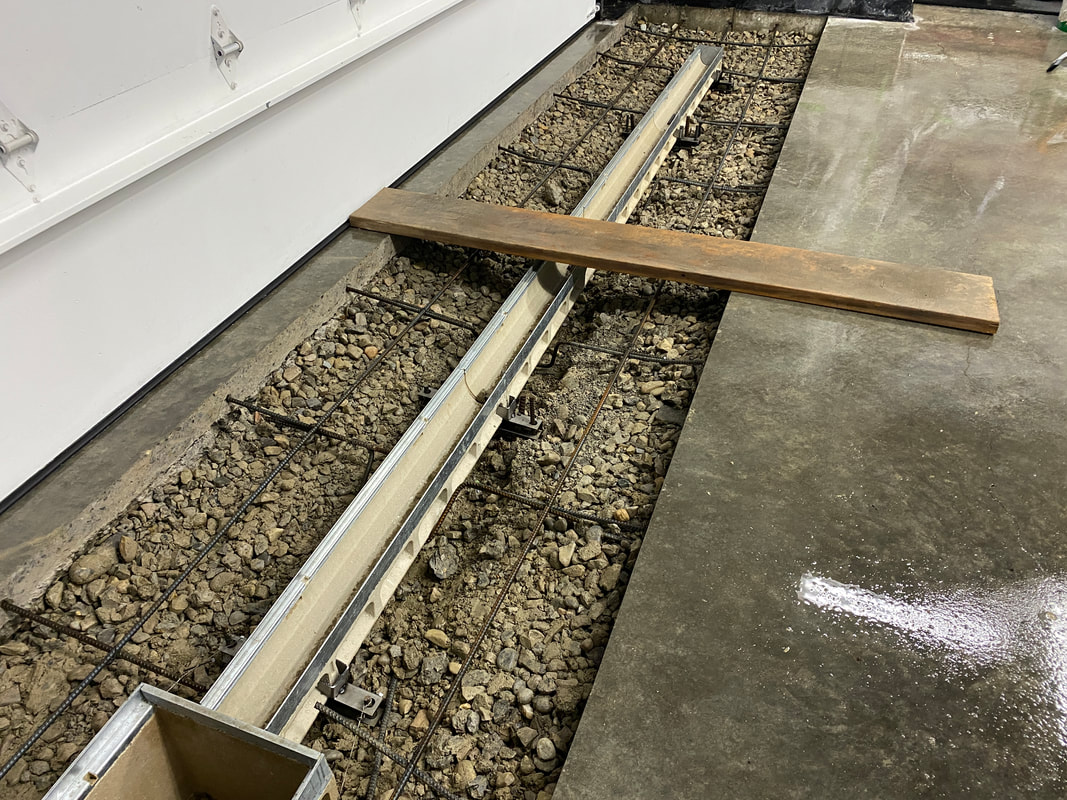
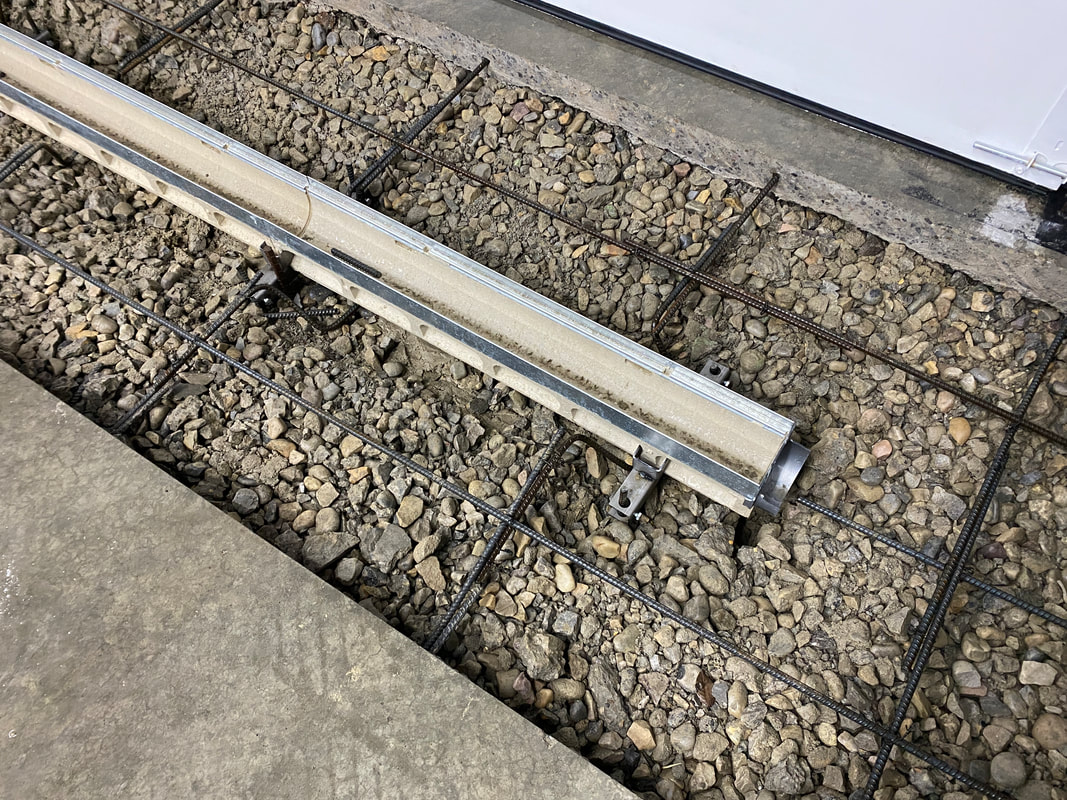
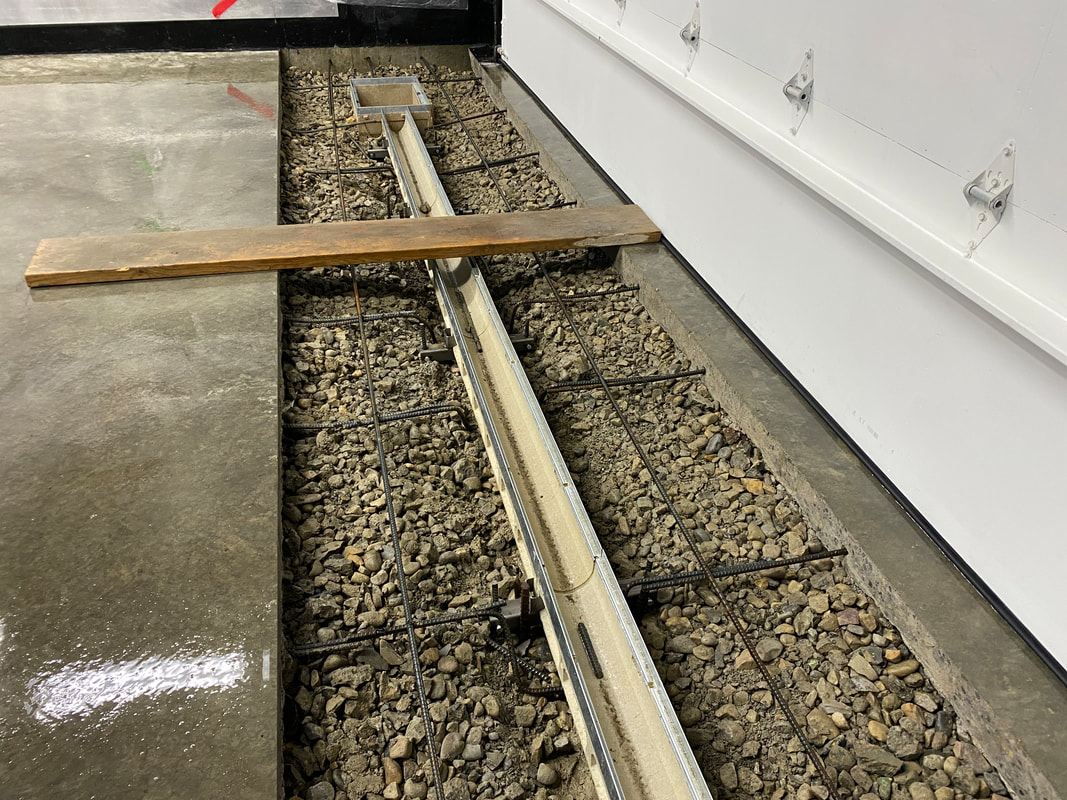
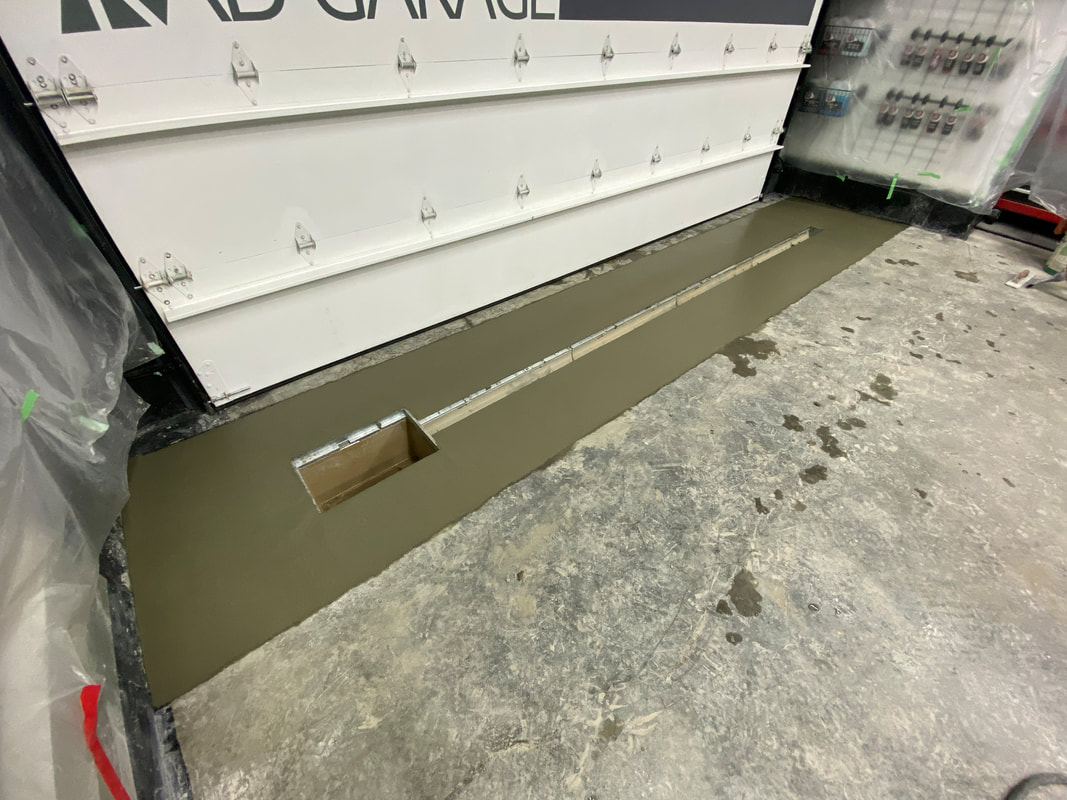
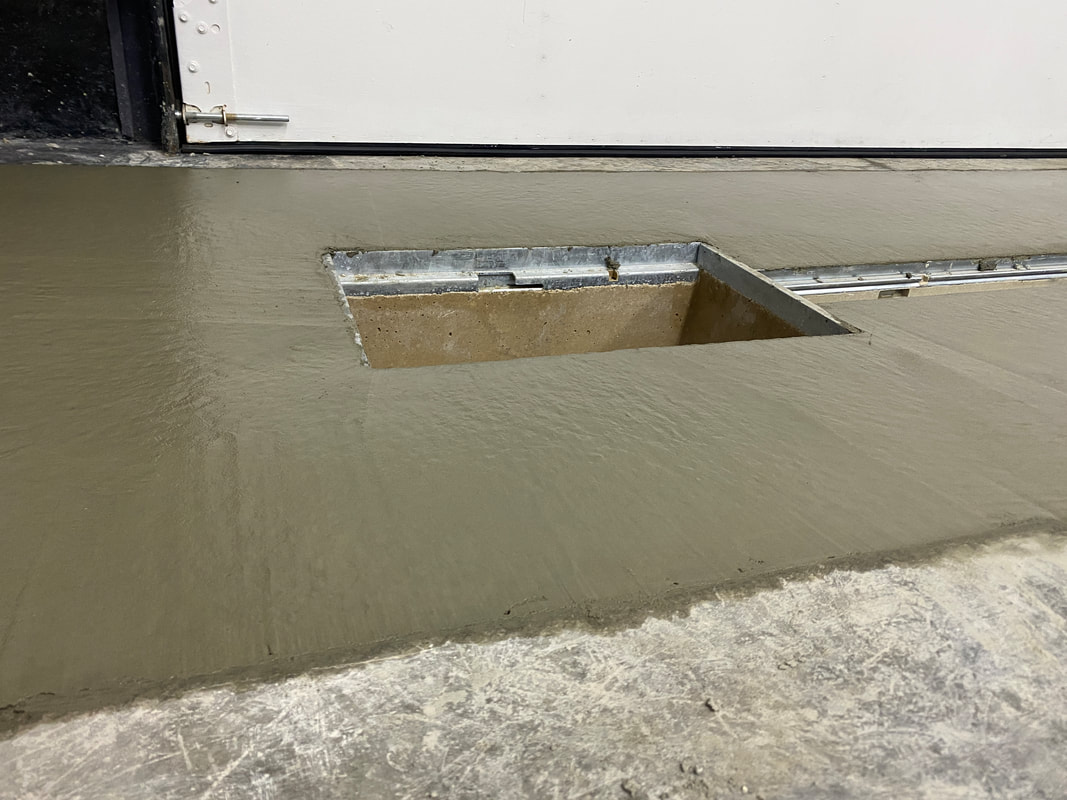
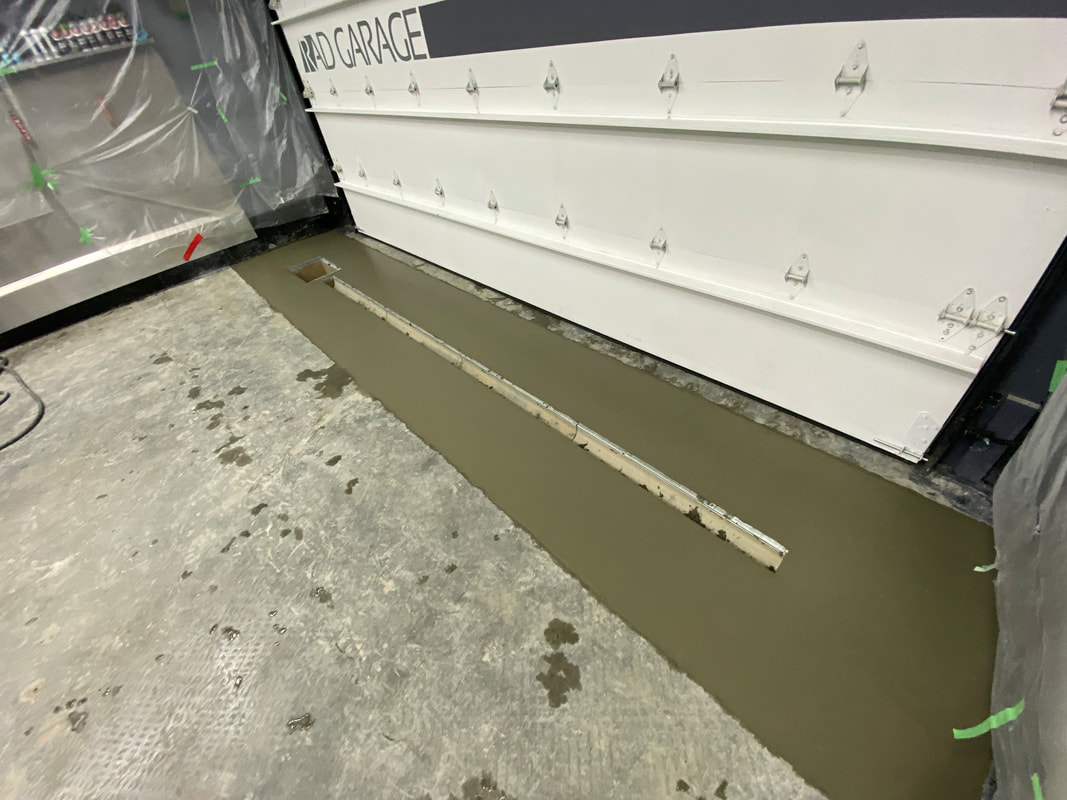
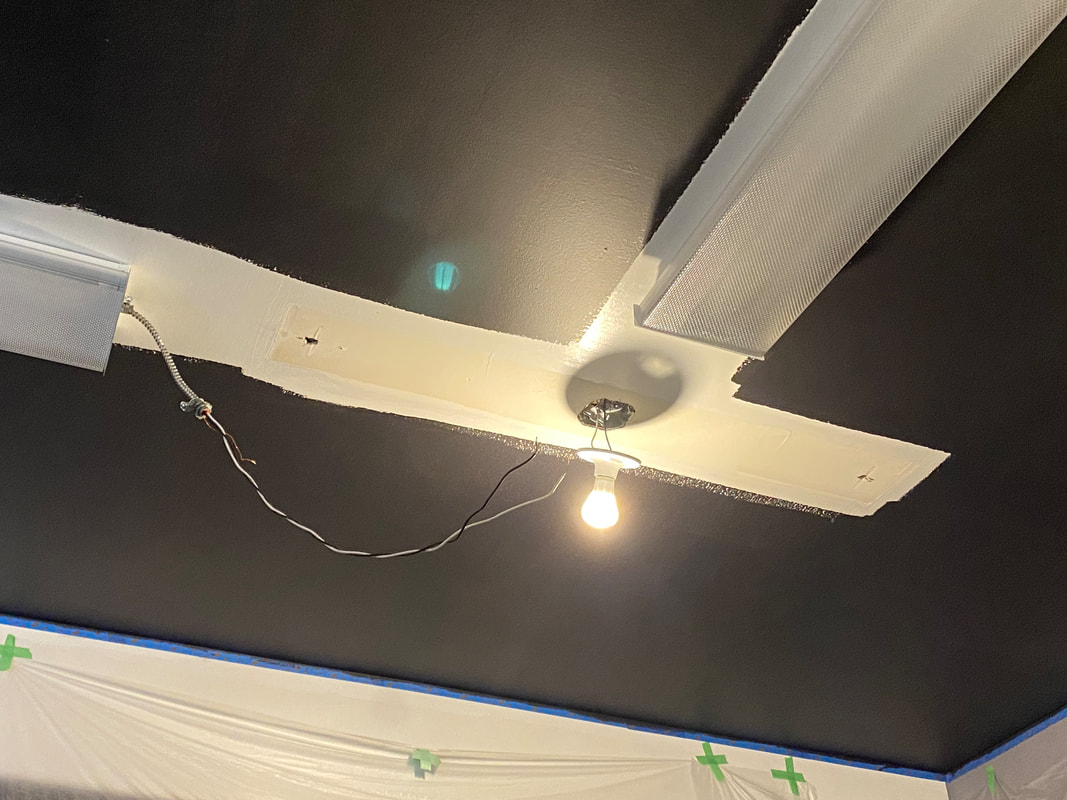
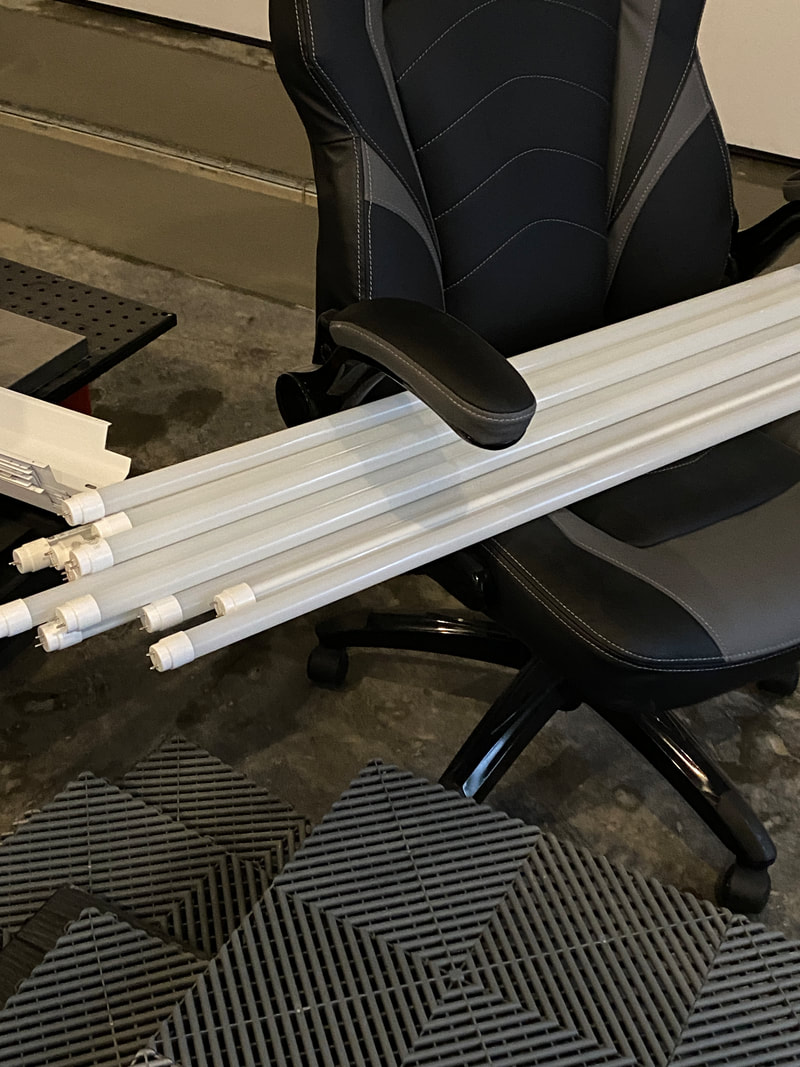
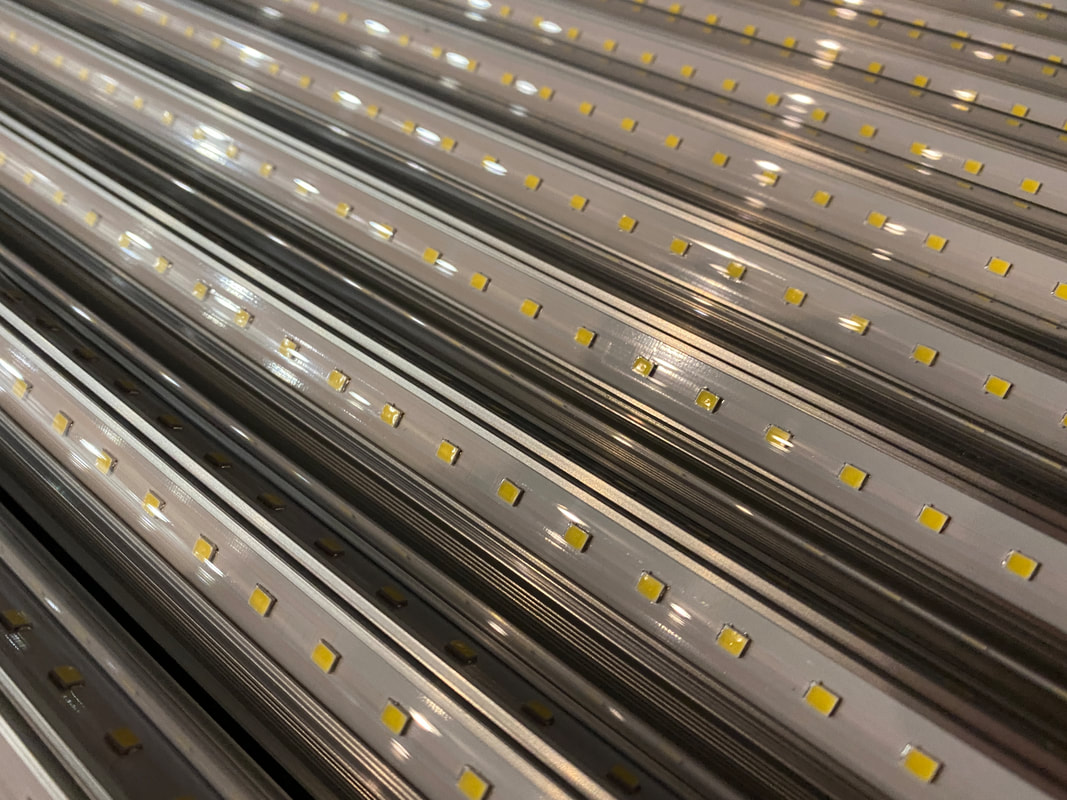
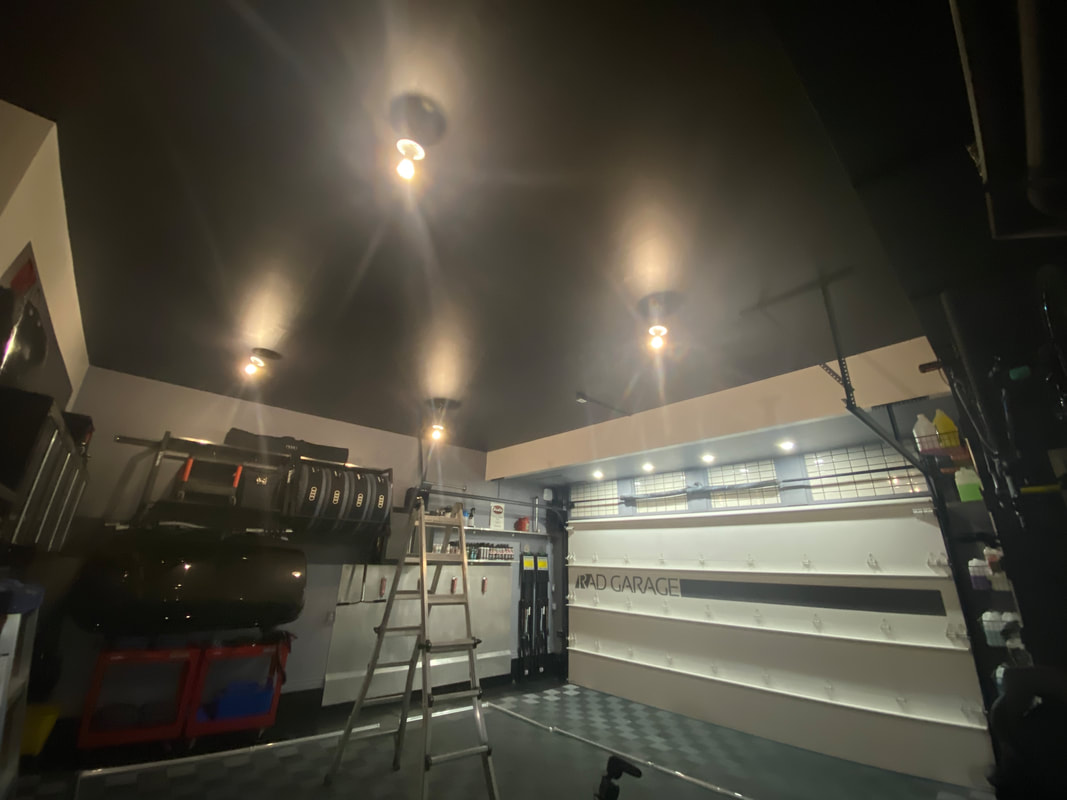
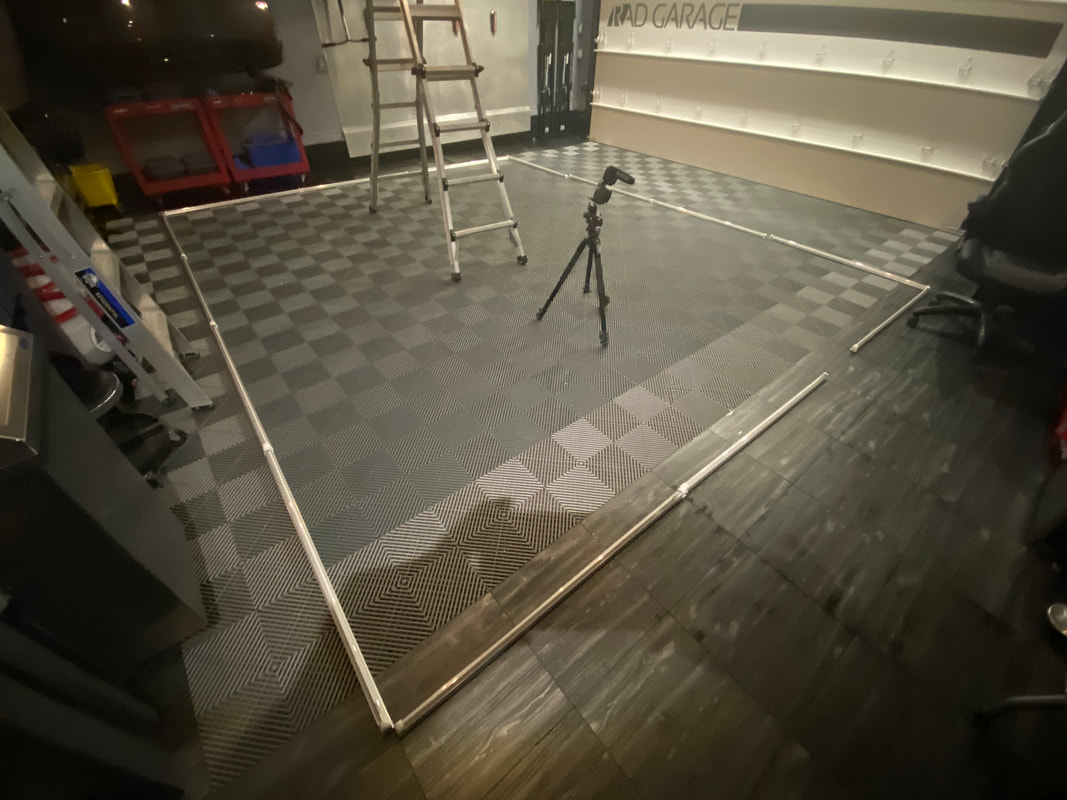
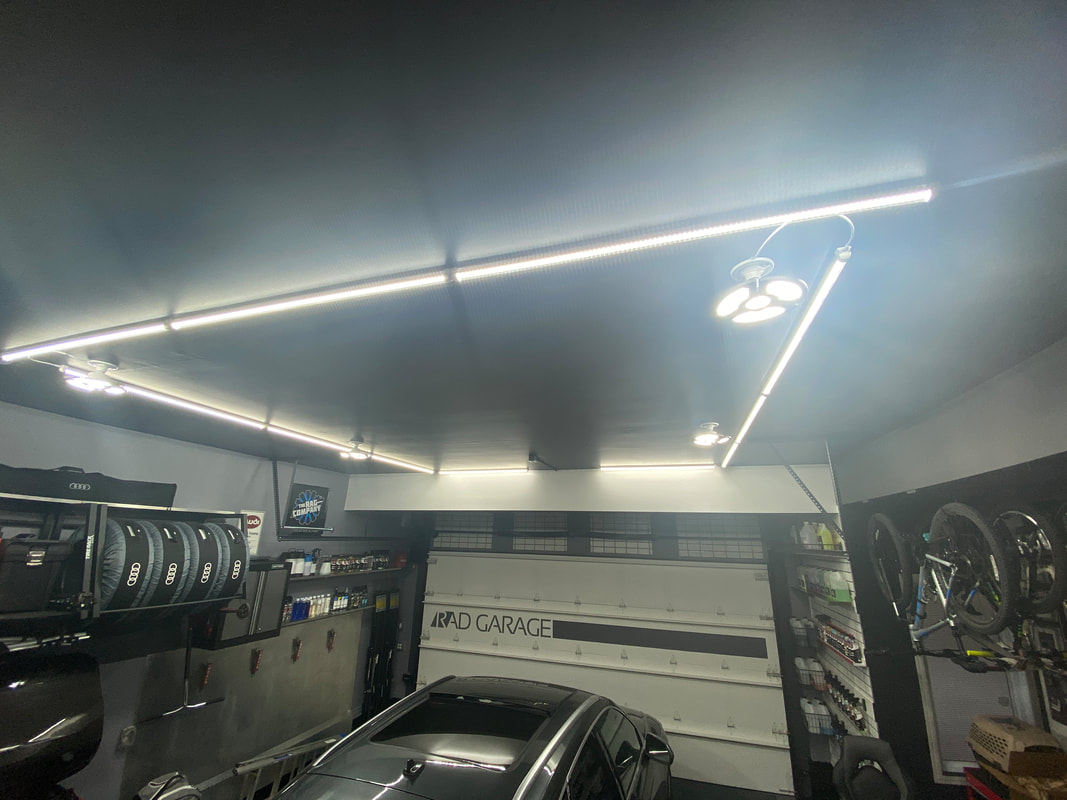
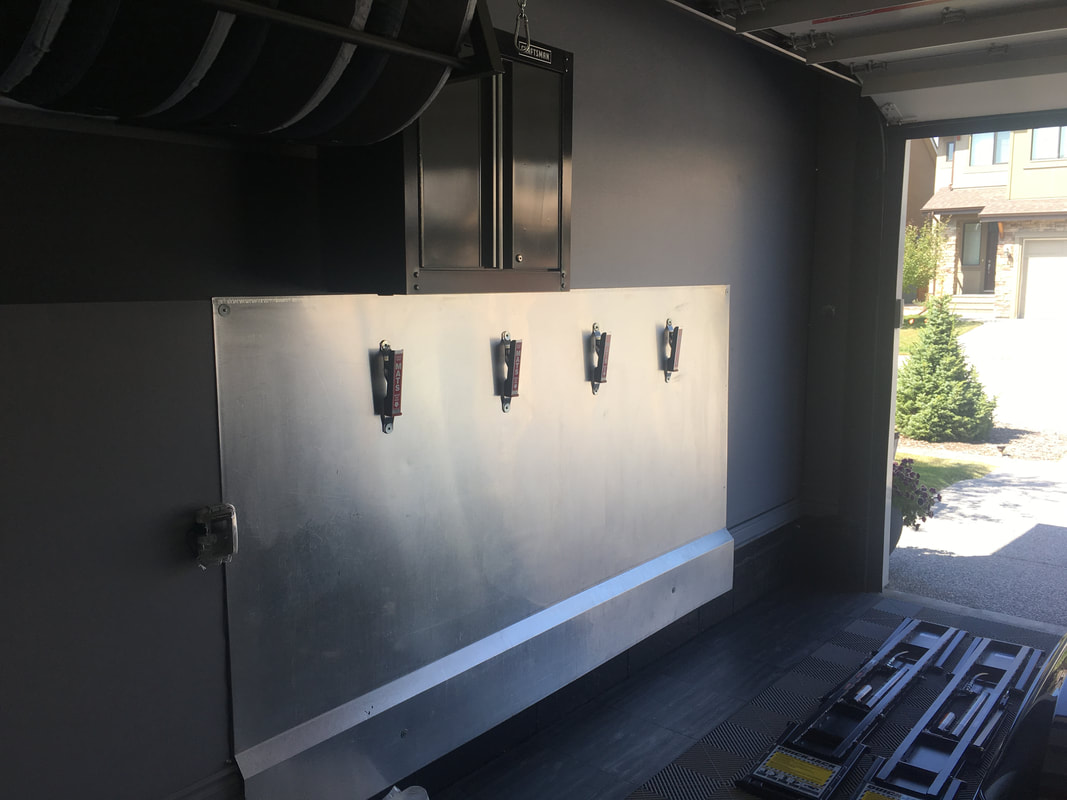
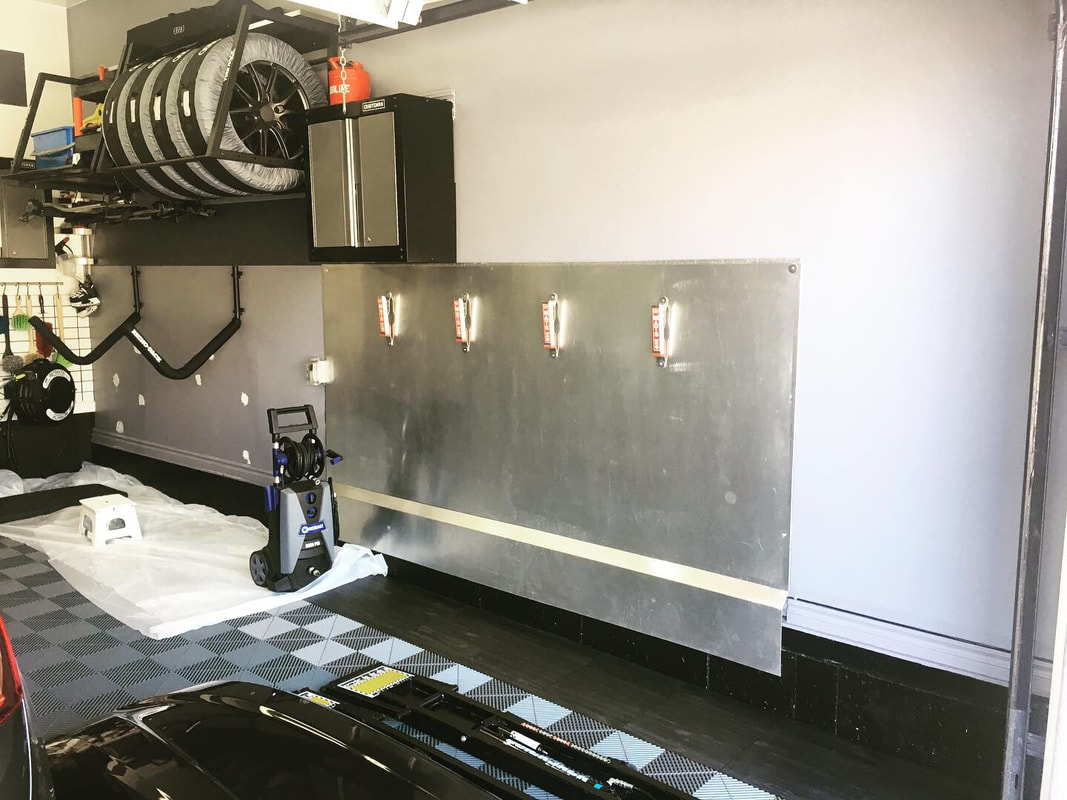
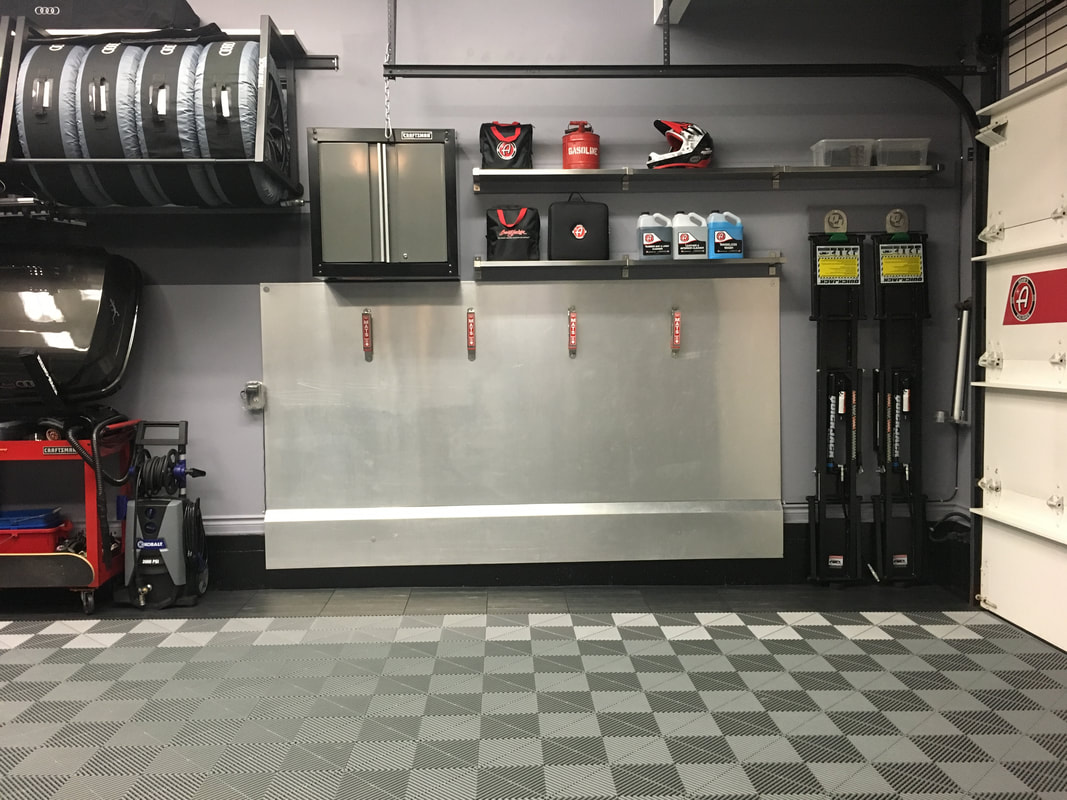
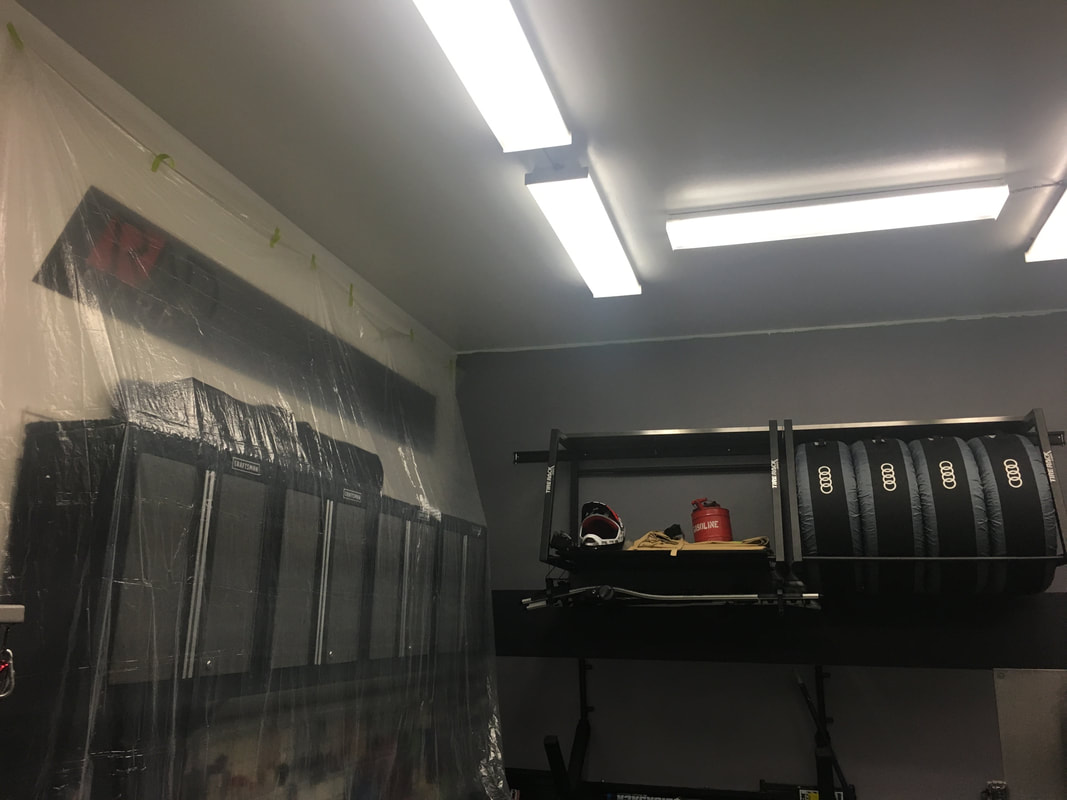
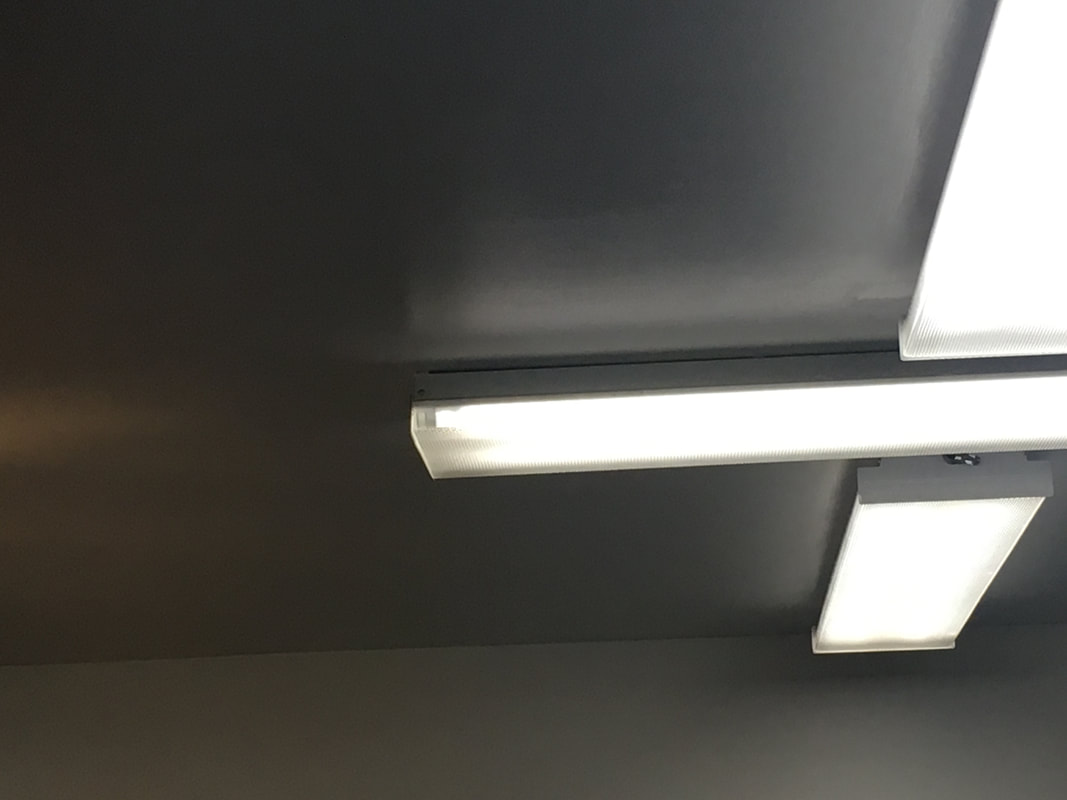
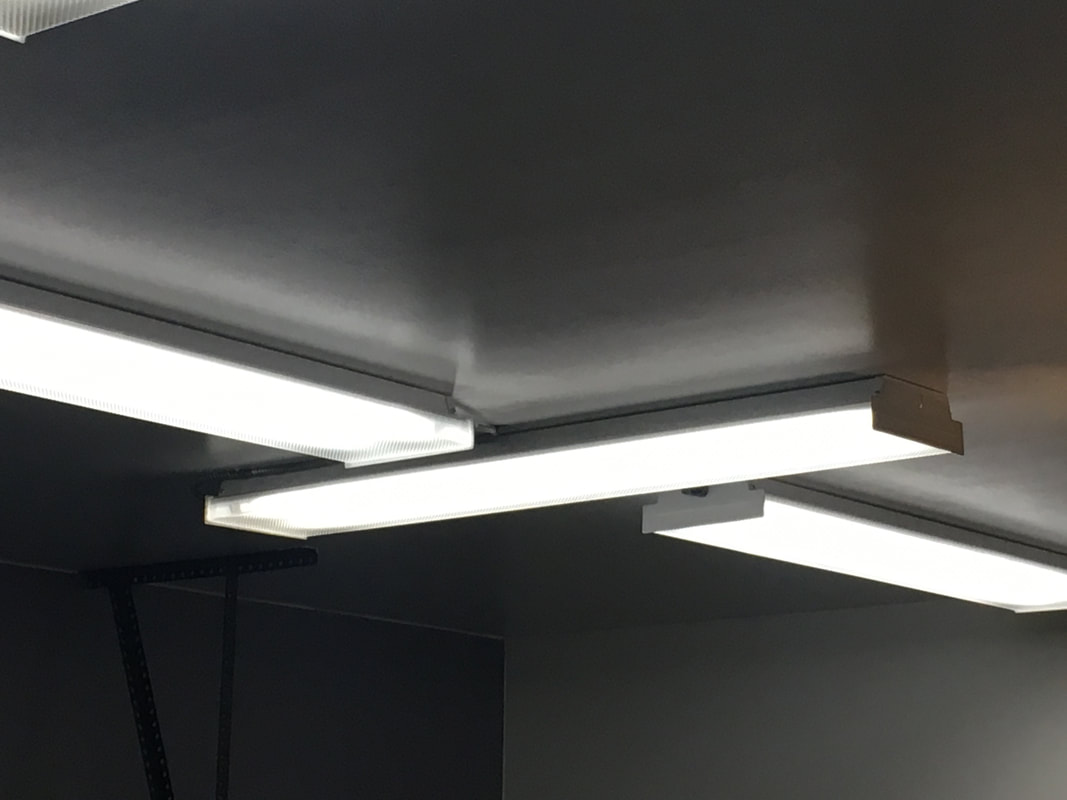
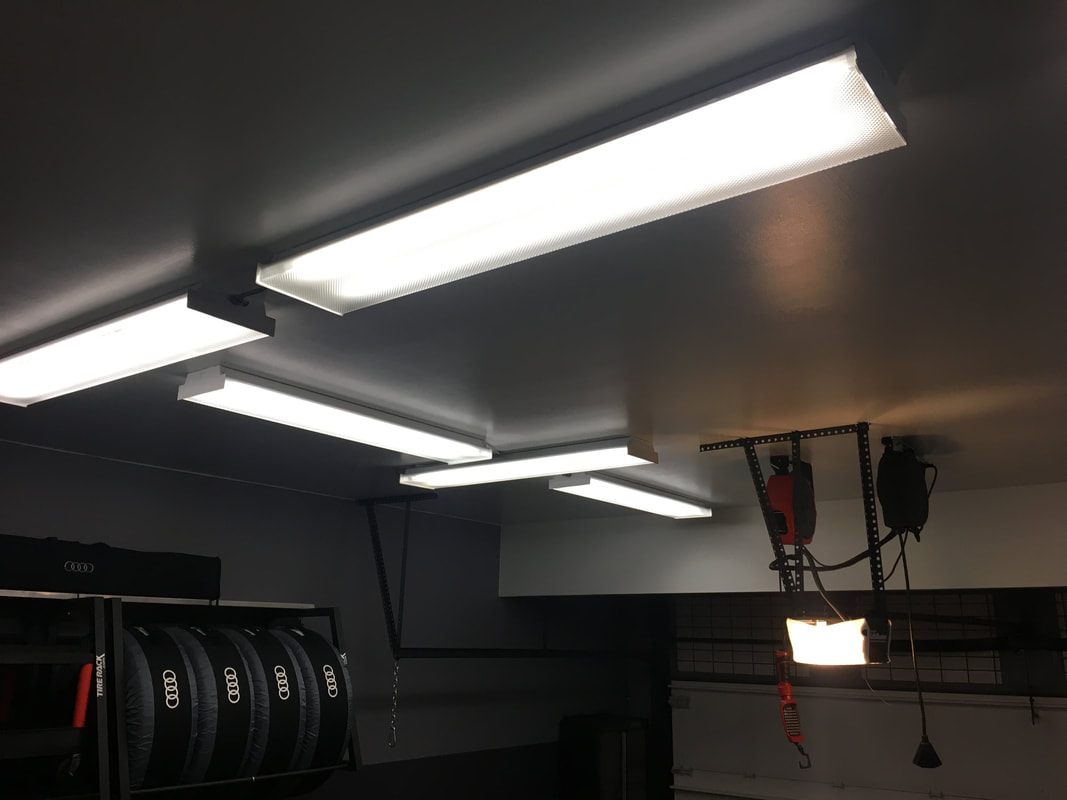
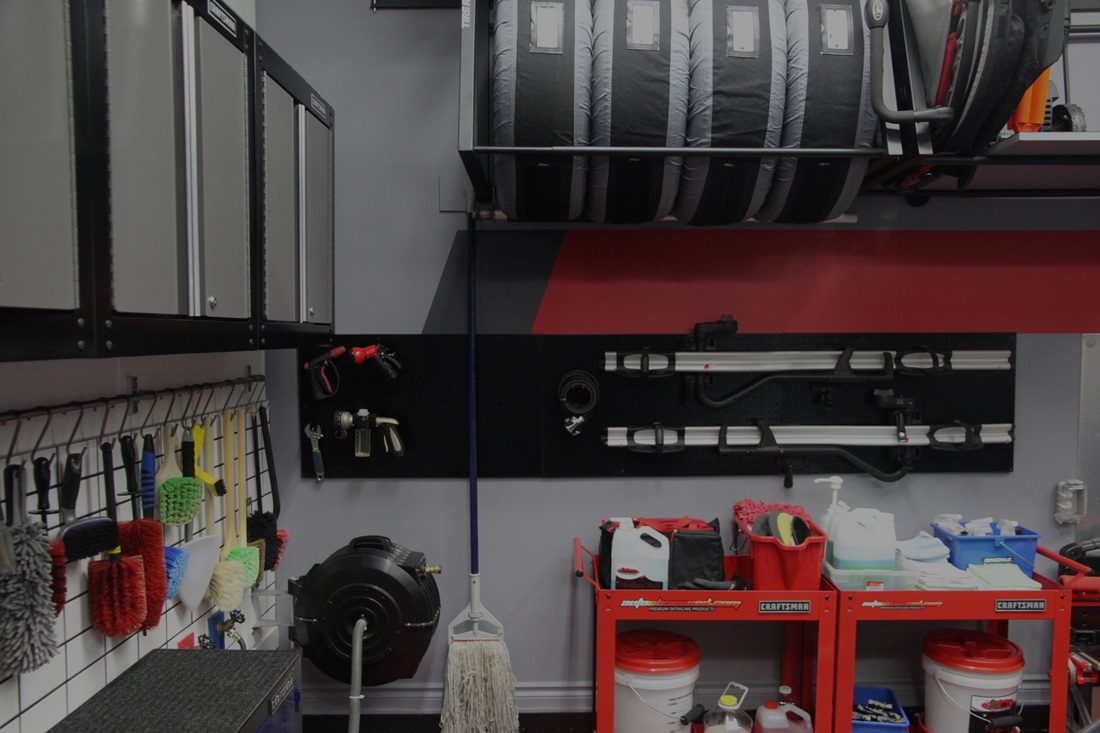
I am so happy to be introducing a new pressure washer system into the garage. I will be sharing the full story behind my AR630TSS acquisition in a forthcoming video, but I had to figure out how I was going to store it in the garage. I decided to position it in the dead centre of the garage on the house wall. Here, it will allow easy and convenient access to all corners of the garage. I sourced a 16"x24" John Boos & Company stainless steel shelf. This is a robust shelf that is specifically made for commercial kitchens so I felt it was the perfect choice to support the near-60lb AR unit. I removed the lower of my two Craftsman metal pegboard panels and affixed a 1" backer plate of wood to the wall using nails, screws and construction adhesive. This slab of wood isn't going anywhere. I used 3" wood screws to attach the shelf supports to the wall. I painted the panel with my darkest colour, "Film Noir". I am currently waiting on the MTM hose reel that will be positioned directly under the shelf. More updates coming soon! 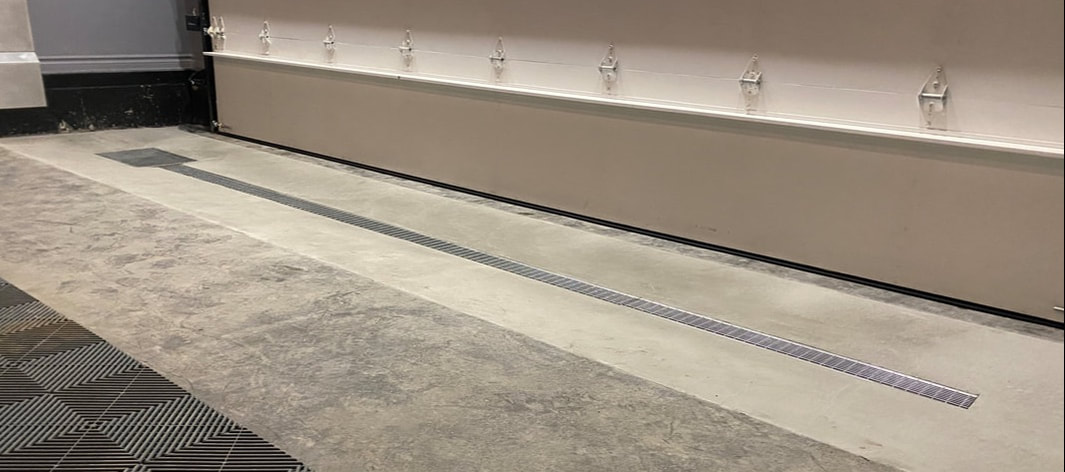 Winter is the perfect time of year to shift my focus to the garage itself. I have always endured drainage challenges that come with snow and ice melting and then freezing just outside the garage door. This ice damning can occur often in the winter, so conceiving a drainage system that prevents water from escaping the garage and wrecking havoc on my driveway has always been a goal of mine. I finally pulled the trigger and enlisted a concrete firm to install a channel drain/catch basin system. The installation process was labor intensive and required a 48" wide section of the existing floor to be demolished and removed by hand. Once the concrete was removed, four 1-meter sections of trench drain were precisely positioned one inch below the level of the existing floor and pitched towards a large catch basin with a 30-gallon capacity. The concrete was then poured and shaped in such a way that all water will be directed towards the channel sections. No water will now escape the garage and cause me headaches in the winter. While that job was in progress, I took it upon myself to paint the ceiling and install all new lighting. A company out of Saskatchewan called LevKom reached out to me and generously offered to supply me with all new LED lighting necessary to turn my space into an even more effective detailing environment. With the help of an electrician friend, we removed all nine existing fluorescent 2-bulb fixtures and installed four 60-watt "trilights" and eleven 30-watt 48" LED linkable tubes. The lighting install took six hours in total and turned out great. These three upgrades have breathed a lot of new life into my garage. I am still in the process of cleaning up all the dust from the concrete work and sanding of the ceiling, but it already looks even more amazing than before. In addition to just looking better, I am now able to conduct details year-round. The garage is now a much more comfortable and efficient place to do my thing! I have documented all of these changes in a 3-video series I call "Floor to Ceiling". This video demonstrates the demolition stage of the drainage project. The crew worked tirelessly for about six or seven hours removing a 48" wide portion of the existing slab. I wasn't able to record the footage of the actual drain and basin placement, but this video shows how they were placed in the excavated portion of the floor. This video demonstrates the final result after the concrete was poured to fill in the system. It also demonstrates the system in action as I perform a quick floor clean.
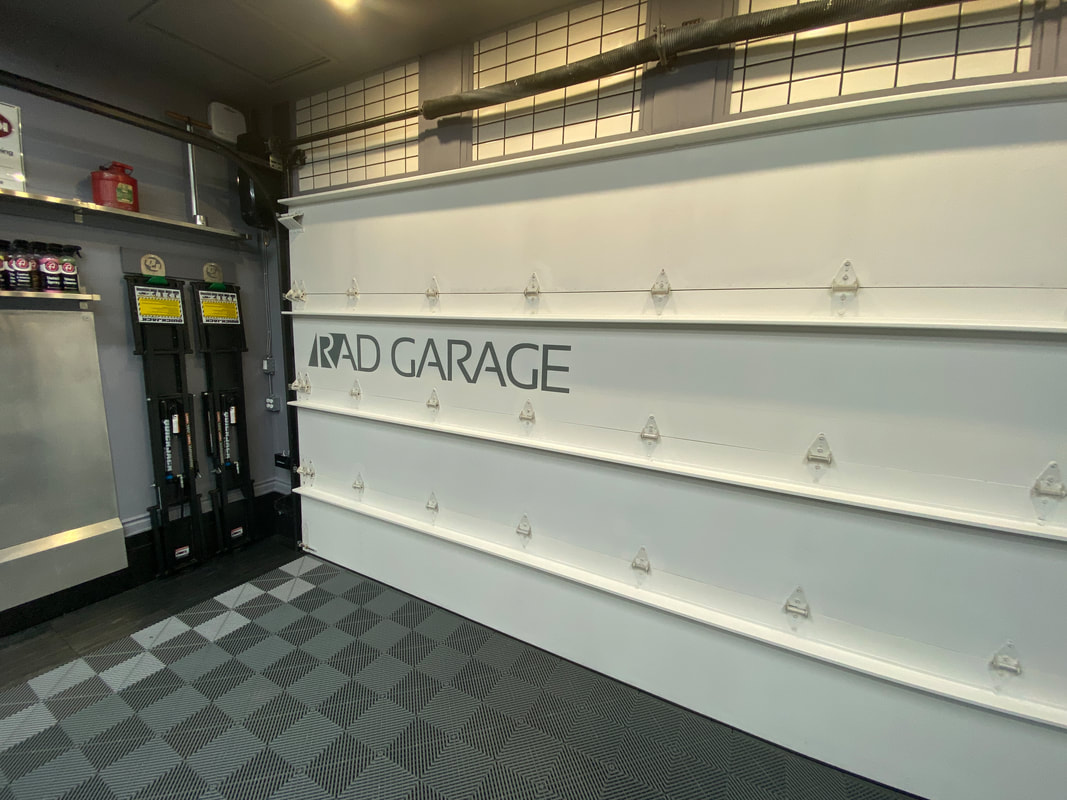
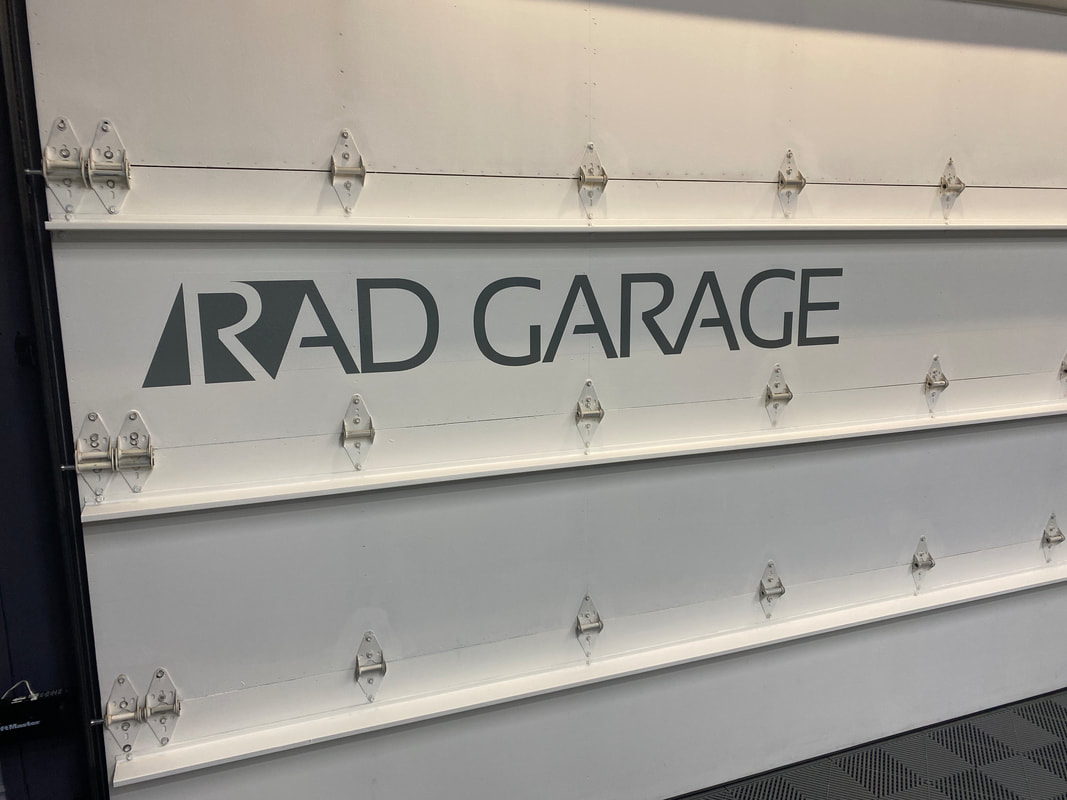
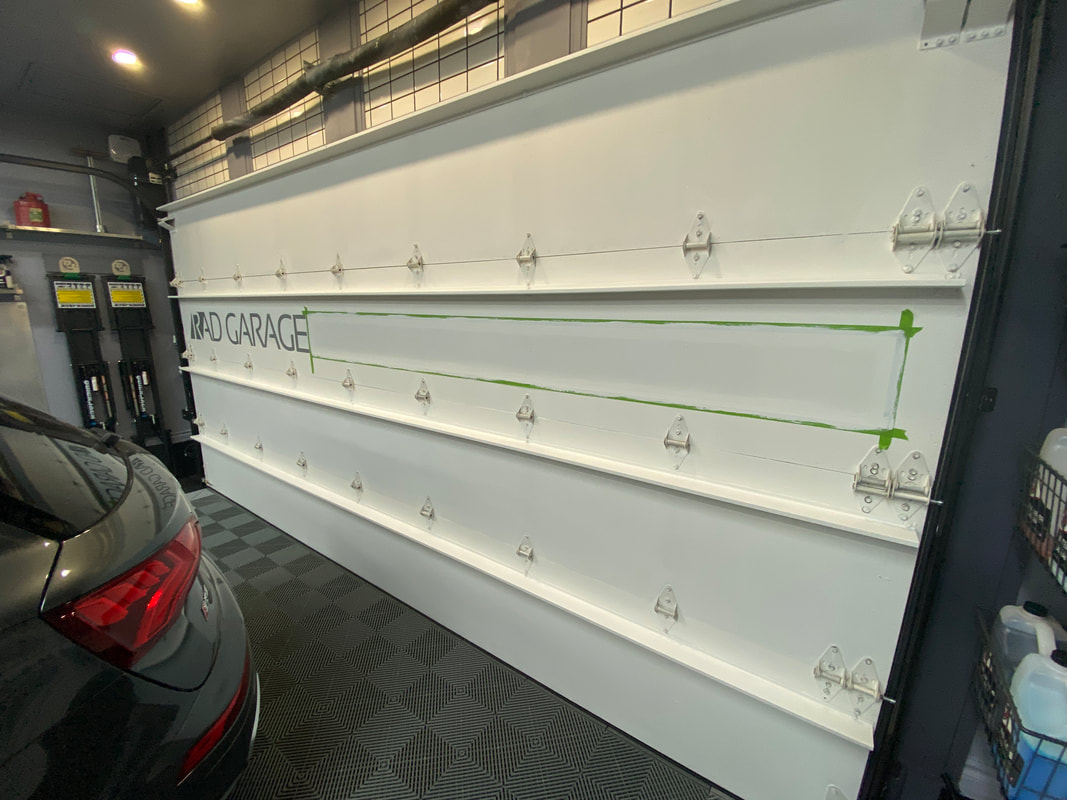
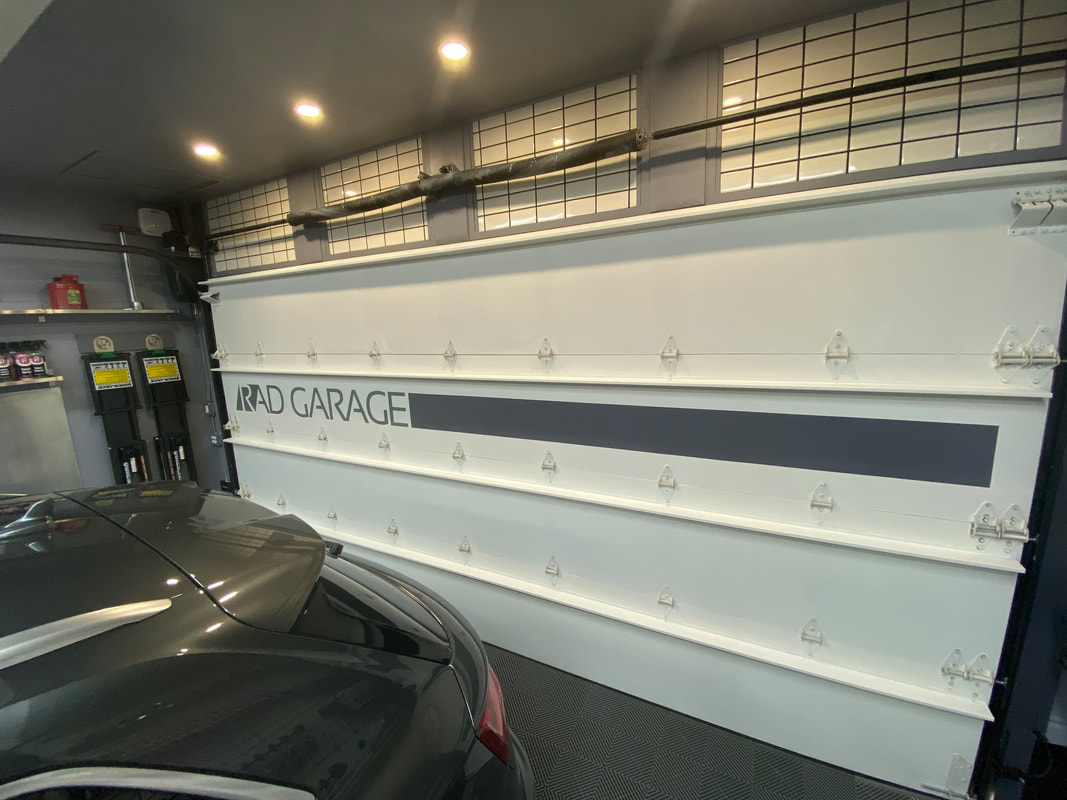
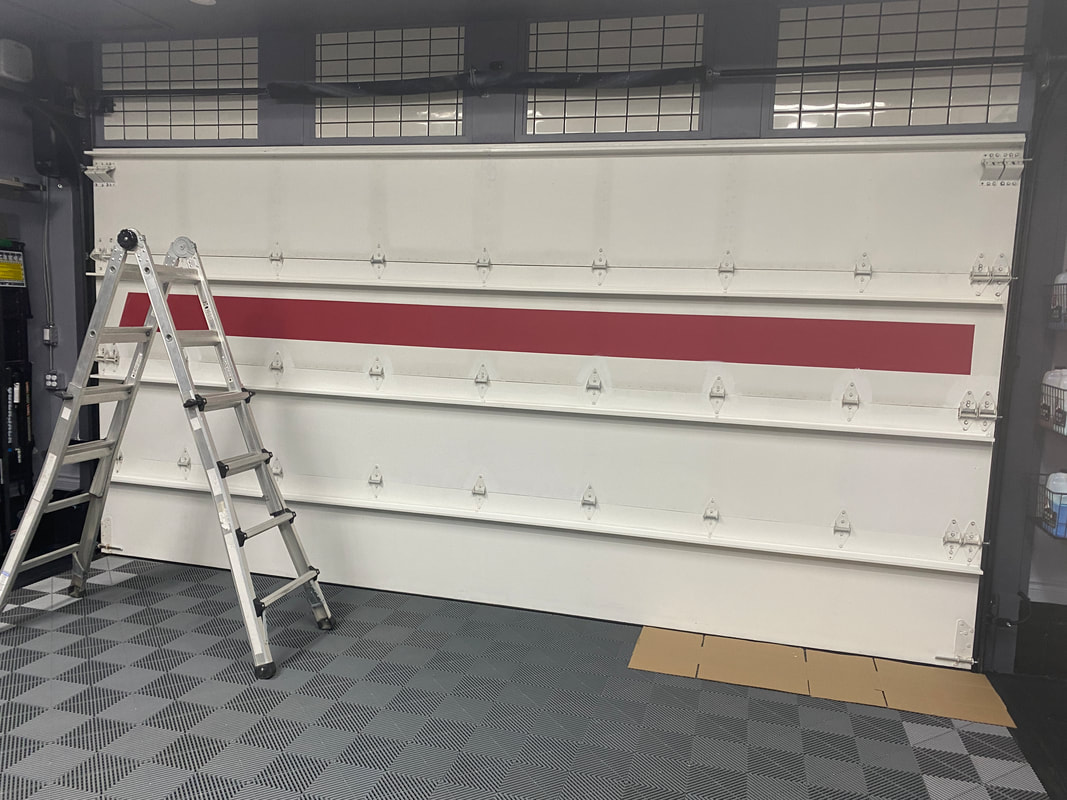
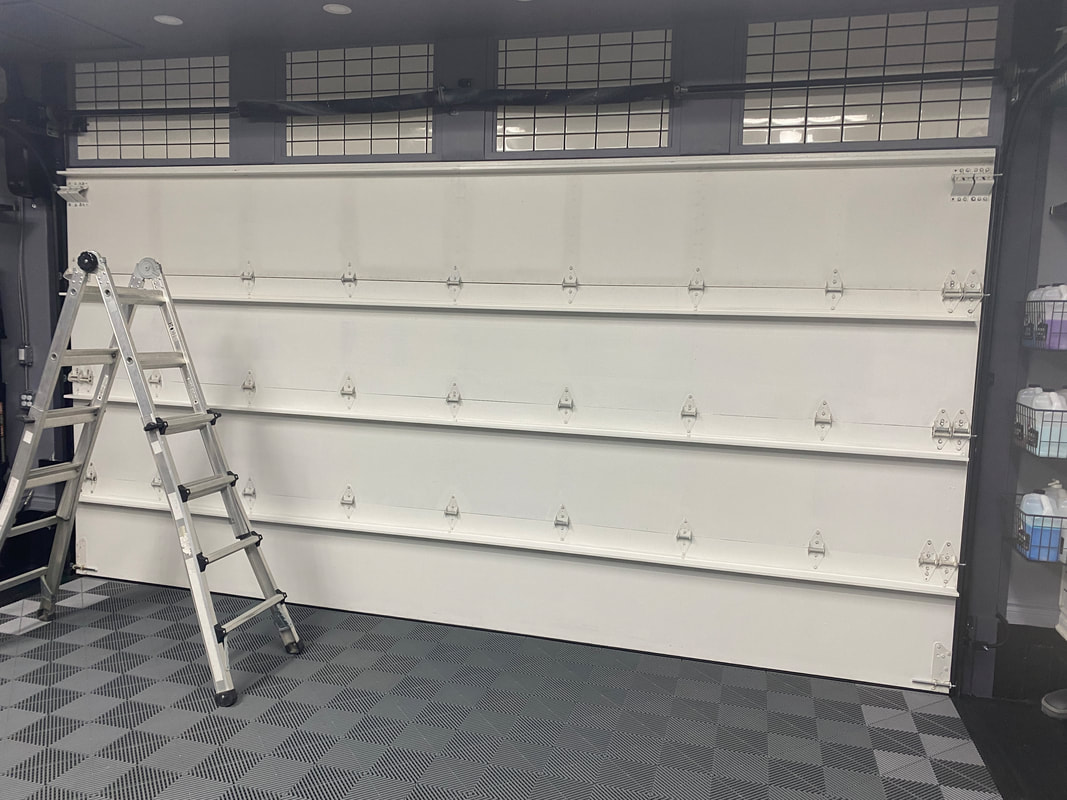
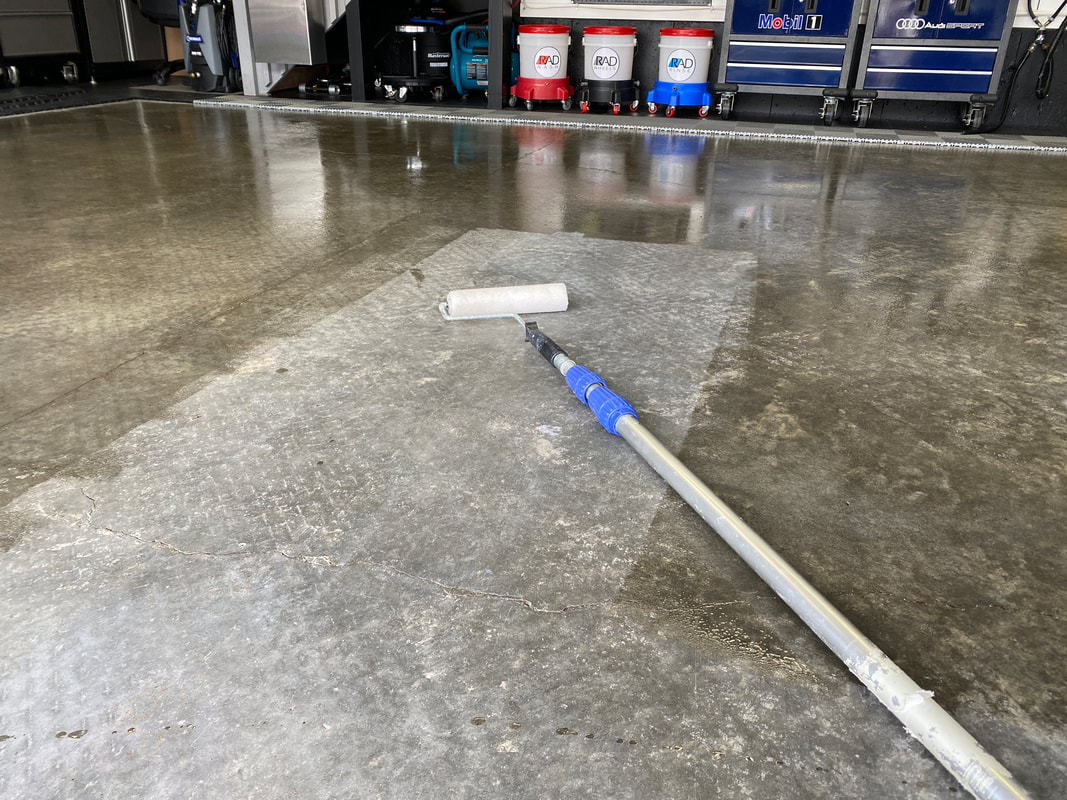
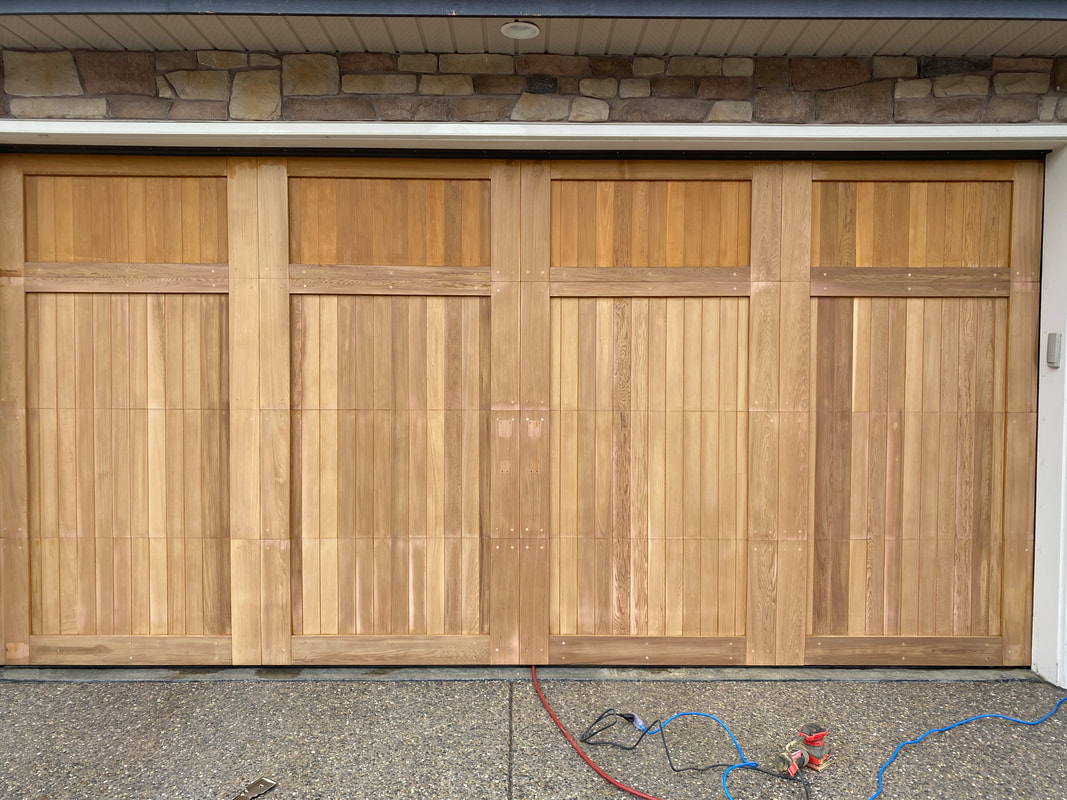
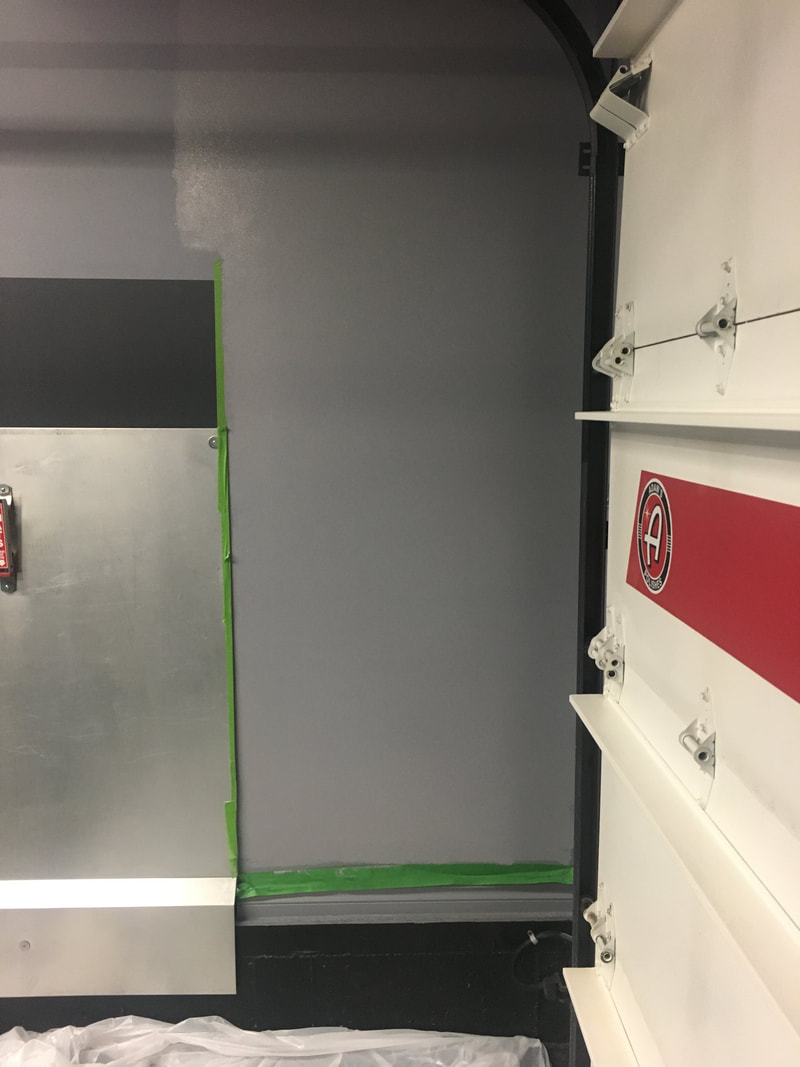
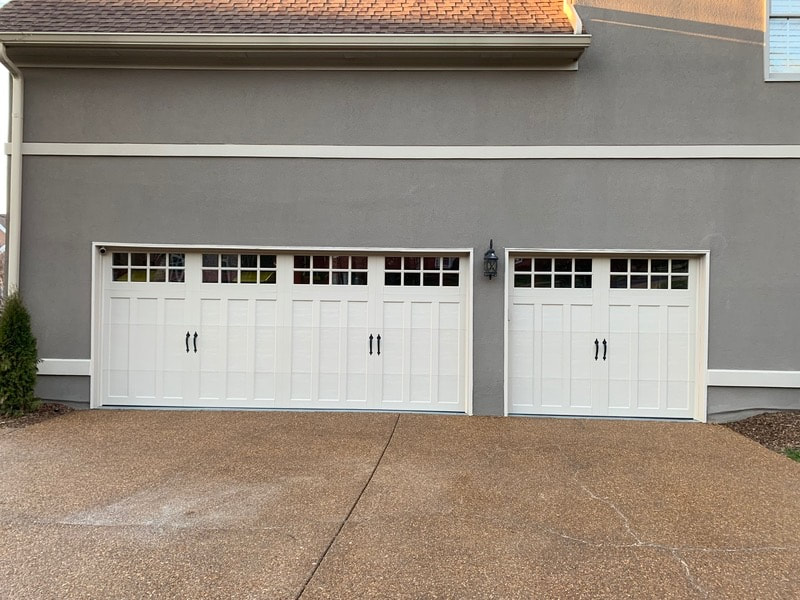
I hand-painted a grey stripe to play off the new decal on my door. I am now considering having some lettering printed out. Below, I have a photo of the garage door as it stands today, and next to that, I have a rendering of what I an considering doing. I refreshed the design on the back of the garage door. I had the team at Custom Decals YYC print me up a 9" decal and I then I painted a corresponding stripe. I went with grey for the decal and the stripe as to tie into the existing grey colour theme. I am quite happy with the results. As with pretty much every aspect of my garage design, I am changing up the look of the inside of my garage door. I've enjoyed the red stripe in the Audi motif, but I thought it was time for a bit of an overhaul. I recently repainted the entire interior side of the door with a white eggshell paint from Rona. Now, what will I do with it? I guess you'll just have to check back in a few weeks to see. 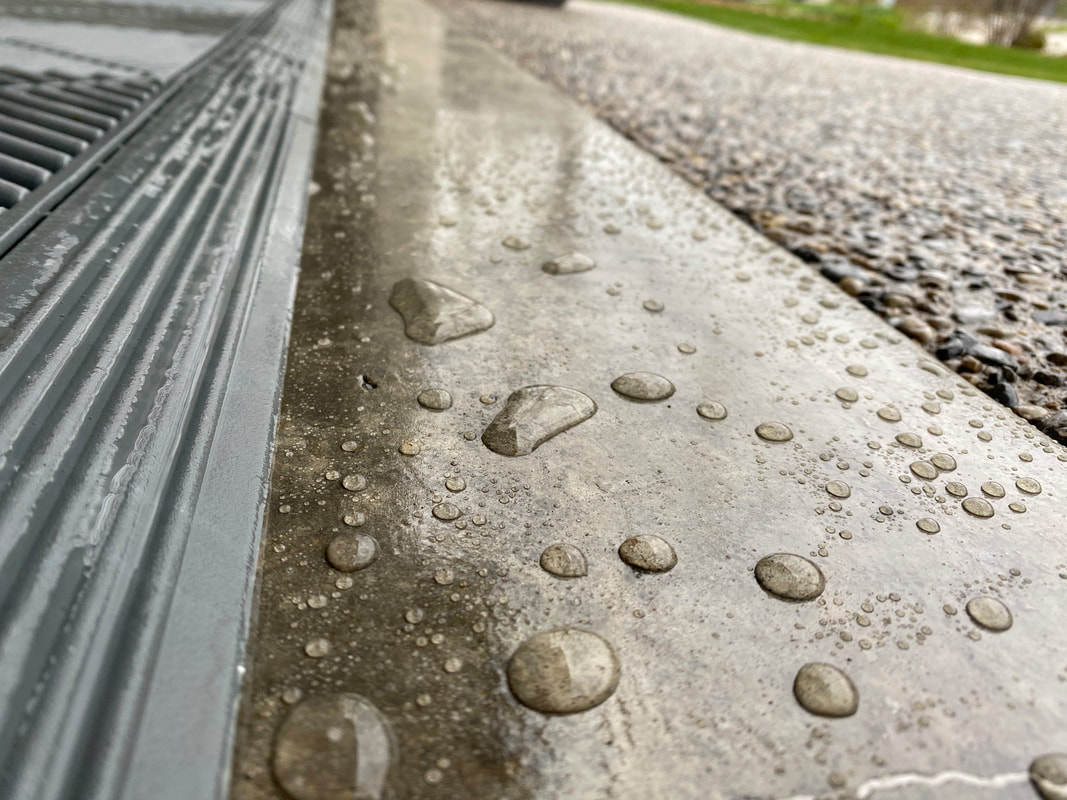 I used up the entire contents of my 18.9 litre bucket of high gloss concrete sealer on the driveway and rear patio, but my neighbor had some left over from his project. He generously allowed me to have it so I put it to good use on my garage floor. I do this every couple of years to add a layer of protection to the garage floor. The amount of road salt mixed with muddy water the floor sees in a given year is substantial, and by coating the floor it makes me feel better about the floor's condition and longevity. I have yet to see any signs of damage to the floor and I think the use of the sealer is the major contributor to its condition. Sealing the floor was easy. I just pressure washed the floor and allowed it to air dry before painting on the sealer with a standard paint roller. The whole coating process took less than fifteen minutes. I anticipate the sealer will last about a year. I found it comical that a professional concrete sealing company would leave a "door knocker" considering how good my driveway and walkway look. I guess they thought it was worth a shot! The amount of money these pros are asking is just ridiculous. For a job ANYONE with a paint roller can perform, I don't know where they get off charging what they charge.
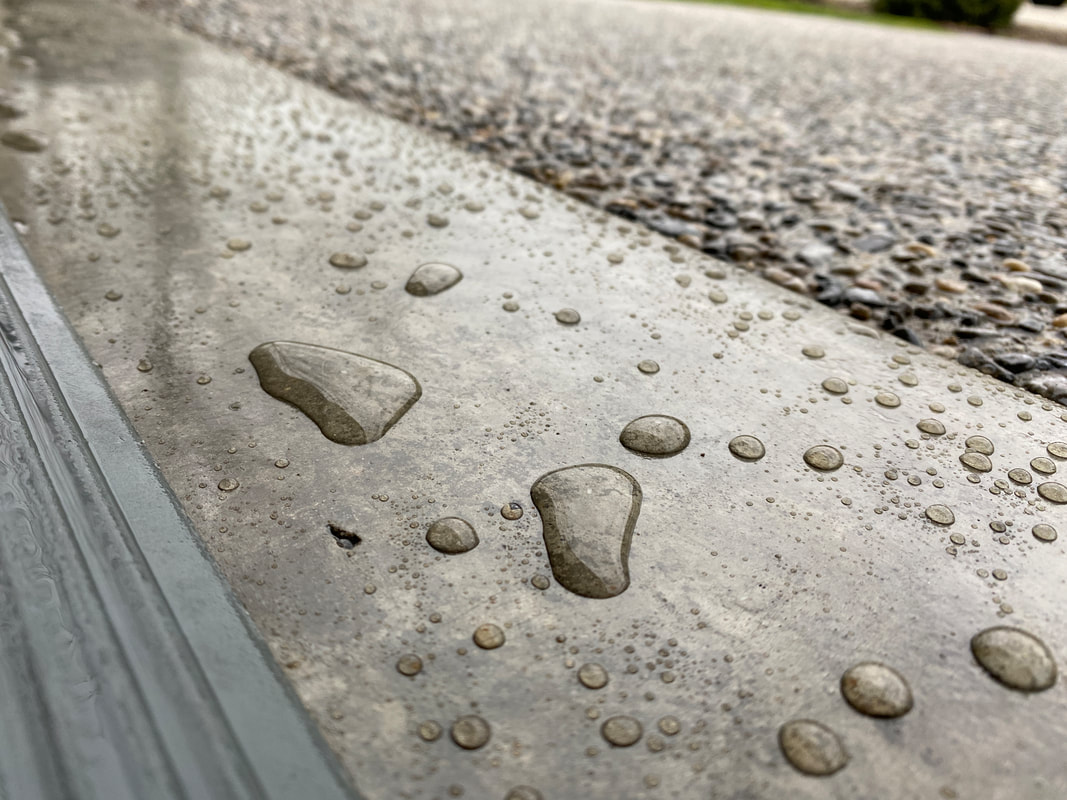
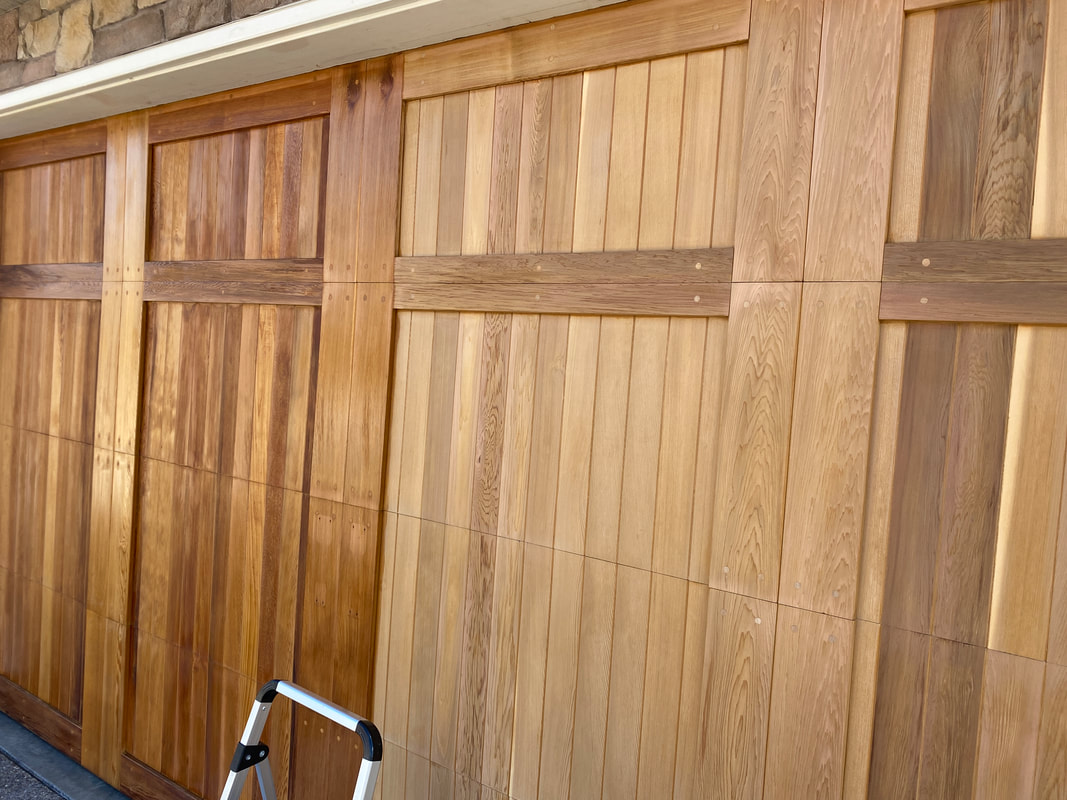
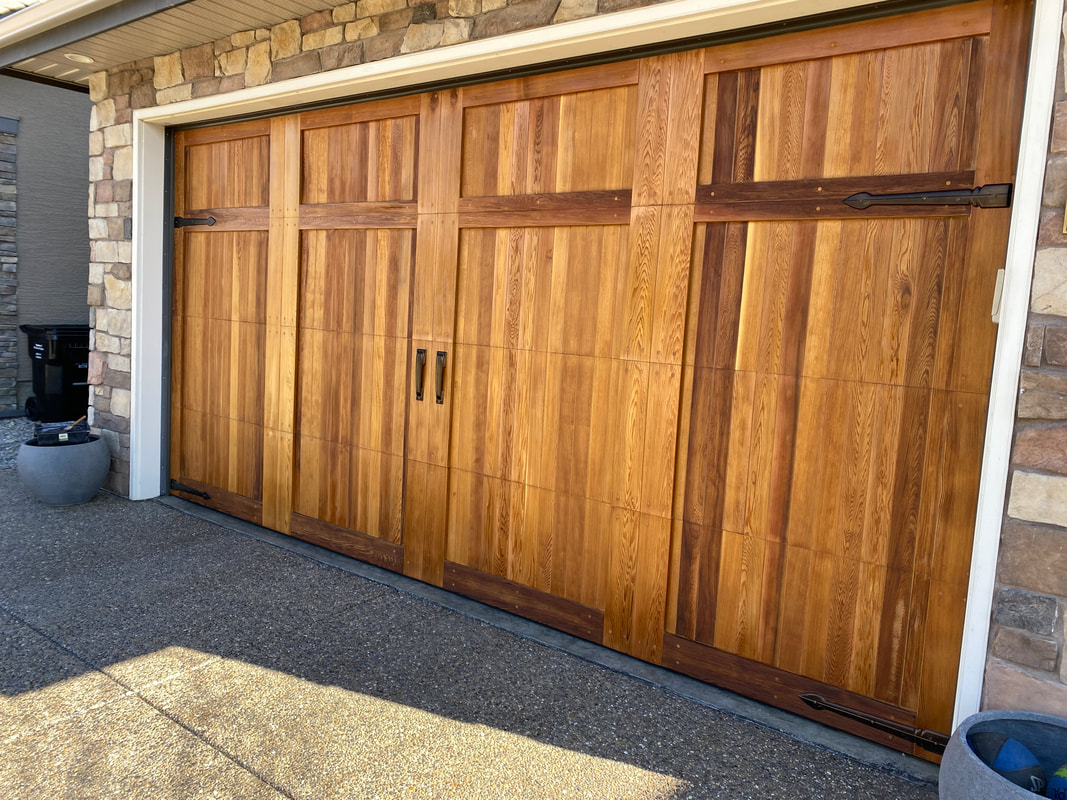
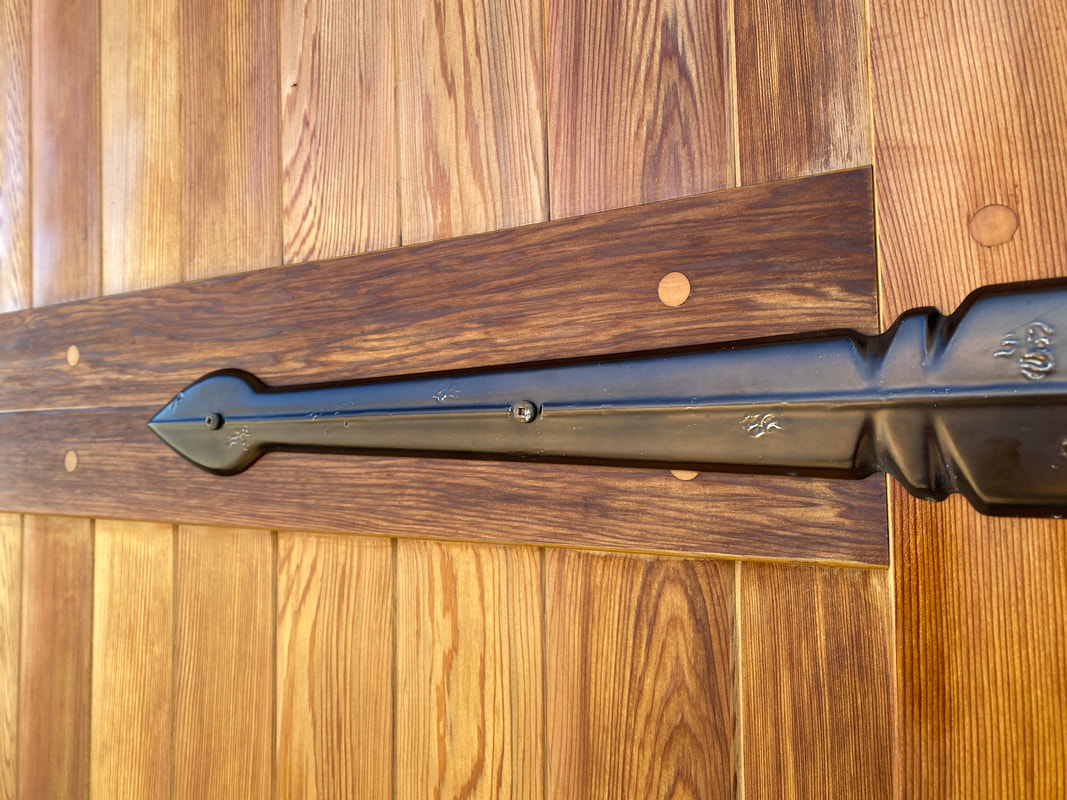
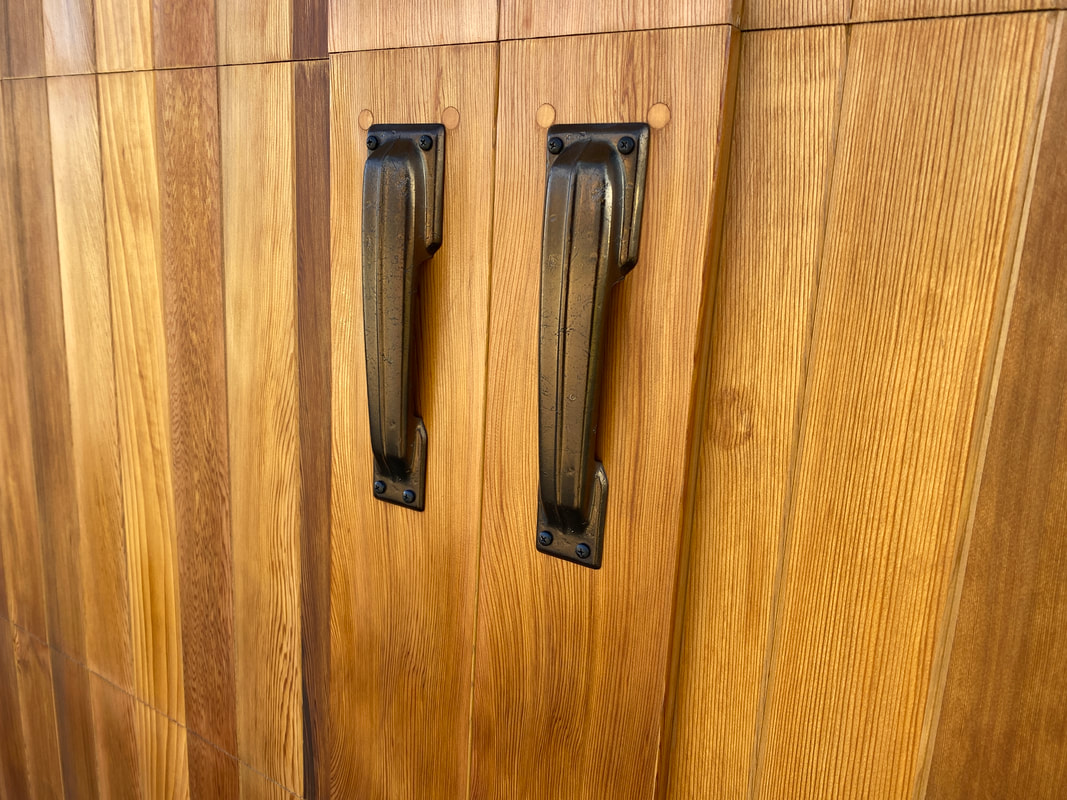
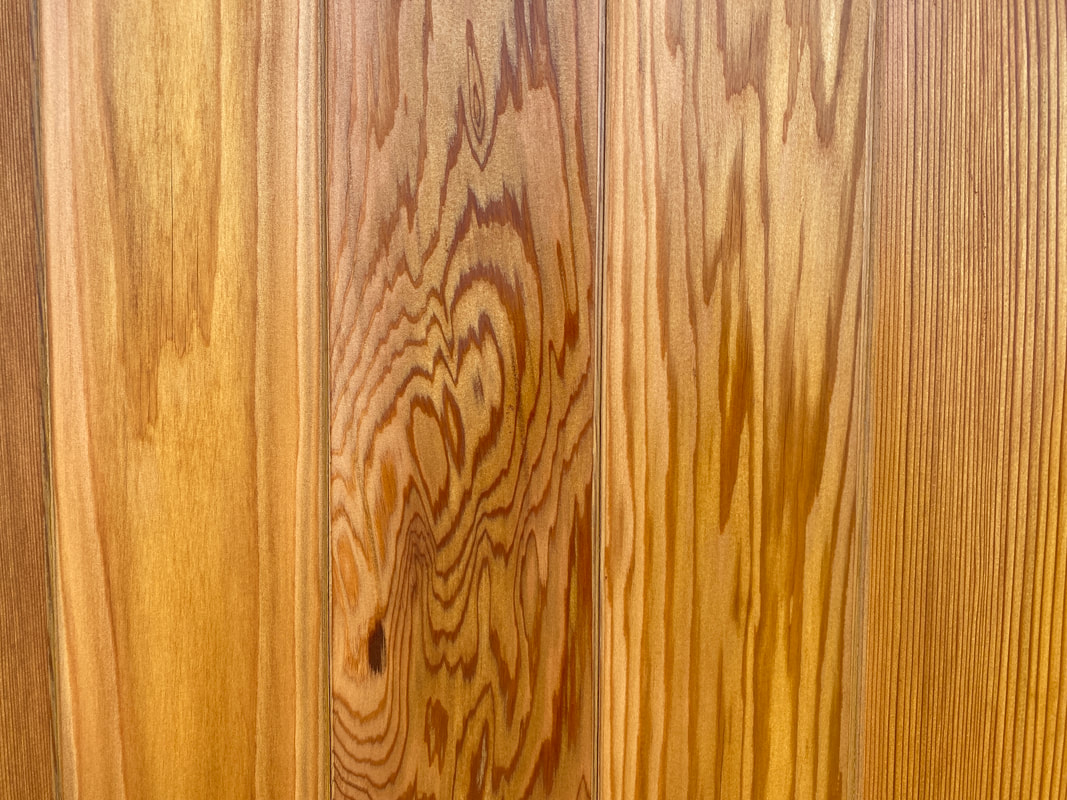
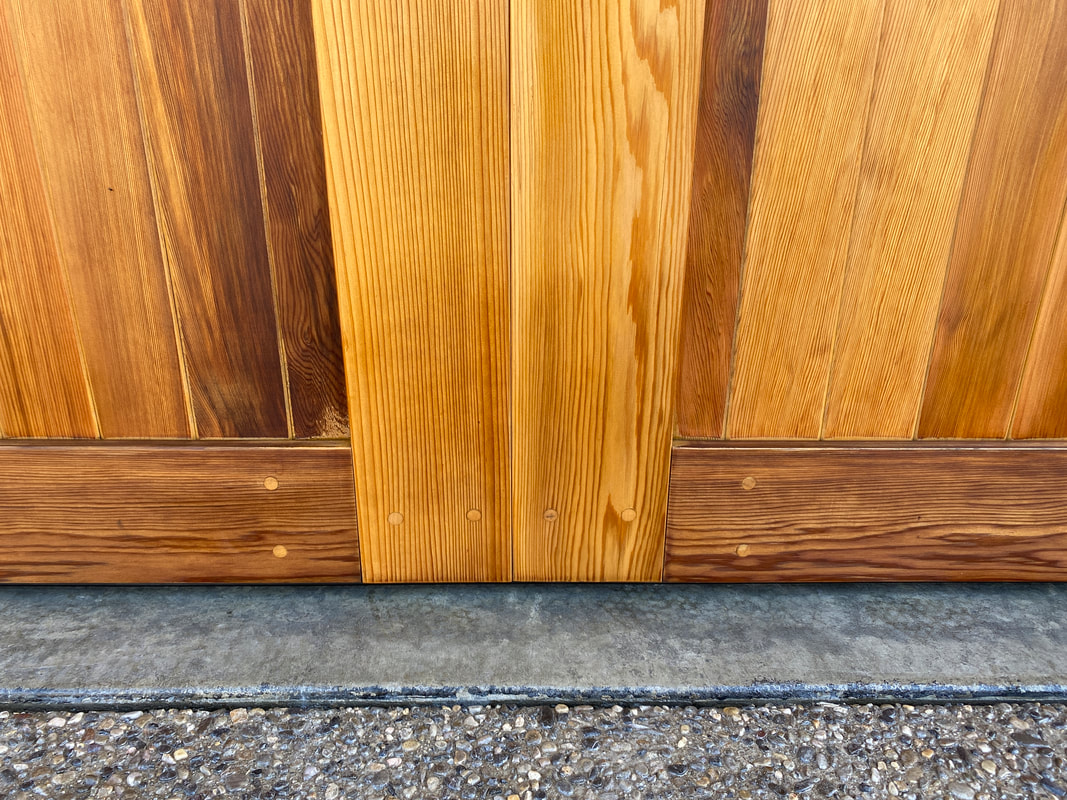
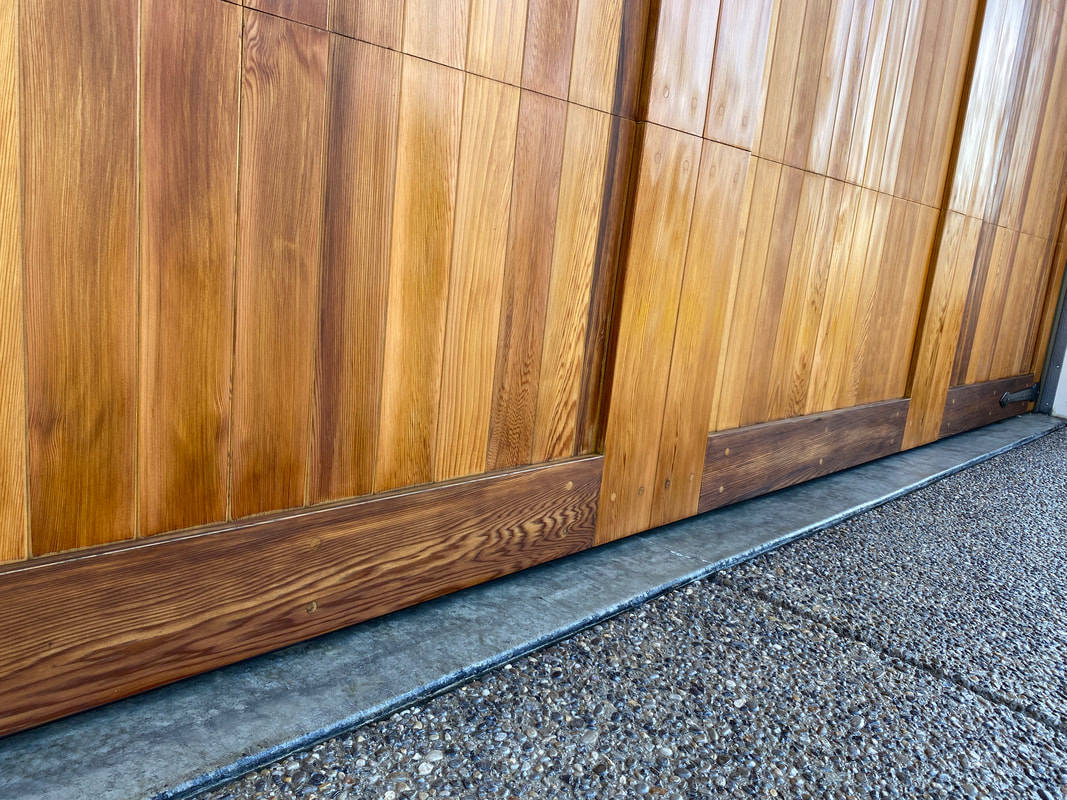
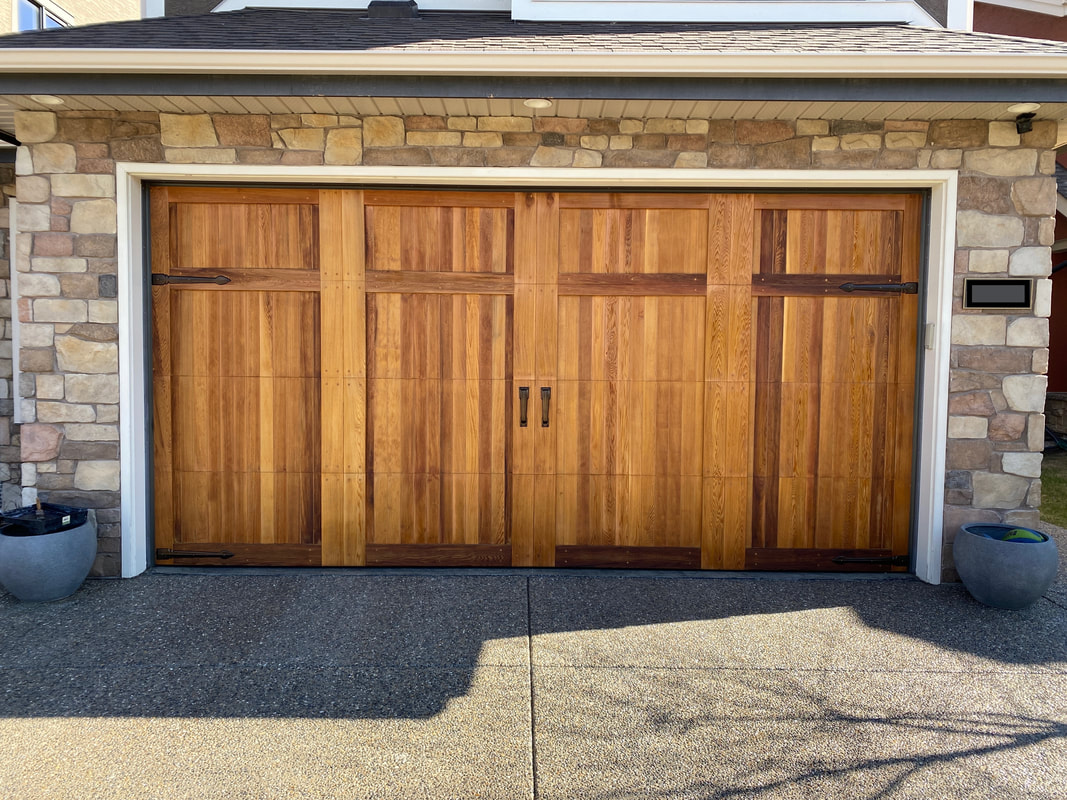
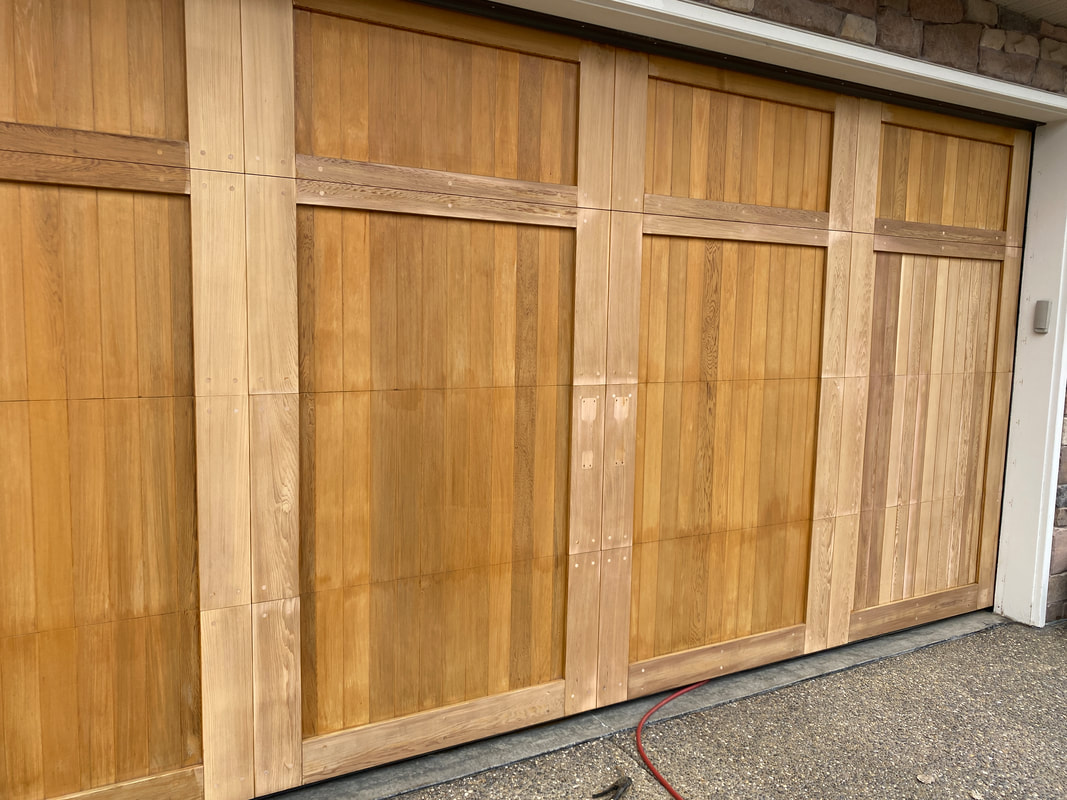
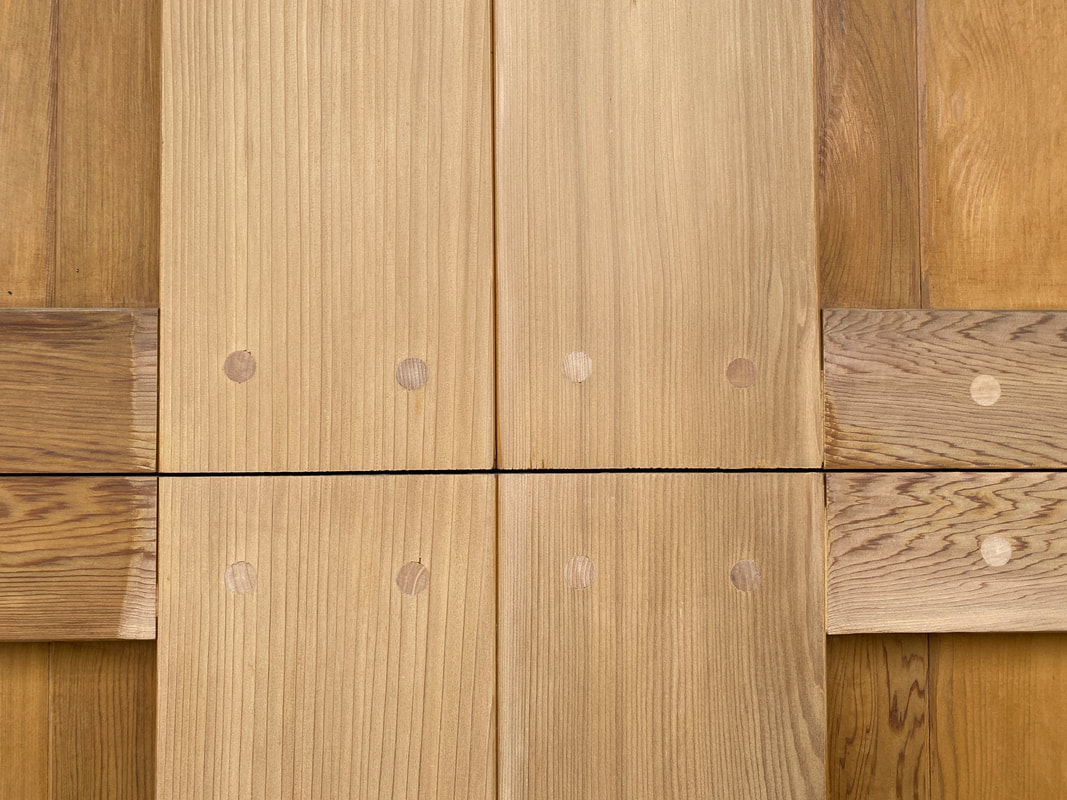
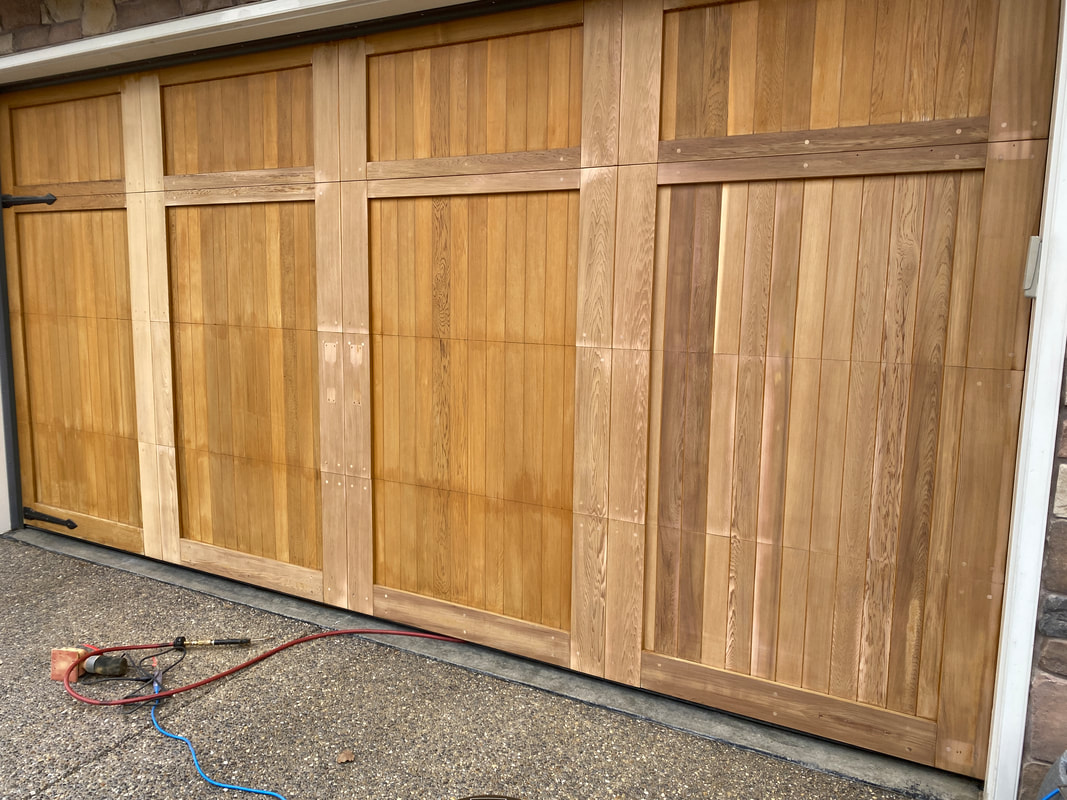
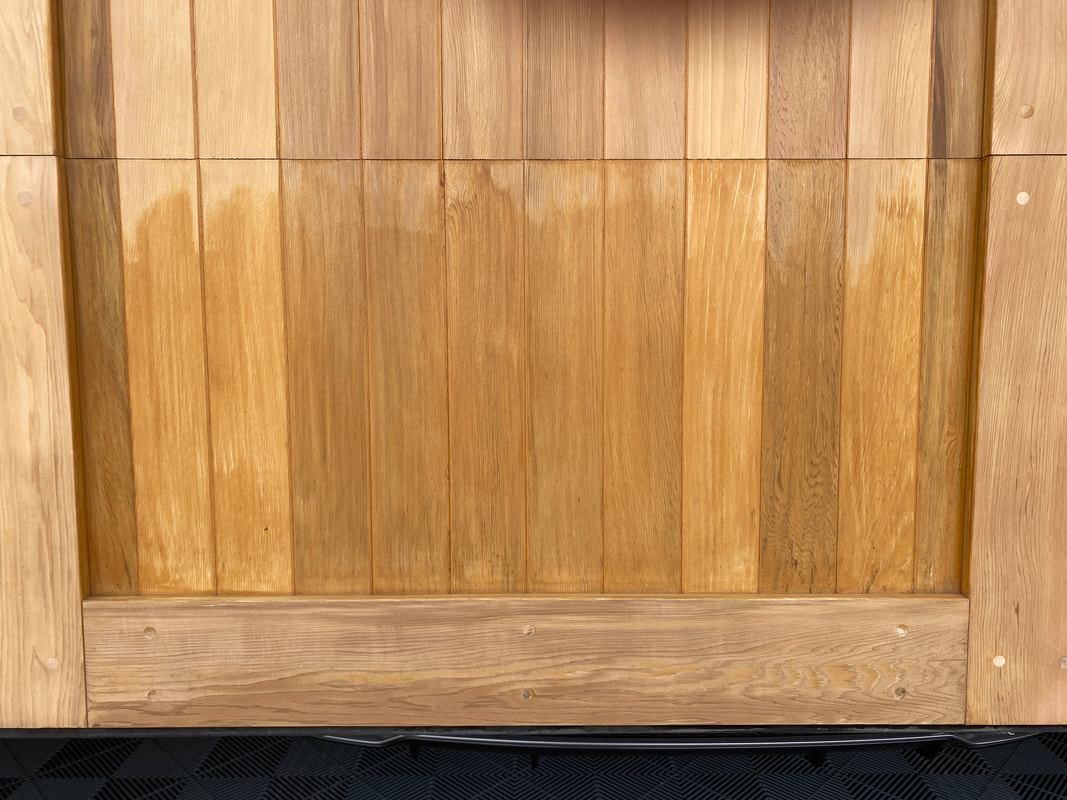
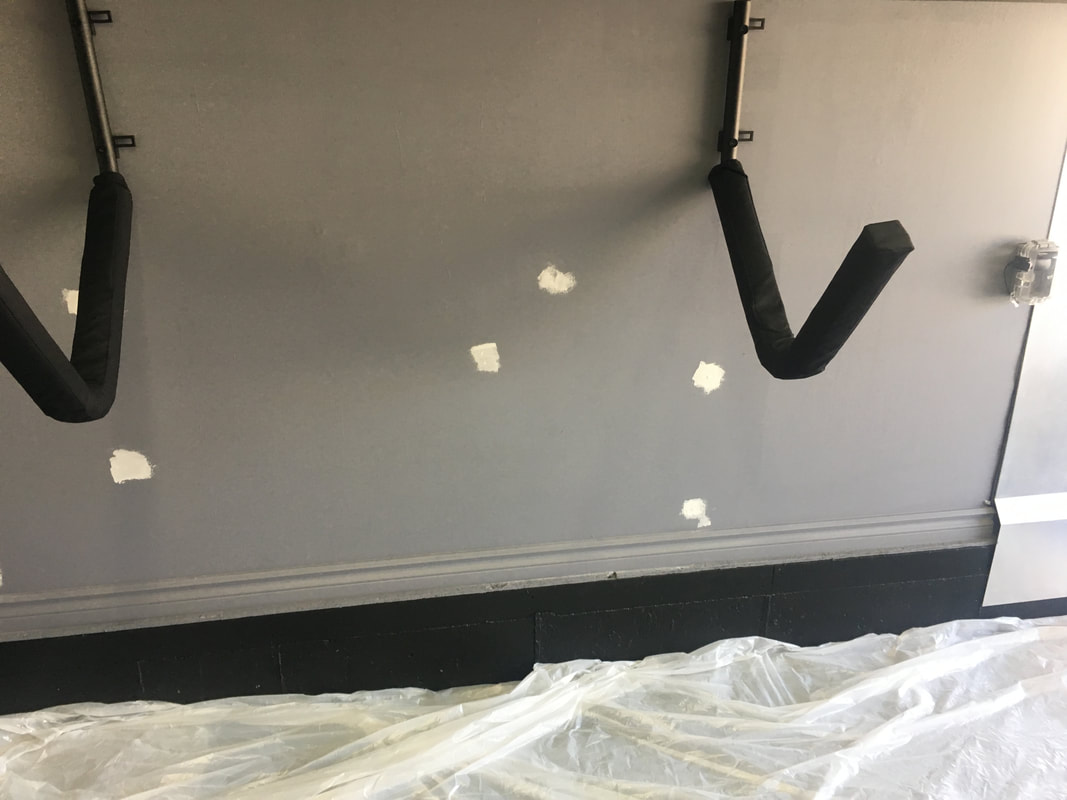
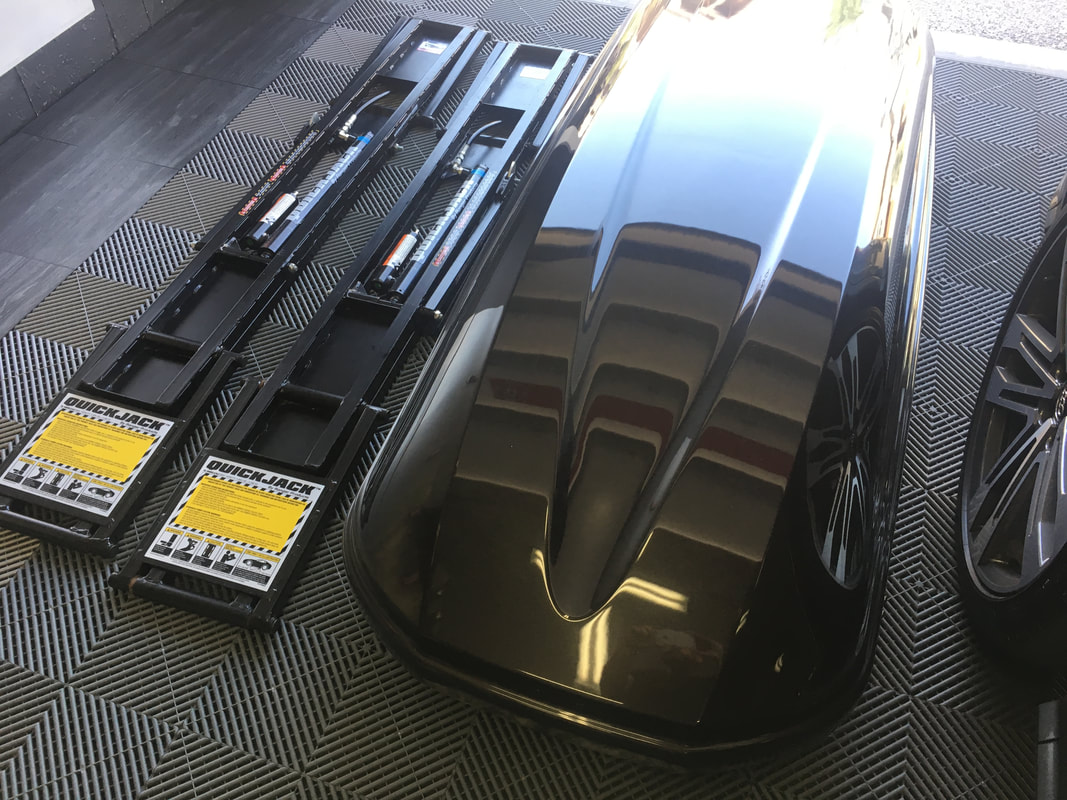
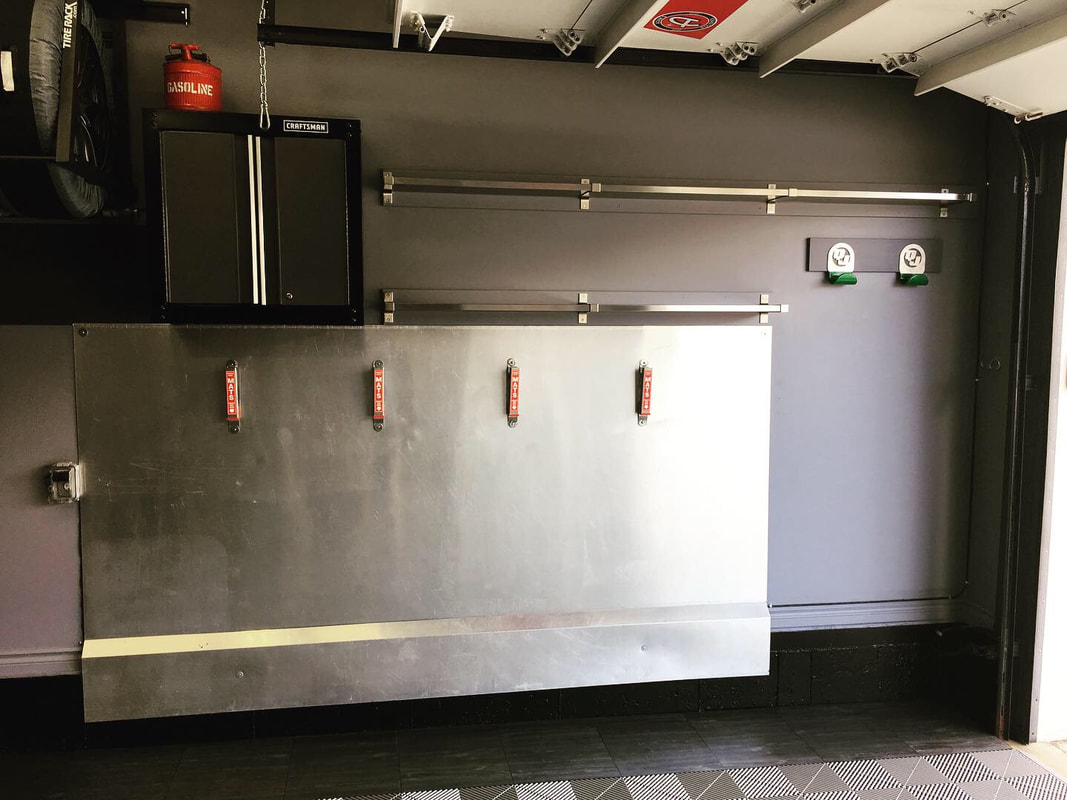
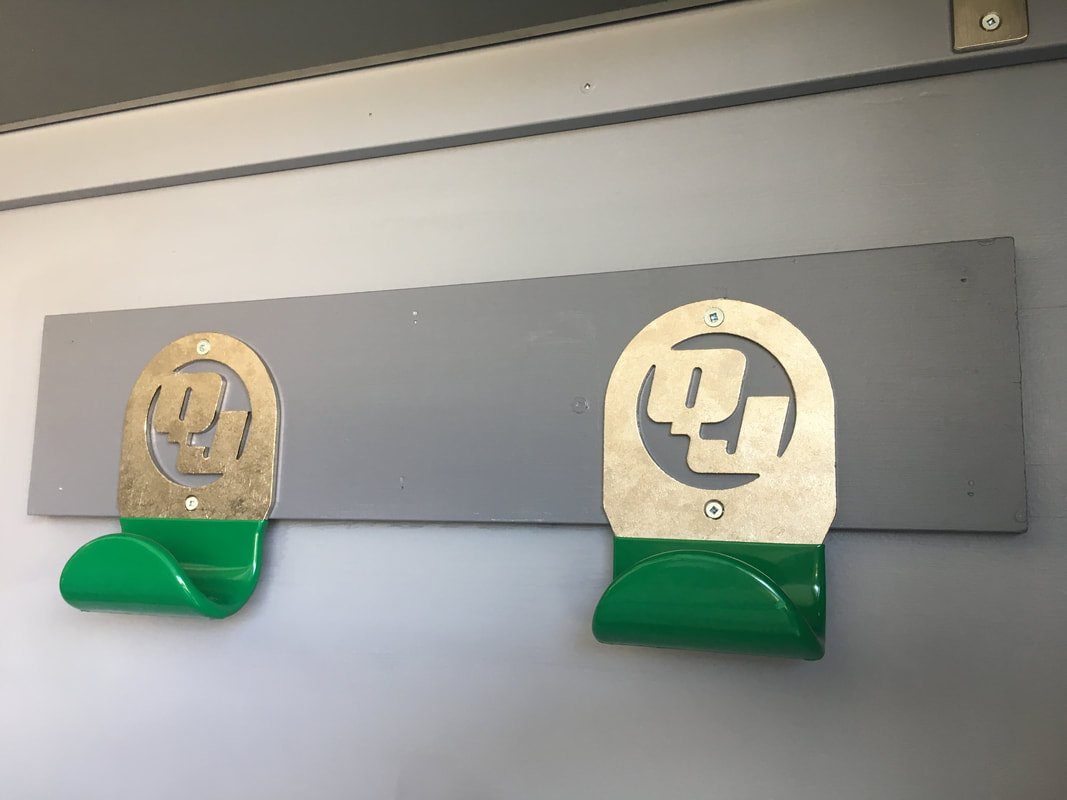
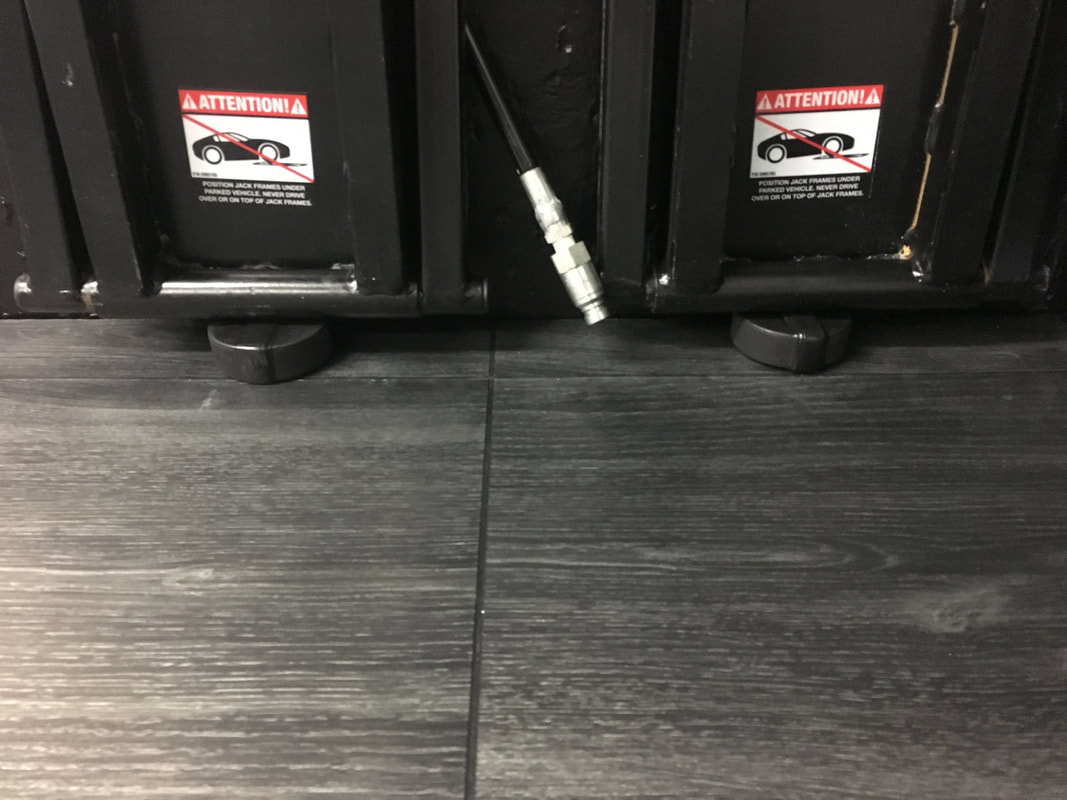
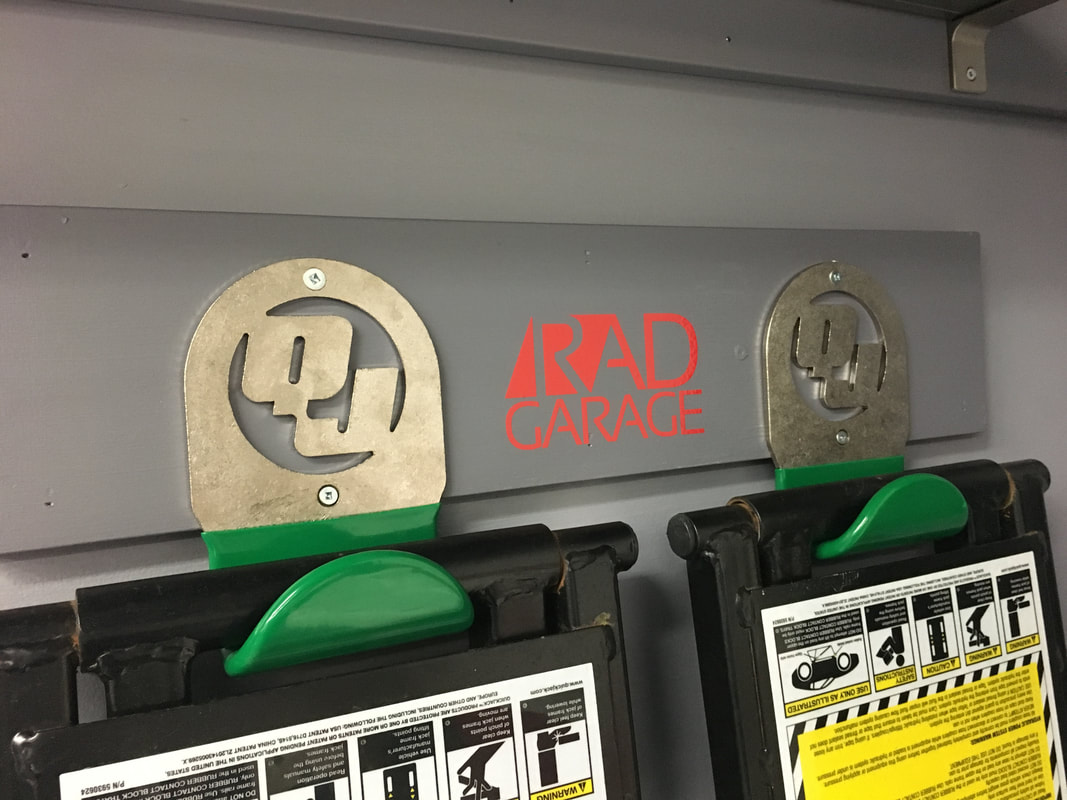
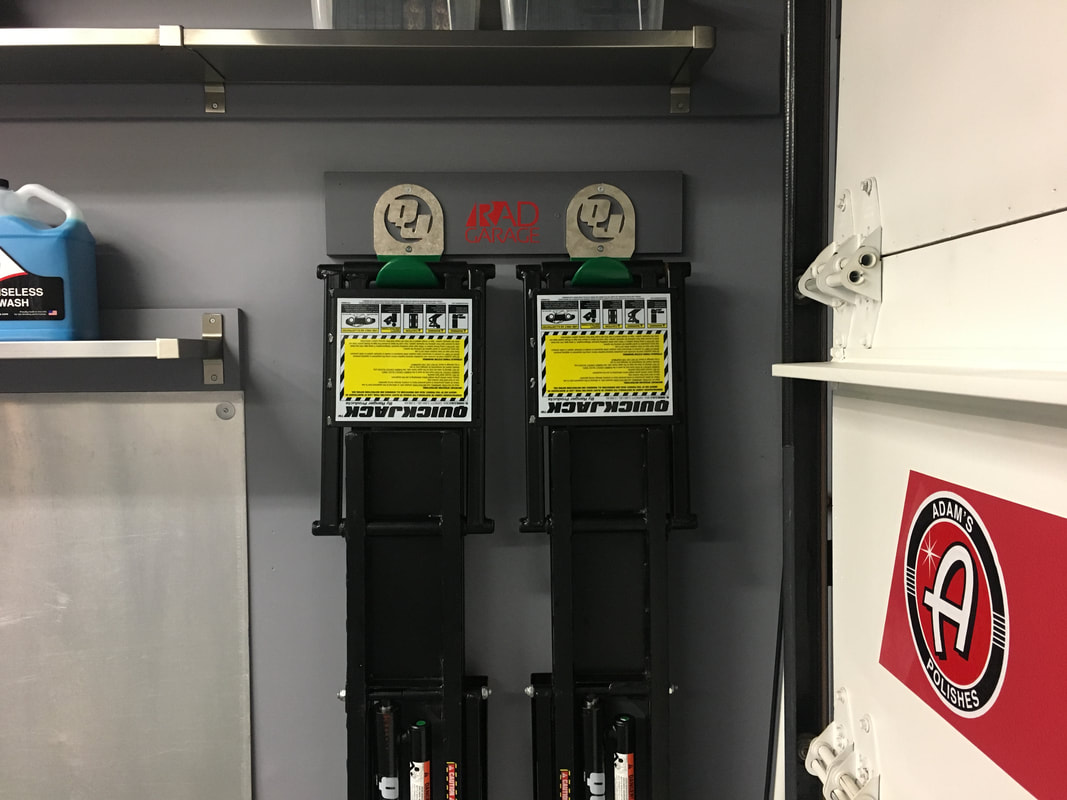
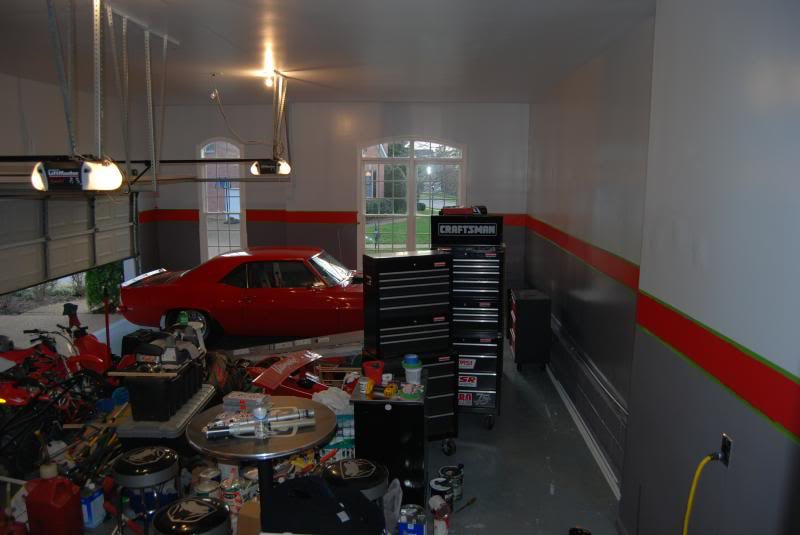
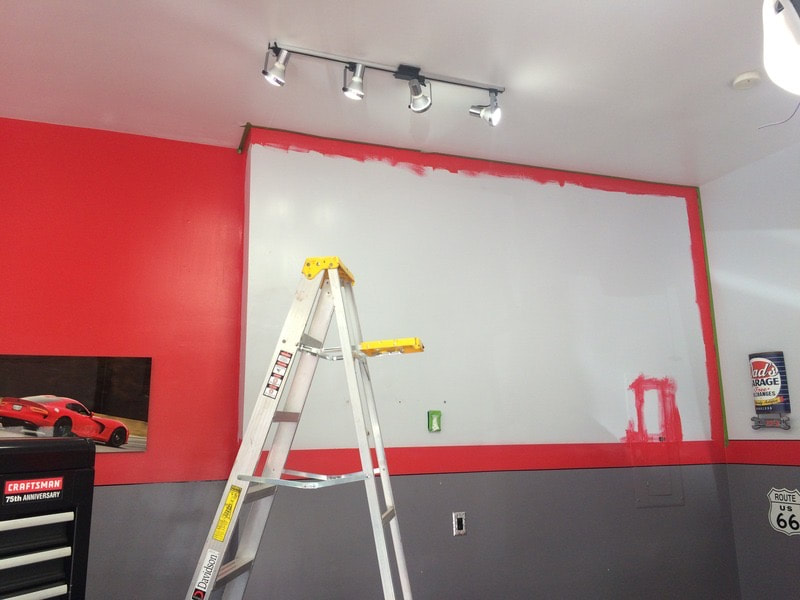
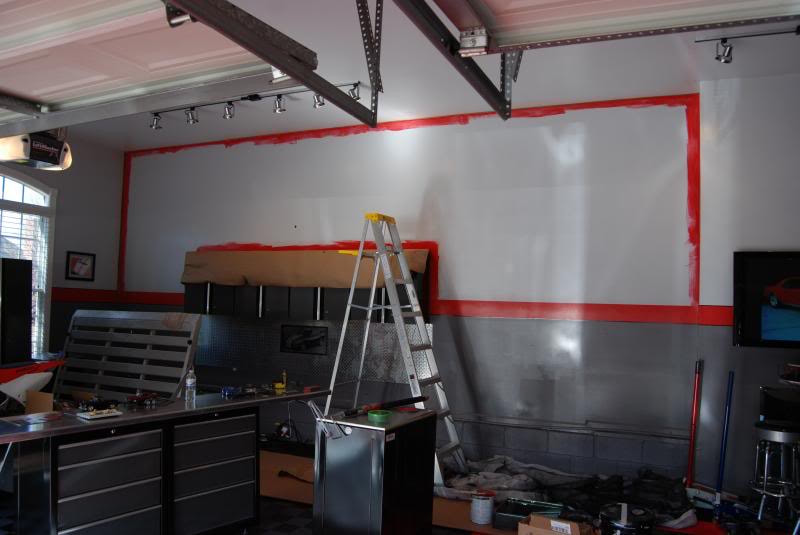
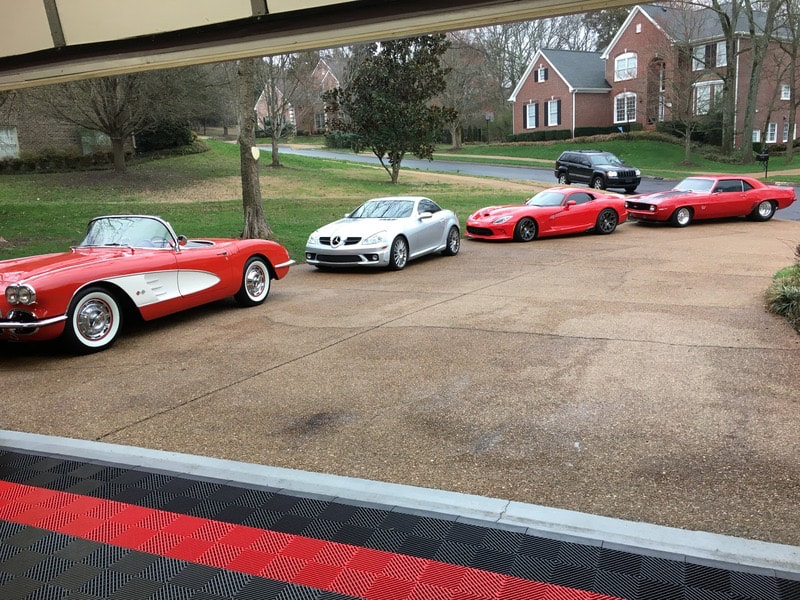
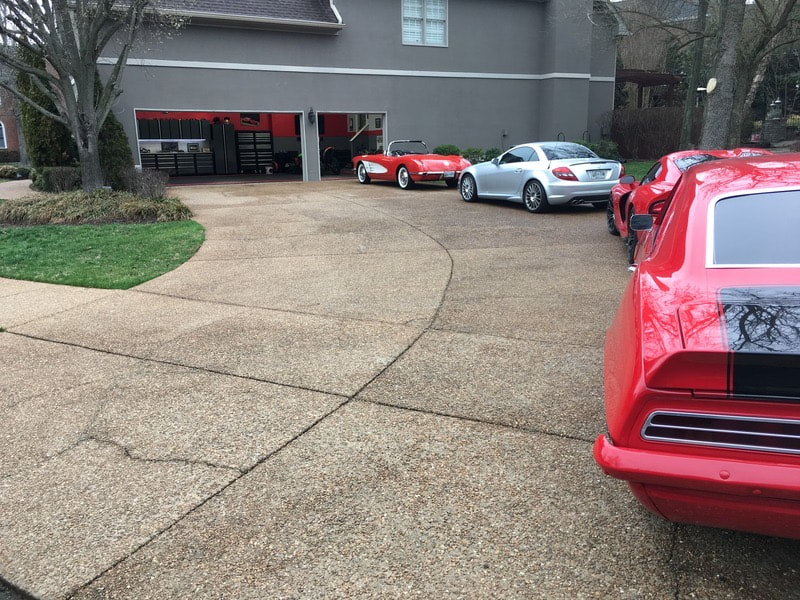
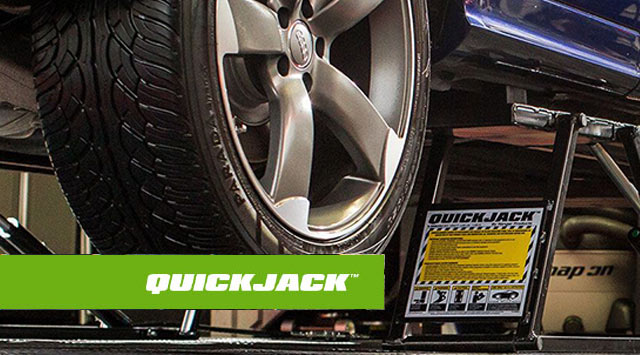
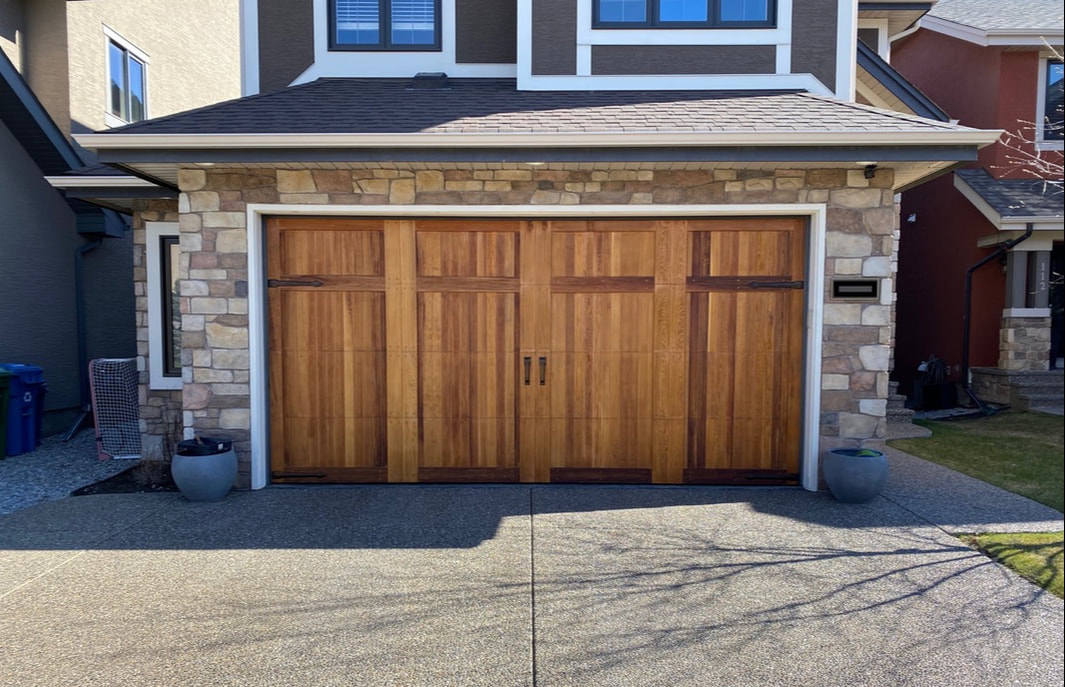 It wasn't the easiest of jobs, and I spent a few hours wiping the dust off every surface of the garage's interior, but the job is complete and I am more than pleased with the results. My initial plan was to reapply a coat of Cabot's Australian Timber Oil, but I went with Thompson's Water Seal instead. The red cedar looks absolutely decadent. I'm hoping the Thompson's lasts longer than the Timber Oil did. I only got two years out of that stuff. These photos show the progression of this rewarding project. 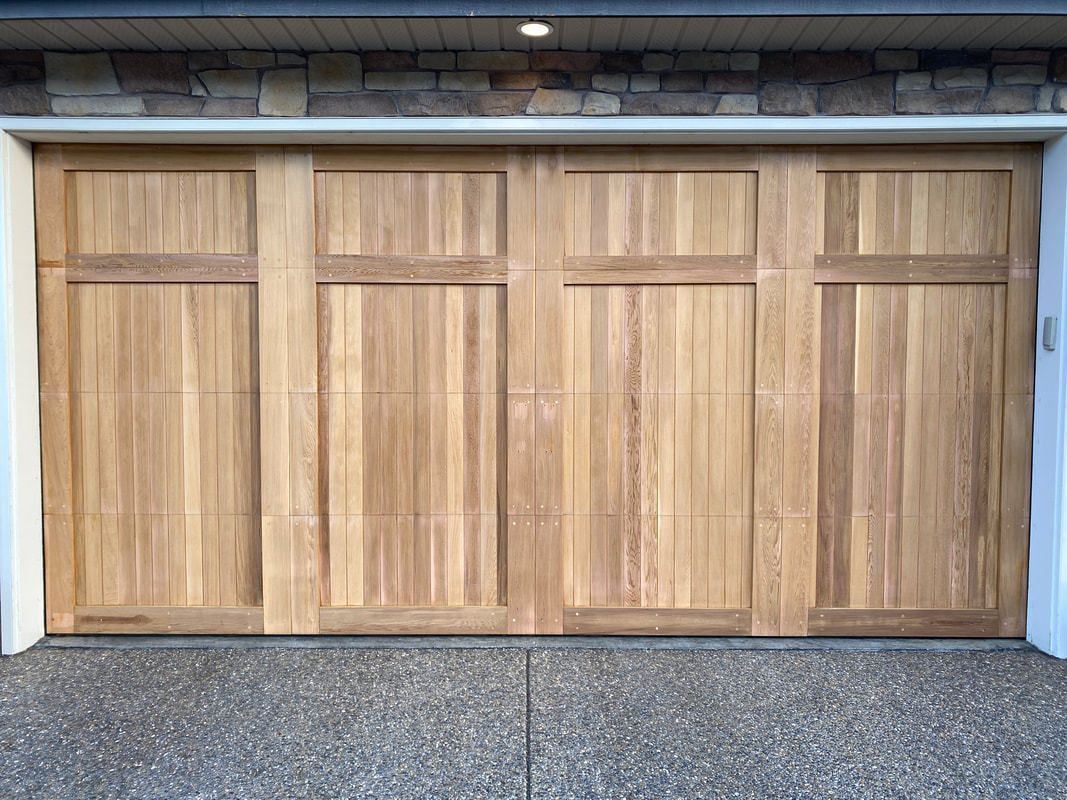 The door took eight hours to completely sand, but it looks so good in its raw finish. I will be applying a coat of Cabot's Australian Timber Oil as soon as the weather calms down. I like to sand and re-stain the garage door every couple of years. Sanding this 16x8 foot red cedar door is not an easy task. I bought a new Craftsman palm sander but it does a terrible job of capturing the copious amounts of dust. I had planned on doing a video to capture the process but it the dust is so bad that I didn't want to risk bringing harm to any of my video equipment. The sanding took me approximately eight hours, but I'm now ready for staining. The weather has turned a bit nasty so it may have to wait a few days, though. You just can't win! I'm not weird, you're weird. I love my driveway and applying an acrylic sealer to it every couple of years is something that gives me immense pleasure. Here's my attempt to capture the beauty of the process through cinematic videography. I think you will agree that my exposed aggregate driveway is the envy of the neighborhood. Be sure to stick around to the very end of the video to see the driveway glisten in the evening sun! My buddies at QuickJack sent me these cool wall hangers recently. I used to store my QJ frame units horizontally under my Thule roof box, but now I have them hanging vertically on the opposite side of that big wall. I took the opportunity to repaint a large portion of the wall and install some shelves I had in the basement. Things worked out great. Here's a video as well as some photos showing the progress and final result. I have been an admirer of this garage for years, so I was pumped when the owner agreed to having it featured on my humble blog. This is a true car lover's dream garage that I really hope to one day see in the flesh. Everything you see here was created by the owner with the help of his family. I have followed each evolutionary change that he has made and the level of execution is simply amazing. You can learn a lot more about the history of this garage by checking out the build thread on garagejournal.com or his photo album on Photobucket. It's amazing to see how Chad and his family transformed this regular garage into something truly special and unique. Owner: Chad Location: Nashville, TN 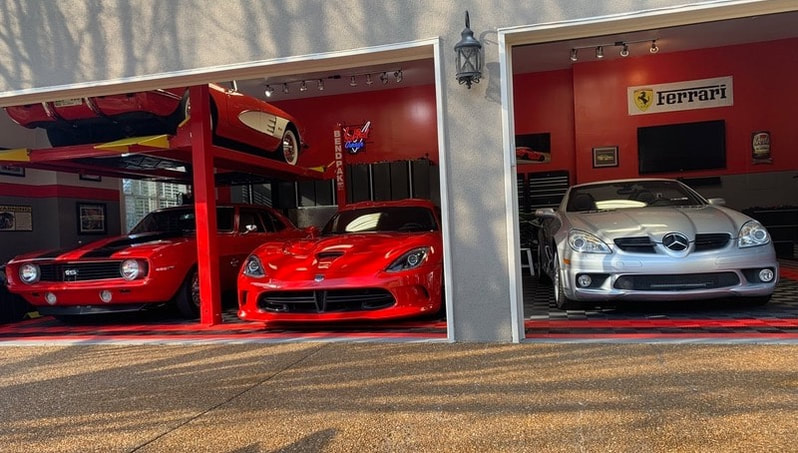 Garage vitals:
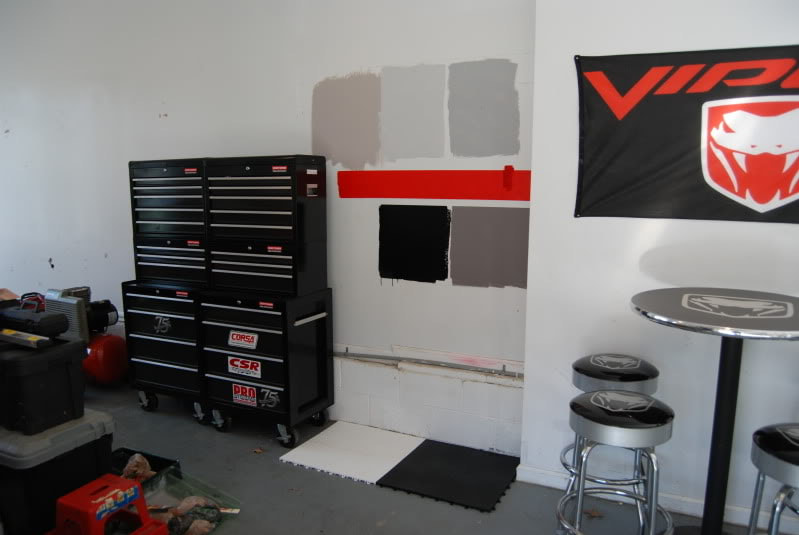
What inspired you to create the garage you created? I have always loved fixing ugly things up and that applied to garages too. I have enjoyed taking several houses that had the nastiest and ugliest regular old garages and trying to turn them into something that wows you when you open the door. With this house, we usually come in through the garage and my wife and I wanted to make it a beautiful and inspiring path to come into the house. She is a car fanatic too!
This was a job that I had been putting off for years. I painted the entire garage with a white primer back when I first took possession of our house in 2010. Since then, I have been meaning to put a proper coat of paint up there, but I just never seemed to find the time or desire. When I ripped up the RaceDeck floor to sell, I took advantage and got 'er done. Capturing the results is tricky with my iPhone, but hopefully these pics will give you an idea of how things turned out. I like how the paint added a reflective effect to the ceiling. Here is a link to the paint I used. It is a "semi-gloss finish" interior acrylic latex paint from Rona.
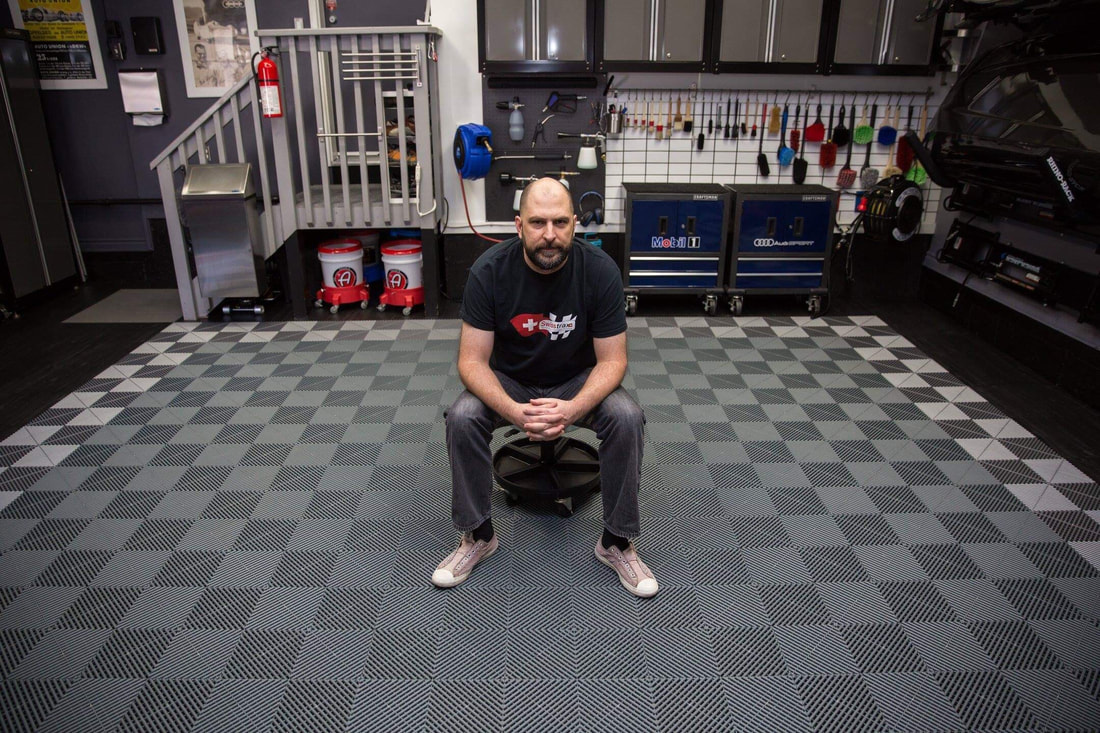
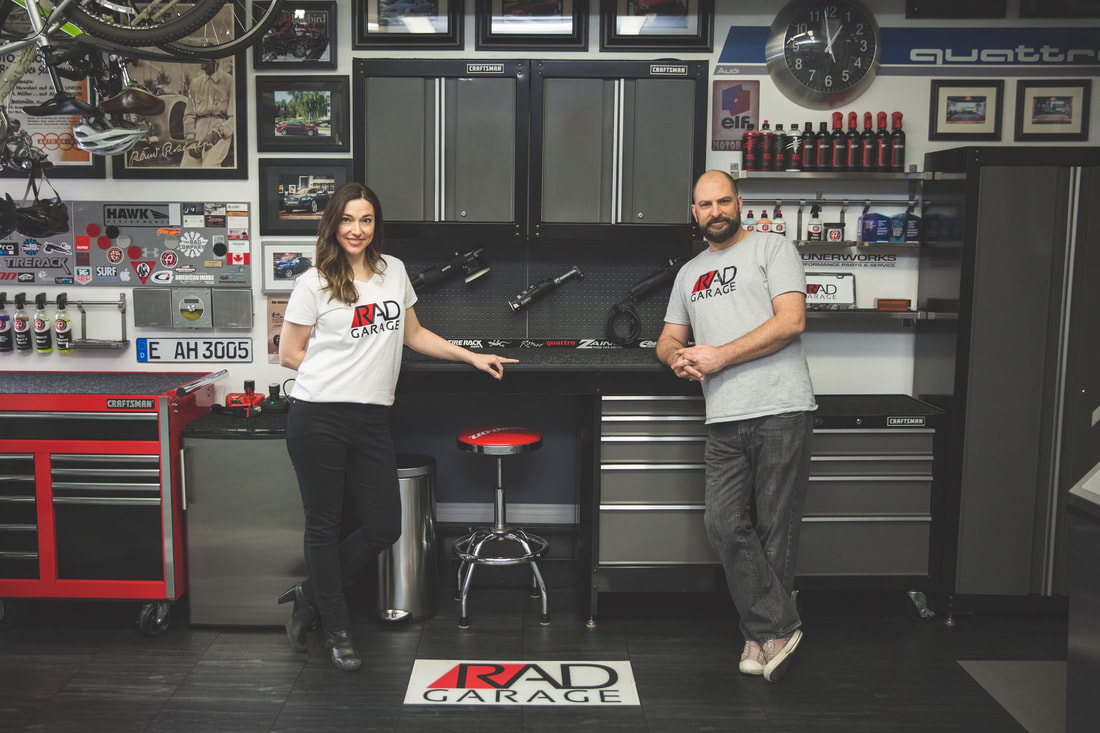 Last weekend, a good friend came by to snap some photographs. She is quite talented so I am very eager to see how they turned out. She sent a few teaser pics and they look great. I even convinced my family to pose for a few. My plan is to use her shots to update my website. Since I had the garage tidied up, I did a new tour video because the last tour video is a couple of years old and things have changed a bit since then. I am excited to share this charming garage from Reykjavik, Iceland. Brynjar Hartharson is a mechanic who works primarily on GM cars. He has created an impeccable detailing environment he uses to care for his cars and the cars of others. I have been a fan of his space since I first caught wind of it on his Instagram. It was instantly apparent that Brynjar and I have similar tastes in many regards. Like me, he is an avid hobbyist detailer, obsessively pampers his German car, and prides himself in maintaining a very neat and organized workspace. I am thankful he agreed to answer my questions about his garage story and I was extremely flattered he mentioned my garage as one of his design inspirations. I am confident you will be as impressed with his space as I am. So, off we go to Iceland!  The vitals
The inspiration I have always been passionate about cars, dreaming of one day buying my own house with a garage. After I stumbled upon The Garage Journal in 2011, I spent a lot of time looking at garage projects and getting inspiration for my own in the future, I had designed the basic layout and look in my mind long before I had a garage.
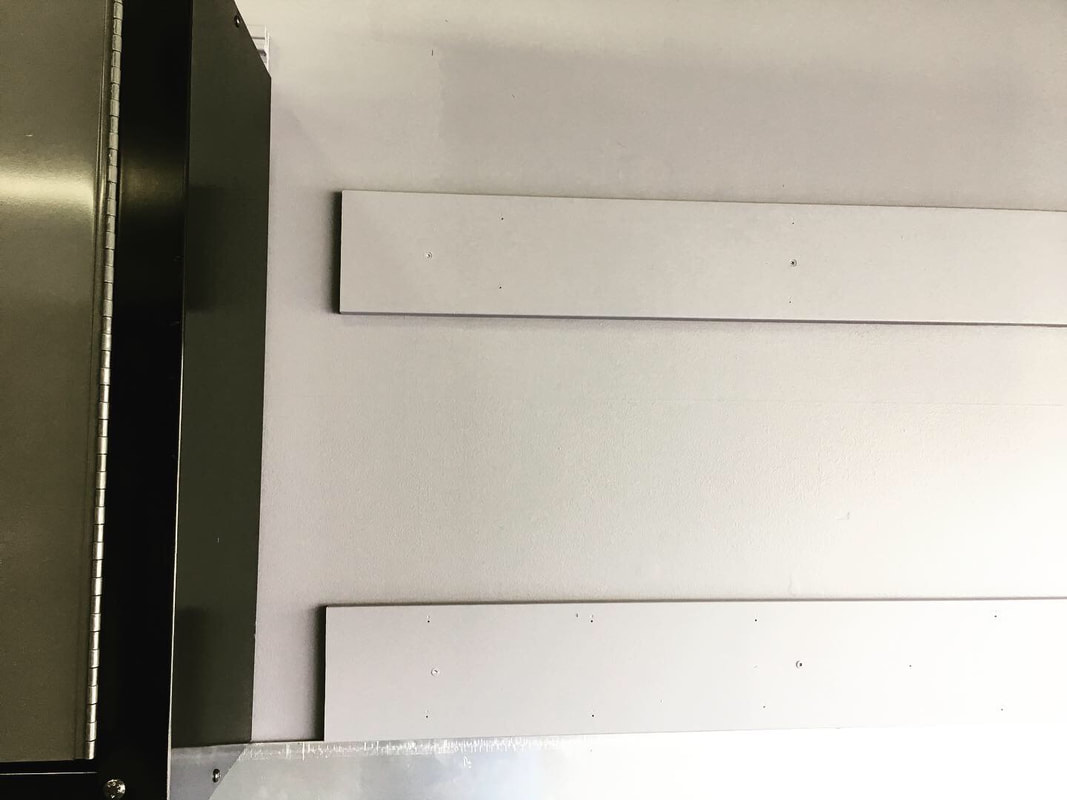
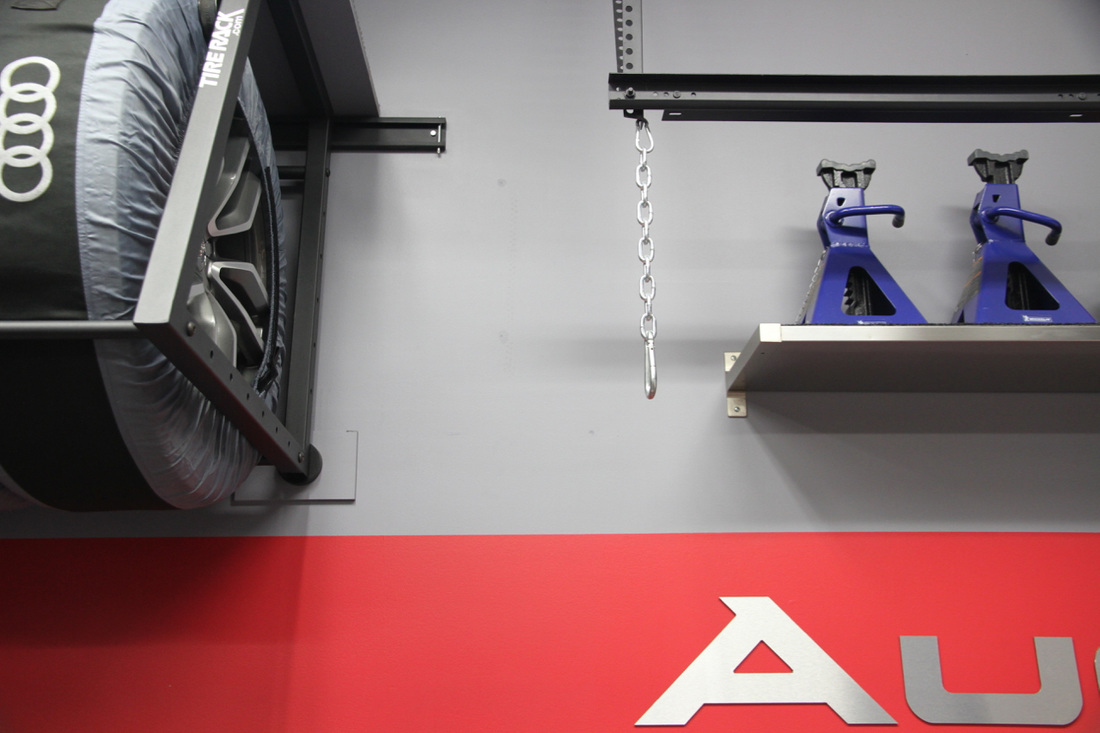
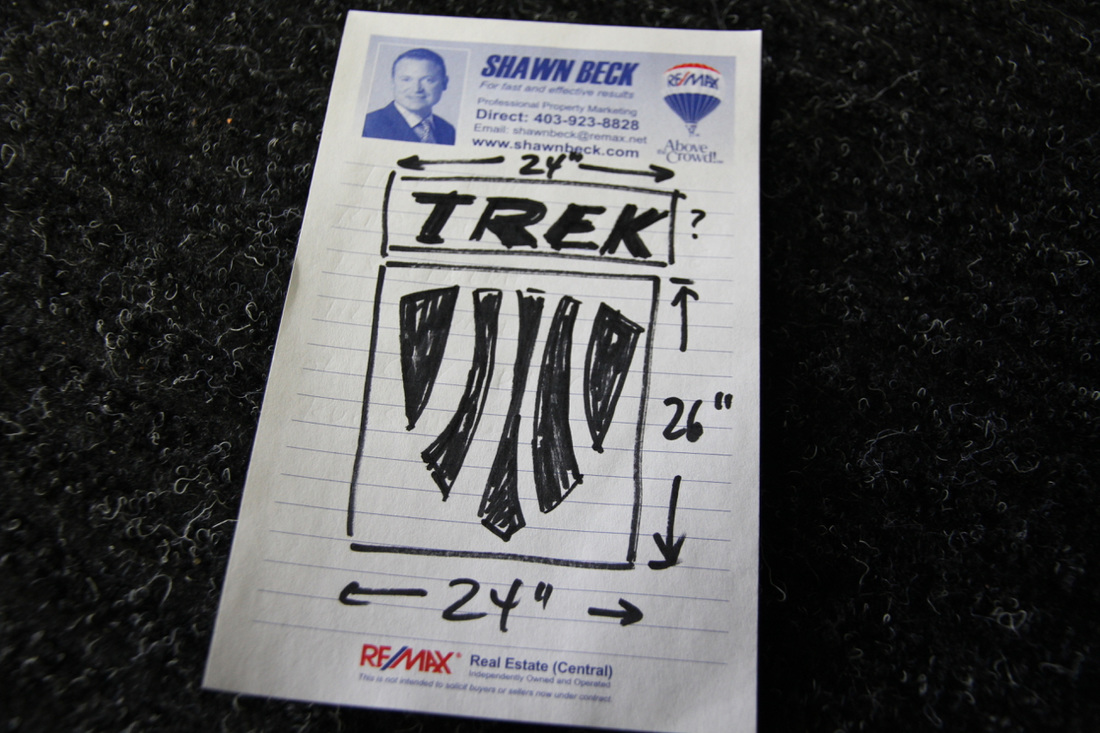
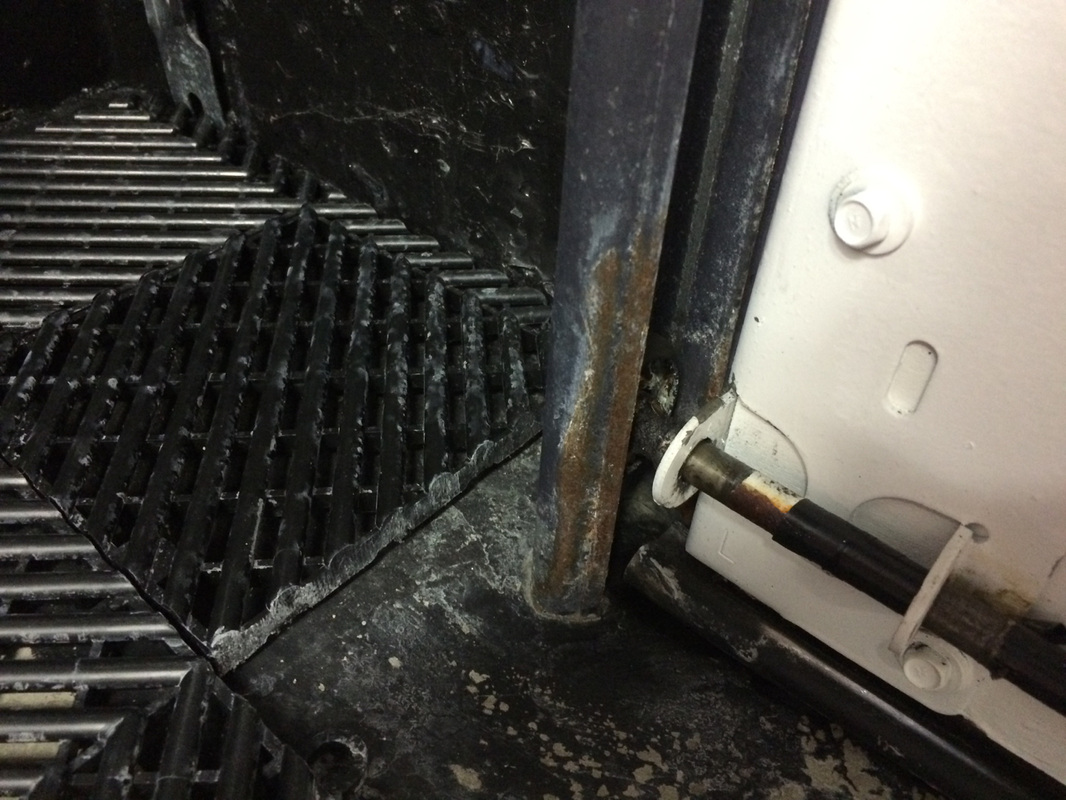
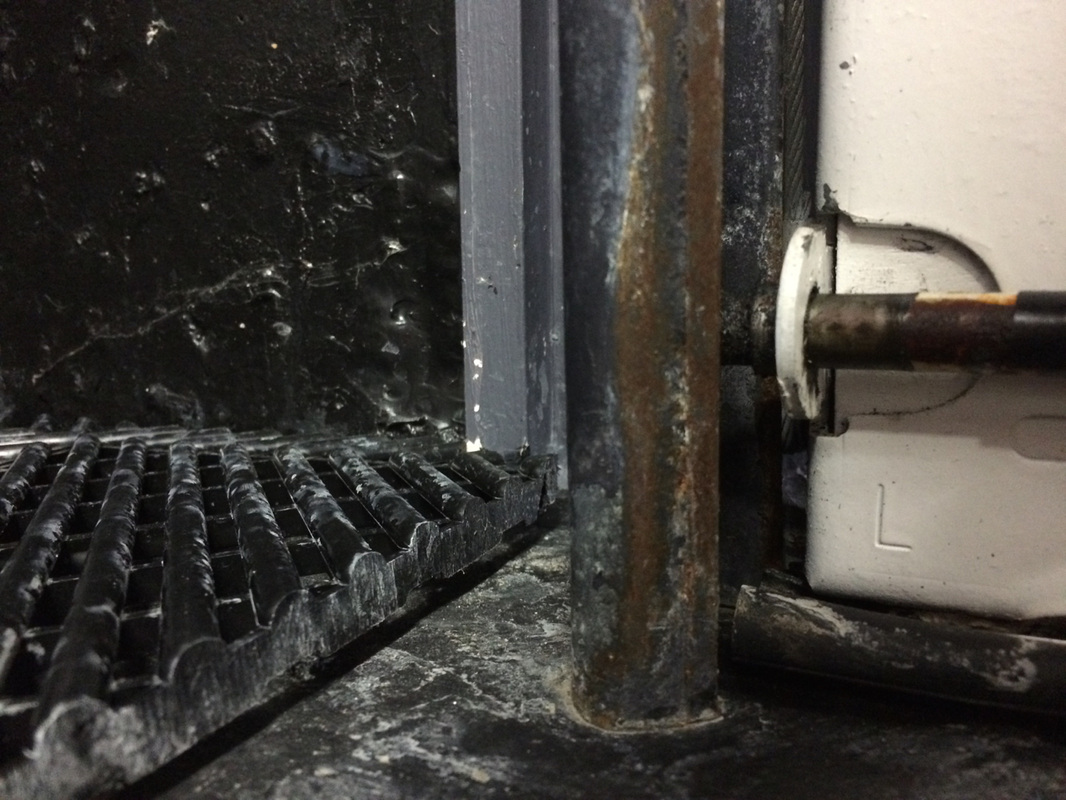
My raised aluminum TREK sign arrived and I got it perfectly placed on my big grey wall. The logo was in a shiny red and the letters have the brushed aluminum look to them. The red of the logo clashed with the red of my stripe below so I pained the logo the same grey as my TV wall. I think it looks much better, plus I didn't want the TREK sign to be the focal point of that wall. If you are looking for a sign such as this, I suggest you hit up Joe at Enthusi-works. He is great to work with and can just about make anything your mind can conjure up. You may even see some photos of my garage in his various listings. Here's how things turned out. I recently removed a shelf I was using to store jack stands. I relocated the shelves to the top of my tire racks. I plan on adding a raised aluminum "Trek" sign to this wall space. Here's a few shots that illustrate the evolution of this part of the garage. My tile project is progressing well. I had to trim the top row of tiles by hand so that took a bit of time, but other than that everything was quite straightforward. I'll let the mortar set for 24 hours and then apply the sanded grout. This whole project is completely unnecessary, but I think this is going to look amazing. The portion of wall above the garage door has always been a thorn in my side. The builder did a lousy job of finishing off this part of the garage, so I have been fixing it up for a number of years. Even though I have addressed it a number of times, I still feel like it needs something to better integrate it into the overall design theme. So, this week I will be installing white 3x6 subway tile along with a charcoal groat. This is a completely unnecessary project from many standpoints, but I think it will look great. Here's some photos that show the evolution of this area from construction to present day. I have a Craftsman cabinet in the far corner of my garage that houses lots of paint cans and other various liquids and sprays, and it is mounted using a white panel that I picked up from Sears when I bought the cabinets. The white panel was a bit of an eyesore, and when I painted the Gladiator mounting panel for the ball caddy, it looked too good not to do with the upper panel. A few coats of the wall colour and it is pretty tough to even notice the mounting panel now. The first photo in the slideshow was taken a while back, but shows the white rail. I noticed that Sears Canada isn't showing these cabinets on their website any longer. Lots of Gladiator stuff, so I wonder if these cabinets are now obsolete. If so, that's too bad since I really like them. The title says it all. I finished applying the high gloss acrylic sealer to the aggregate driveway. I do this every year to combat premature aging due to the sun and the salt on the winter roads. Here's some photos that illustrate the process. The annual process of sealing my garage floor and driveway is in full swing. I removed the RaceDeck floor and pressure washed the concrete. I allowed it to dry for a few hours and then took my Master Blaster Car Dryer to the cracks to ensure all the moisture was dealt with. I started by using a 1" brush to apply a liberal coating of sealant to the cracks in the pad. I really let the sealant seep down into the cracks and fill up the little gaps. Then, it was time to apply a thick coat of the sealant to the vulnerable parts of the pad. The stuff dries relatively quickly, so I will be pulling the floor back in soon. At that point, I will shift my efforts to completing the driveway. Sidenote: The sealant went up in price from $119/pail last year to $168. Robbery! Here's a slideshow showing my work: If there's one thing that goes well with Audis, it is Trek bikes. I am working with the guy that made my raised aluminum "Audi" sign to have a custom Trek sign made. I'm going to put the text above the logo. Since the signs will be aluminum, I am thinking of creating a painted shadow effect behind them to give them a 3D look. This is gonna be a fun little project. Stay tuned. I can't believe I'm doing this, but I am going to show you the ugly side of things in the garage. The slope of my slab forces water out the left-hand side of my garage (when looking out), and with all the water and snow that gets tracked in during the winter, it causes me a bit of an issue. As you can see in the photos below, the garage door track rusts. It's not a big deal to clean up, but it is a job I could live without. You can see the calcium chloride residue that likes to cake itself over everything. Winter is rough. The addition of two pegboard panels has thrown off the symmetry of my red wall stripe, so I am extending the stripe to the edge of the pegboard. Just have to give it a finish coat. Looks better, don't you think? |

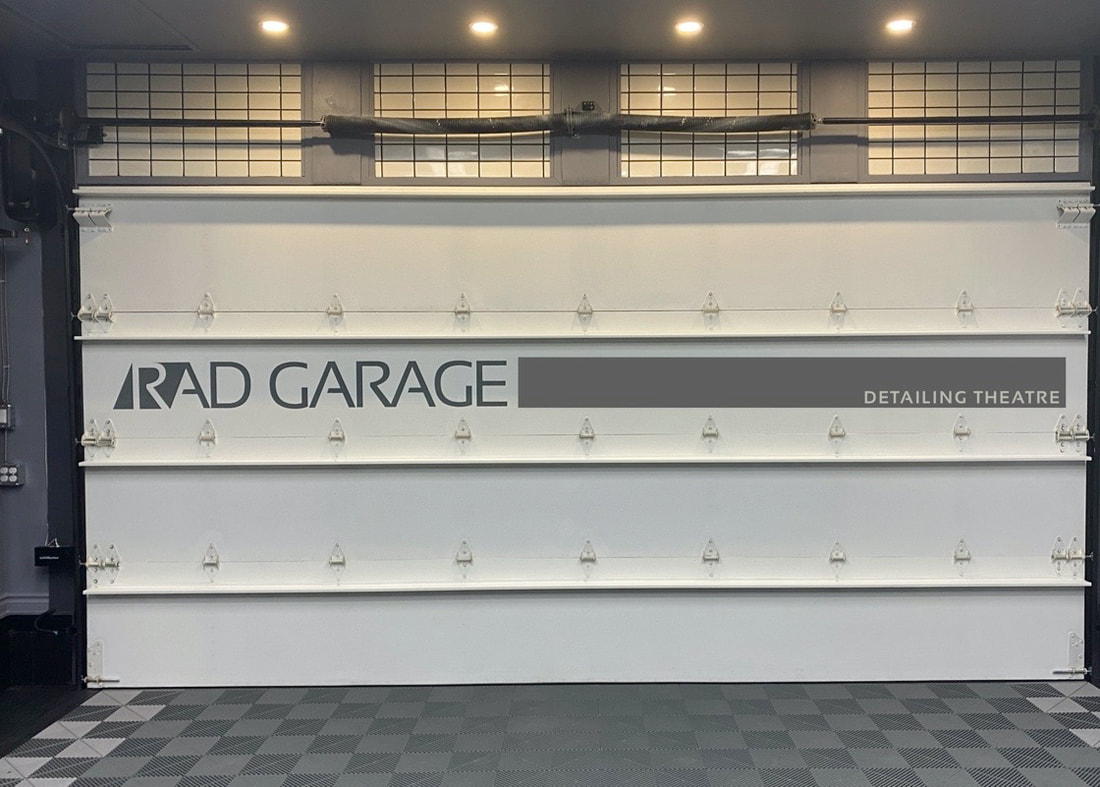
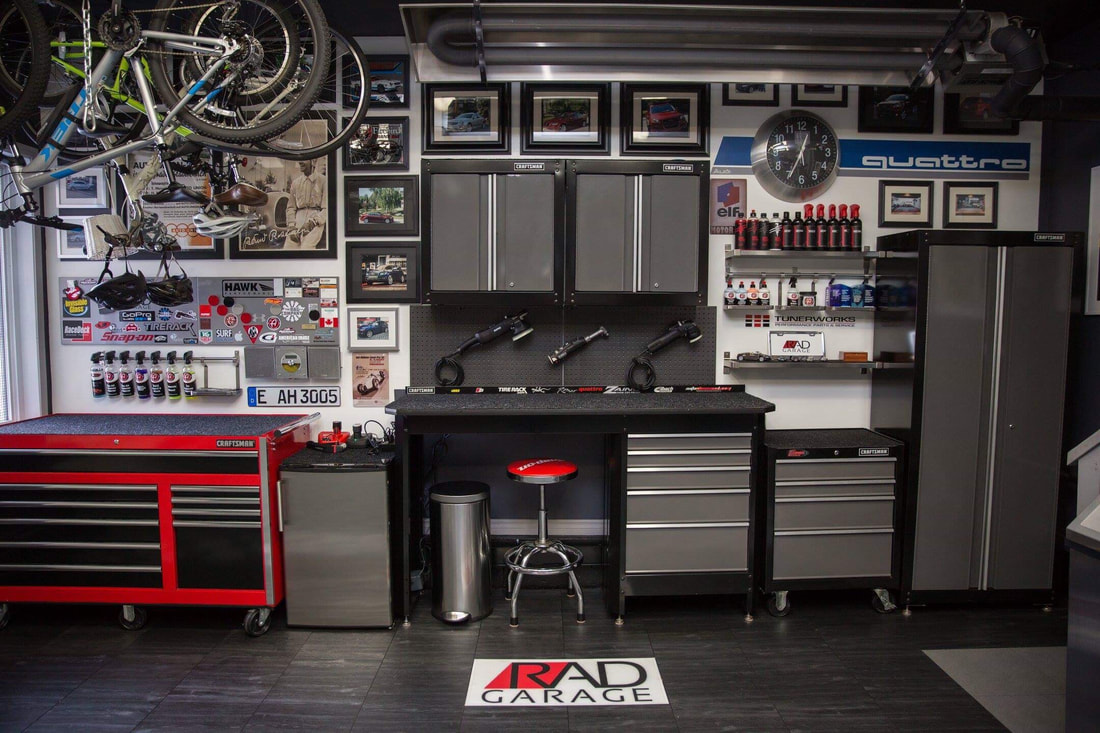
RAD GARAGE is my personal detailing theatre. I am a teacher who finds immense pleasure in completing deeply therapeutic, thorough and highly satisfying detailing projects in my residential garage. I have converted my suburban double car garage into a world class detailing environment and I enjoy caring for my own car and select cars belonging to others. The garage and the work I complete in it have allowed me to connect with other detailing enthusiasts from around the world.

I have teamed up with Teespring to offer viewers an opportunity to grab some RAD gear! Click here to see the current inventory of RAD merchandise available at my Teespring store!
Use "RAD10" to save yourself 10% until the end of March, 2021.

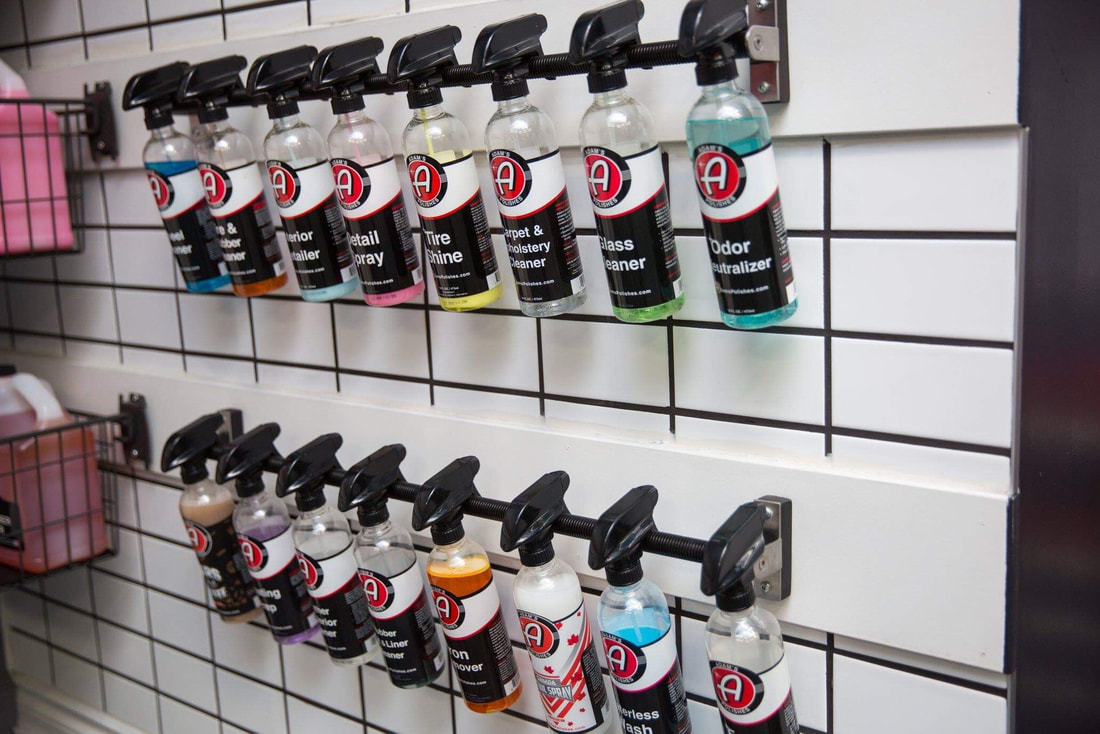
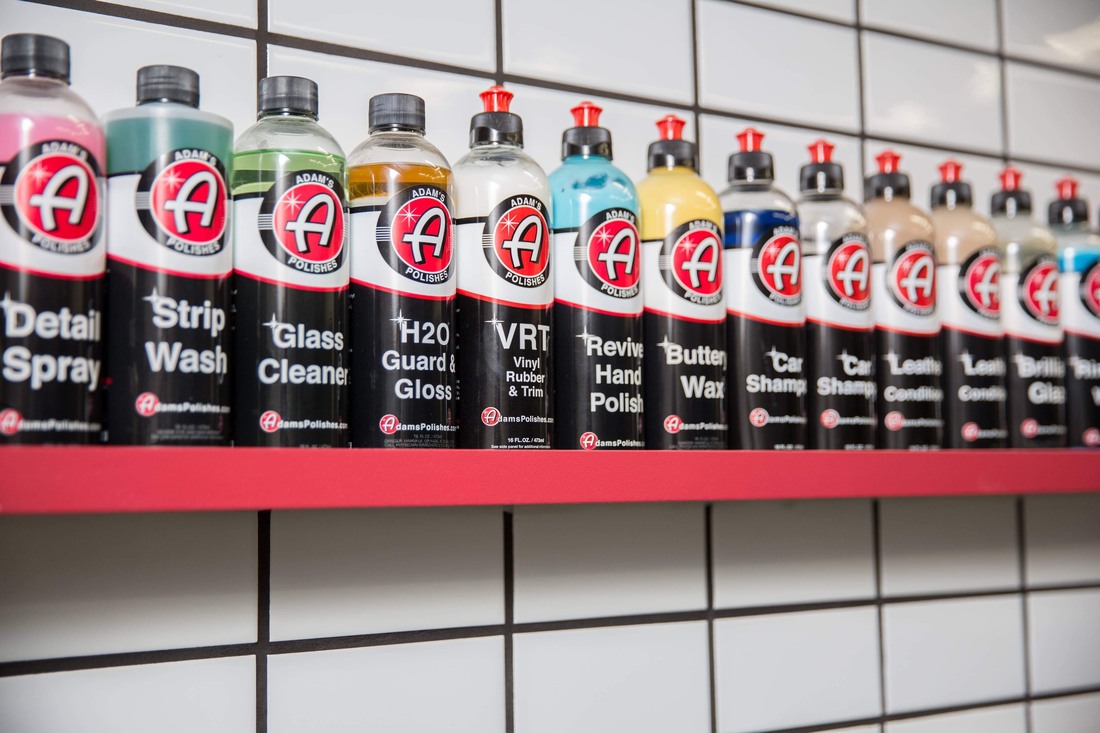
Carzilla is a local detailing store that caters to the North American community of professional and enthusiast detailers. I have been a longtime customer and I am fortunate to call the owner a friend. Besides stocking a vast quantity of top quality detailing products, the owner has supported various garage and detailing projects of mine over the years.
5% discount code
|


 RSS Feed