|
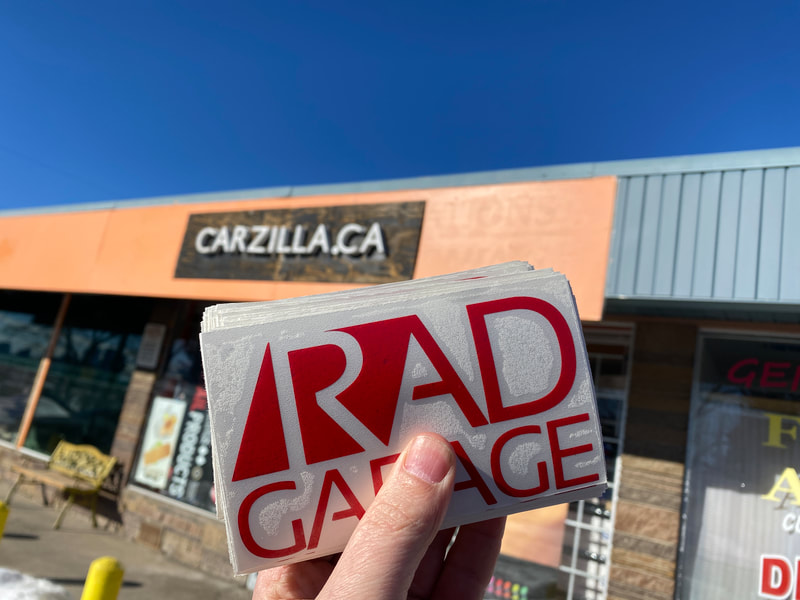
To express my genuine thanks to my supporters who have discovered and used my "RADGARAGE" discount on their Carzilla orders, I have arranged for the next 100 orders to include a free RAD GARAGE decal. I had these made up by my friends over at customdecalsyyc.com. In addition to a a free decal, the next 100 orders are atomically entered to win a random draw for a 3'x2' RAD GARAGE banner like the one I recently raffled off on Instagram. I sincerely want to thank all my viewers for their continued support of me and my favourite detailing supply company. Be sure to visit the Carzilla.ca website or visit the retail location if you are in the Calgary or surrounding area.
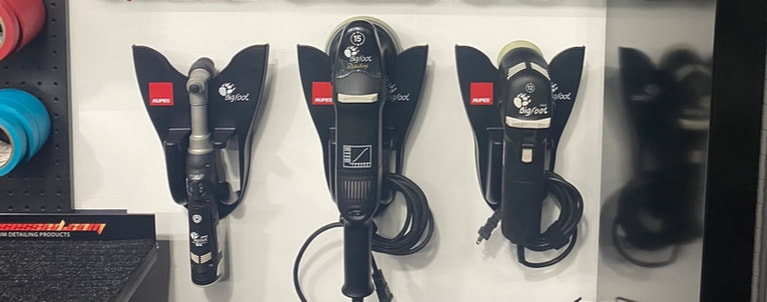
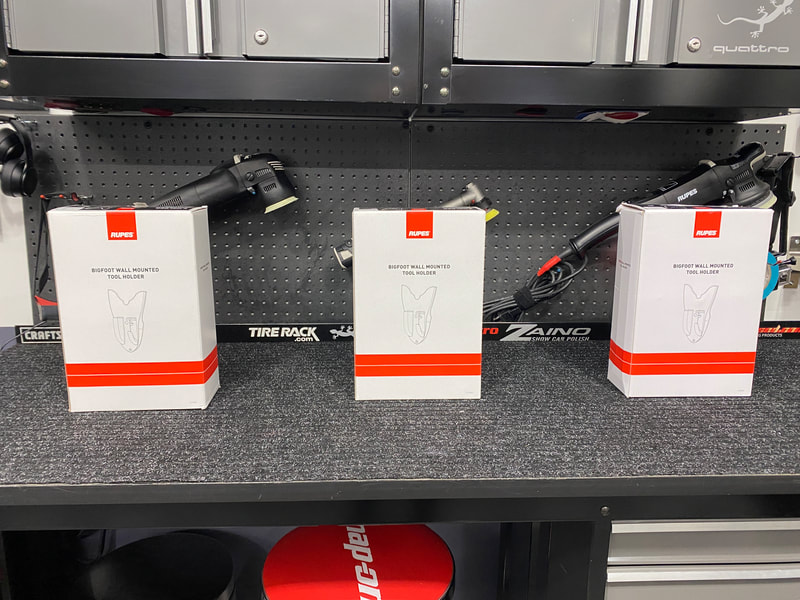
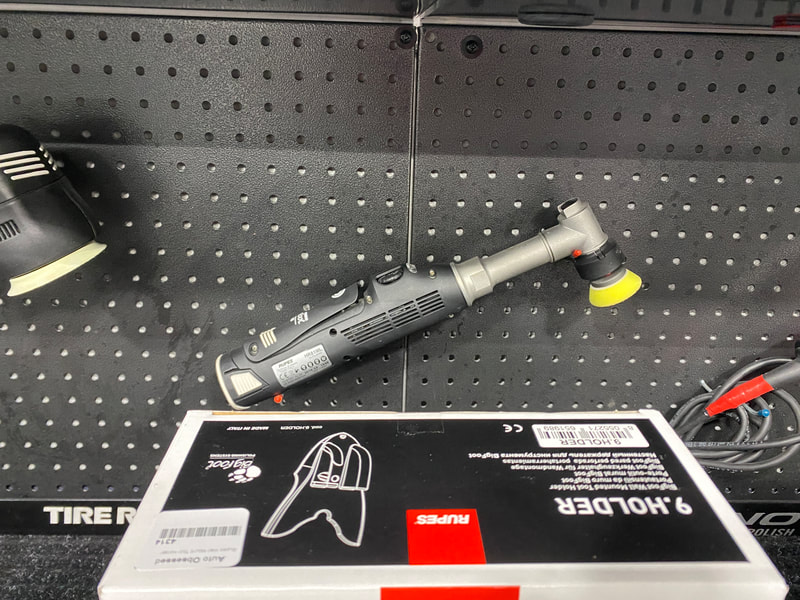
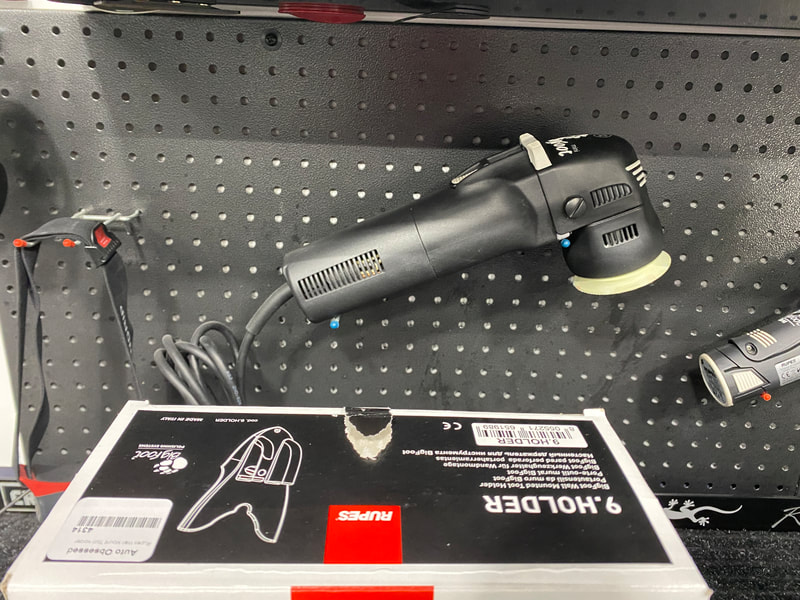
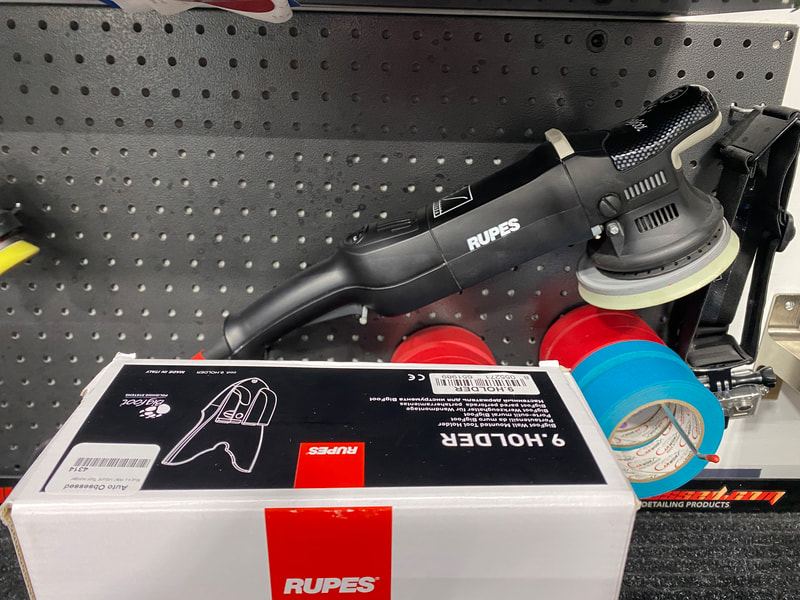
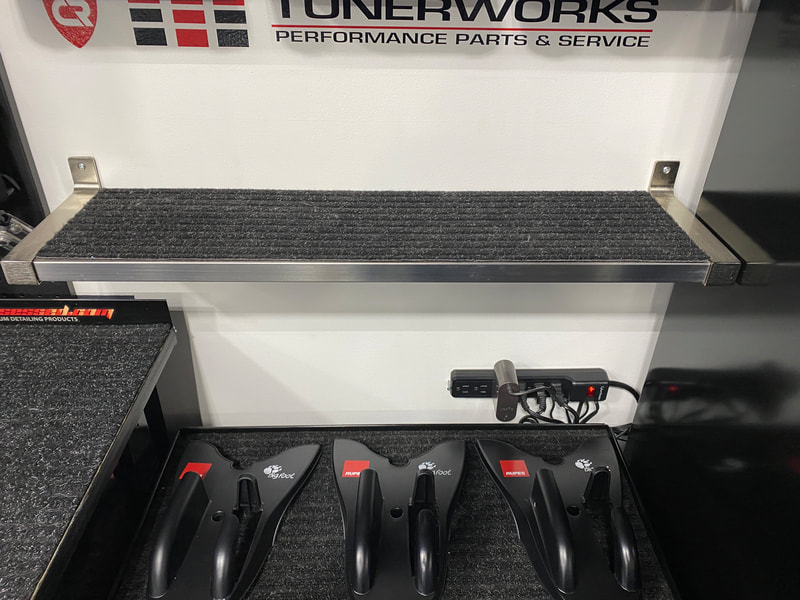
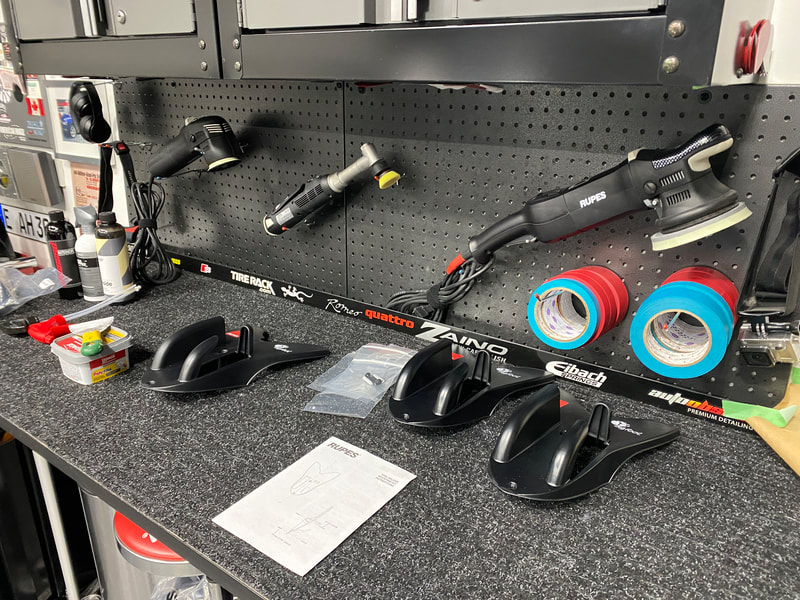
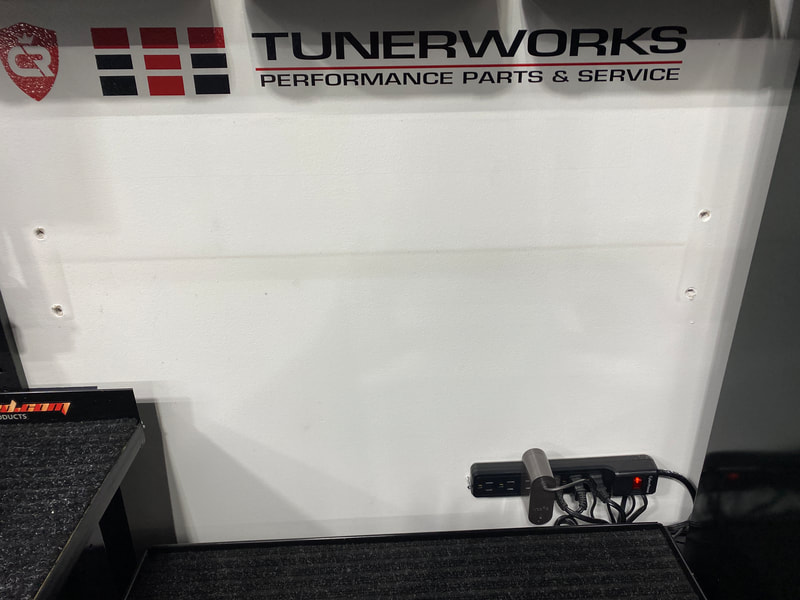
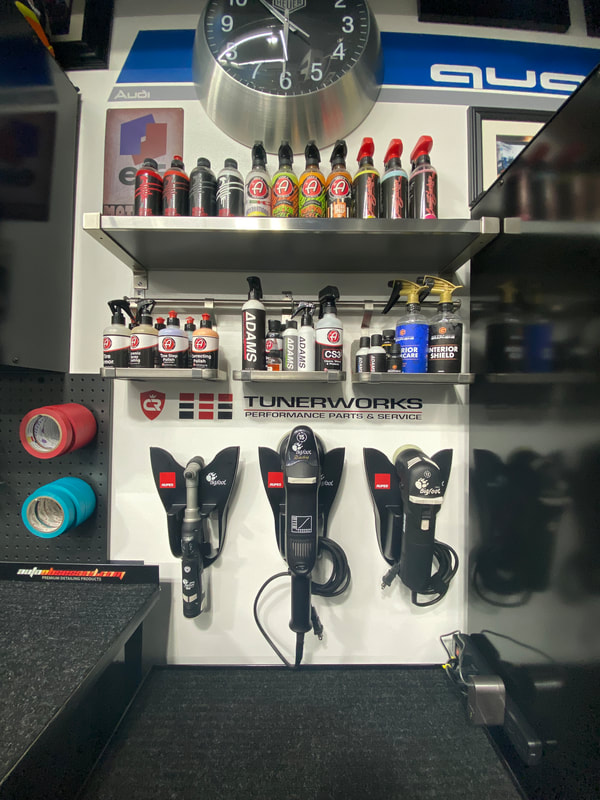
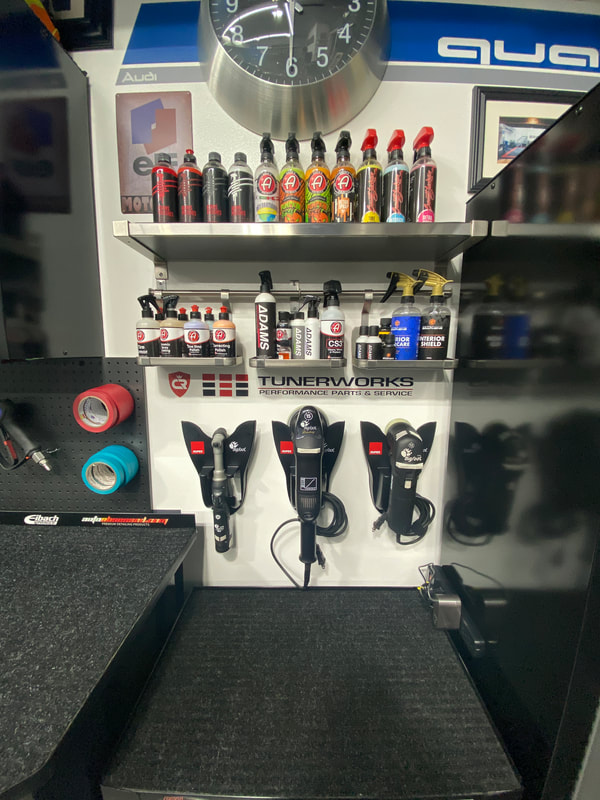
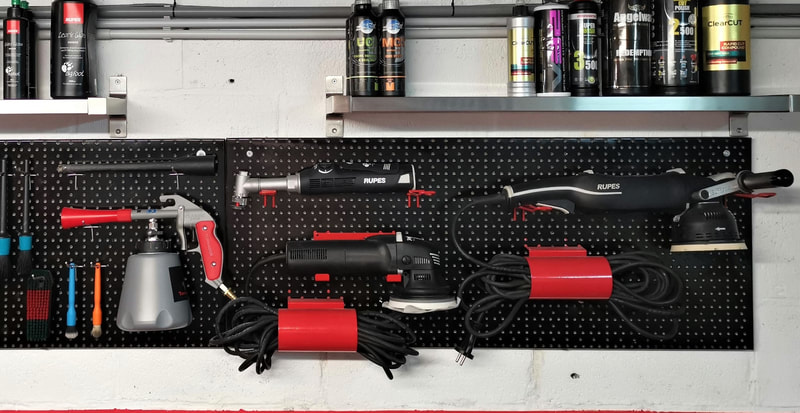
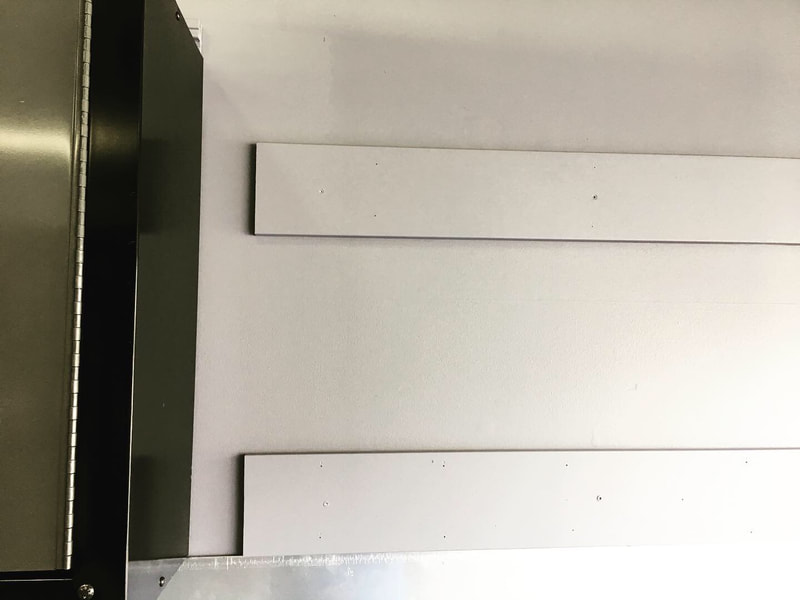
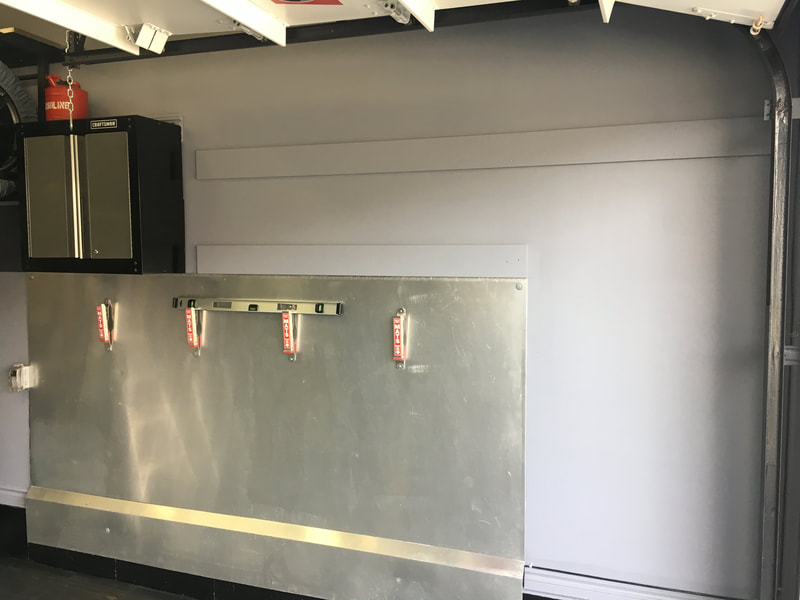
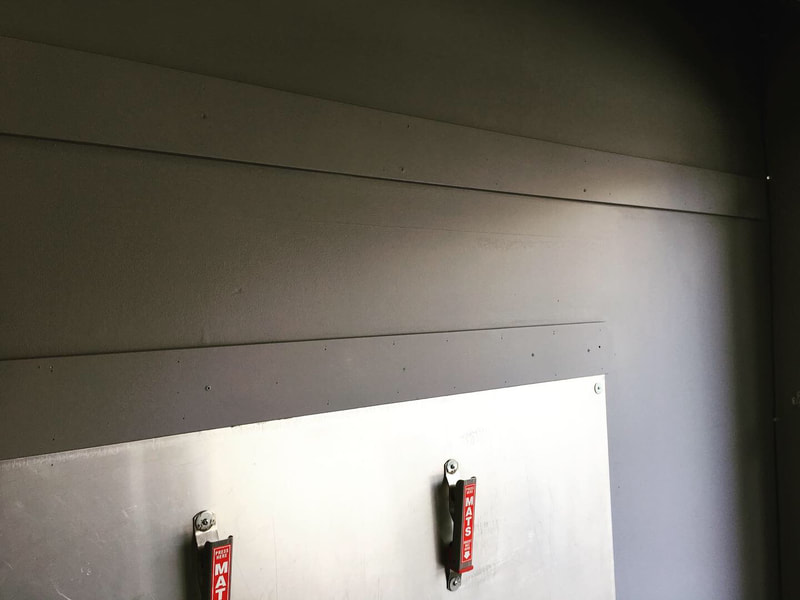
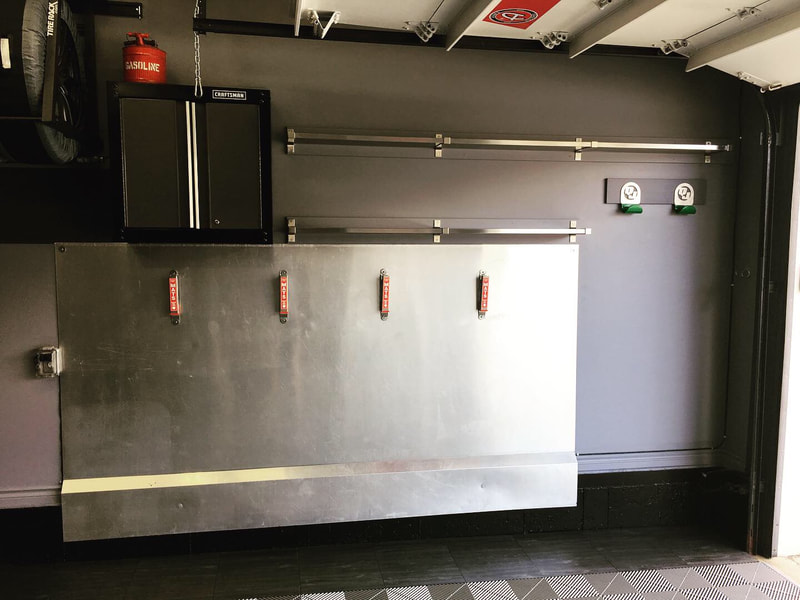
I've always liked having my polishers stored above my main work bench, but I've never been in love with the look of it. Recently, I took advantage of a great deal at Auto Obsessed, and I picked up three of the Rupes polisher hangers. I revamped a portion of the wall to the right of my main work bench and mounted the three holders to the wall. I have to admit, I'm not entirely sure this gave me the result I was after. The holders are made of light plastic and don't have the quality feel or appearance I was hoping for. I don't think they will be around forever.
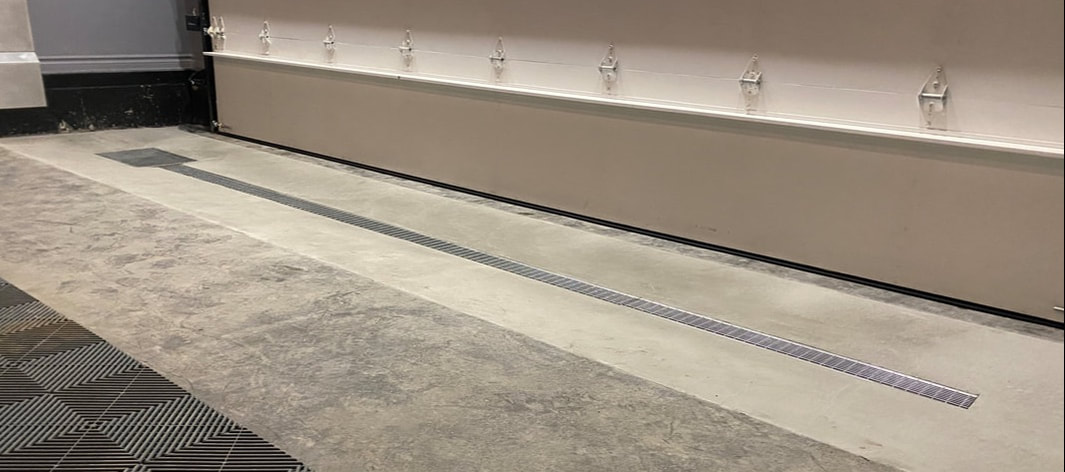
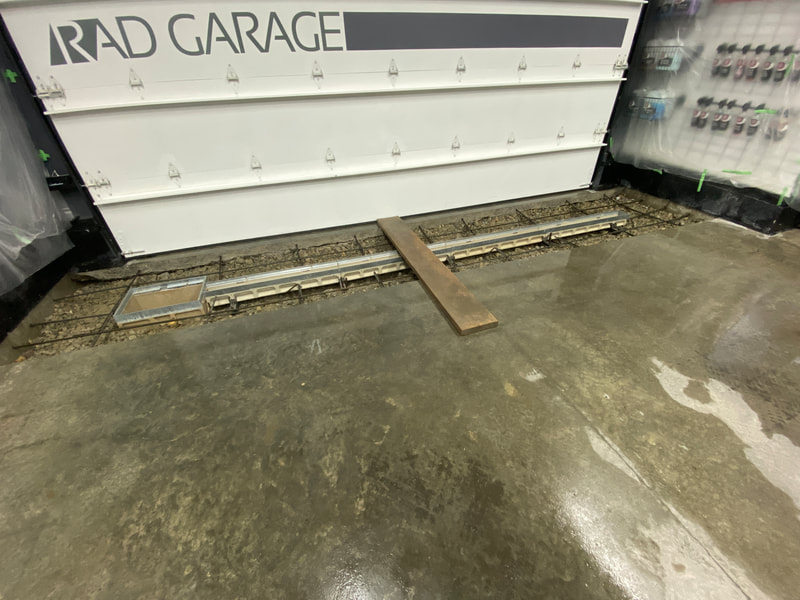
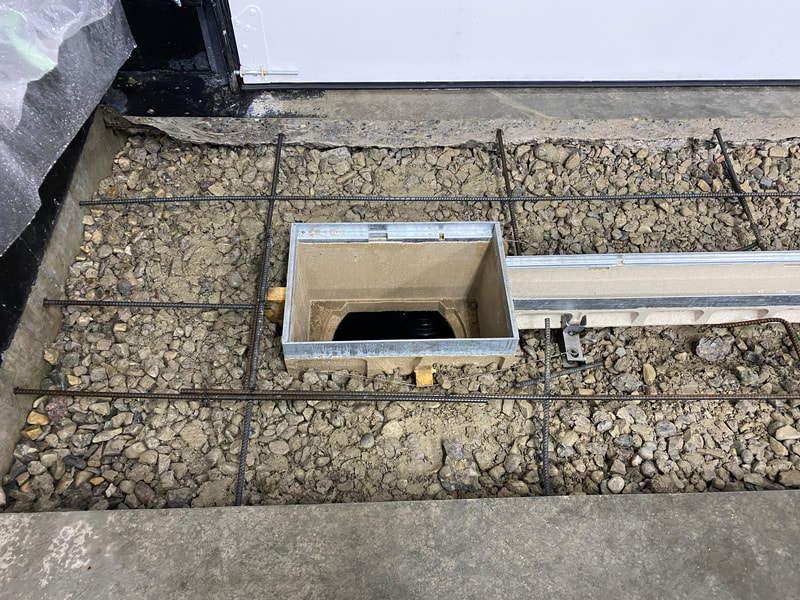
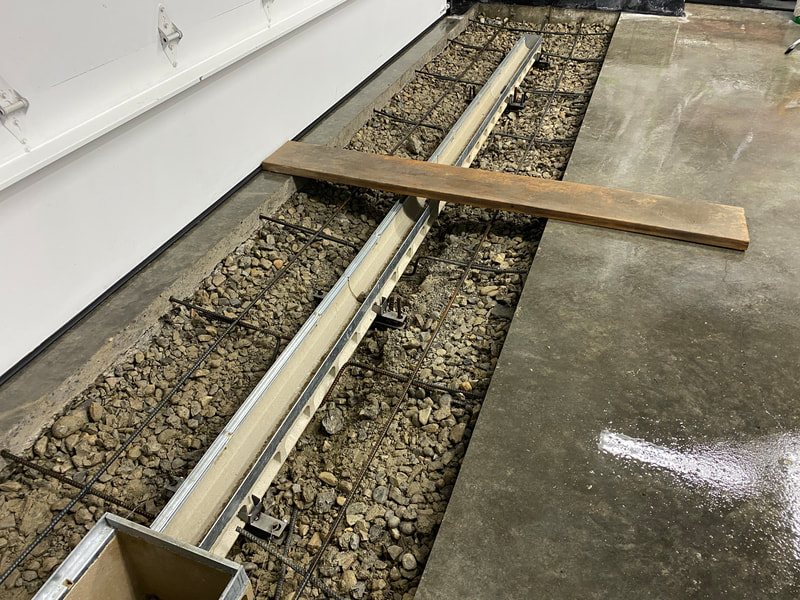
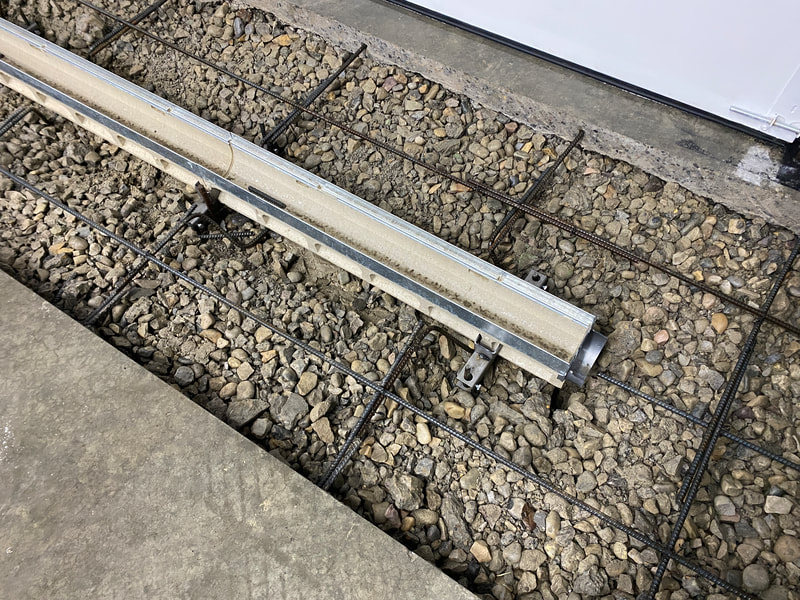
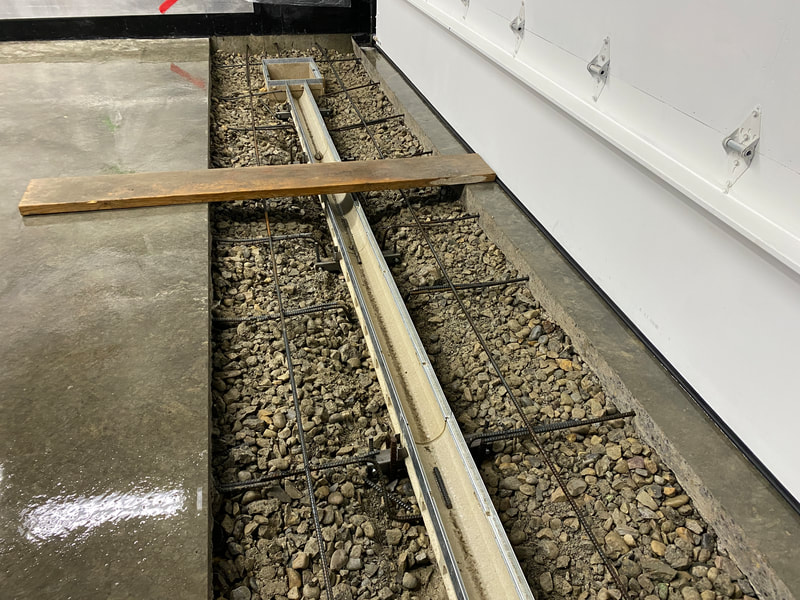
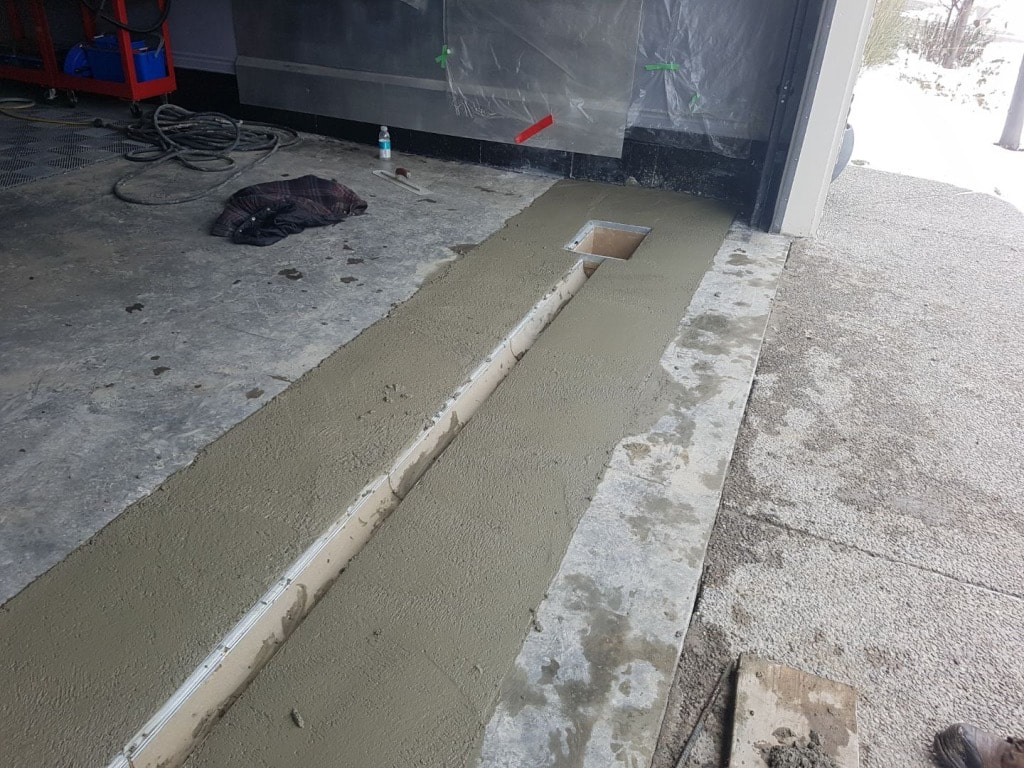
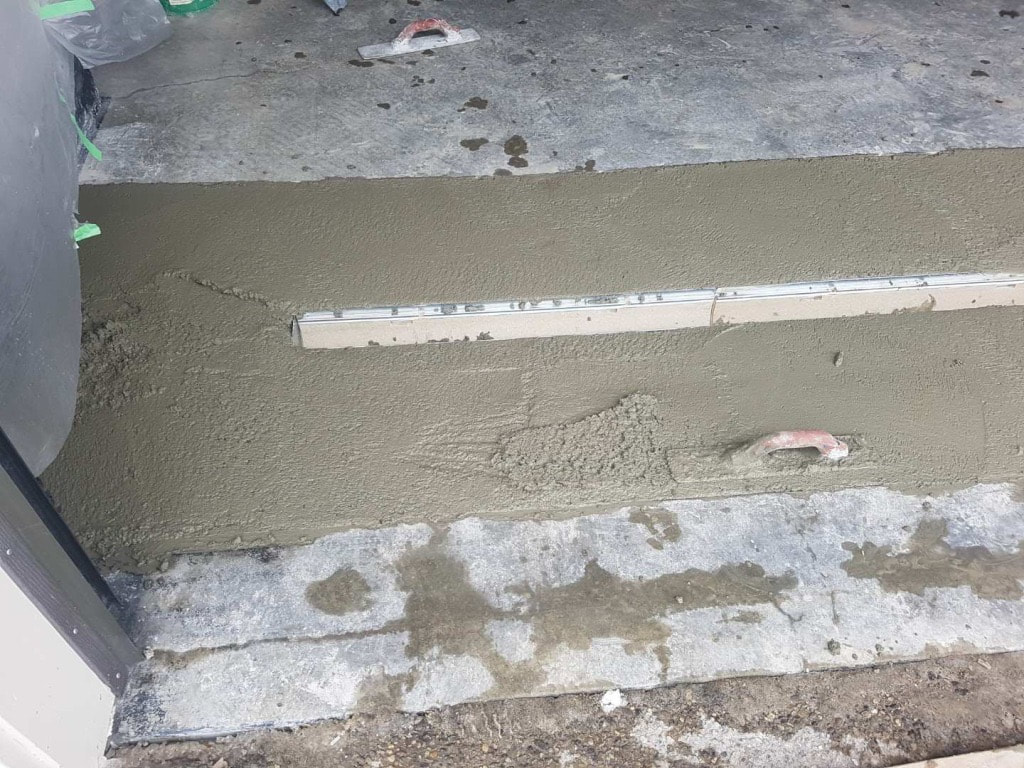
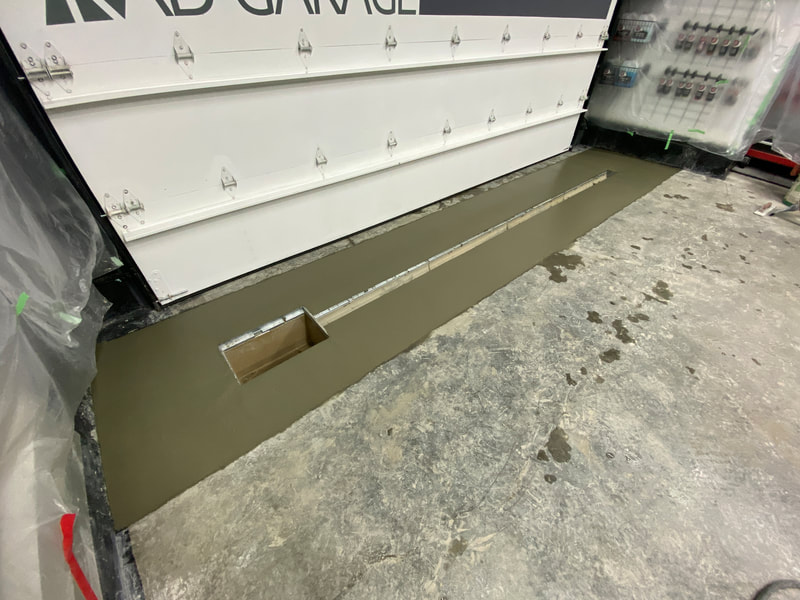
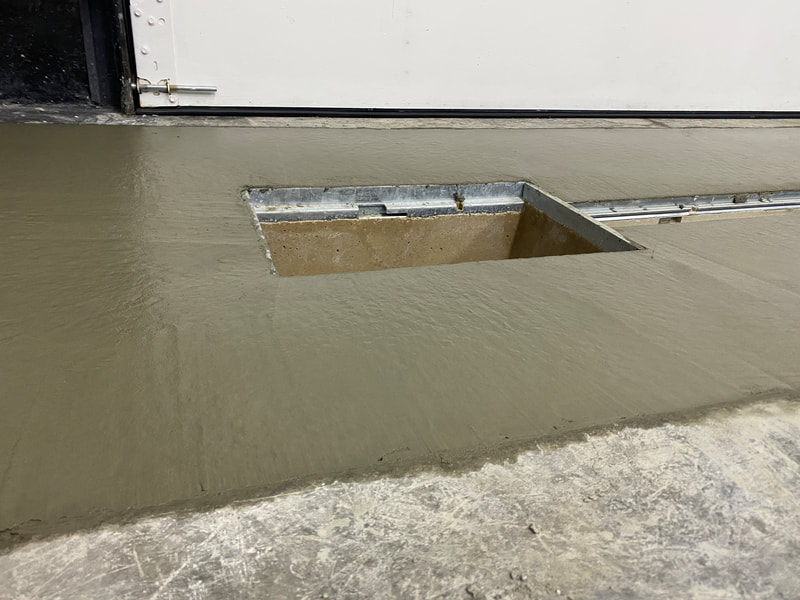
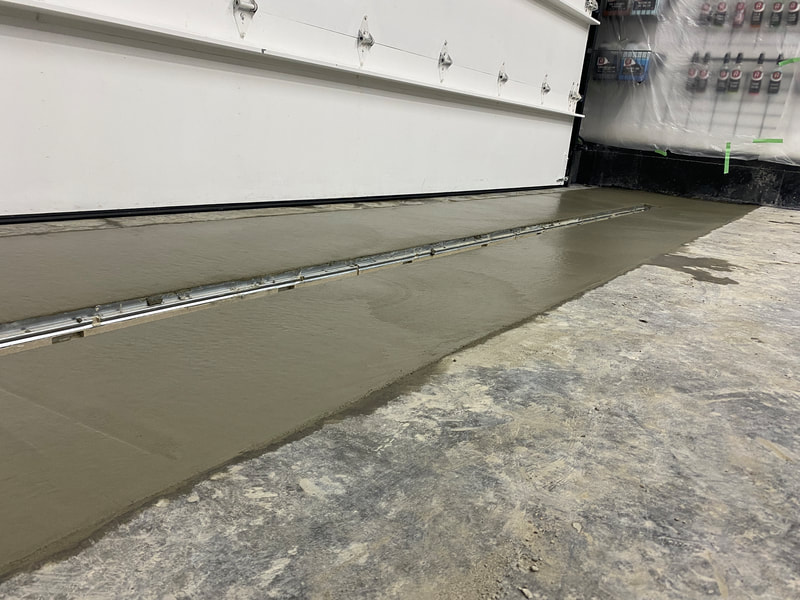
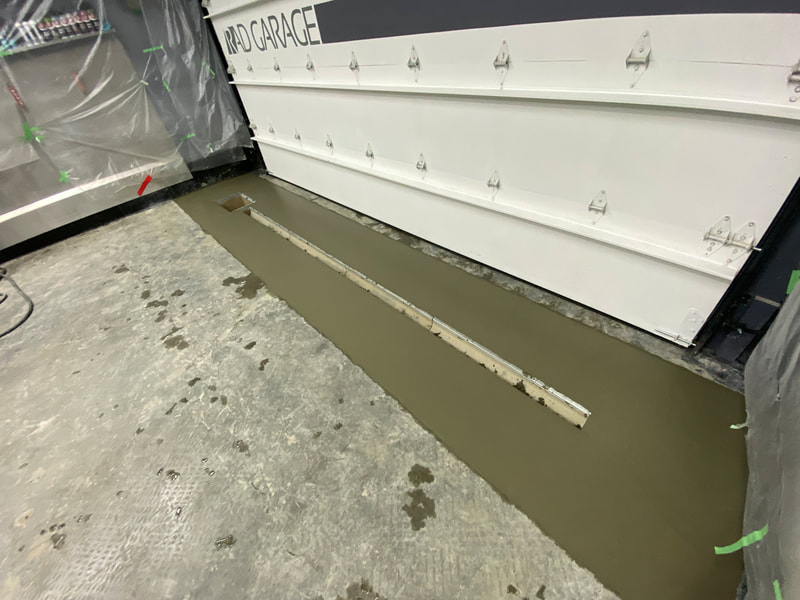
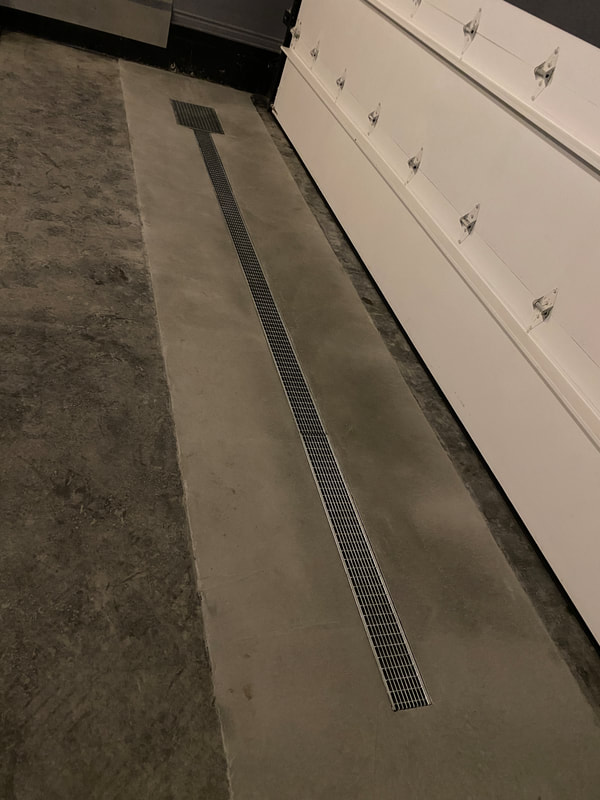
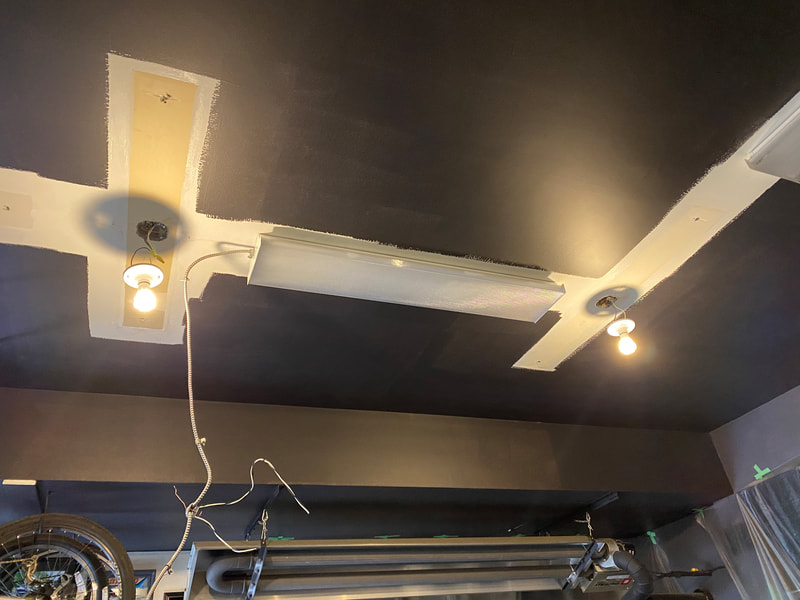
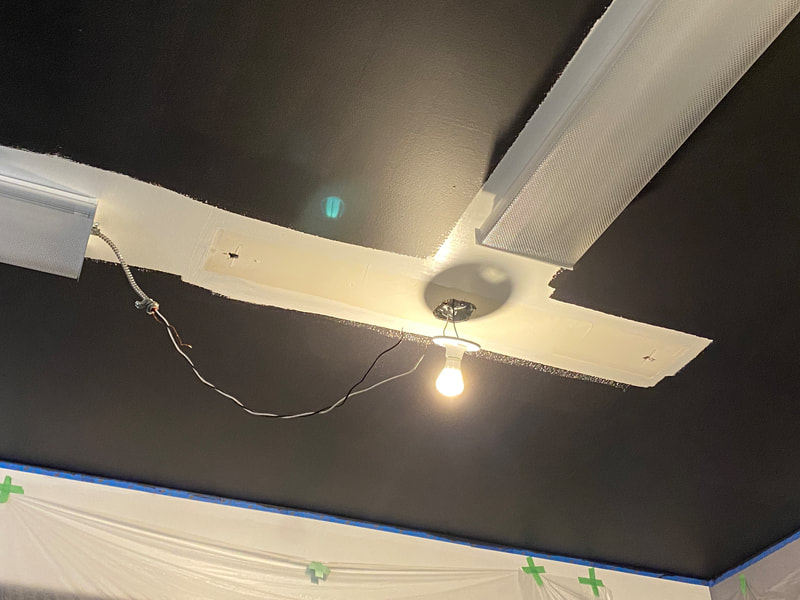
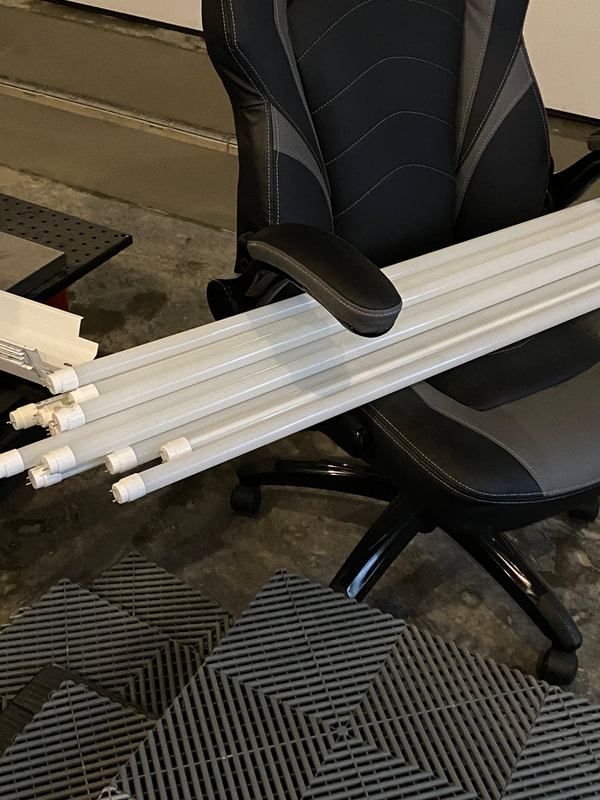
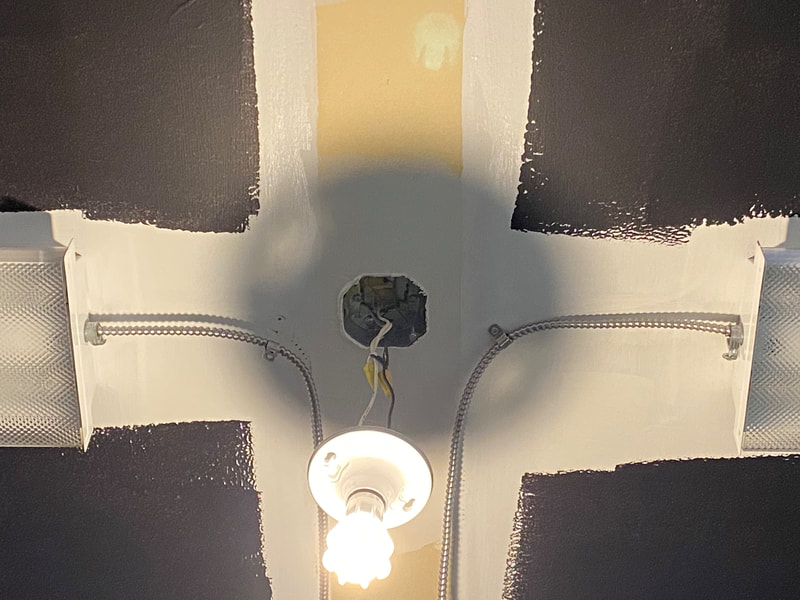
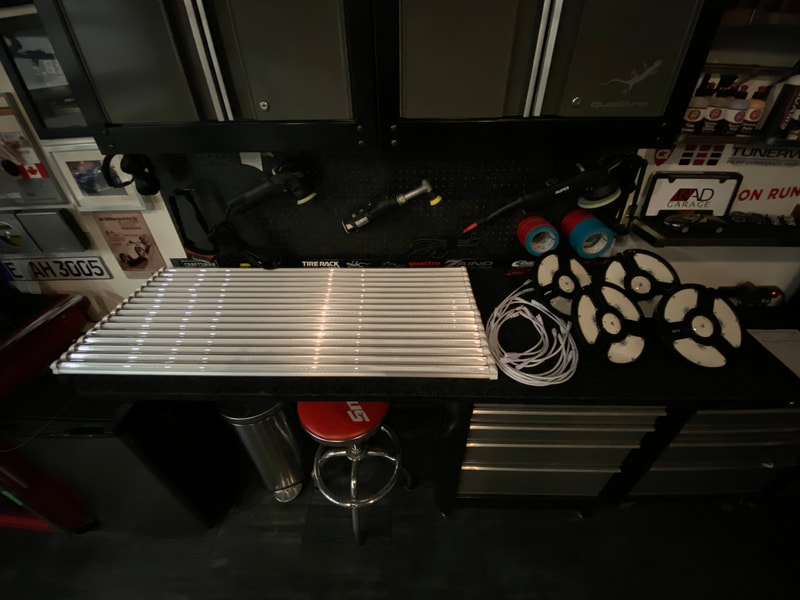
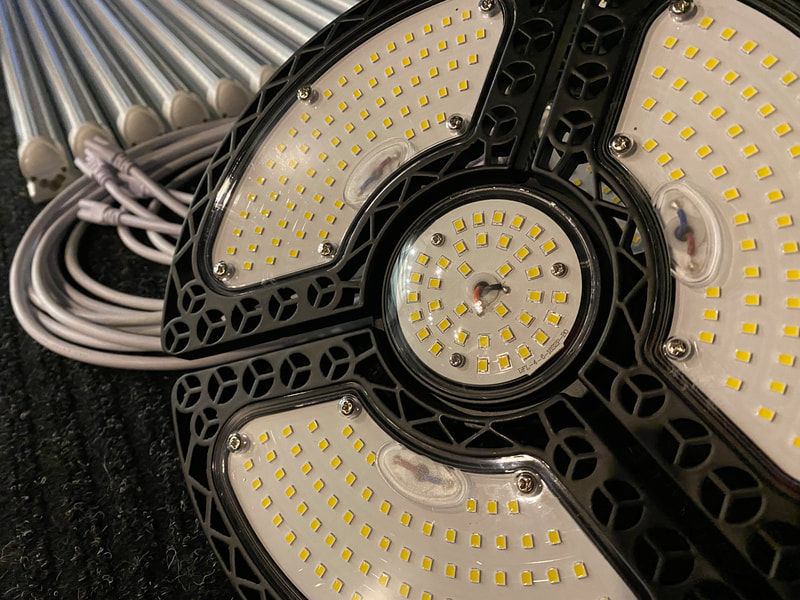
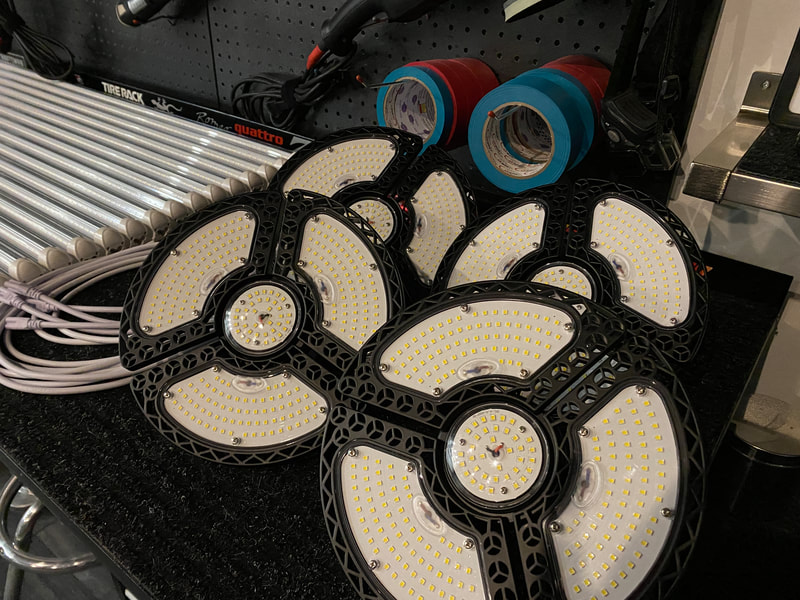
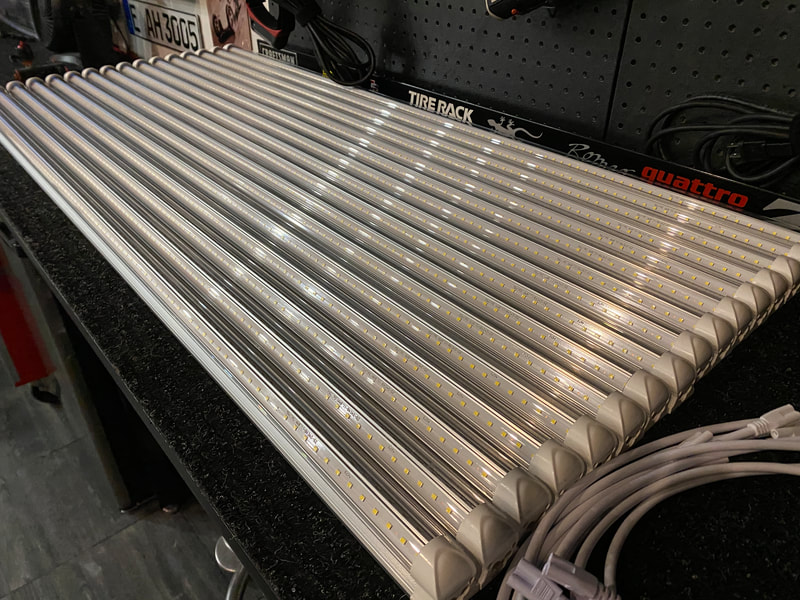
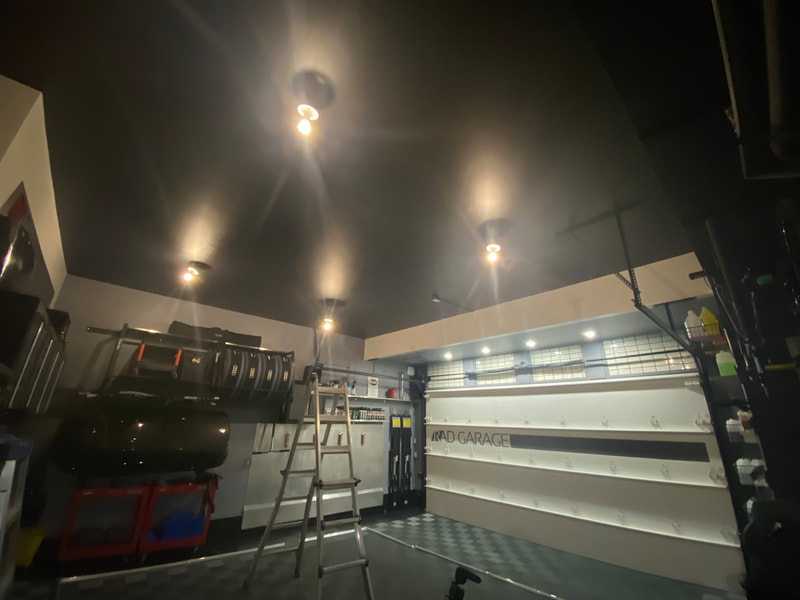
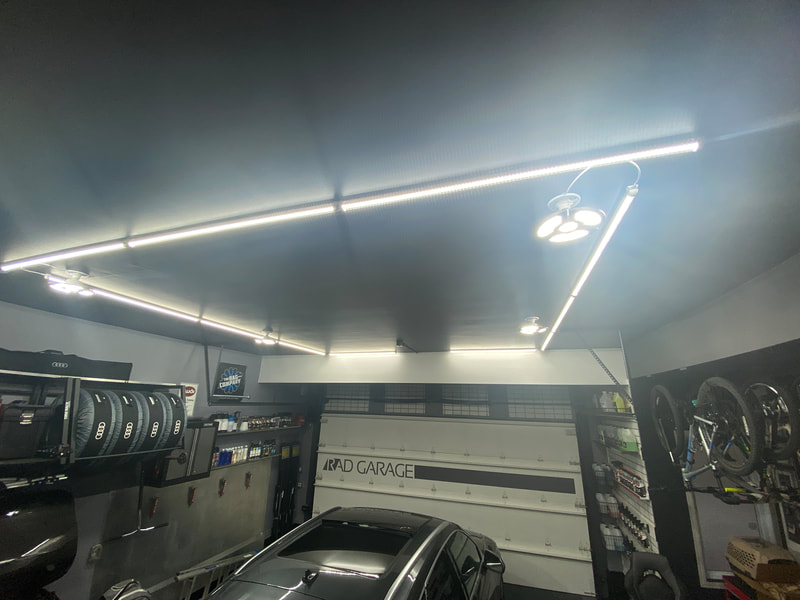
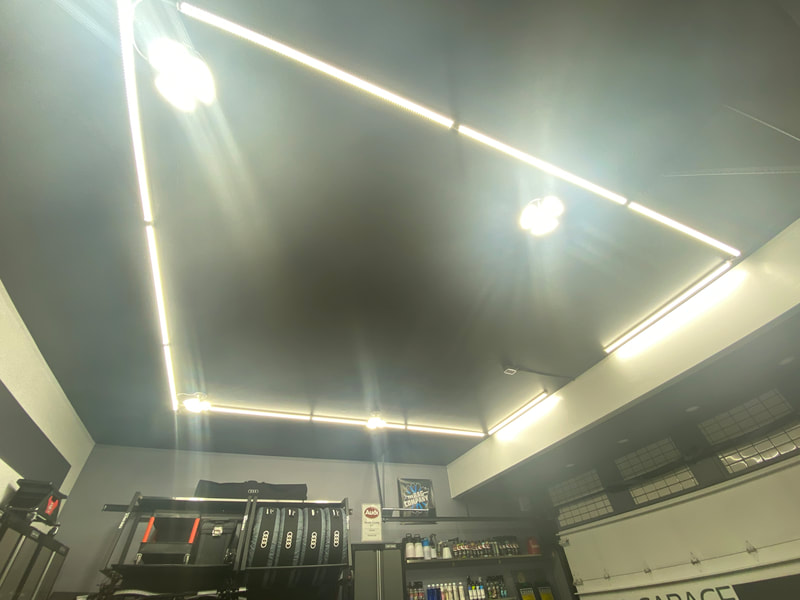
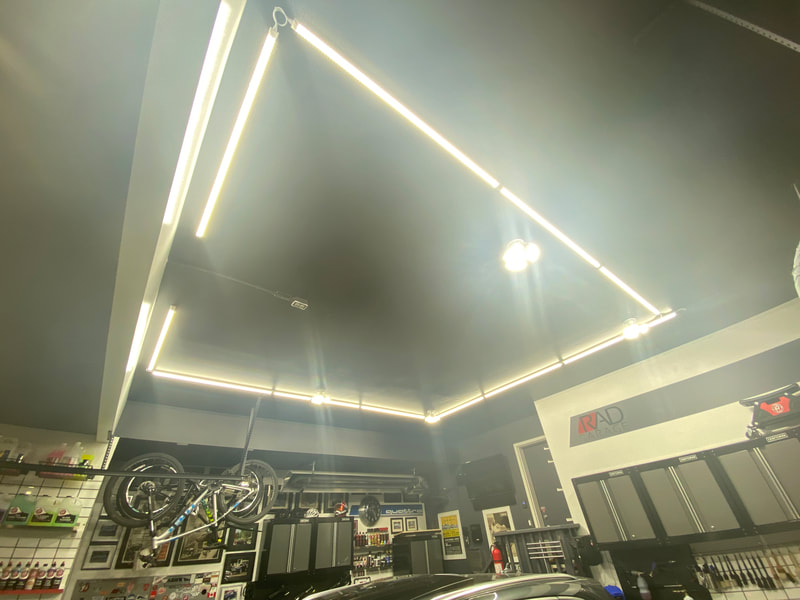
Winter is the perfect time of year to shift my focus to the garage itself. I have always endured drainage challenges that come with snow and ice melting and then freezing just outside the garage door. This ice damning can occur often in the winter, so conceiving a drainage system that prevents water from escaping the garage and wrecking havoc on my driveway has always been a goal of mine. I finally pulled the trigger and enlisted a concrete firm to install a channel drain/catch basin system. The installation process was labor intensive and required a 48" wide section of the existing floor to be demolished and removed by hand. Once the concrete was removed, four 1-meter sections of trench drain were precisely positioned one inch below the level of the existing floor and pitched towards a large catch basin with a 30-gallon capacity. The concrete was then poured and shaped in such a way that all water will be directed towards the channel sections. No water will now escape the garage and cause me headaches in the winter. While that job was in progress, I took it upon myself to paint the ceiling and install all new lighting. A company out of Saskatchewan called LevKom reached out to me and generously offered to supply me with all new LED lighting necessary to turn my space into an even more effective detailing environment. With the help of an electrician friend, we removed all nine existing fluorescent 2-bulb fixtures and installed four 60-watt "trilights" and eleven 30-watt 48" LED linkable tubes. The lighting install took six hours in total and turned out great. These three upgrades have breathed a lot of new life into my garage. I am still in the process of cleaning up all the dust from the concrete work and sanding of the ceiling, but it already looks even more amazing than before. In addition to just looking better, I am now able to conduct details year-round. The garage is now a much more comfortable and efficient place to do my thing! I have documented all of these changes in a 3-video series I call "Floor to Ceiling". This video demonstrates the demolition stage of the drainage project. The crew worked tirelessly for about six or seven hours removing a 48" wide portion of the existing slab. I wasn't able to record the footage of the actual drain and basin placement, but this video shows how they were placed in the excavated portion of the floor. This video demonstrates the final result after the concrete was poured to fill in the system. It also demonstrates the system in action as I perform a quick floor clean.
The top guy at Swisstrax Canada reached out recently to let me know that dozens of orders had been placed utilizing the RAD GARAGE discount code. I was happy to hear that. On the other hand, I don't think Swisstrax Canada was prepared for the volume of orders they have received so they have requested that the discount be modified. From this point forward, Swisstrax Canada is extending a $0.25/square foot discount to RAD Garage referrals.
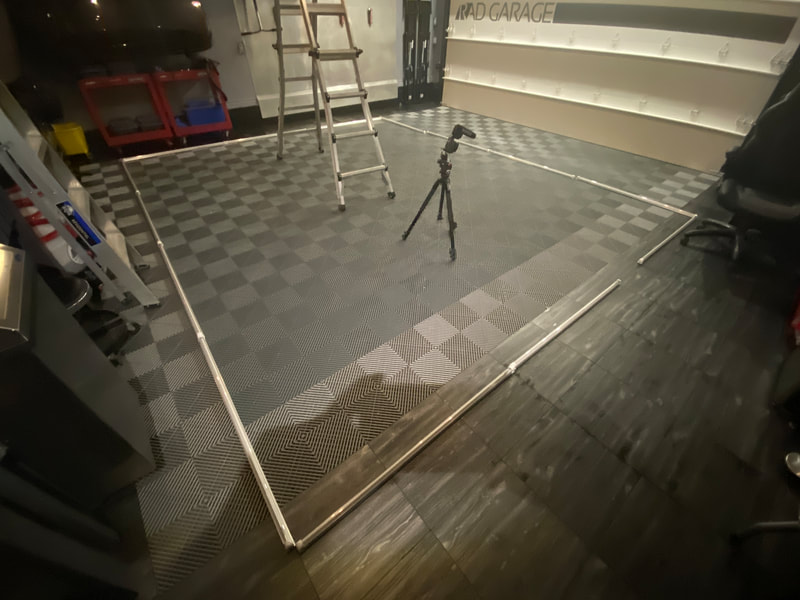
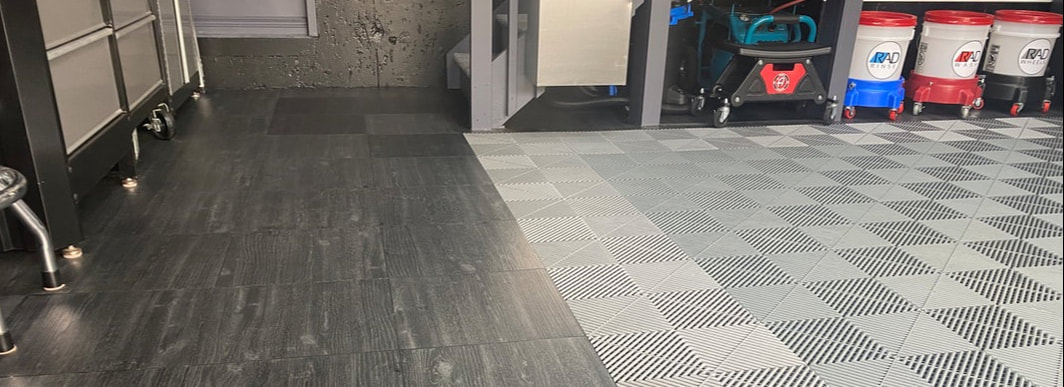
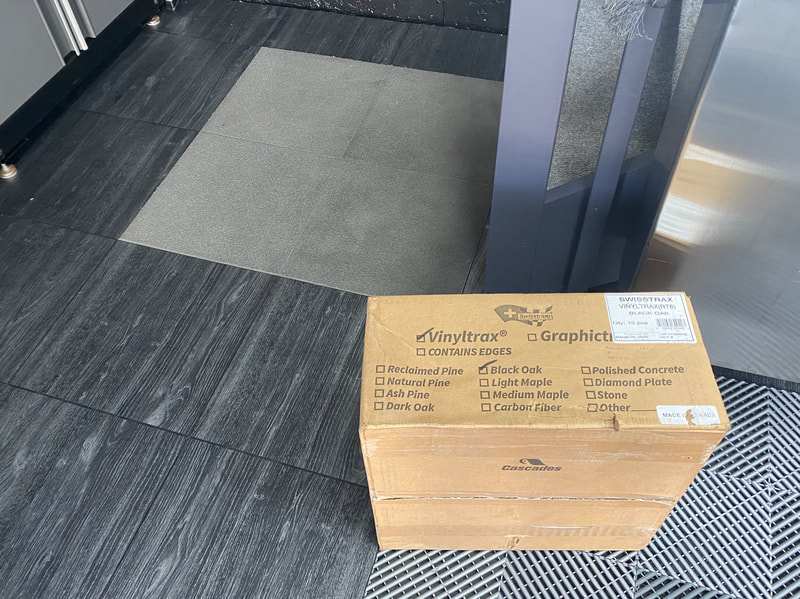
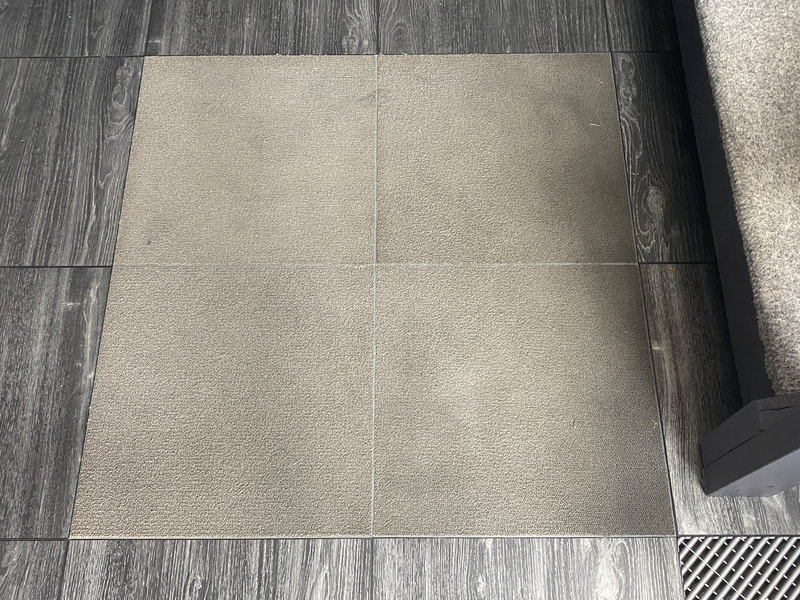
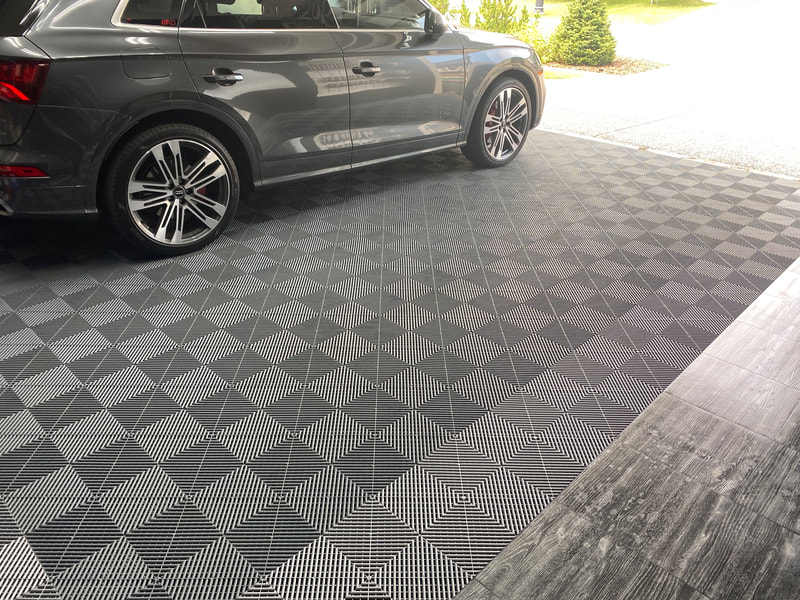
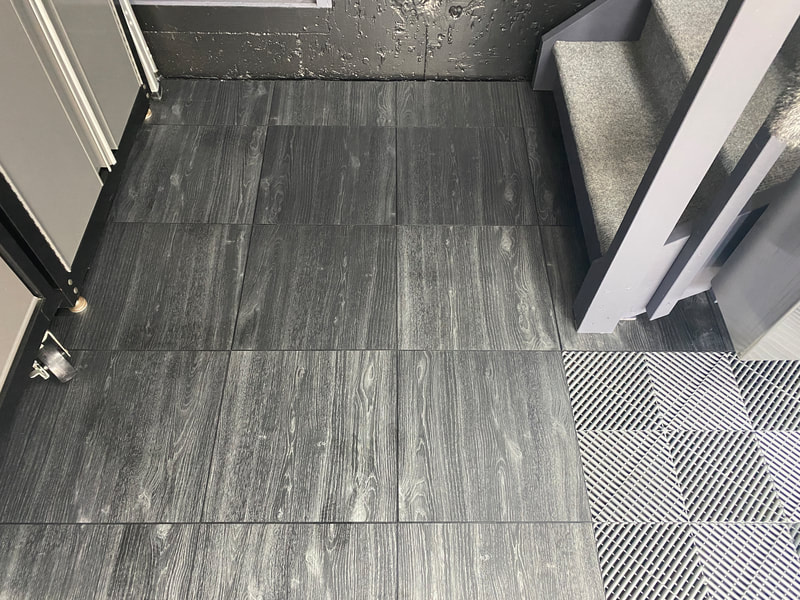
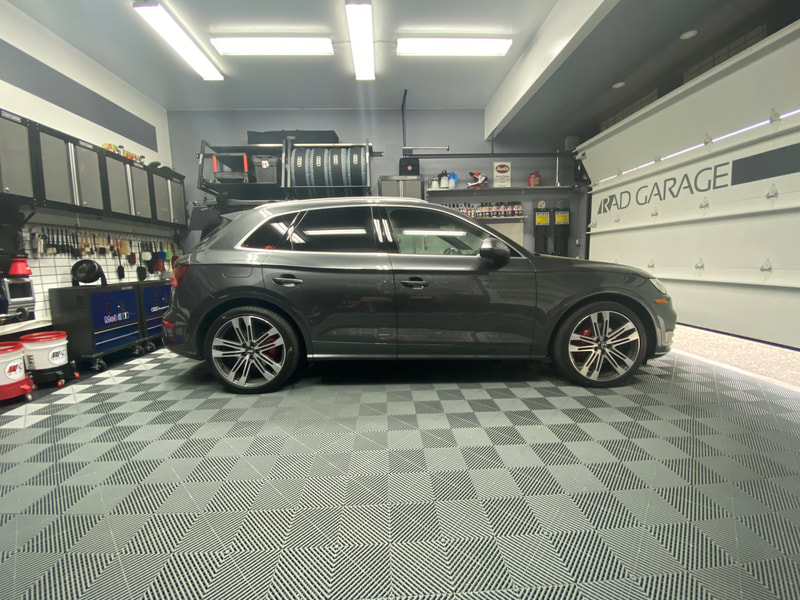
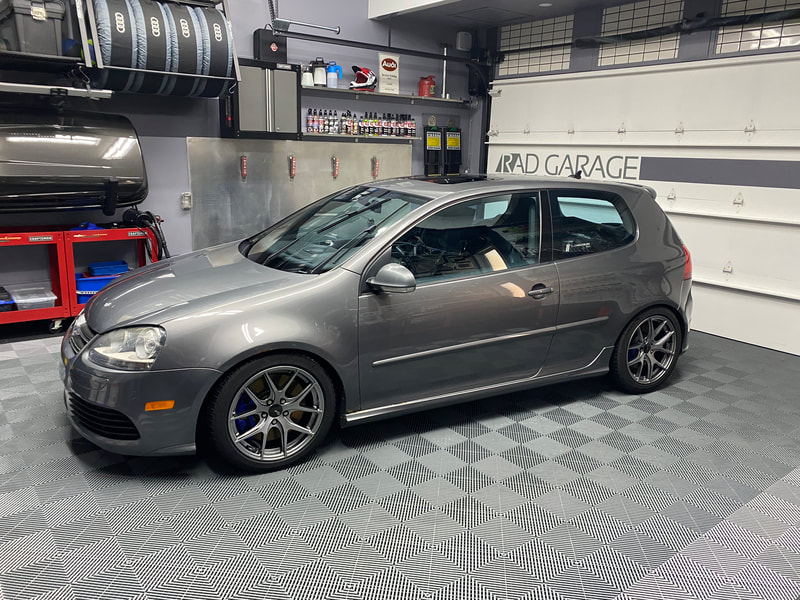
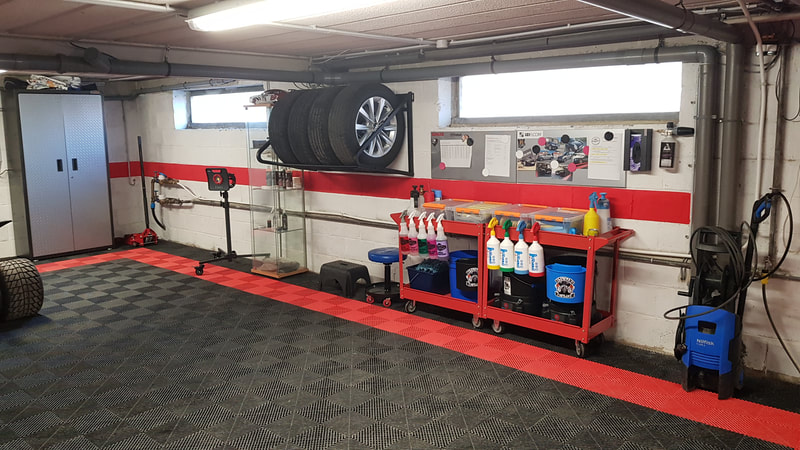
I ordered and received some solid black oak Swisstrax tiles to replace my aging "Carpetrax" tiles at the base of my garage stairs. These grey carpet tiles were looking a bit worn and dingy so I decided to swap them out. I also preformed a thorough clean of the garage floor by dividing the Swisstrax tiles in long sections and dragging them out onto the driveway. The garage is pretty clean as I tackle an exciting Golf R32 project.
I'm pleased to be able to offer a $0.25/square foot discount to those Canadian friends wanting to purchase a Swisstrax floor for their garage. Simply reference "RAD GARAGE" in your email or phone call to the sales staff at Swisstrax Canada when placing your order. Be sure to keep your eye on Swisstrax.ca for any specials as well. Currently, they are running a 20% off sale on Ribtrax systems and a 15% sale on Diamondtrax tiles. As always, if you have questions about Swisstrax, feel free to shoot me a question. I am always happy to help people decide if Swisstrax makes the most sense for them and their garage.
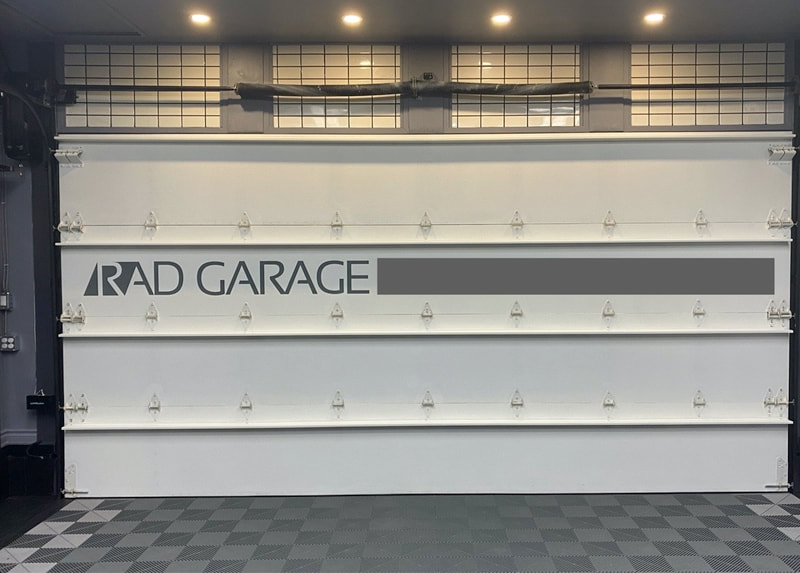
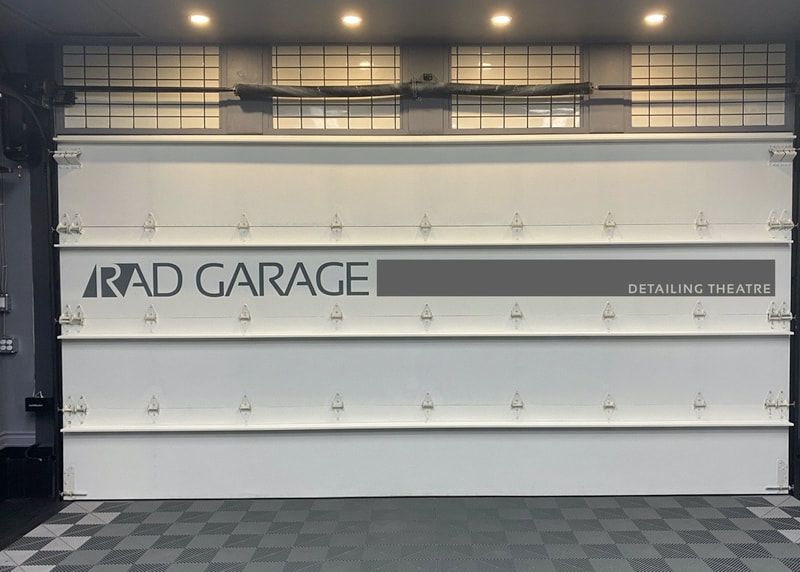
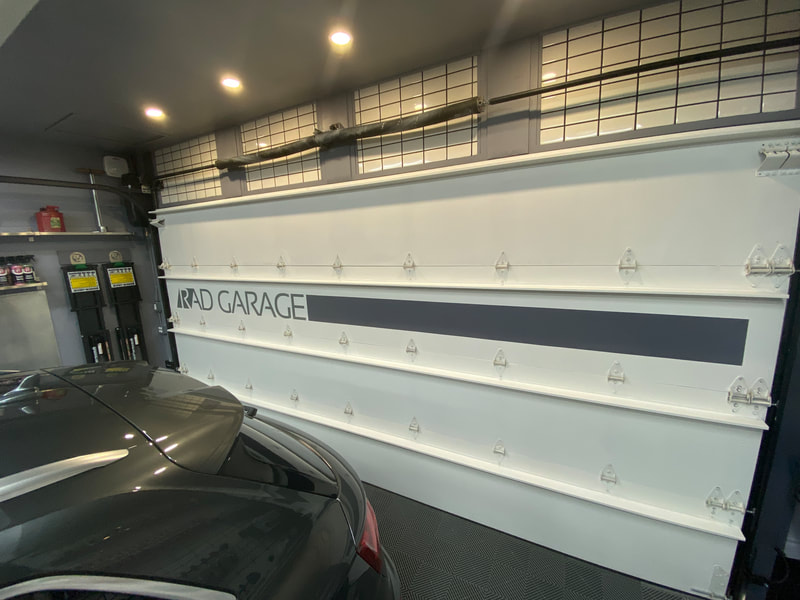
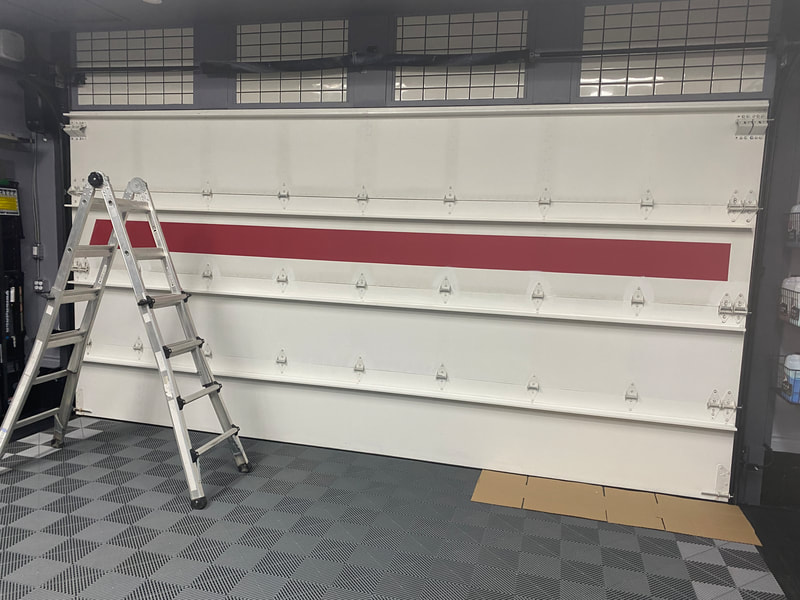
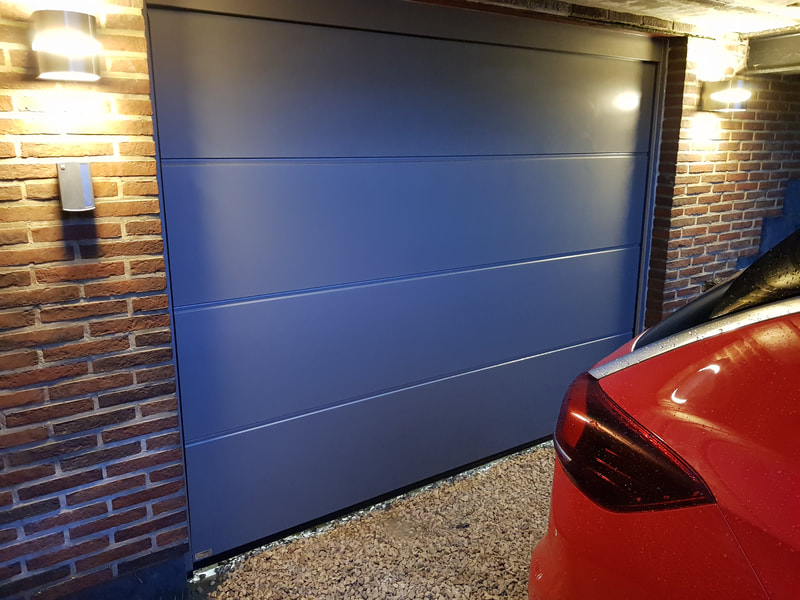
I hand-painted a grey stripe to play off the new decal on my door. I am now considering having some lettering printed out. Below, I have a photo of the garage door as it stands today, and next to that, I have a rendering of what I an considering doing.
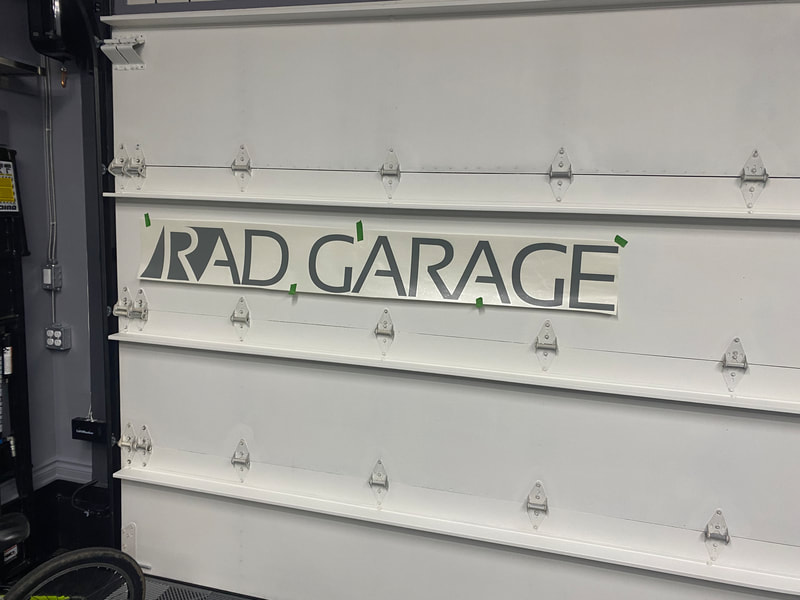
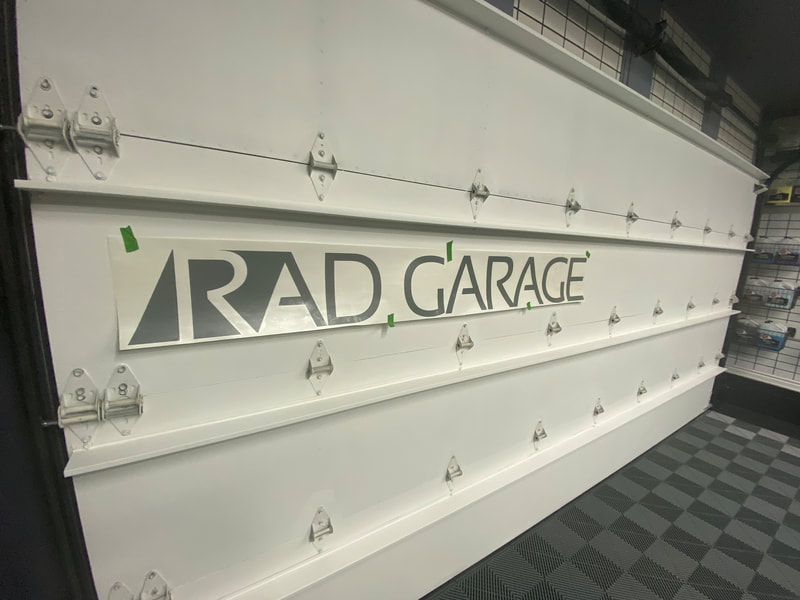
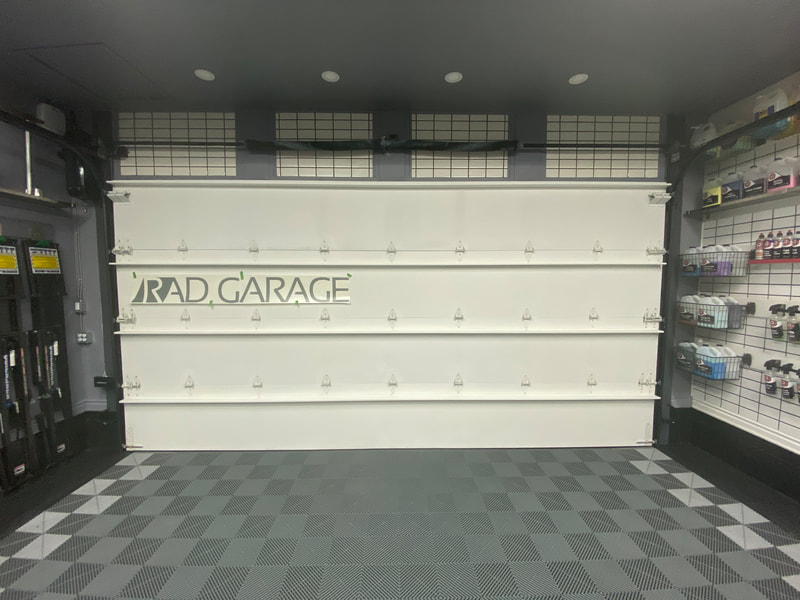
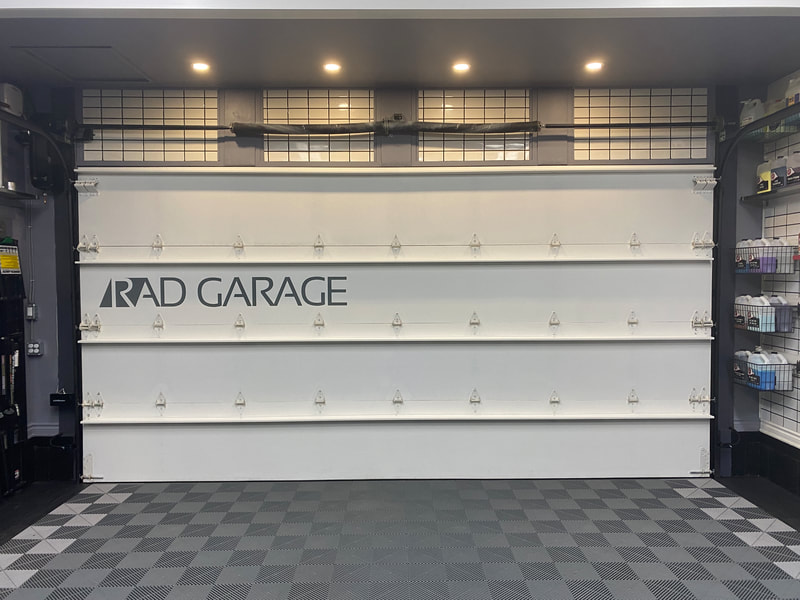
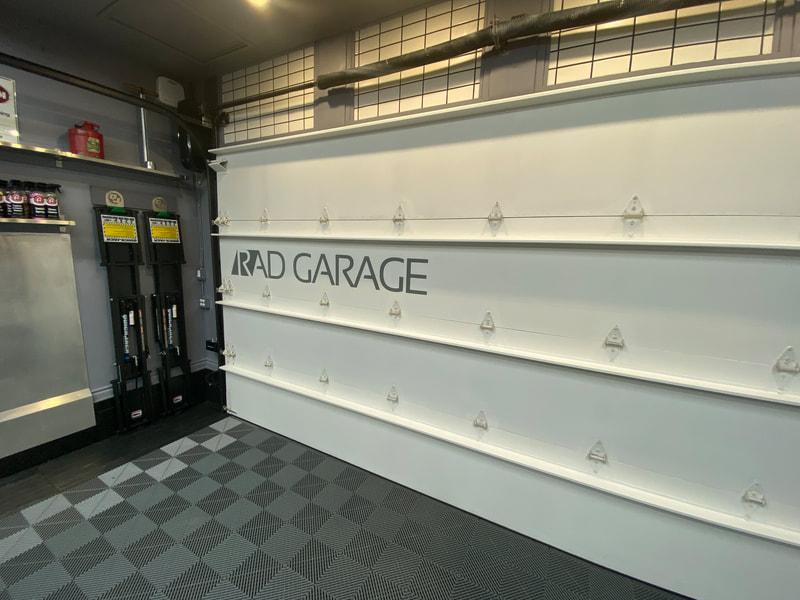
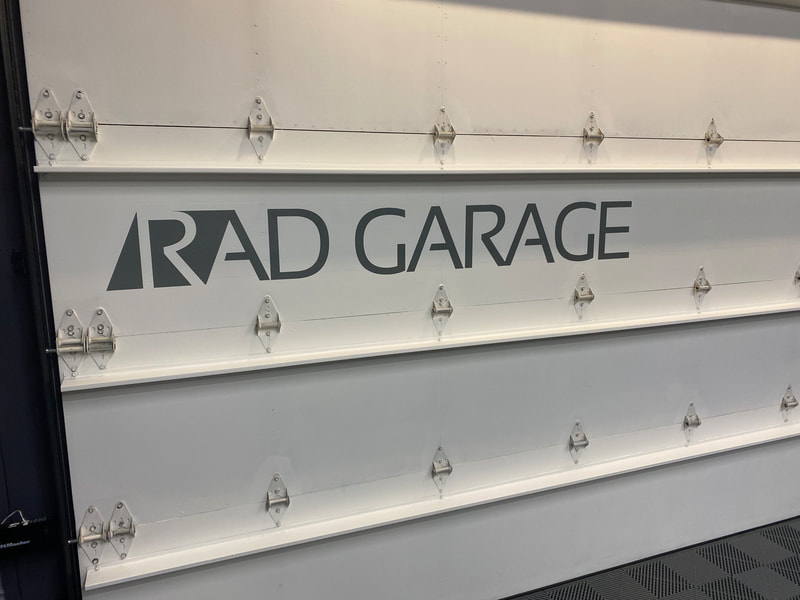
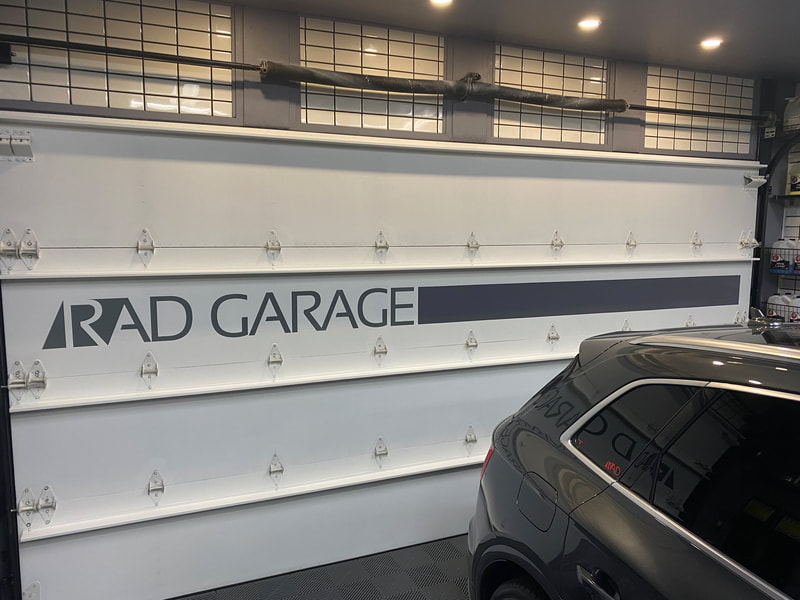
I refreshed the design on the back of the garage door. I had the team at Custom Decals YYC print me up a 9" decal and I then I painted a corresponding stripe. I went with grey for the decal and the stripe as to tie into the existing grey colour theme. I am quite happy with the results.
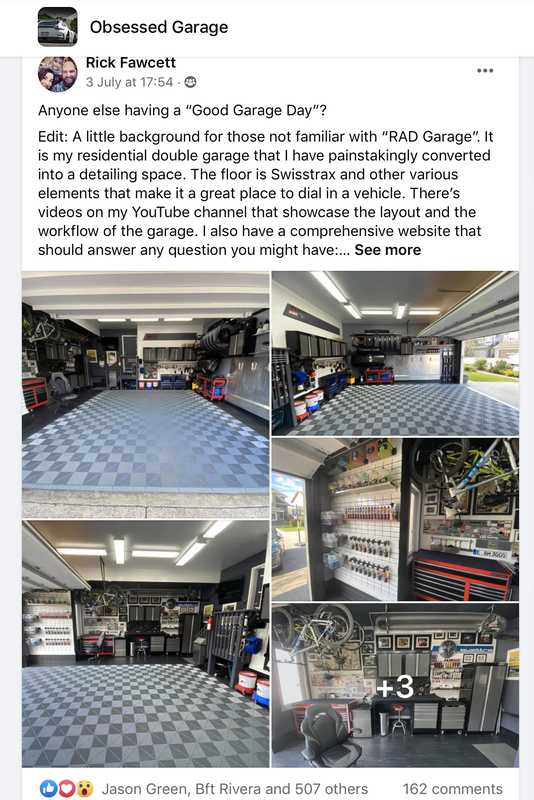
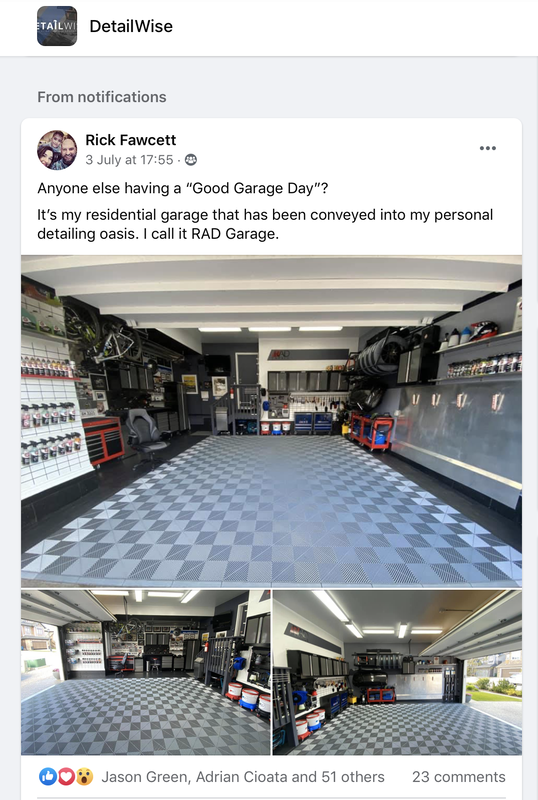
I was feeling pretty good about the state of the garage the other day so I threw some photos on two different car/garage enthusiast Facebook groups I belong to. Obsessed Garage and DetailWise are private pages, but worth joining if you are interested in seeing the car and garage-related craziness other people are up to.
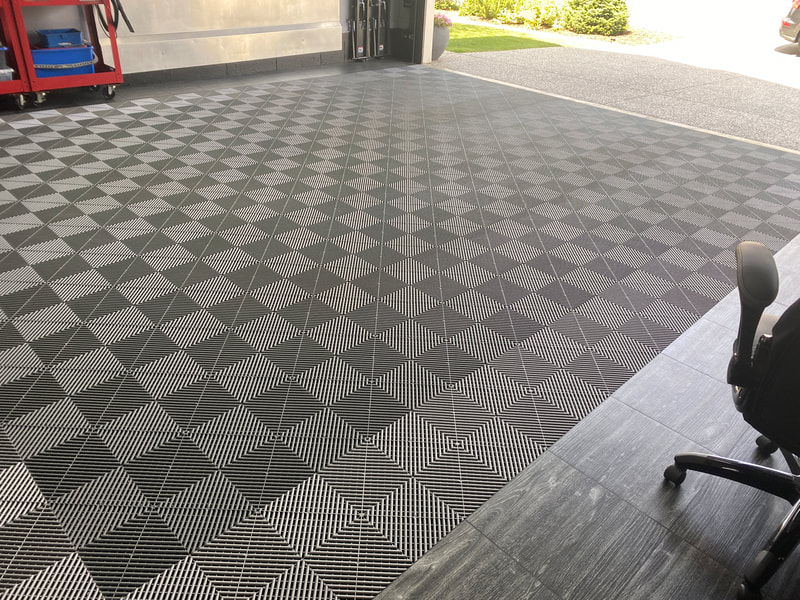
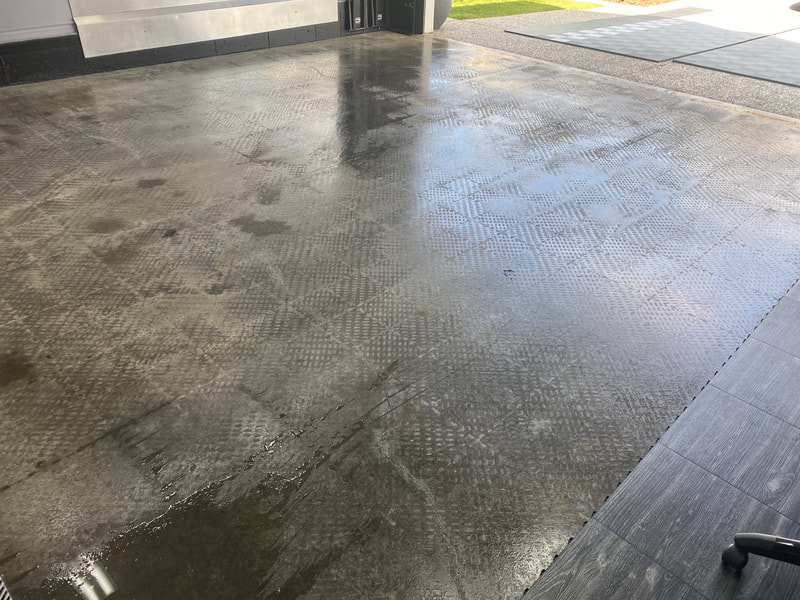
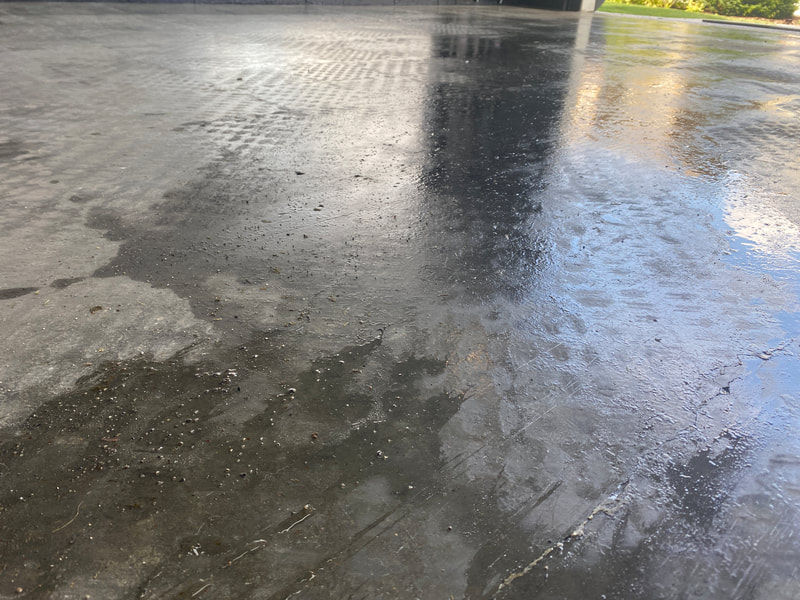
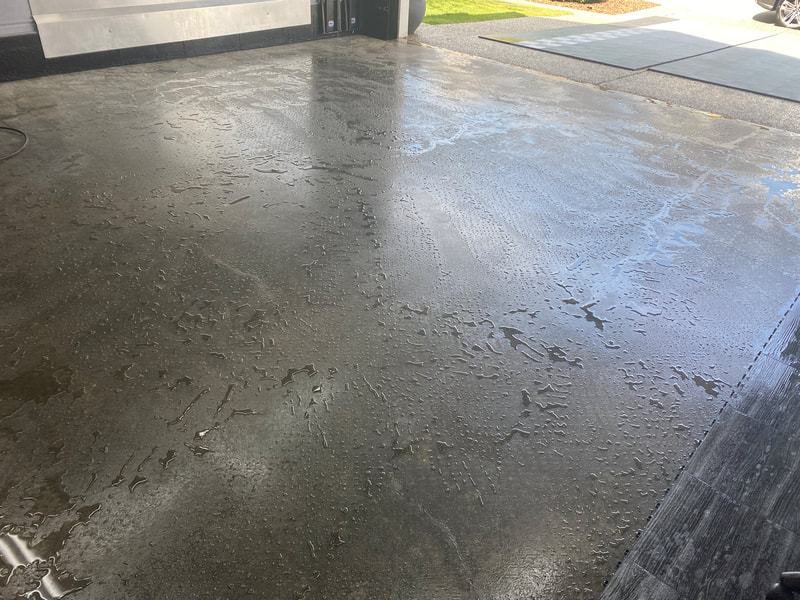
I'm obviously a huge fan of Swisstrax flooring. Recently, there has been a lot of conversation in the comment section of my videos as well as on the Facebook forums I belong to. I felt it was necessary for me to share my experience with a Swisstrax floor in terms of function, practicality and maintenance. I have uploaded two videos to my channel that hopefully provide the information a person would need in order to make a decision regarding the suitability of this floor to their garage.
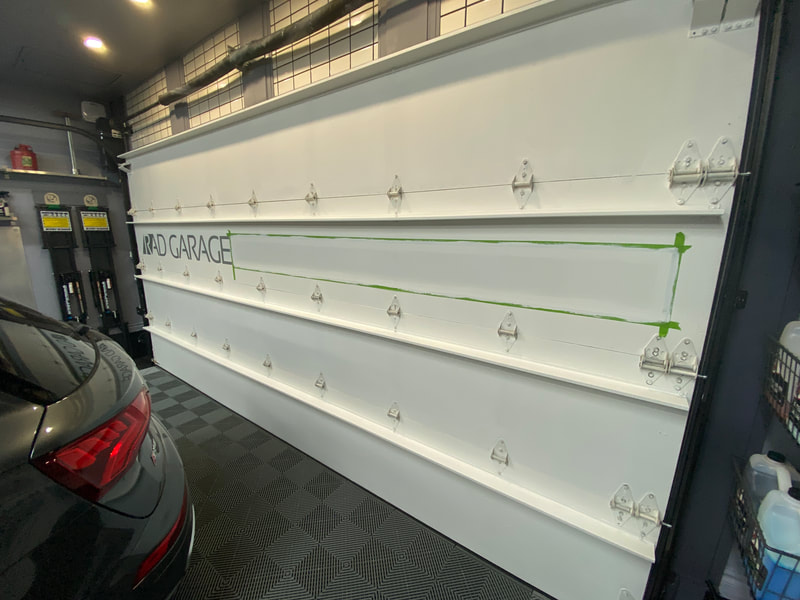
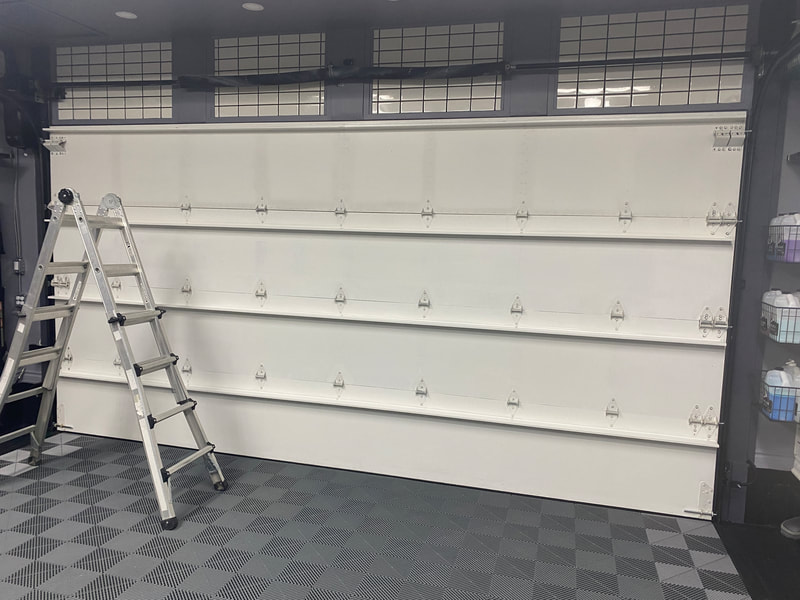
As with pretty much every aspect of my garage design, I am changing up the look of the inside of my garage door. I've enjoyed the red stripe in the Audi motif, but I thought it was time for a bit of an overhaul. I recently repainted the entire interior side of the door with a white eggshell paint from Rona. Now, what will I do with it? I guess you'll just have to check back in a few weeks to see.
I was not happy with the performance of my aging garage door opener unit. It has served our family well for the past decade, but the entire system was dated and it was time for an upgrade. I connected with Mike Awada from Triton Door Services after a neighbor recommended him. He stopped by the garage and we chatted about all the possibilities and I settled on a Liftmaster 8500W side-mount "Jack Shaft" opener. The install process was somewhat complicated, but with the help of my amazing brother-in-law Ryan, we ran electrical service to the corner where the unit was mounted. We also rerouted the wall switch and sensor wires from the middle of the ceiling to the same corner. Then, we installed four slick little 4" LED pot lights (can lights) to provide some much needed task lighting to the lower ceiling portion of the garage. What an amazing difference these adjustable (3000-5000k) lights have made. This video isn't a complete step-by-step install guide, but more of a look into my thinking and how I integrated all the components into my already highly developed garage. If you are interested in upgrading your garage door opener, I highly recommend you find a qualified door technician in your area. It’s also a good idea to have a quality electrician on speed dial too! By far, the best part of this garage hobby is having the opportunity to connect with people from all over the world. I spend a lot of time responding to comments and questions on YouTube as well as carrying on behind-the-scenes conversations via Instagram and email.
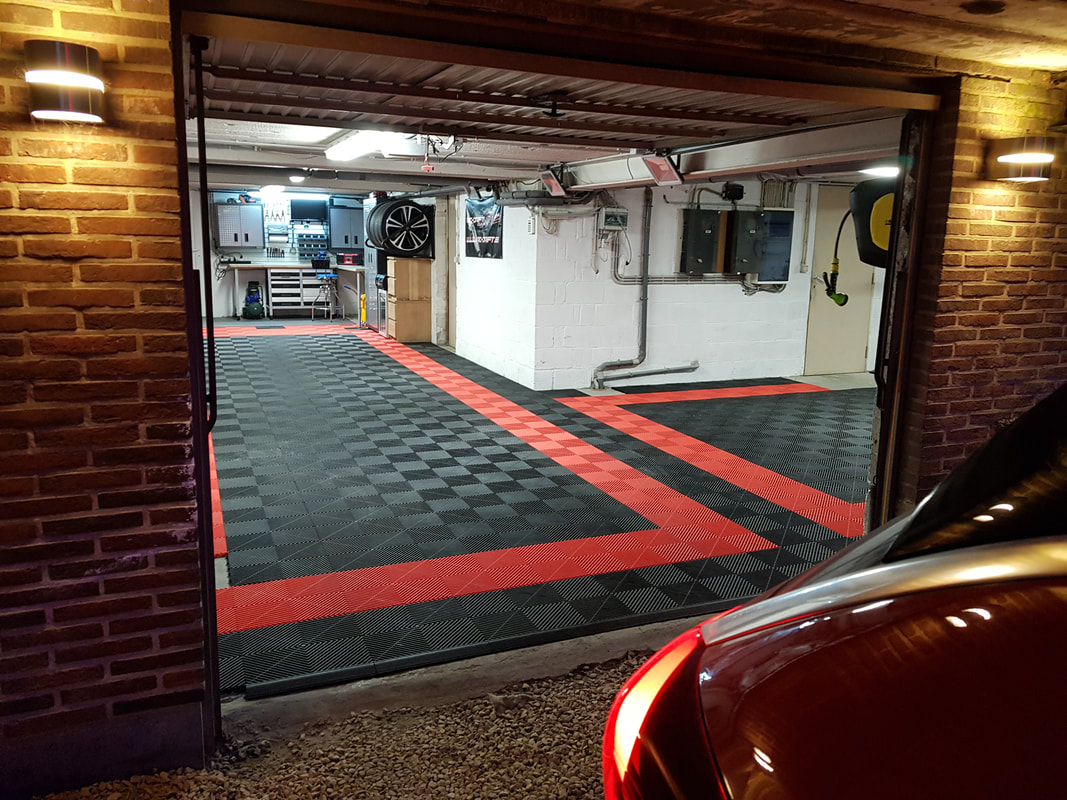
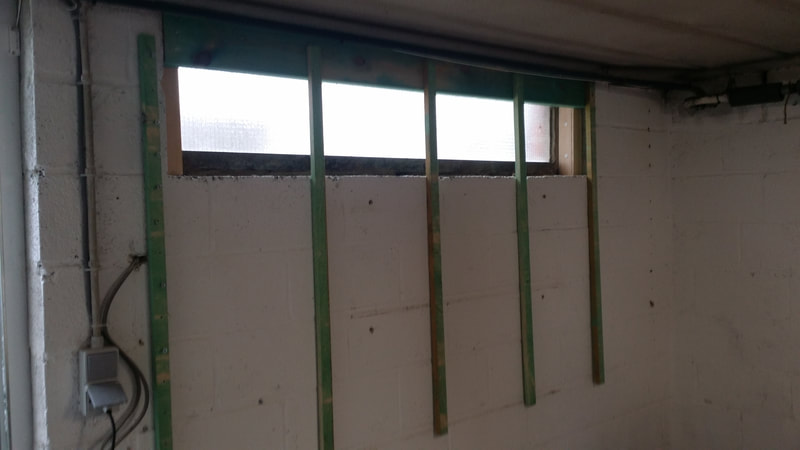
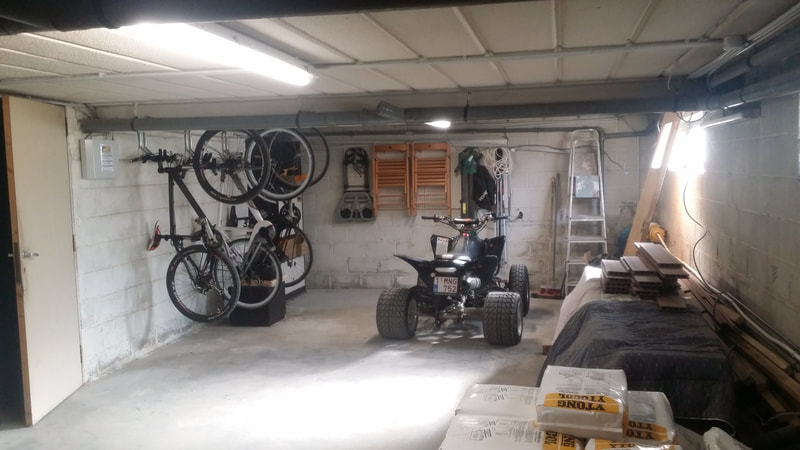
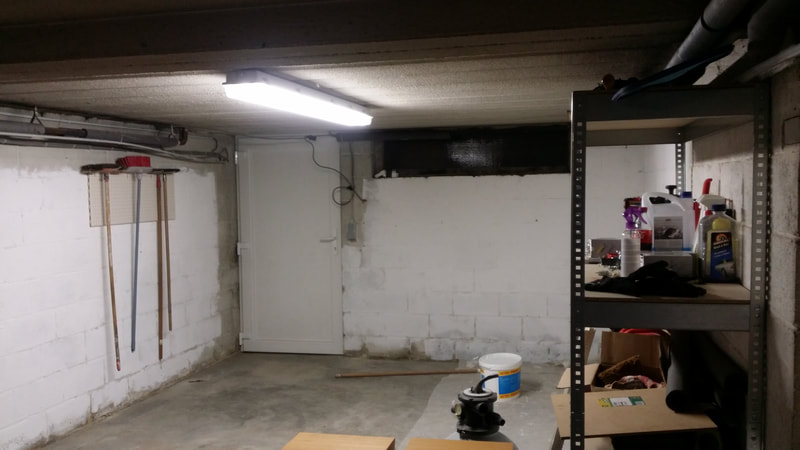
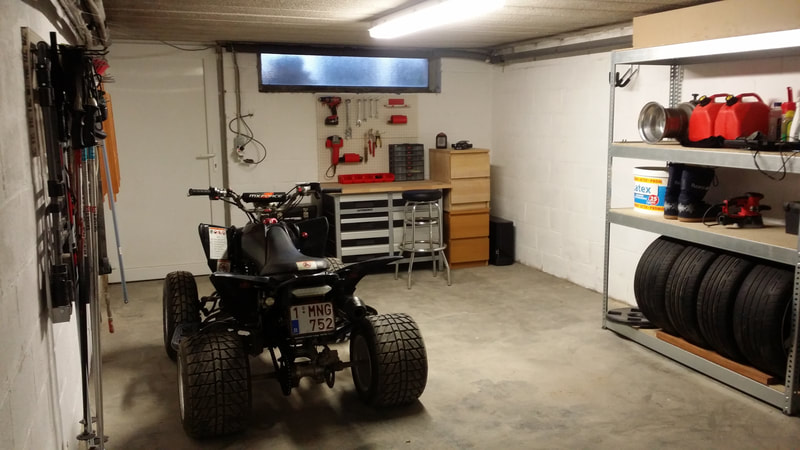
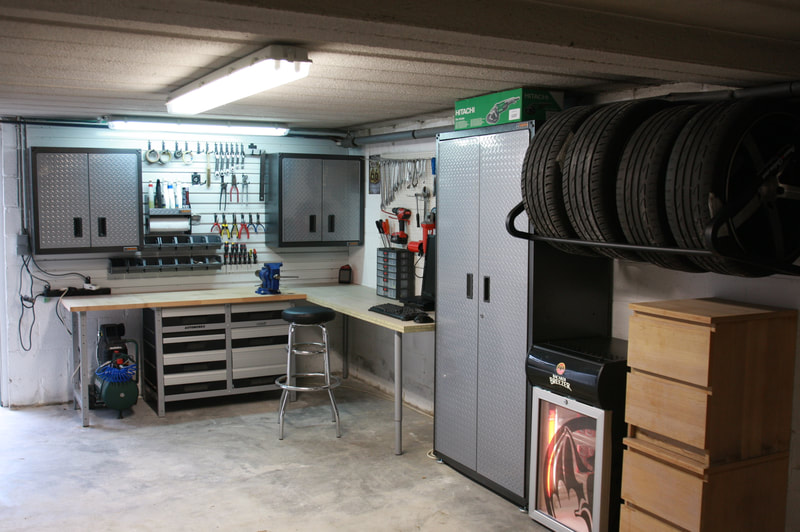
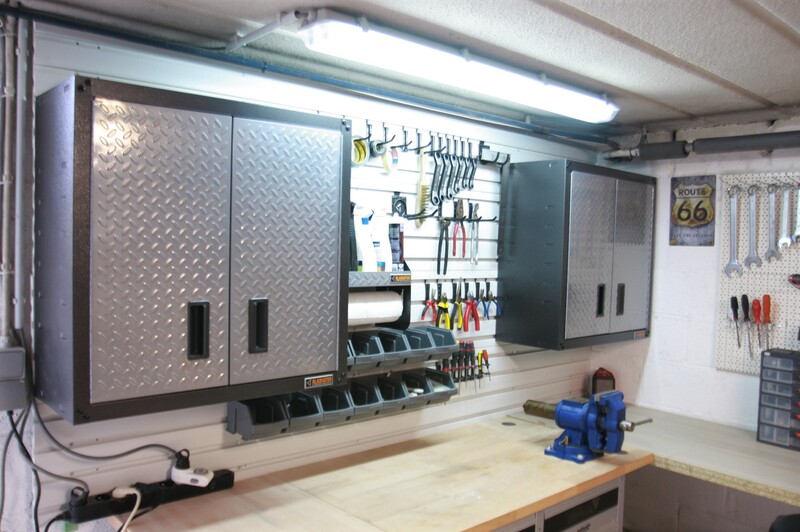
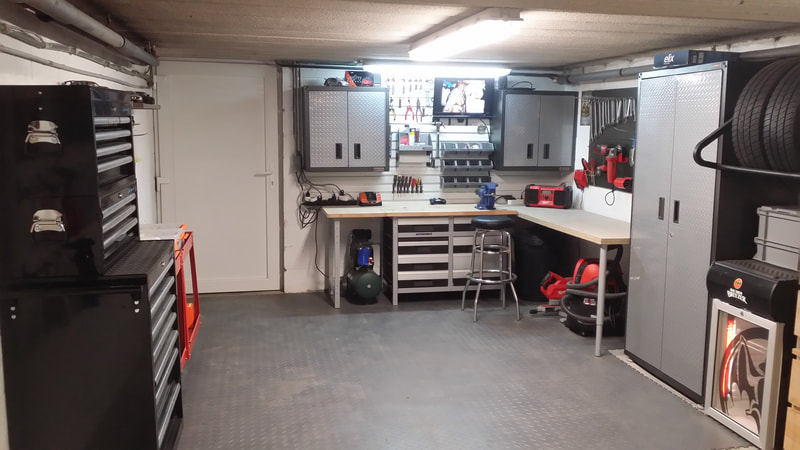
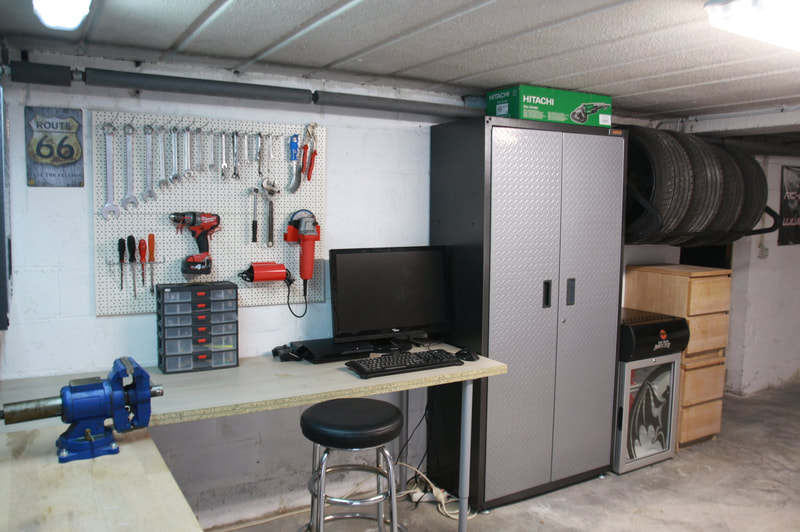
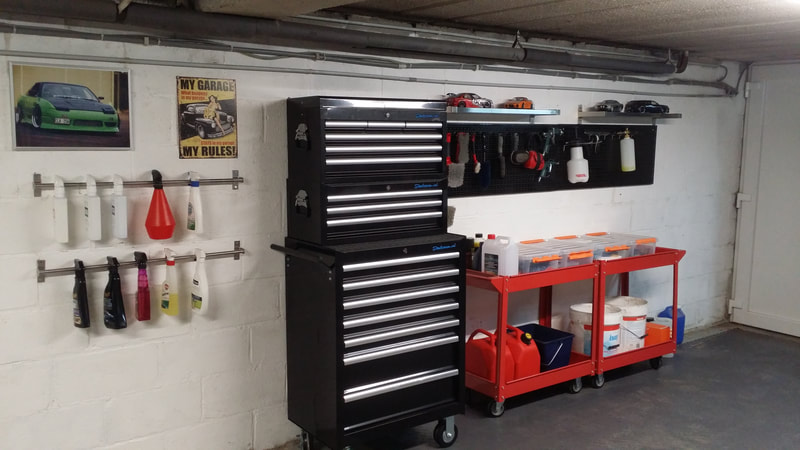
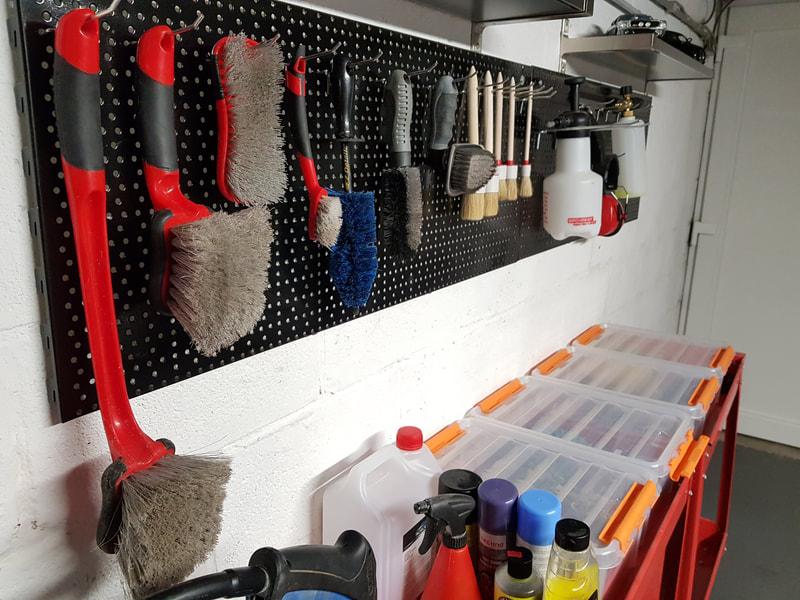
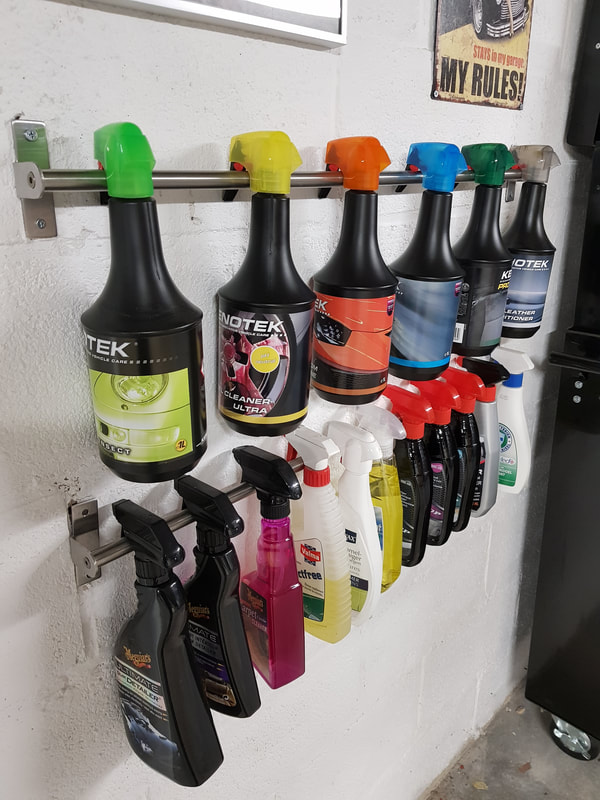
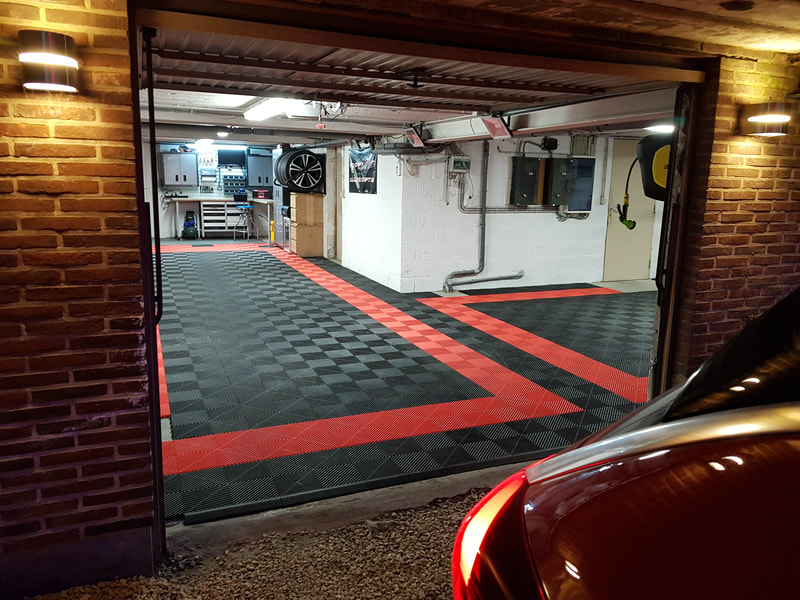
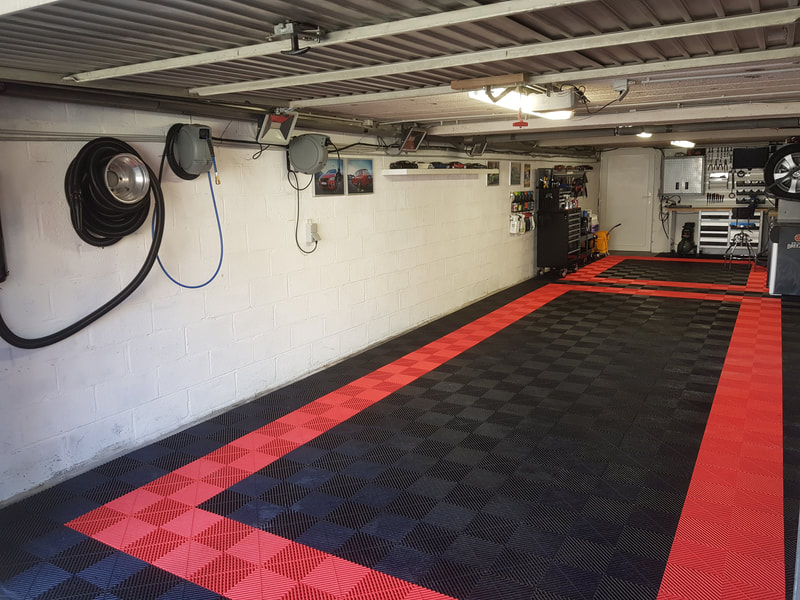
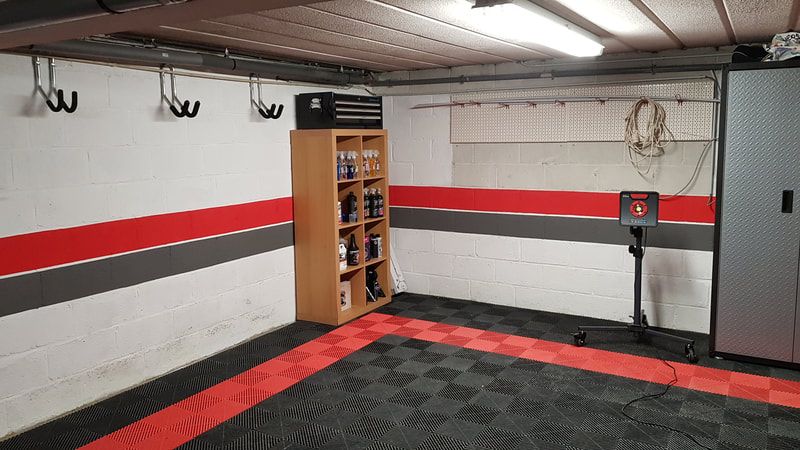
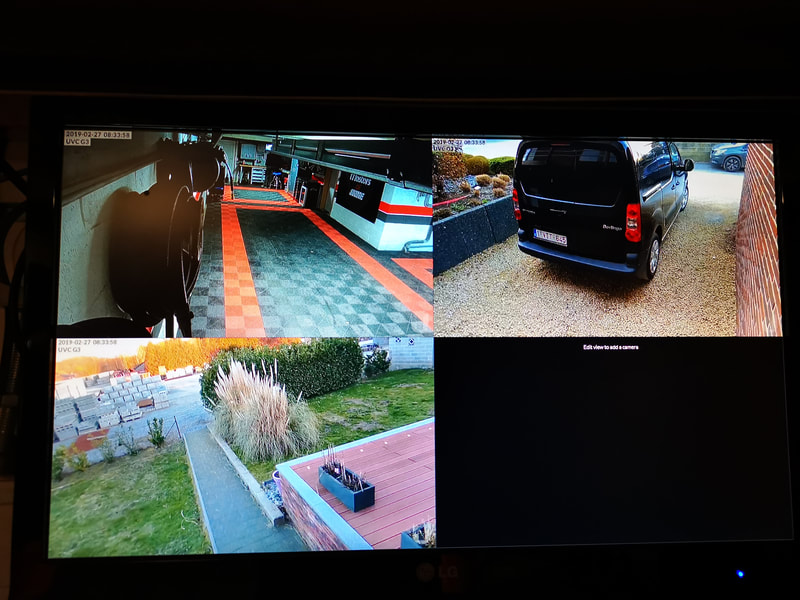
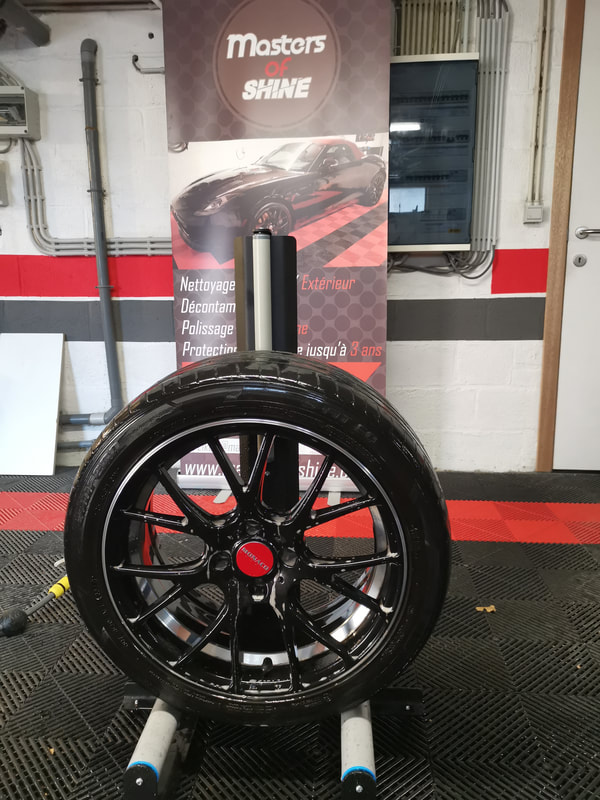
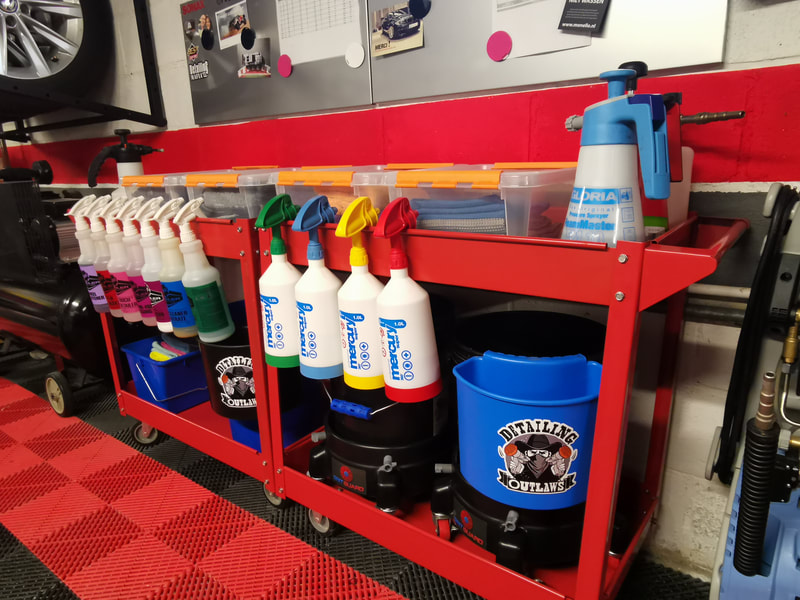
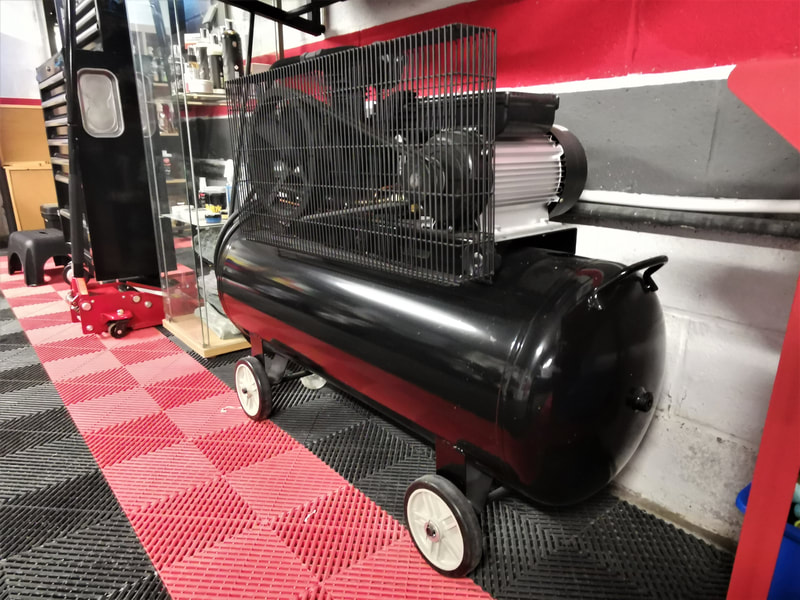
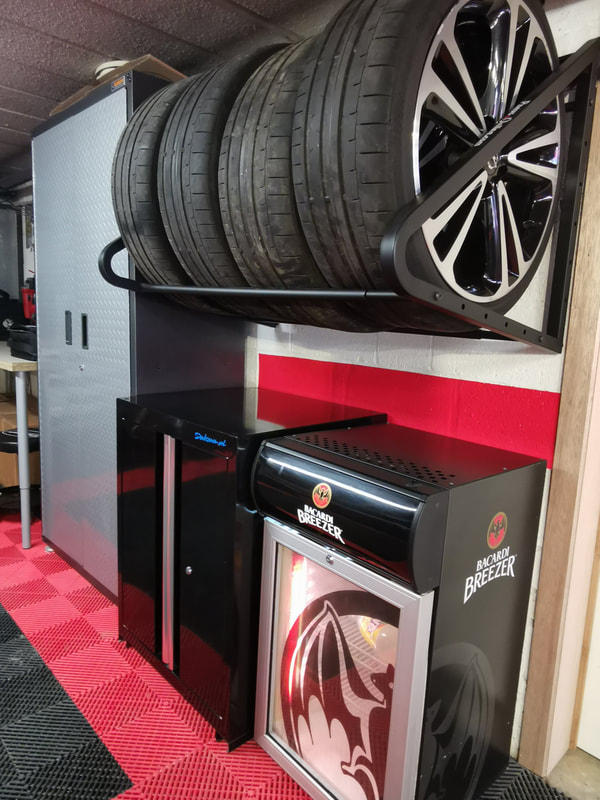
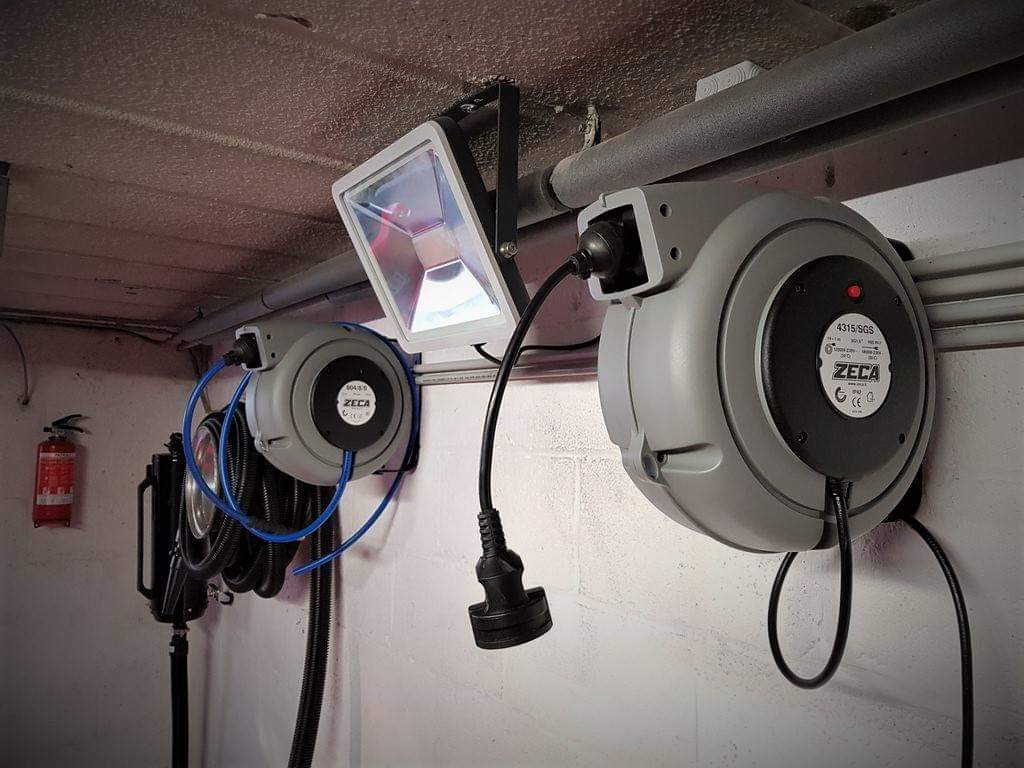
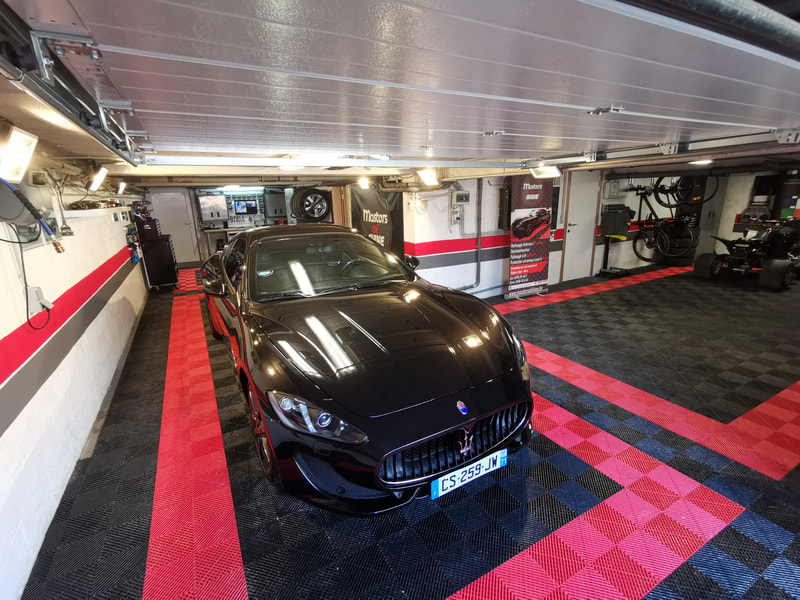
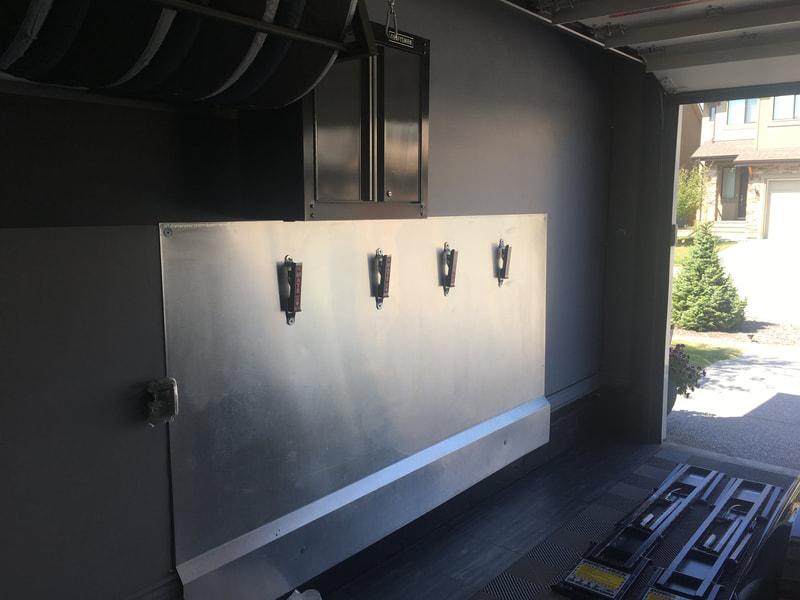
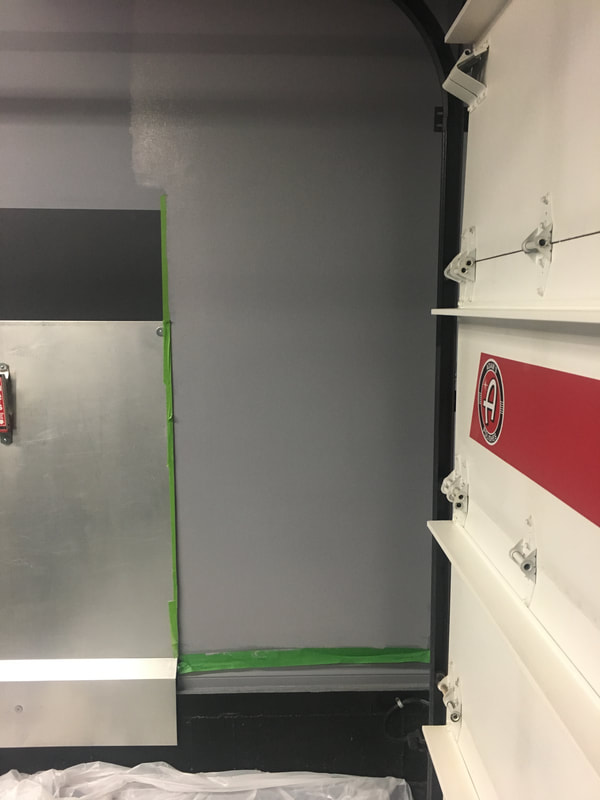
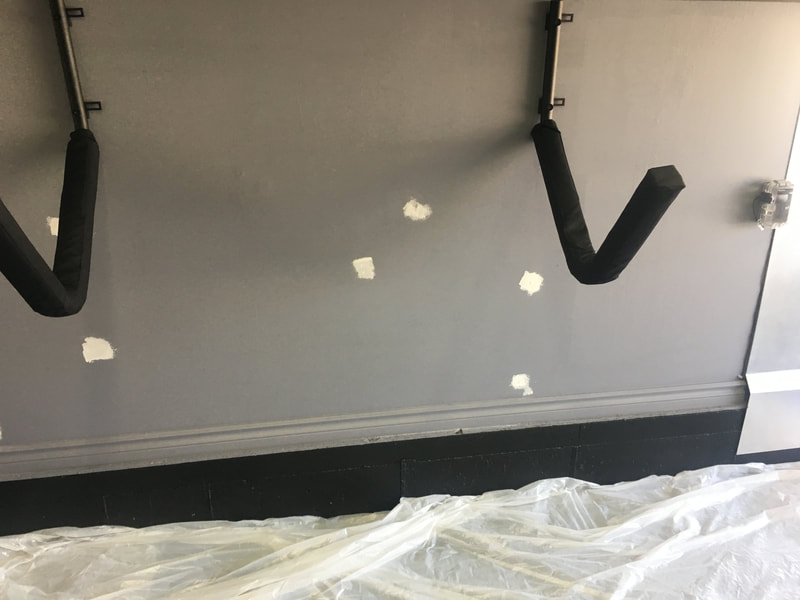
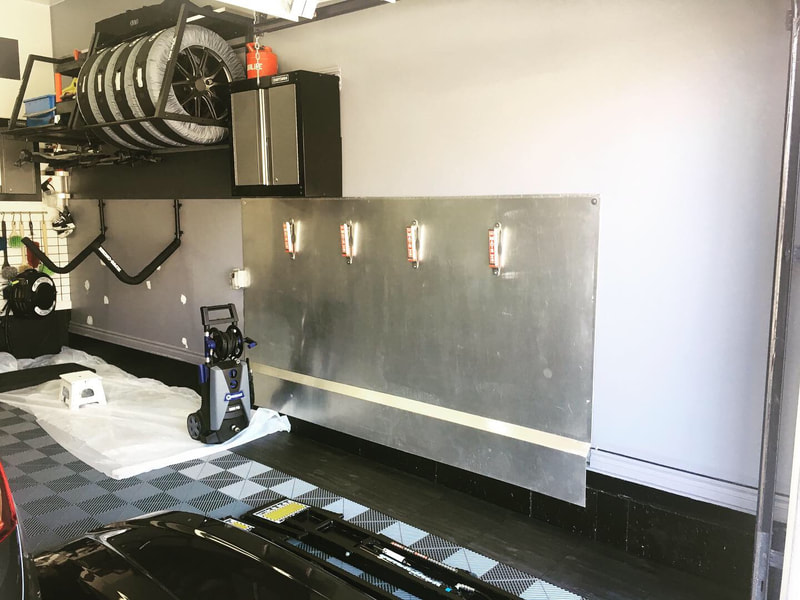
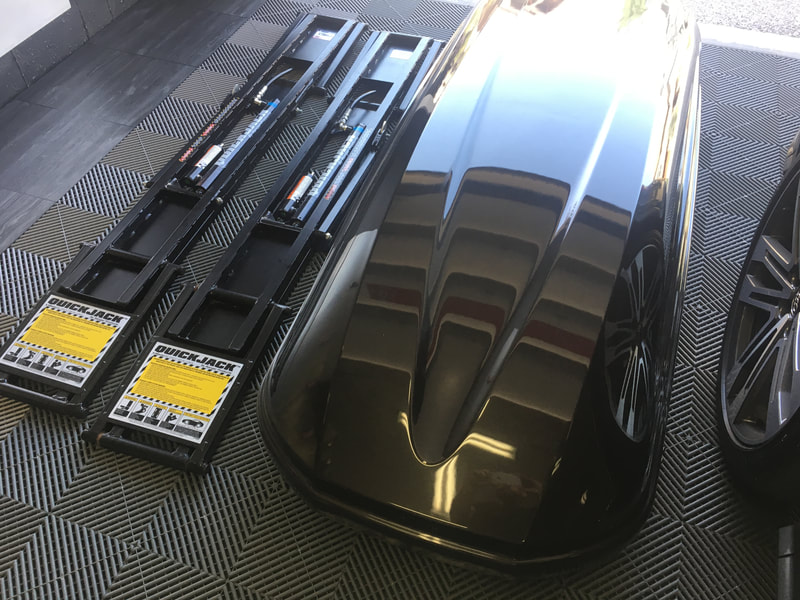
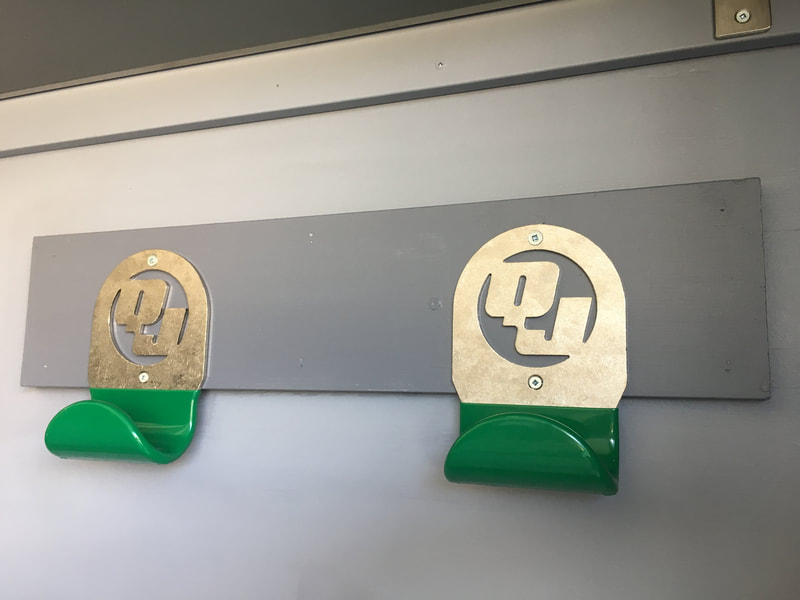
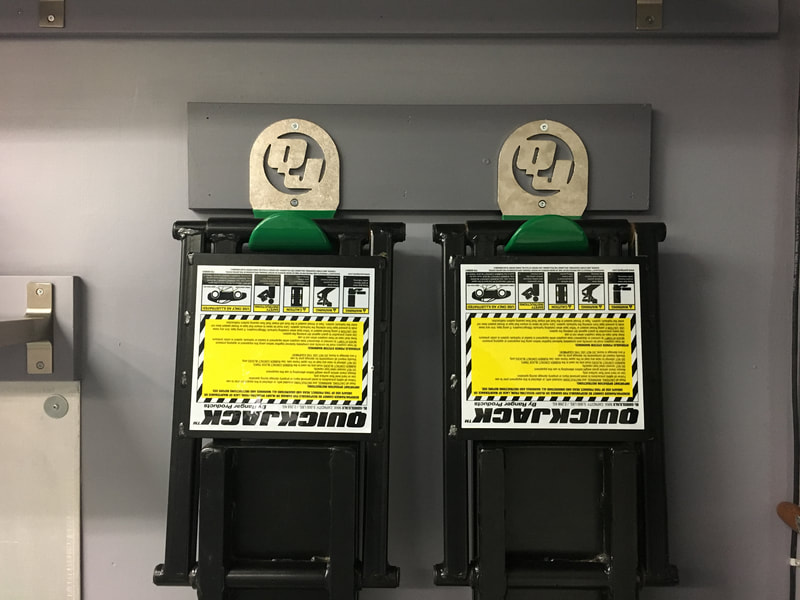
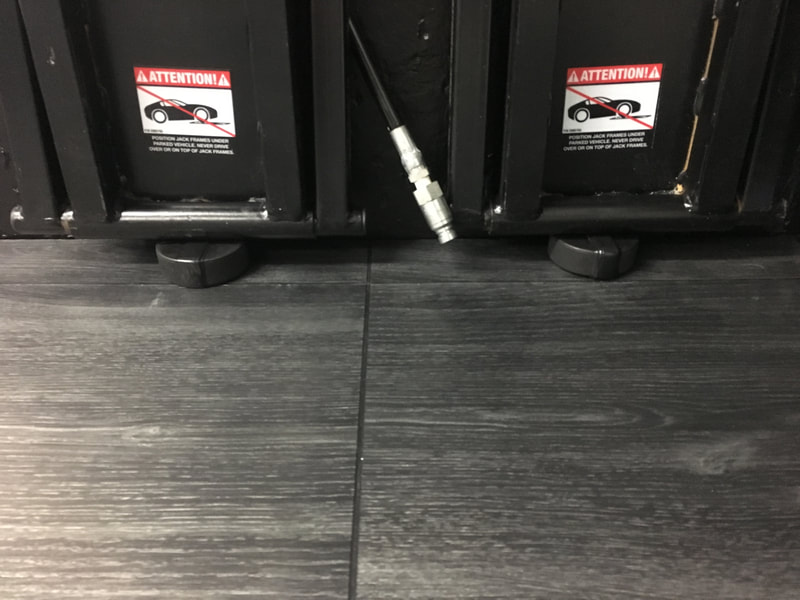
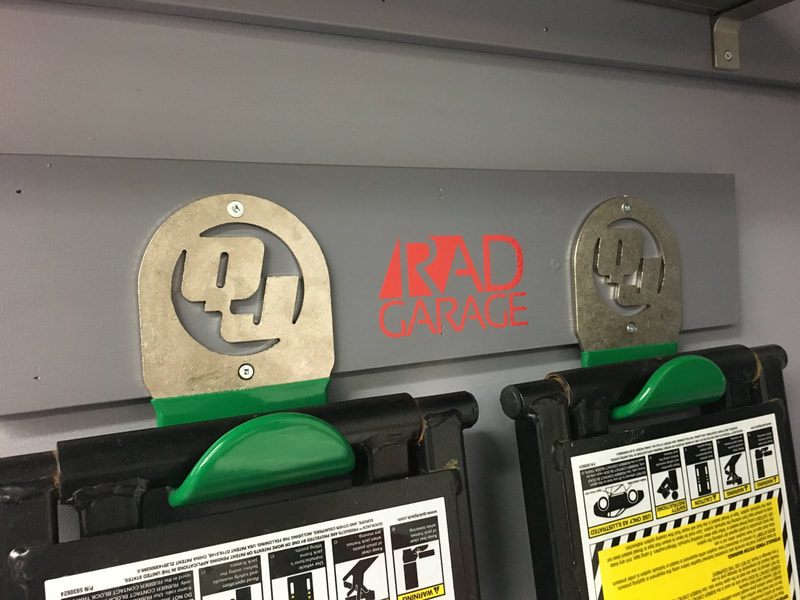
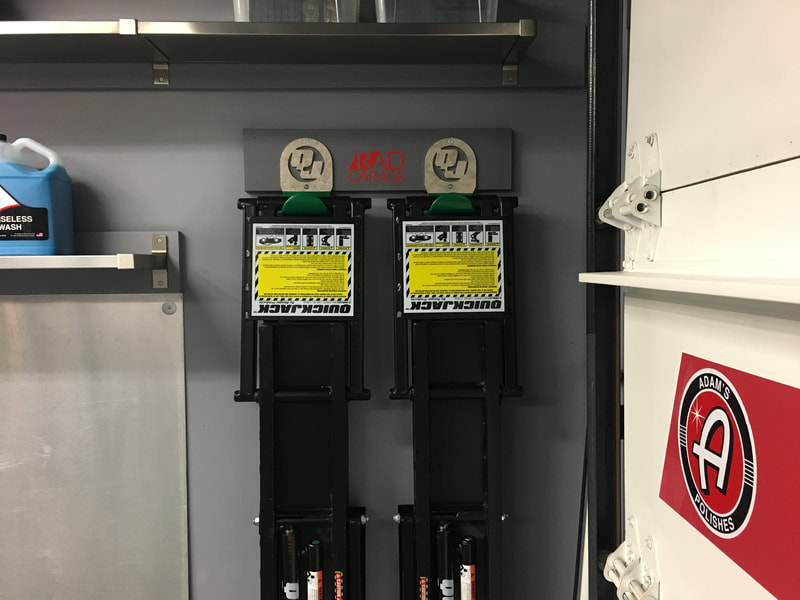
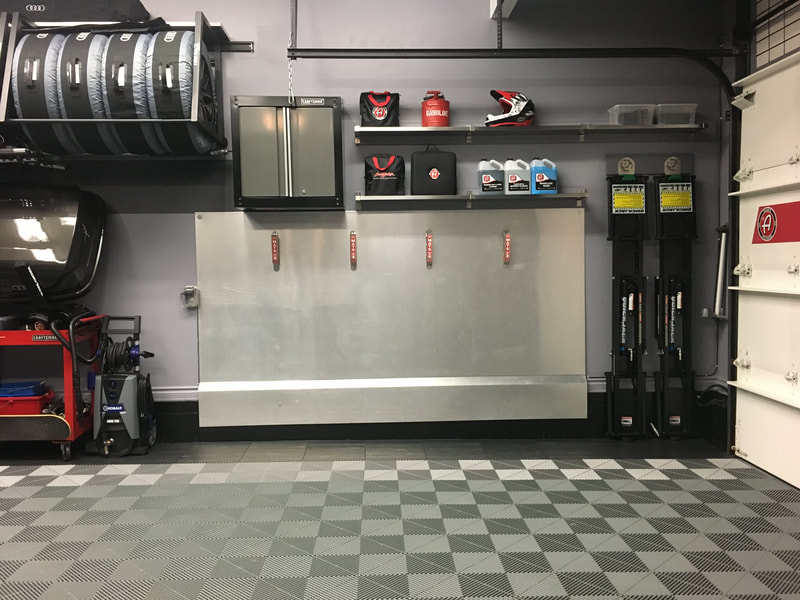
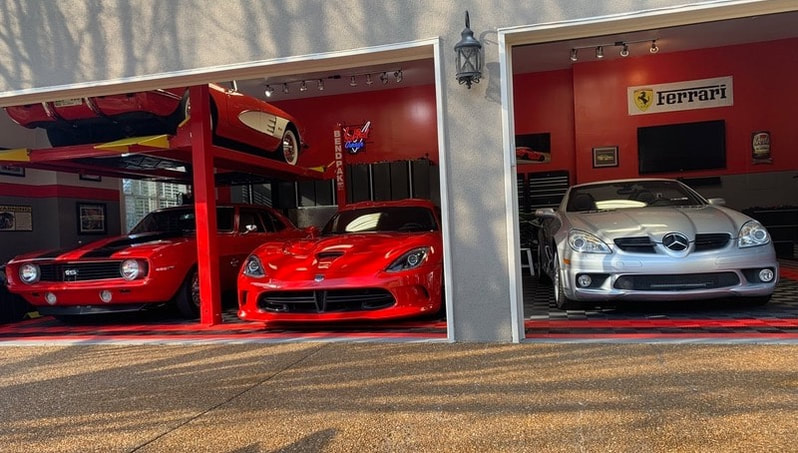
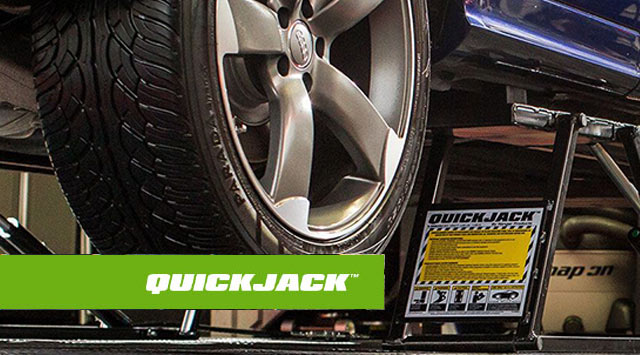
Recently, a viewer from Belgium reached out to me to share some photos of his garage space. Geoffrey admits many design and organizational elements of his Belgian garage were inspired by my garage and the similarities in layout, organization and style are clearly apparent. Even more humbling is the fact that Geoffrey attributes the creation of his detailing business to watching my YouTube detailing videos! Learning what I have done with my standard suburban garage in Calgary has inspired a fellow detailing enthusiast living 7000 kilometers away is just remarkable. You can check out Geoffrey's "Masters of Shine" website here. I am sure you will agree he has created a top notch site. I wish him all the best as he chases his dream and I truly appreciate him taking the time to share his story with me. I have posted a gallery of images showcasing the evolution of Geoffrey's professional detailing theatre. As you pursue the gallery, I am sure you will identify a number of common features of our two garages. The weather conspired to keep me indoors all weekend, and I had nothing to detail or organize. So, I pulled out a few external hard drives and began reviewing photos of my garage spanning all the way back to when our home was under construction. I put a video together that demonstrates the evolutionary process that occurred in order for RAD Garage to become what it has become. Behold: It's an ongoing battle keeping the garage clean, but I enjoy the process. I was able to do a full wash of the floor yesterday and then my son and I filmed a guided tour video. Check them out: My buddies at QuickJack sent me these cool wall hangers recently. I used to store my QJ frame units horizontally under my Thule roof box, but now I have them hanging vertically on the opposite side of that big wall. I took the opportunity to repaint a large portion of the wall and install some shelves I had in the basement. Things worked out great. Here's a video as well as some photos showing the progress and final result. I have been an admirer of this garage for years, so I was pumped when the owner agreed to having it featured on my humble blog. This is a true car lover's dream garage that I really hope to one day see in the flesh. Everything you see here was created by the owner with the help of his family. I have followed each evolutionary change that he has made and the level of execution is simply amazing. You can learn a lot more about the history of this garage by checking out the build thread on garagejournal.com or his photo album on Photobucket. It's amazing to see how Chad and his family transformed this regular garage into something truly special and unique. Owner: Chad Location: Nashville, TN Garage vitals:
What inspired you to create the garage you created? I have always loved fixing ugly things up and that applied to garages too. I have enjoyed taking several houses that had the nastiest and ugliest regular old garages and trying to turn them into something that wows you when you open the door. With this house, we usually come in through the garage and my wife and I wanted to make it a beautiful and inspiring path to come into the house. She is a car fanatic too!
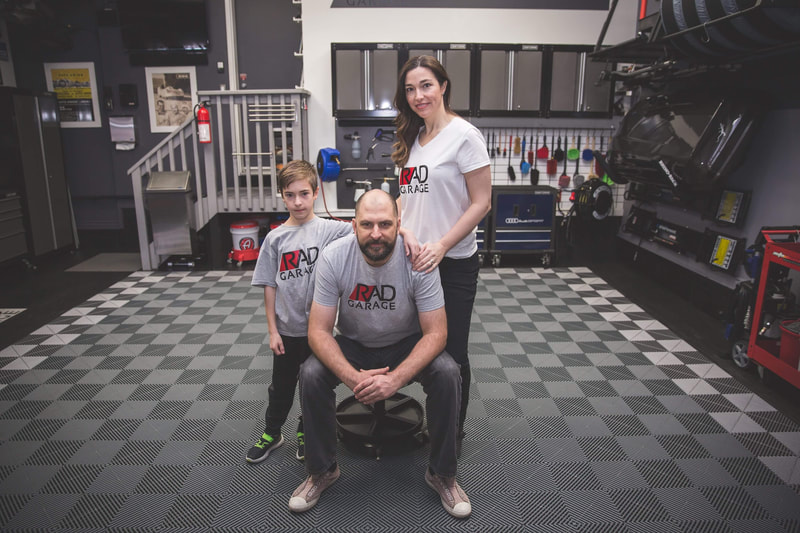
Our friend came by last weekend to photograph my garage. Heather is super talented and I am very pleased with the final results of her work. Here's a little gallery highlighting her talent and the beauty of my place! I uploaded a new tour video to my YouTube channel. It had been a couple of years since I posted the last one and there have been a number of changes and updates in that time. I am hopeful that my garage will be chosen for inclusion in Pan the Organizer's series, "Pan & the Organizers". I sent him a 90-second video and I have my fingers crossed he will choose to feature it in his next video in the series. I'll post a link to the first episode he posted along with a link to my new tour video. Enjoy. Last weekend, a good friend came by to snap some photographs. She is quite talented so I am very eager to see how they turned out. She sent a few teaser pics and they look great. I even convinced my family to pose for a few. My plan is to use her shots to update my website. Since I had the garage tidied up, I did a new tour video because the last tour video is a couple of years old and things have changed a bit since then.
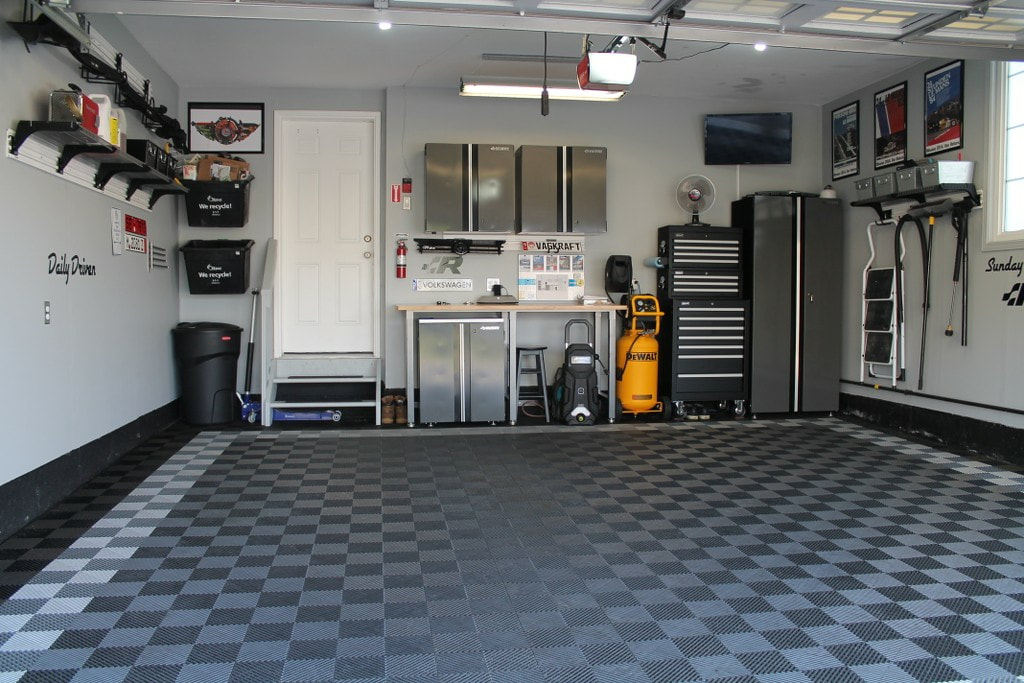
If you are active in the garage community there is a good chance you are familiar with this garage. "Dubber" is a fellow garage and detailing enthusiast that I have known from the onset of my garage hobby. He agreed to share his garage experience by answering some questions about his garage and sharing some photos of his pristine space. He has created an immaculate environment and openly shares his passion for his Volkswagen vehicles via social media which I faithfully follow. His journey to this point is proof that paying attention to your garage and following through on your vision will pay off in the end. I find his garage story inspiring and seeing him take his love of detailing to the next level is further proof that creating a clean and efficient garage can reward any car lover with new and exciting opportunities. dubber's double
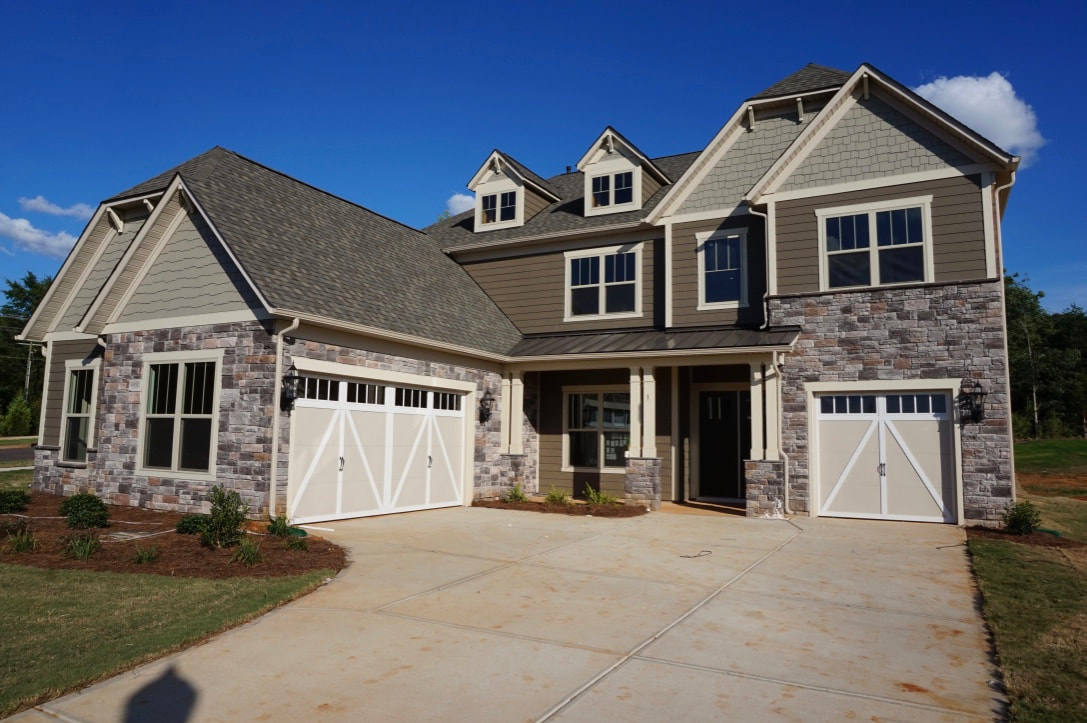
Take a look at this spectacular North Carolinian estate belonging to my longtime garage buddy, Larry. For years, I have been a fan of Larry's clinically clean and expertly organized garage, but what impresses me even more is Larry's remarkable detailing work that he completes inside it. When I made the decision to feature garage spaces of others on my blog, I immediately sent Larry an invite and he graciously accepted. He furnished me with comprehensive responses to all of my questions along with quality photos that showcase the pristine environment he has created to pursue his passion for detailing. Name: Larry Bishop Location: Charlotte, NC Garage vitals:
We moved to Charlotte from the DMV area in mid-2016 and built our first single family home. Construction was completed late August and I quickly started on the garage. Fortunately, the builder finished both garages and installed baseboards which gave us a great starting point. In the first month of ownership, we completed the epoxy, lights, and all the gladiator wall tracks/cabinets. Since we built the house, I spent the construction period researching and accumulating products which meant I had the bulk of the items upon move in. I originally met Rick on Garage Journal, where I spent a good amount of my research time. Yes, I went through all 88 pages of Rick's build journal and contributed greatly to his 630k views! I lost steam on my garage journal thread but the following is what I started: Click here to connect to Larry's informative build thread on garagejournal.com
My quest to feature garages belonging to other enthusiasts takes me to Saskatoon, SK. Shaun Gullacher and I have been garage buddies for a few years. We became acquainted through the Obsessed Garage Facebook group page and have been communicating our fascinations with garages and detailing through texts and Instagram messages ever since. We had the opportunity to meet up this past summer when his family was in town. We took the kids to a play centre, dropped in on Chris at Carzilla, downed some burgers, and hung out in the RAD environment for a few magical hours. Since the summer, Shaun and his wife have begun construction of their dream home complete with the most epic of garages. The project is in full swing and I thought it would be fun to ask Shaun some questions about his project. Before I share his responses, here are the vitals:
What is the primary focus for your dream garage project?
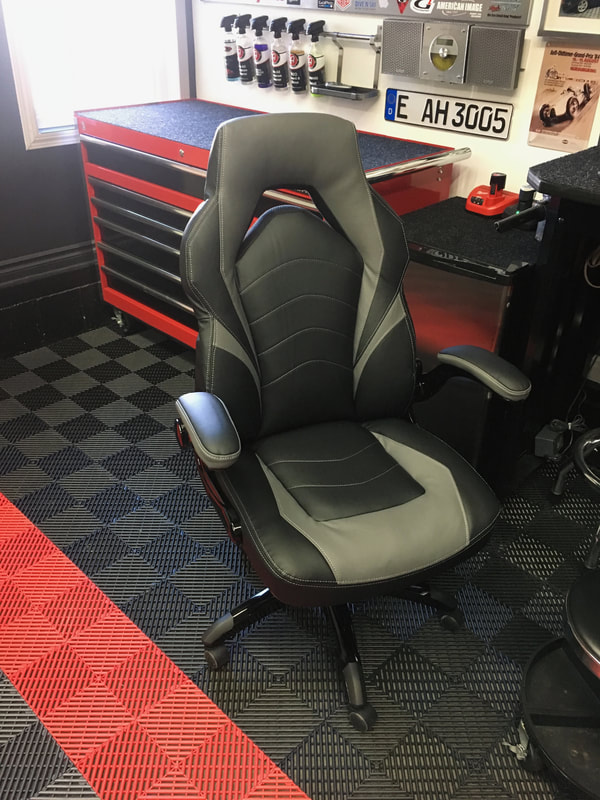
Primarily, the garage will be used for keeping my two vehicles clean as well as accommodating my side detailing business. I will also use the space for minor vehicle maintenance (oil changes/etc.). The focus of the garage is to have a large enough space to comfortably park two vehicles year round and have enough room to move around the vehicles while they are in the garage. Getting kids in and out of the vehicles daily with out having to worry about doors opening and hitting the other vehicle or other items in the garage. Having the space to be able to unload those big grocery hauls from Costco on cold January nights in the comfort of a heated garage with the doors down. After three weeks of suffering with a bare concrete floor, my Swisstrax floor arrived this weekend. Here are some photos of the install process and final result. I am very pleased with how things have come together. I need two Pearl Grey tiles and the edges weren't included with the order, so it's about 98% complete at this point. I am looking forward to putting it to good use and sharing my insights into its performance. Here's a video I put together: I was tired of my camping chair, so I took advantage of the big chair event at the local Staples. This chair goes much better with the theme of the garage and it is much more comfortable. It was a pretty sweet deal, too.
|
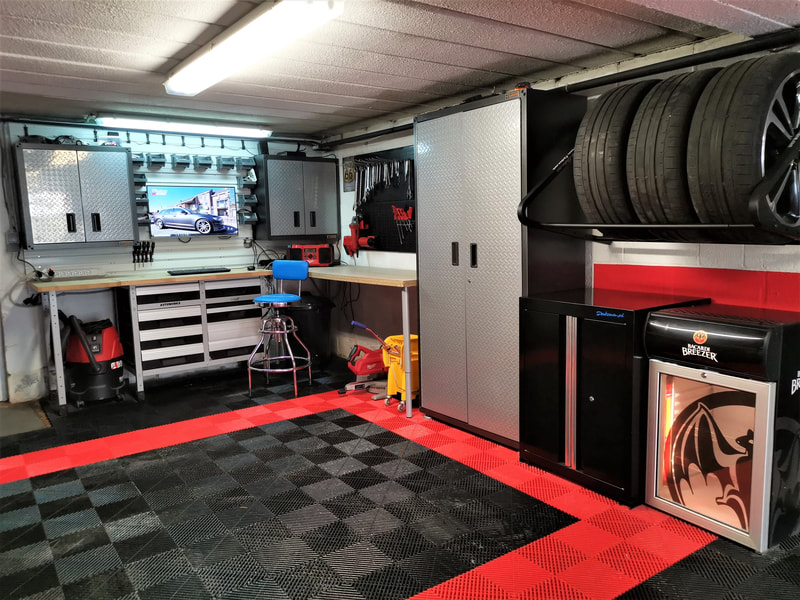
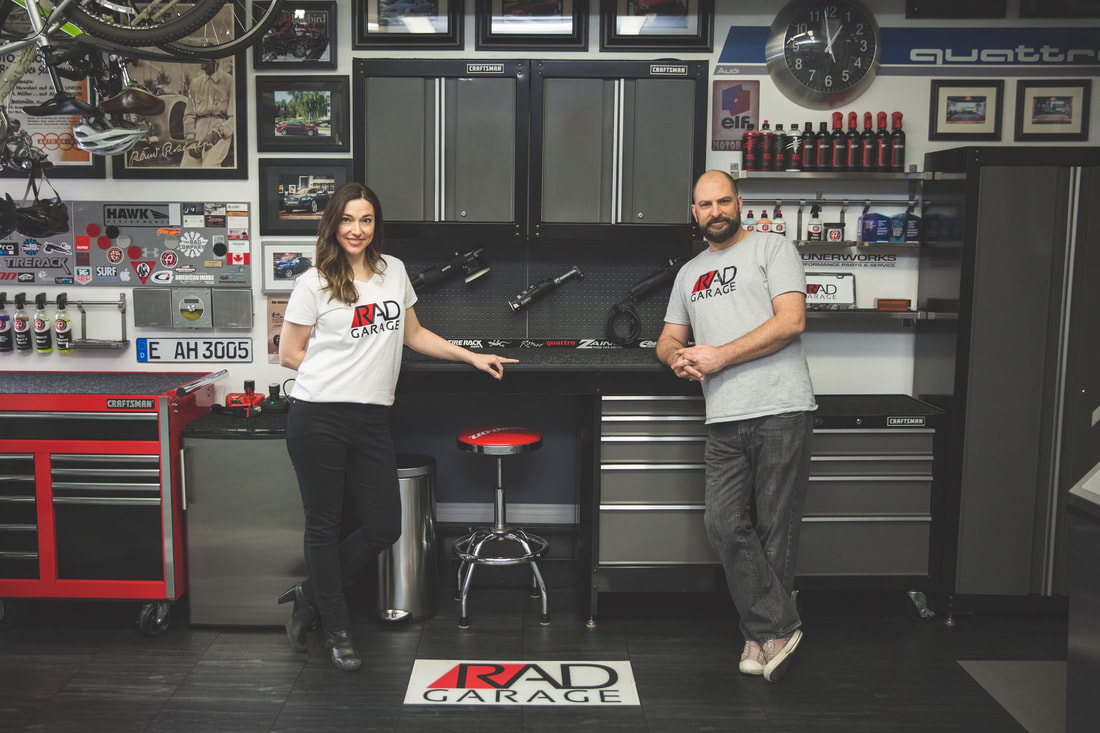
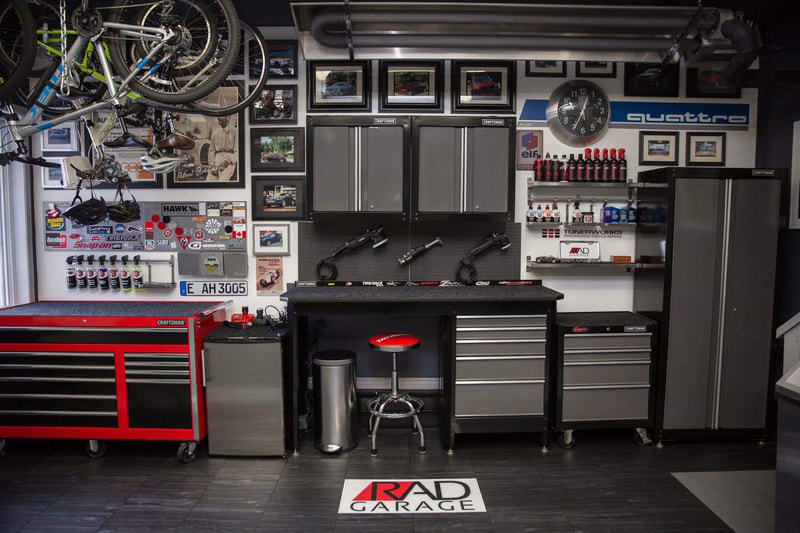
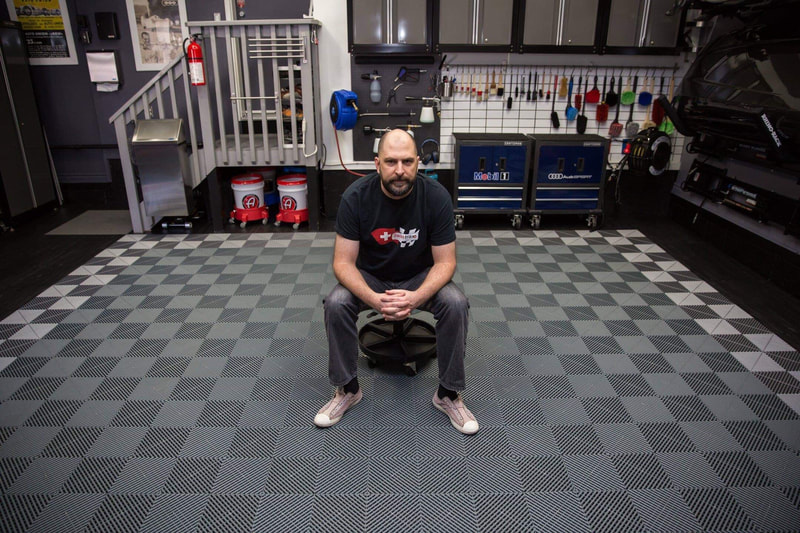
RAD GARAGE is my personal detailing theatre. I am a teacher who finds immense pleasure in completing deeply therapeutic, thorough and highly satisfying detailing projects in my residential garage. I have converted my suburban double car garage into a world class detailing environment and I enjoy caring for my own car and select cars belonging to others. The garage and the work I complete in it have allowed me to connect with other detailing enthusiasts from around the world.
I have teamed up with Teespring to offer viewers an opportunity to grab some RAD gear! Click here to see the current inventory of RAD merchandise available at my Teespring store!
Use "RAD10" to save yourself 10% until the end of March, 2021.
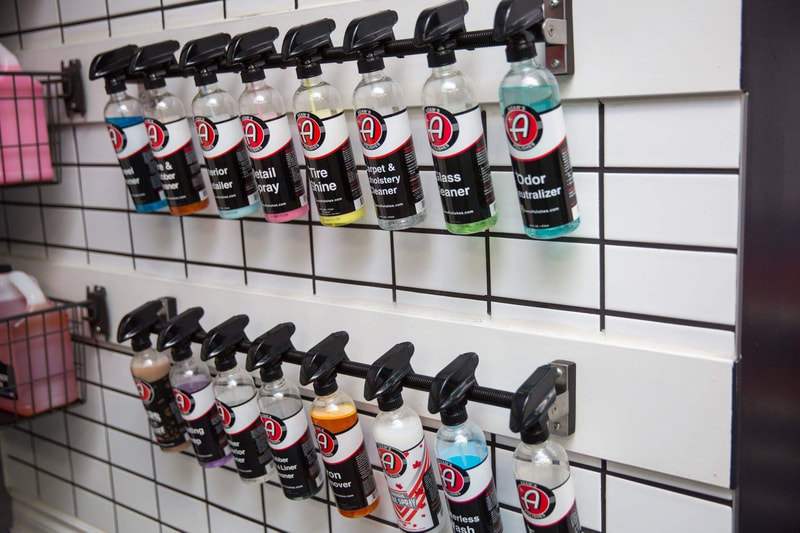
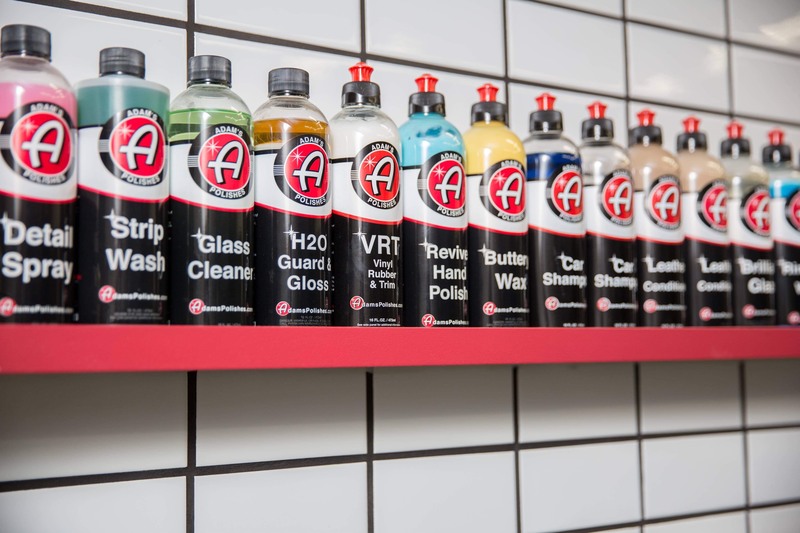
Carzilla is a local detailing store that caters to the North American community of professional and enthusiast detailers. I have been a longtime customer and I am fortunate to call the owner a friend. Besides stocking a vast quantity of top quality detailing products, the owner has supported various garage and detailing projects of mine over the years.
5% discount code
|





























 RSS Feed