|
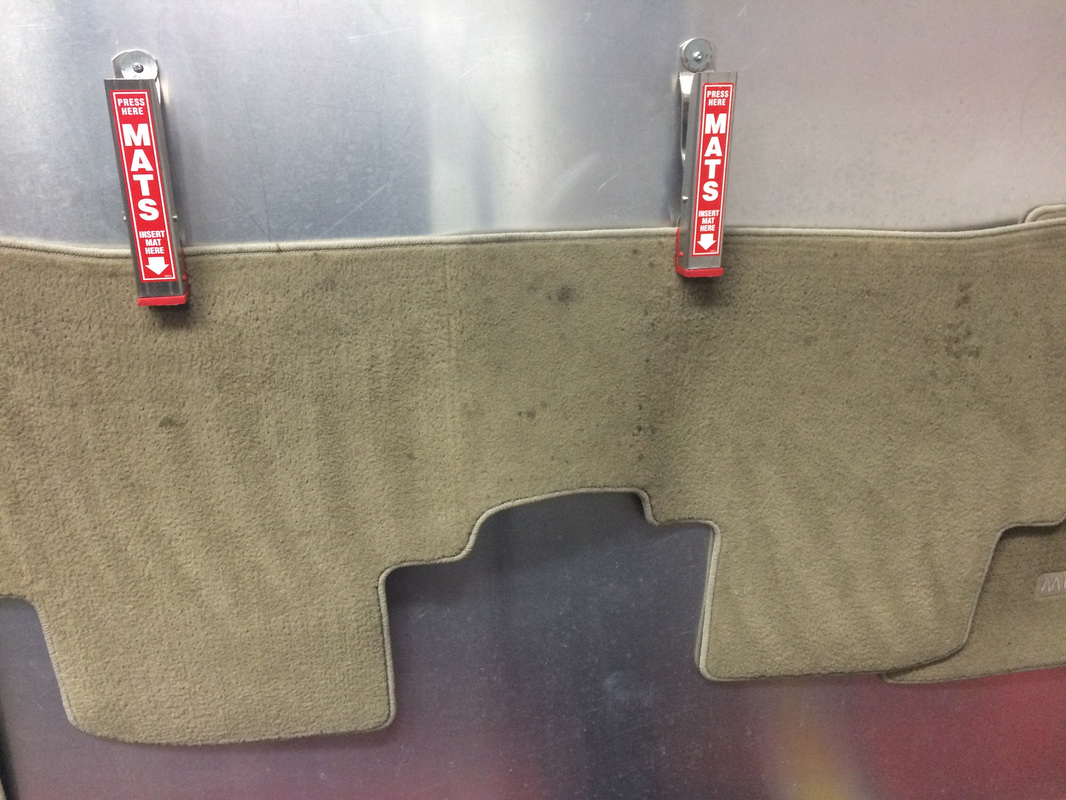
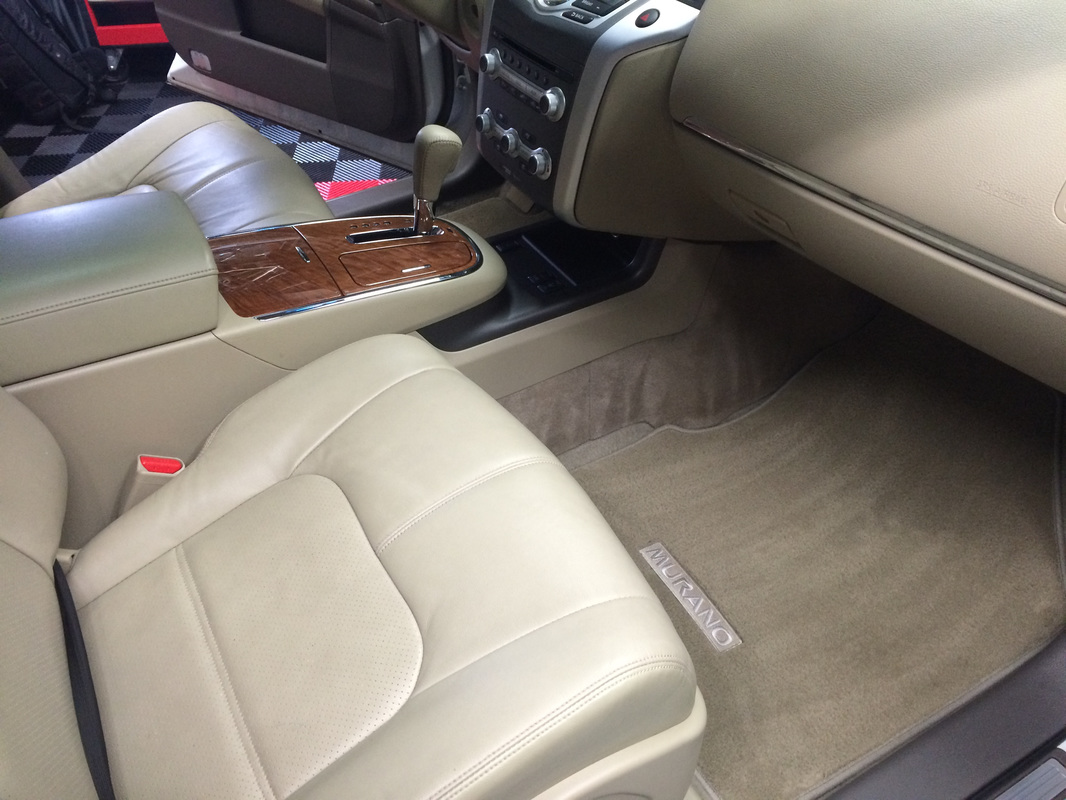
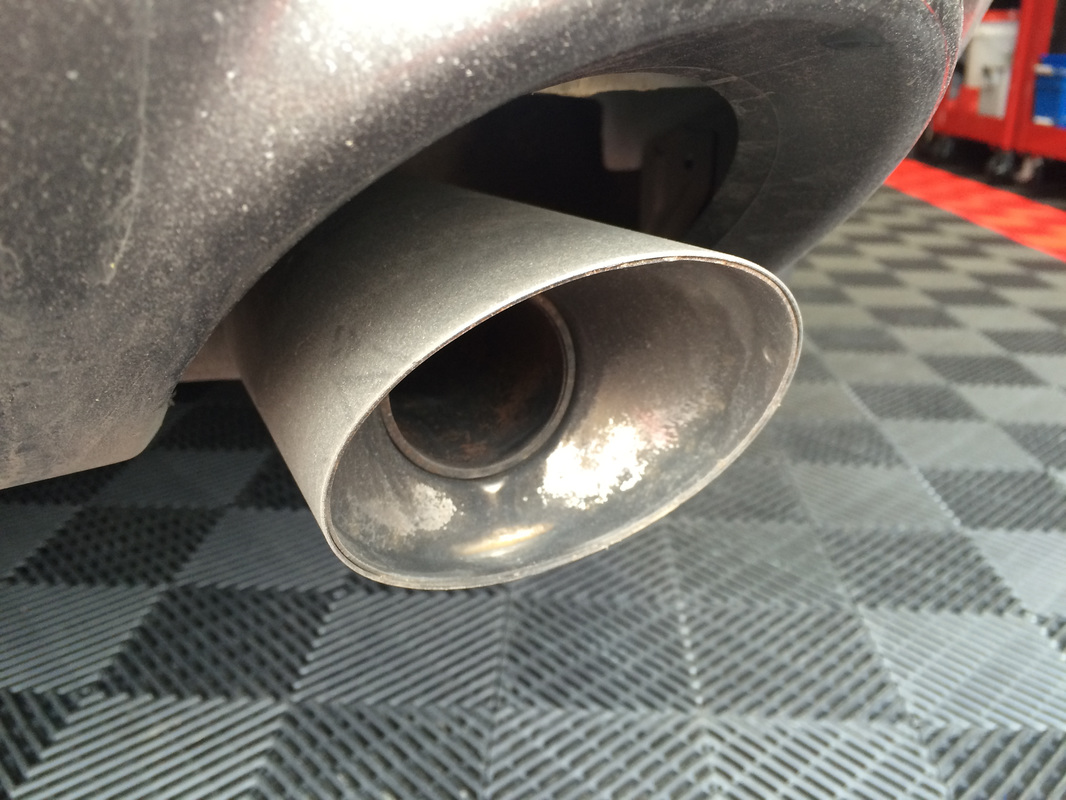
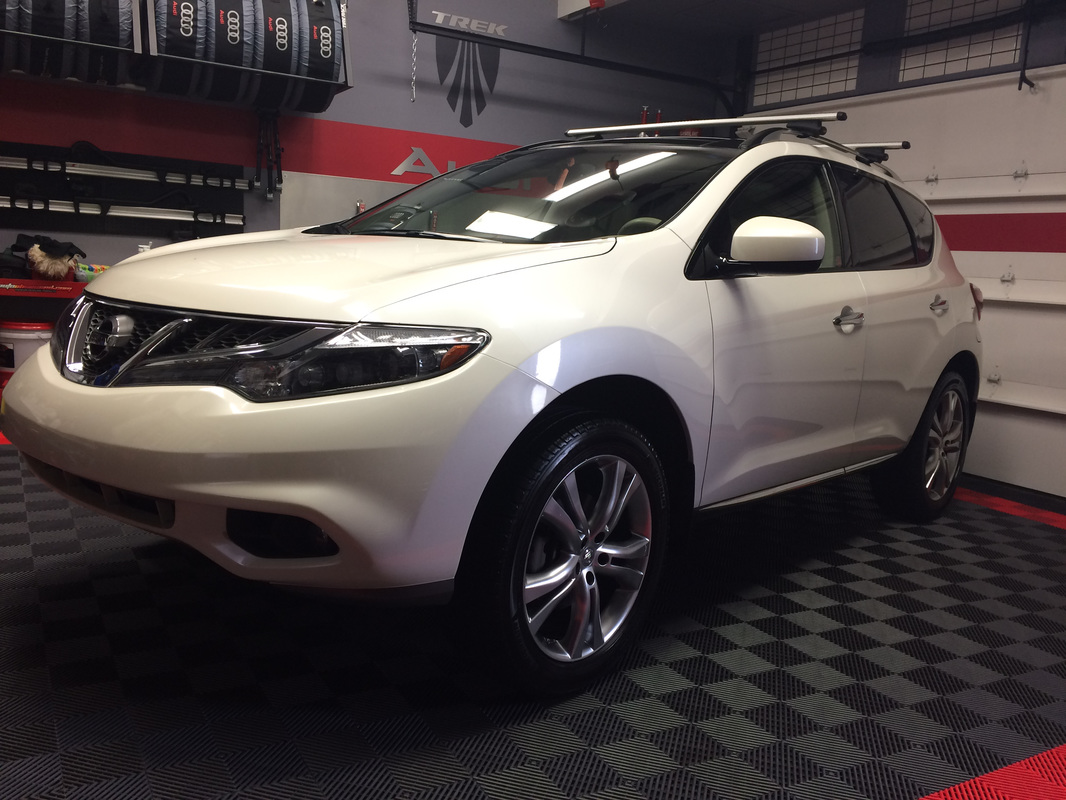
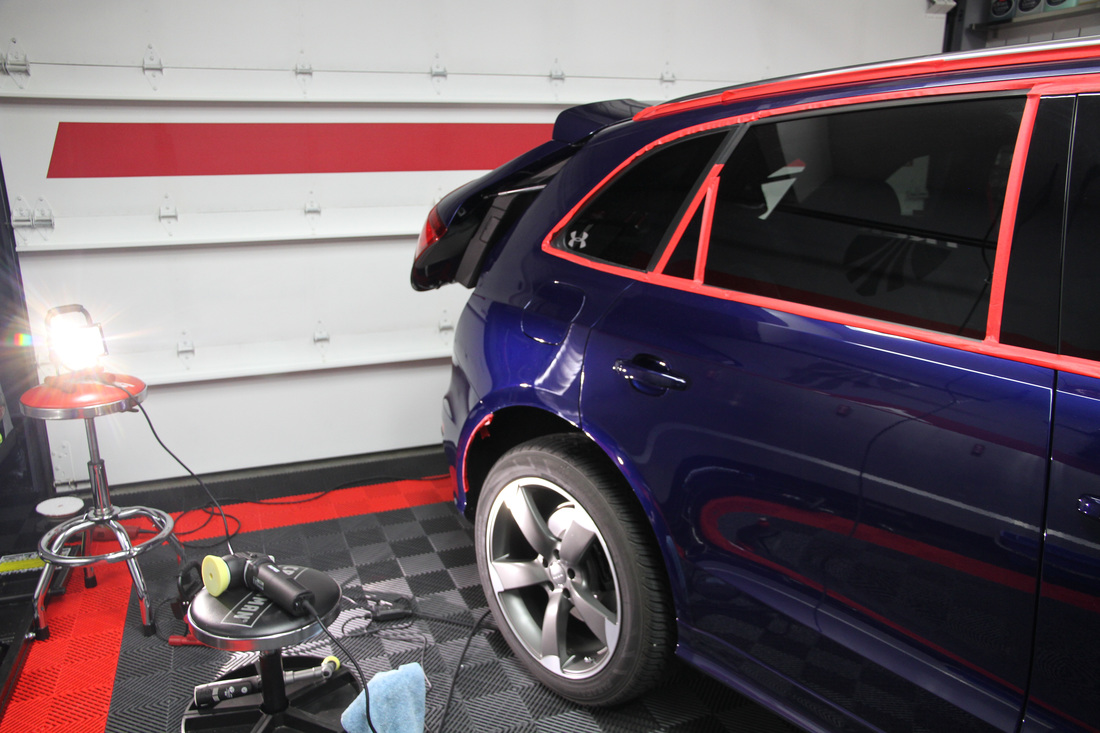
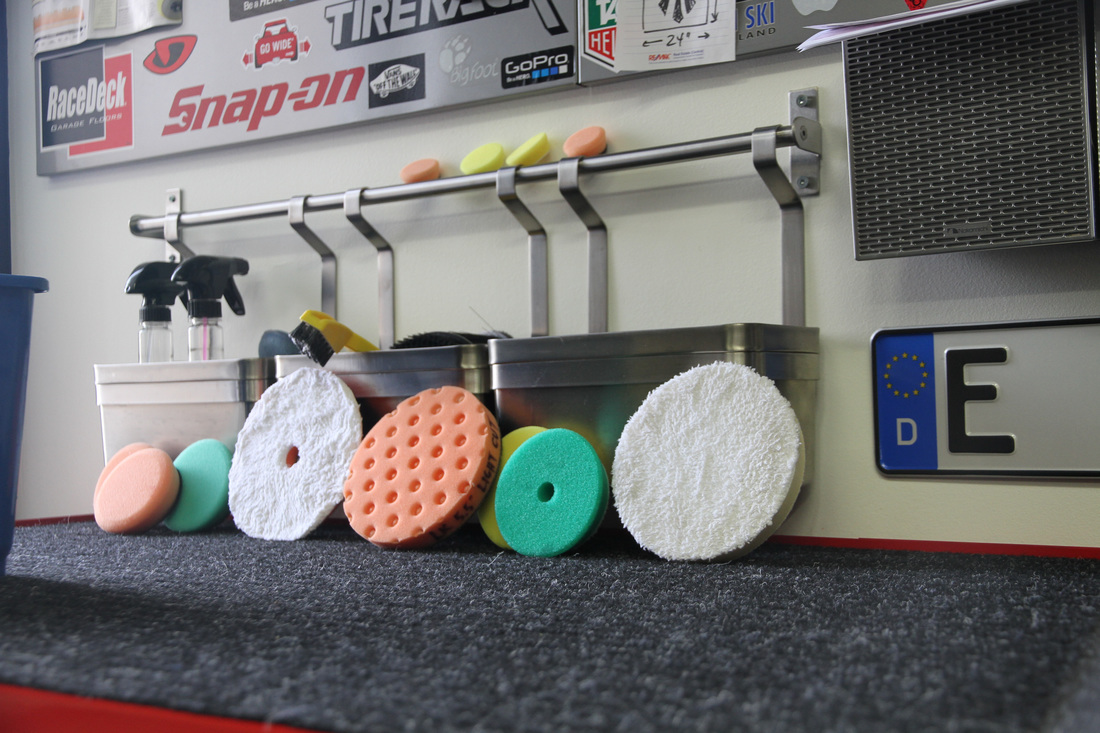
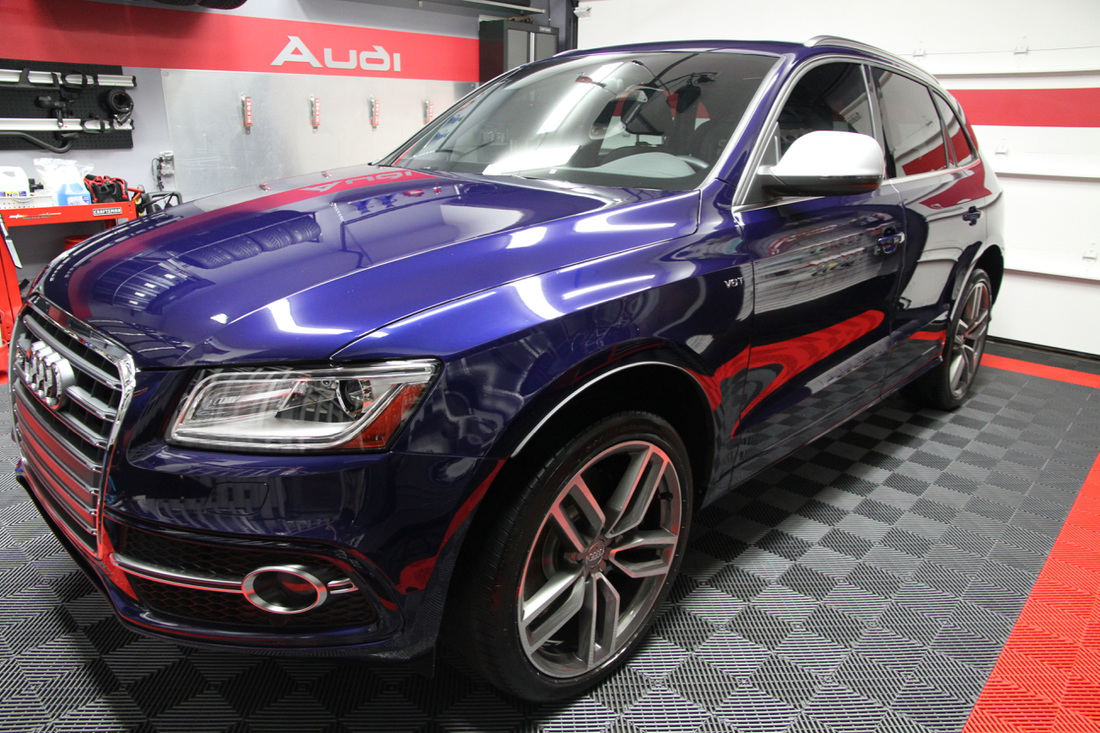
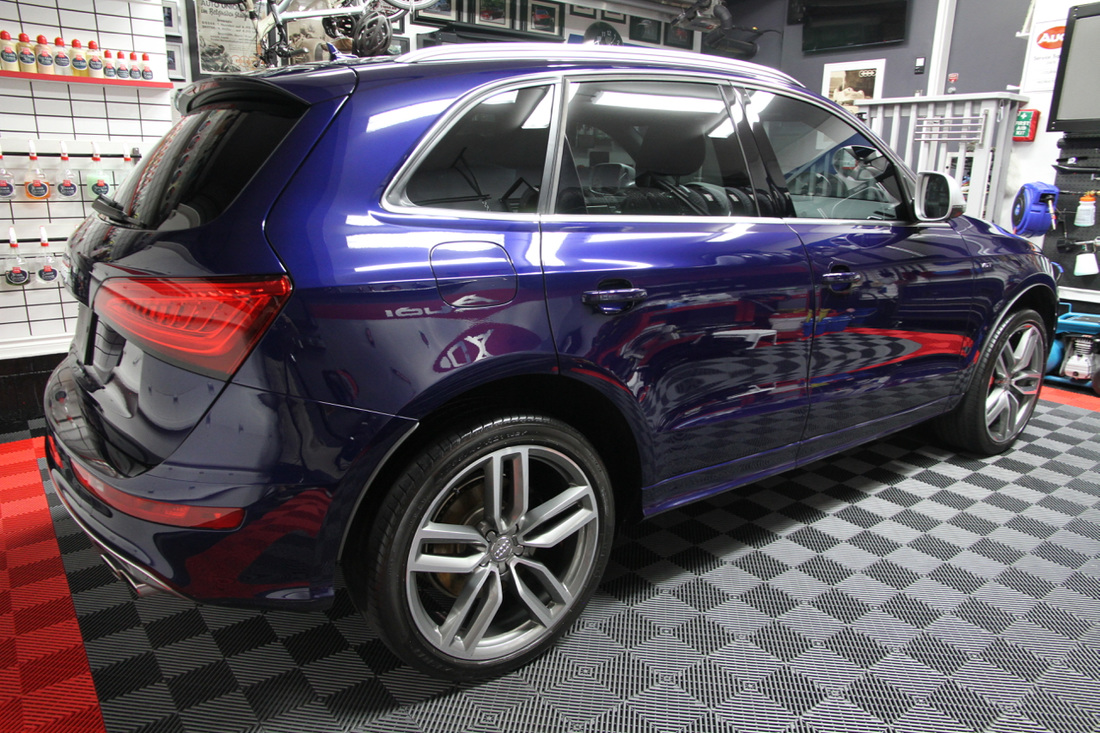
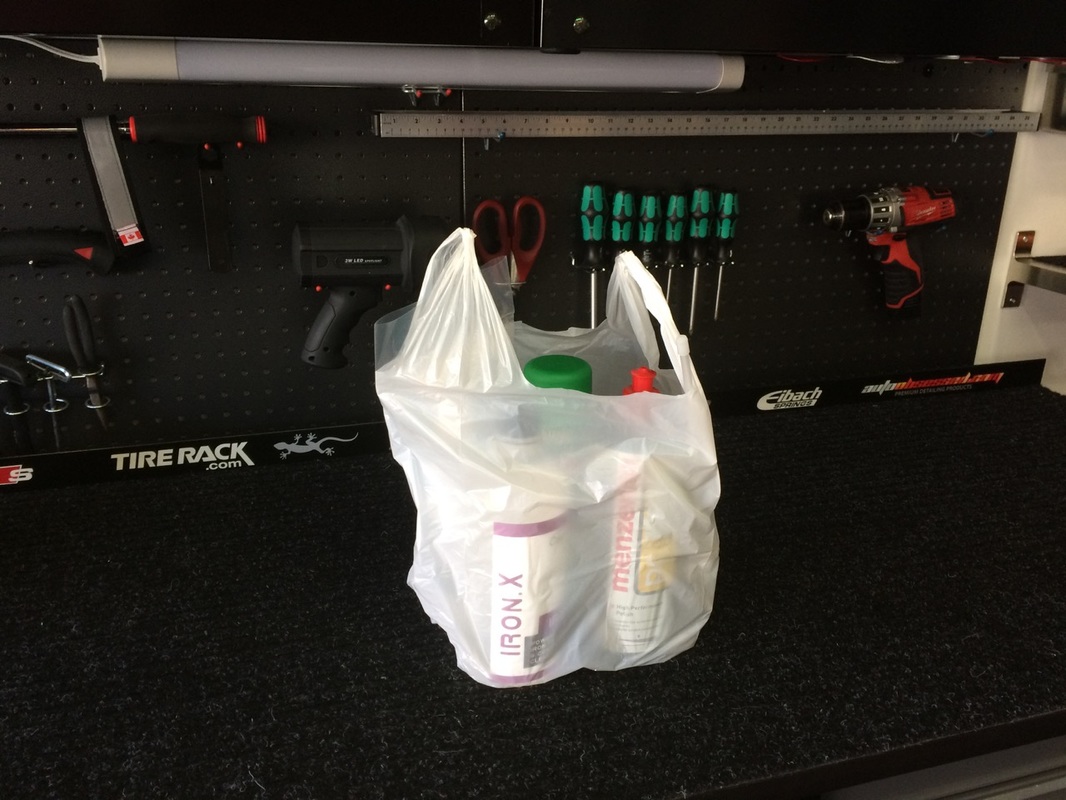
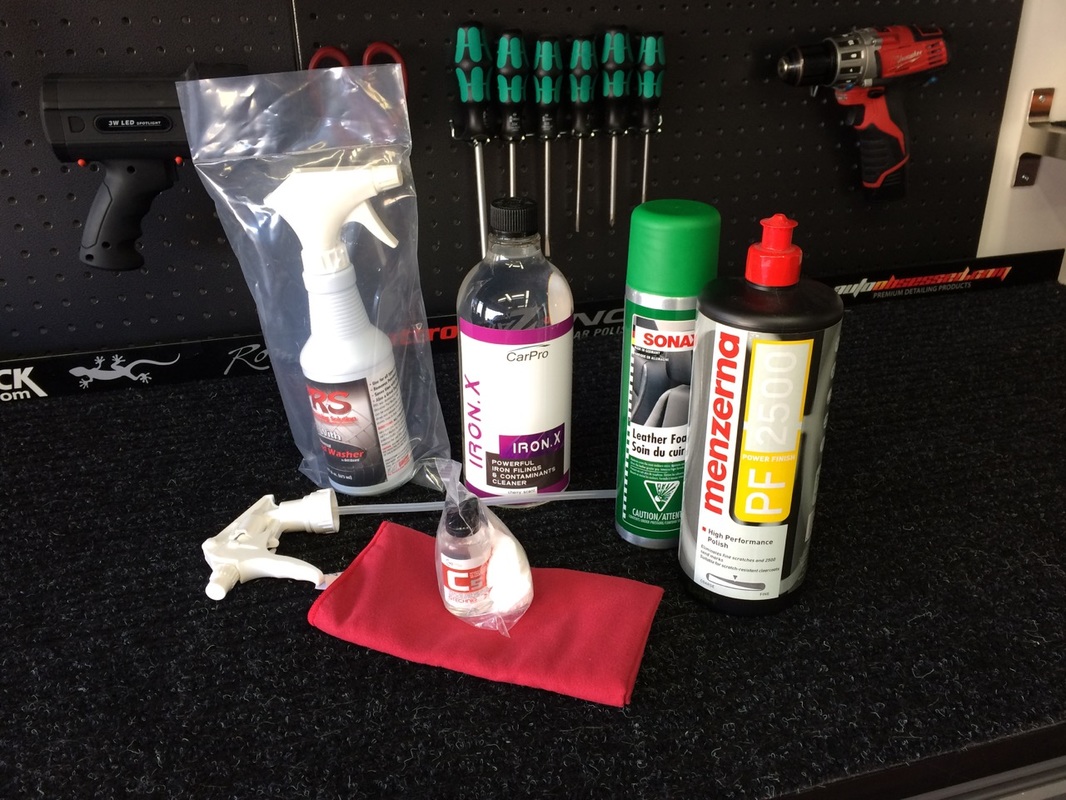
I spent an hour attending to the exhaust tips on the SQ5 this morning. I put a video together that demonstrates the products I use and the process I follow to eliminate the build up of carbon soot on the tips. This is an on-going battle with this car. I now have three complete sets of floor liners for the SQ5. The latest addition is a set of 3D Maxpiders. I am loving them. They don't offer 100% protection from salty water overrun, but they, by far, look the slickest. Here's a video of me cleaning my new Maxpiders. I have added a Rupes LHR15 Mark II to my collection of polishers. This one came from Carzilla and it was a demo model. I saved a good chunk of change picking up the floor model and the owner of Carzilla assured me it had less than one hour of use on it. I picked up a few other supplies. I am looking forward to doing some paint polish and corrections on friends' cars this Spring/Summer. 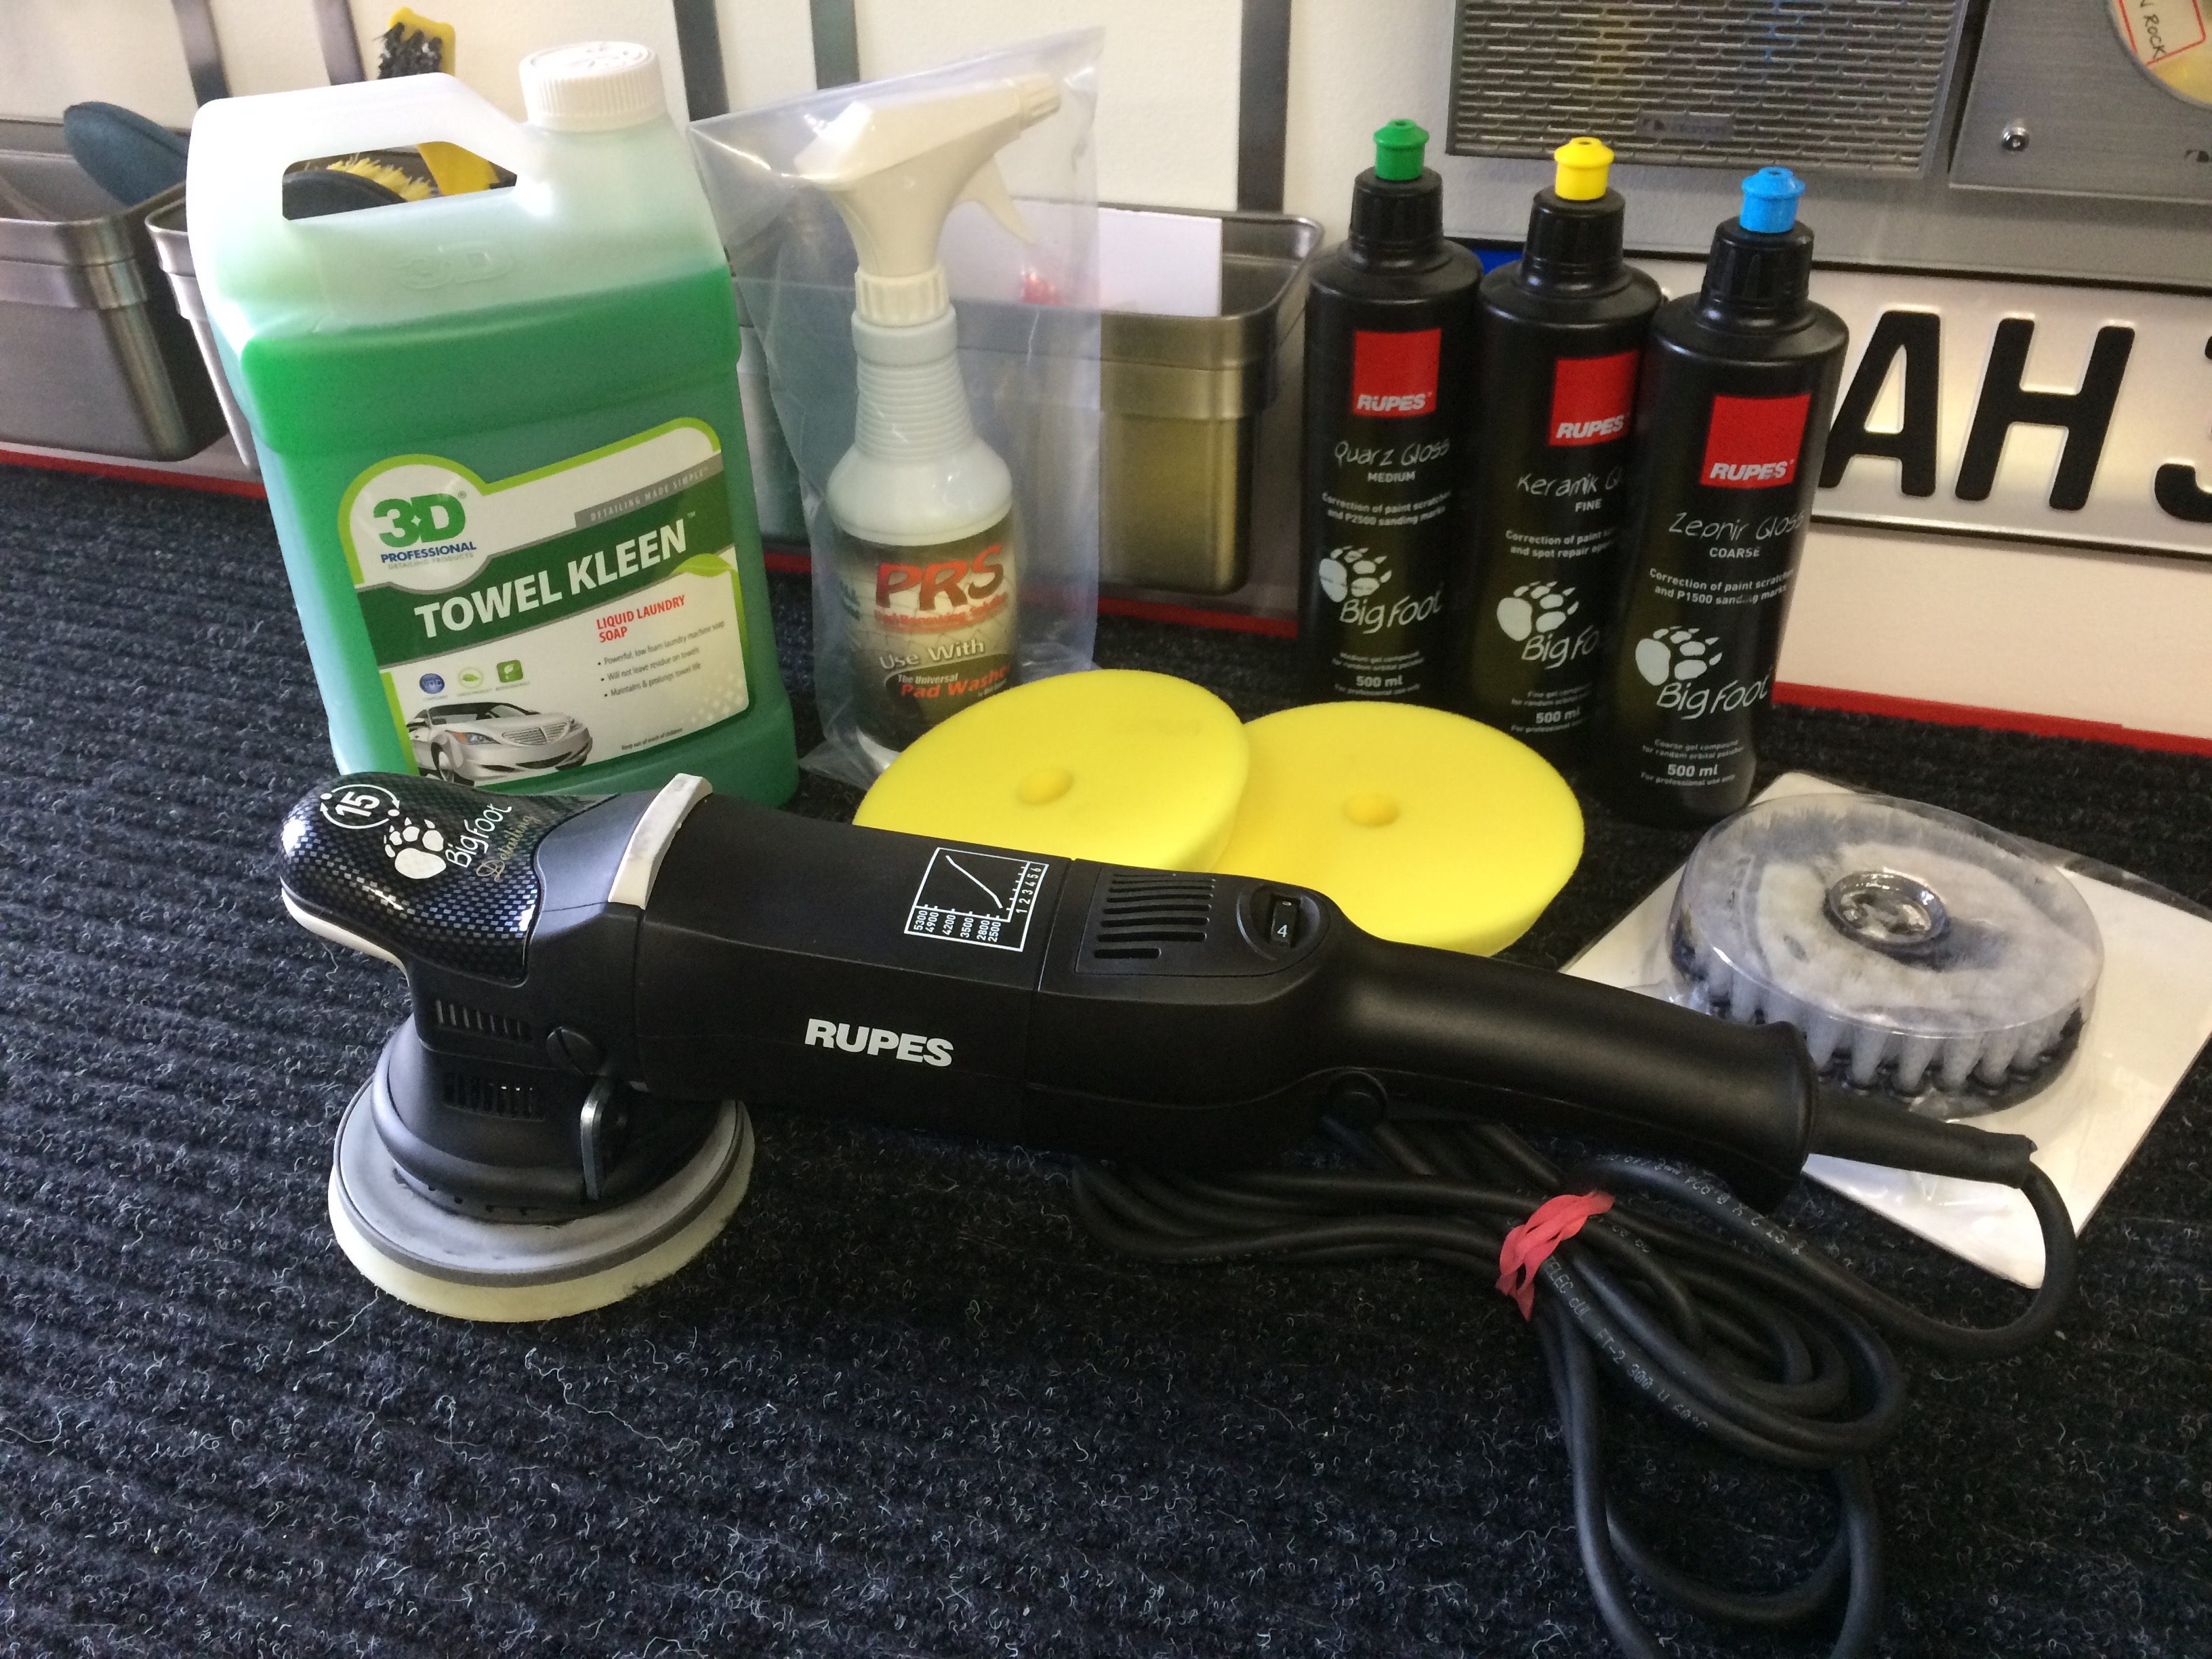 Currently, I own a Rupes LHR 75E Mini Orbital Polisher and the long-neck iBrid. I have been so impressed with both of these machines, that I am now interested in expanding my arsenal to include the LHR 15 Mark II. This new version of the 15 has a 2500-5300 RPM range and a few convenient features over the previous model. I can either order one online through autoobsessed.com or stop by Carzilla. Of course, this will mean I'll need to shell out for some new pads and I really like the Rupes polishes that came with my iBrid, so I'll need a few bigger bottles of that stuff. Stay tuned. 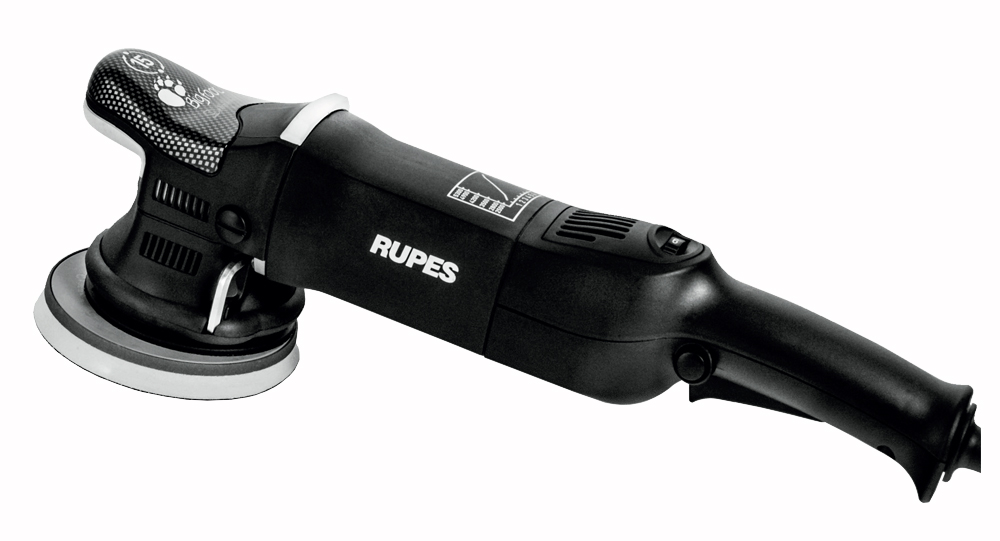 I had a few days to detail a friend's white Nissan Murano. I spent most of the 8 hours on the interior. I performed a shampoo of the carpet with Fabric Clean by Chemical Guys. I used an ounce of the Fabric Clean and diluted the rest of my Tornador foam gun canister with water. I attached a soft bristle brush to my Flex polisher to work the foamy solution into the carpet and extracted it with my shop vac. The results were nice. I used Griot's Garage Leather Care on the seats and Cockpit Premium by 1Z on the rest of the interior panels and dash. I washed the exterior with Chemical Guys Citrus Wash & Gloss. I used Griot's Garage Wheel Cleaner on the wheels. I used a combination of different grades of steel wool to bring the exhaust tips back. All of this happened while it was snowing outside, so I was thankful for the comfort and convenience the garage provides when detailing. Here's some photos. It took me the better part of two full days, but the polish and coat of the SQ5 is complete. I spent all of Tuesday this week polishing it with my various polishers. I found my new Rupes iBrid to be an amazingly helpful little tool. It was effective in getting into the little spots that are too small for my Mini Rupes. My Bigfoot Mini was amazing as well. I did ruin a few pads with it, though. Not sure what happened, but a few pads simply gave out. I may have to conduct some research into the issue. I used Menzerna's Medium Cut 2500 polish and the results are terrific. No need for any follow up in my opinion. Once all the paint was looking pristine, I spent a few hours on Wednesday coating the paint with GTecnhiq's C1 Crystal Lacquer nanocoating followed by a coat of EXO V2. The paint glistens and should be well protected as we head into winter. I had plans on doing a video, but I just didn't have the time given how labour-intensive this job was. Here are a few photos of the project. A long weekend in the mountains resulted in a thoroughly filthy SQ5. Here's a video demonstrating how I returned my car to showroom condition after 1000+ kilometres of spirited mountain driving. I try to focus on a new detail every time I wash my SQ5. This time, I really focused on the door jambs. I was so inspired by the work I was doing, I decided to do a video and I titled it the Decadent Detail. The SQ was pretty bad due to an out-of-town jaunt up to Red Deer to see my Grandmother over the weekend. I think you'll like the video I threw together. Sidenote: my YouTube channel eclipsed the 700-subscribers mark. It wasn't cheap, but I'm worth it. I picked up the iBrid from Carzilla on Monday. What a slick little tool. While I was at Carzilla, I also picked up a new tire dressing that the owner recommended. It's a spray foam that supposedly penetrates the rubber leaving a coating that should last a few weeks. I also picked up a gallon of Chemical Guys' Citrus Wash & Gloss which is my go-to shampoo. I purchased three microfibre polishing pads that will help me when correcting harder paint. All the pads I currently own are foam, so this should be a neat experiment playing around with mf. Here's some shots of my new acquisitions. I forgot to get clay while I was there. My next trip will hopefully be my last. I'm going broke o'er here. Here's a little "before and after" video I put together after conducting a quick interior detail on the SQ5. Nothing earth-shattering here. I used Sonax Leather Foam on the seats, 1Z Einszett Cockpit Premium on the panels, dash, and console, and Invisible Glass on the windows. I also used Weather Tech's cleaner on the floor mats. The video does a pretty decent job of showcasing the amazing interior of the SQ5. The process took 30 minutes. I tend to hold on to products I don't use. Today, I took a big step and deleted perfectly good products from my collection in an effort to streamline things a bit. I am going to take the products to work for anyone who wants them. I was at a stage a while back where I wanted to try everything. I think I'm at a point now where I know what products I like, and the days of experimenting are behind me. 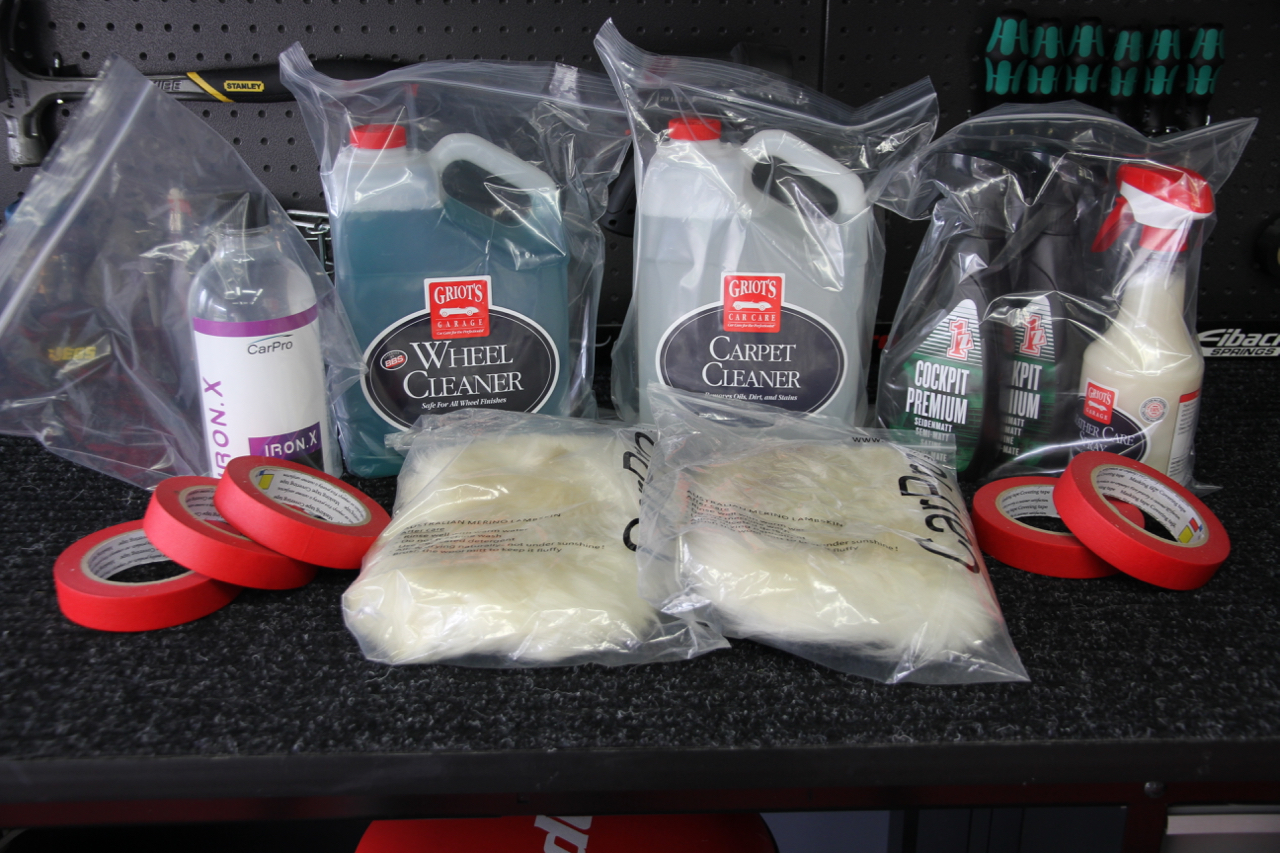 My most recent order from Auto Obsessed arrived this week. I needed to stock up a bit for an upcoming detail. It's kind of crazy how easy it can be to drop $300.
Here's a set of photos that illustrate the process I have developed to quickly clean my disgustingly dirty floor mats. The process begins with a mist of water followed by a coat of Griot's Garage Rubber Cleaner. I have some WeatherTech cleaner, but I opted for the GG today. With a 1.25" RaceGlaze brush, I cleaned out all the grooves in the mat and let them sit under the infrared to dry. With my wide blue bucket underneath, it's a clean and painless process that takes about 5 minutes. I may be forced to live with a filthy exterior most winter days, but I'll be darned if I'm going to subject myself to a dirty interior. I'm often asked by new car purchasers, "What should I buy to keep my new car looking new?". Here is what I recommend for anyone wishing to keep their car looking ship shape, but don't necessarily want to turn their garage into a detailing theatre. 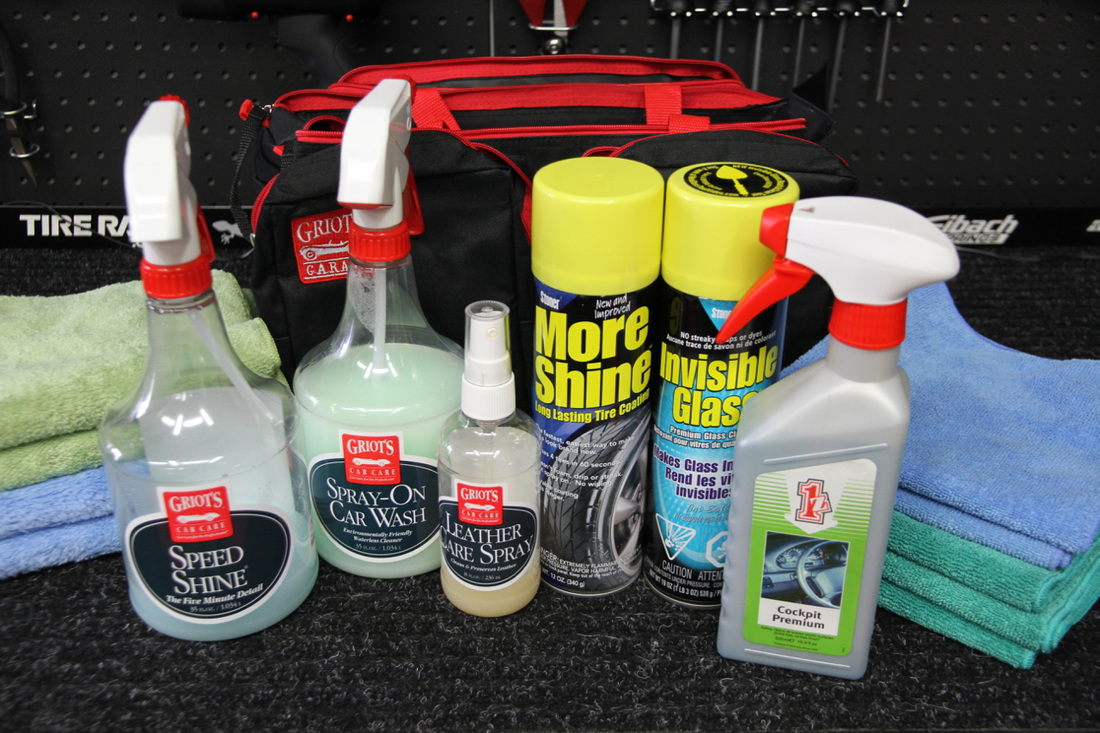 I strongly recommend that car owners avoid using automated brush car washes. I suggest using their local coin-operated wand wash and then completing the process at home using these affordable and effective products:
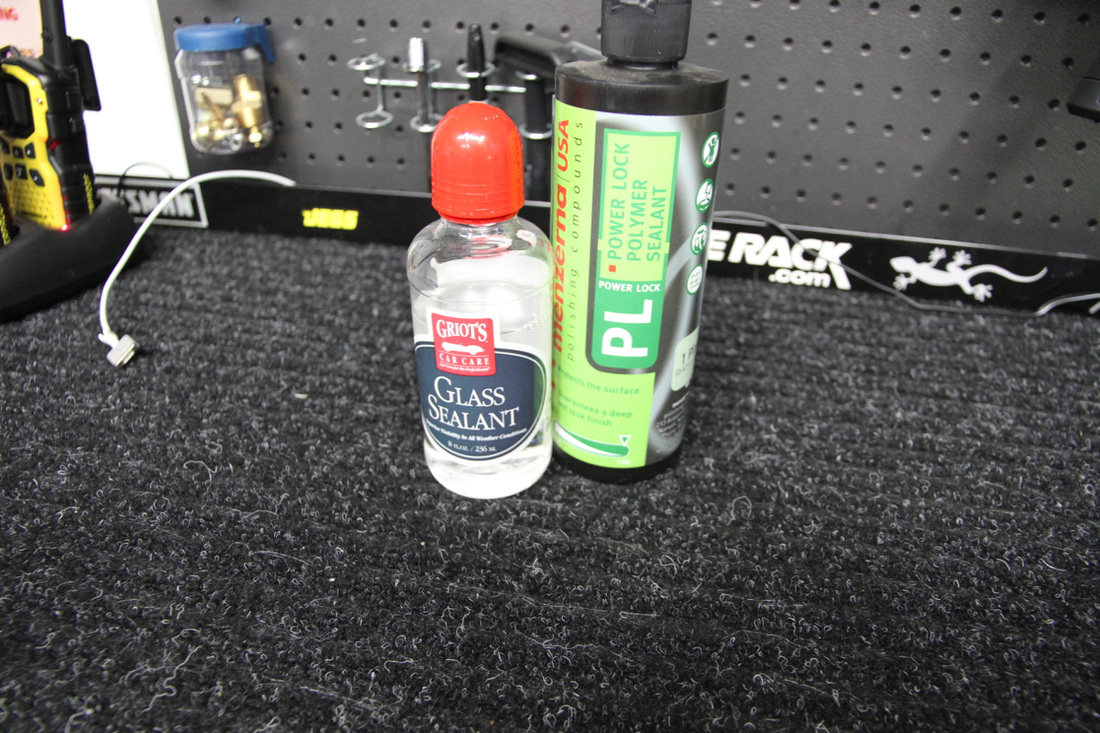
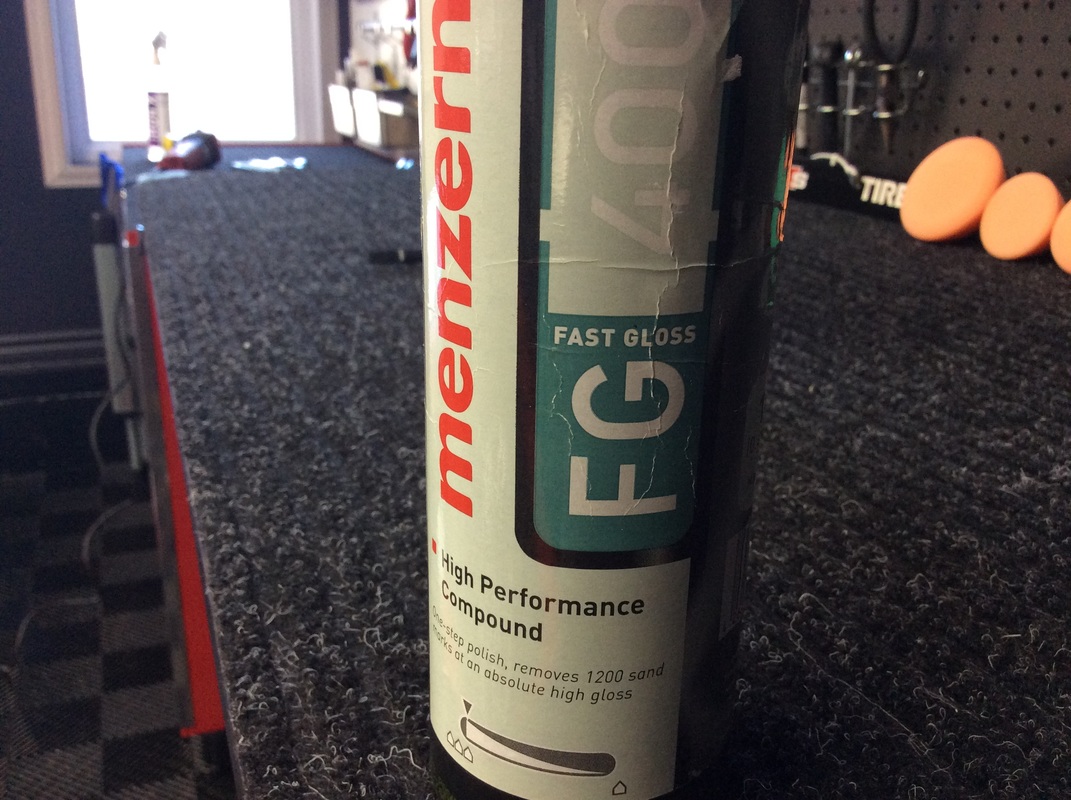
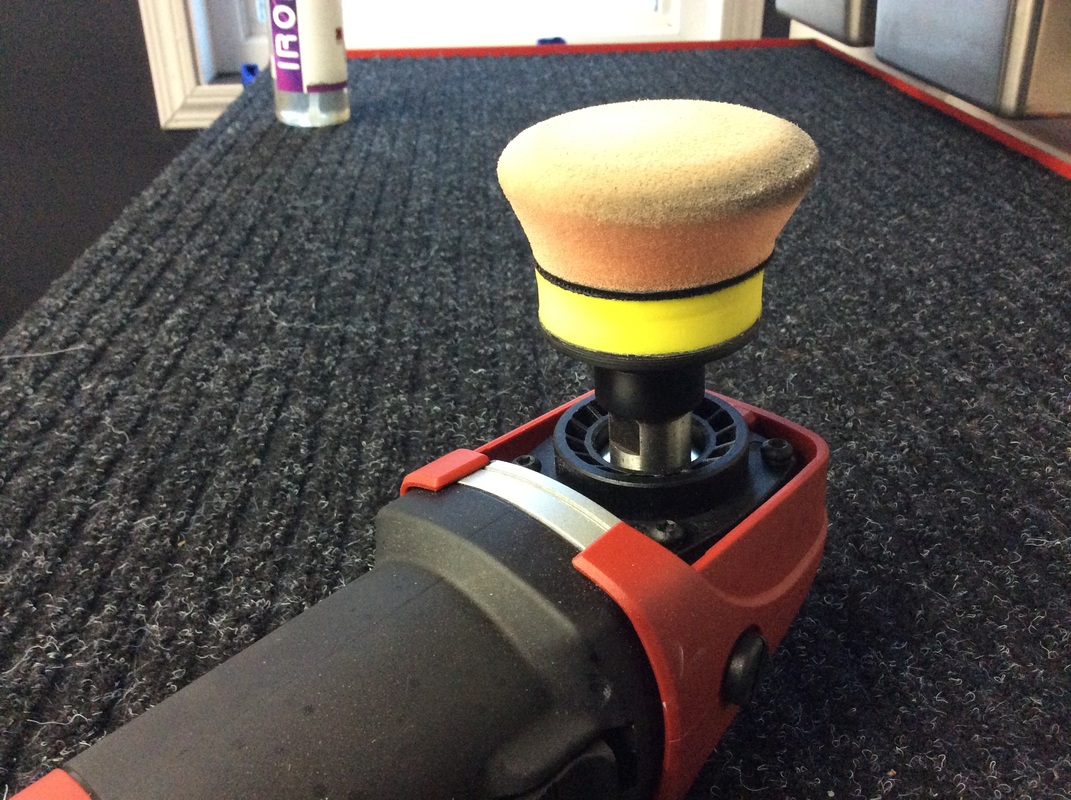
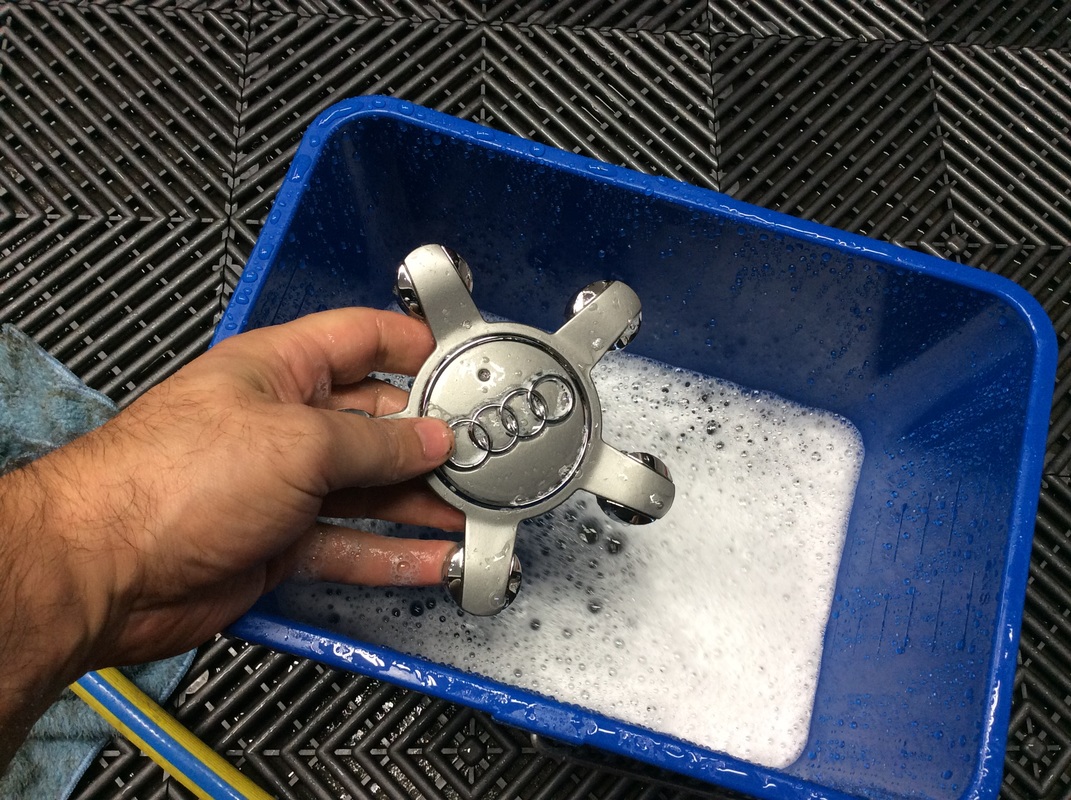
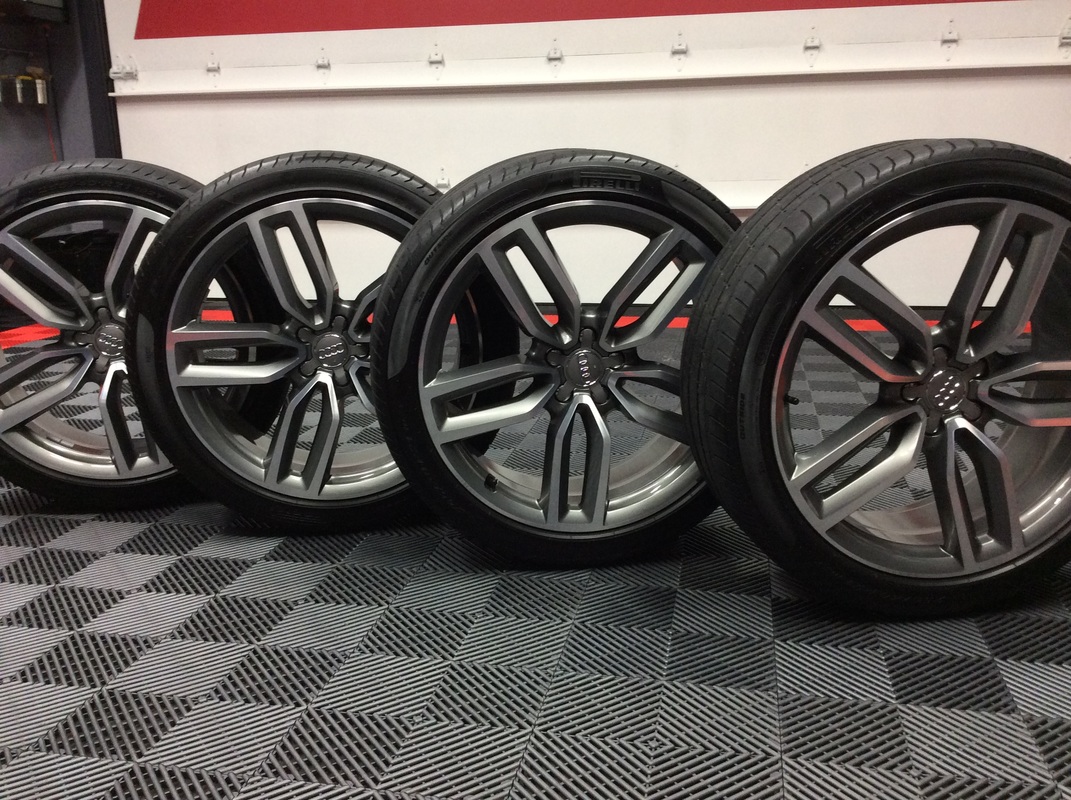
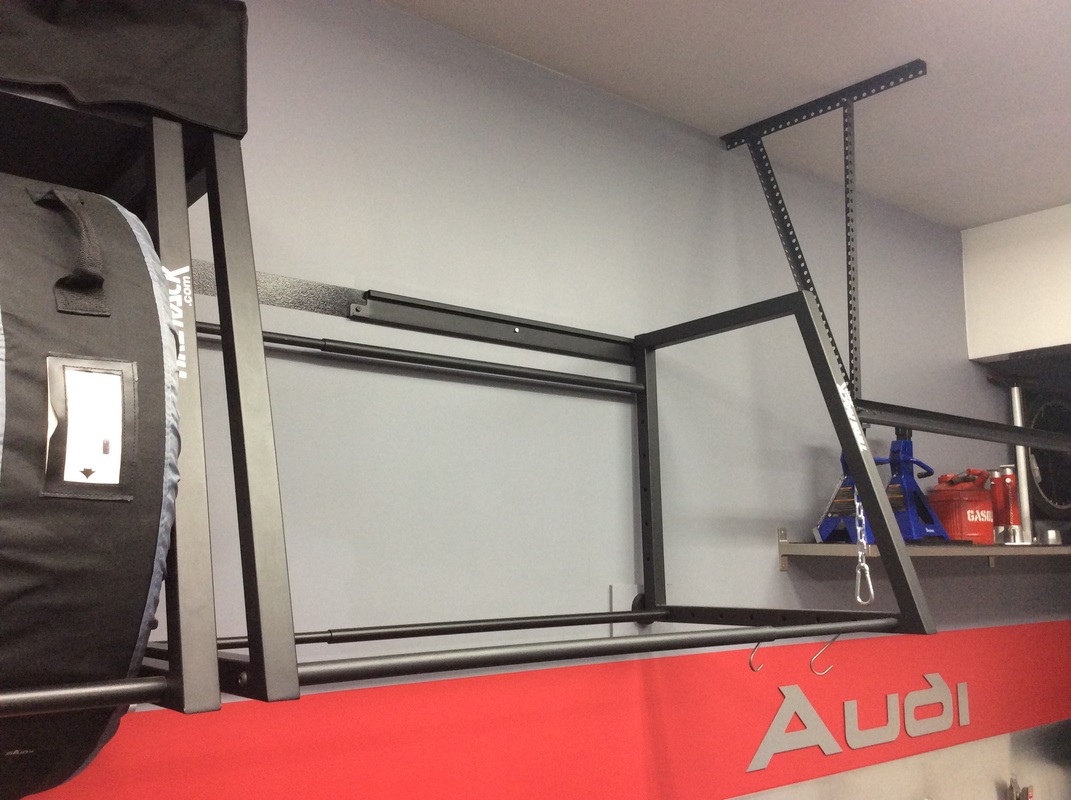
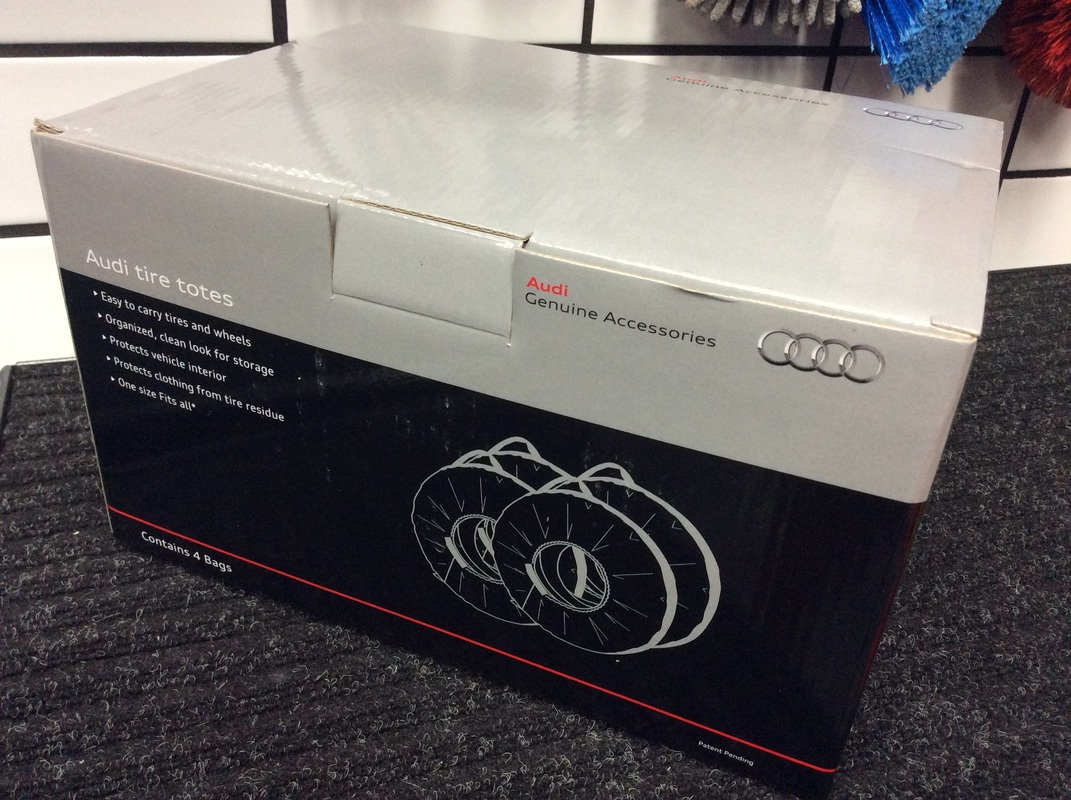
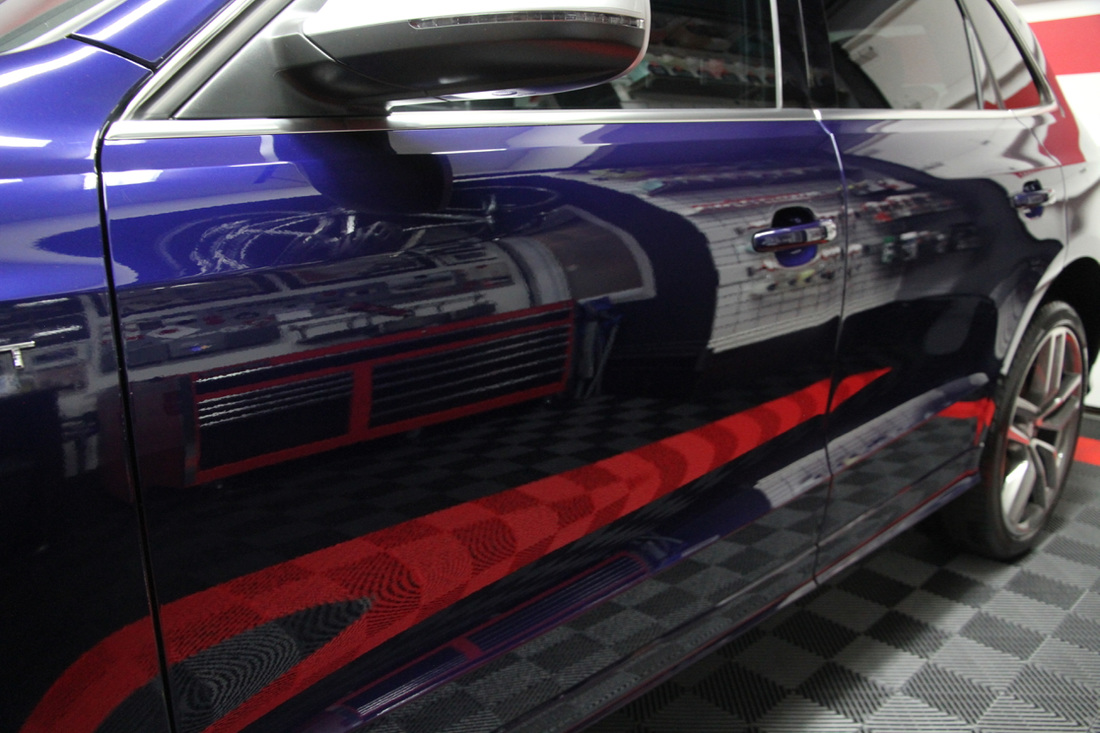
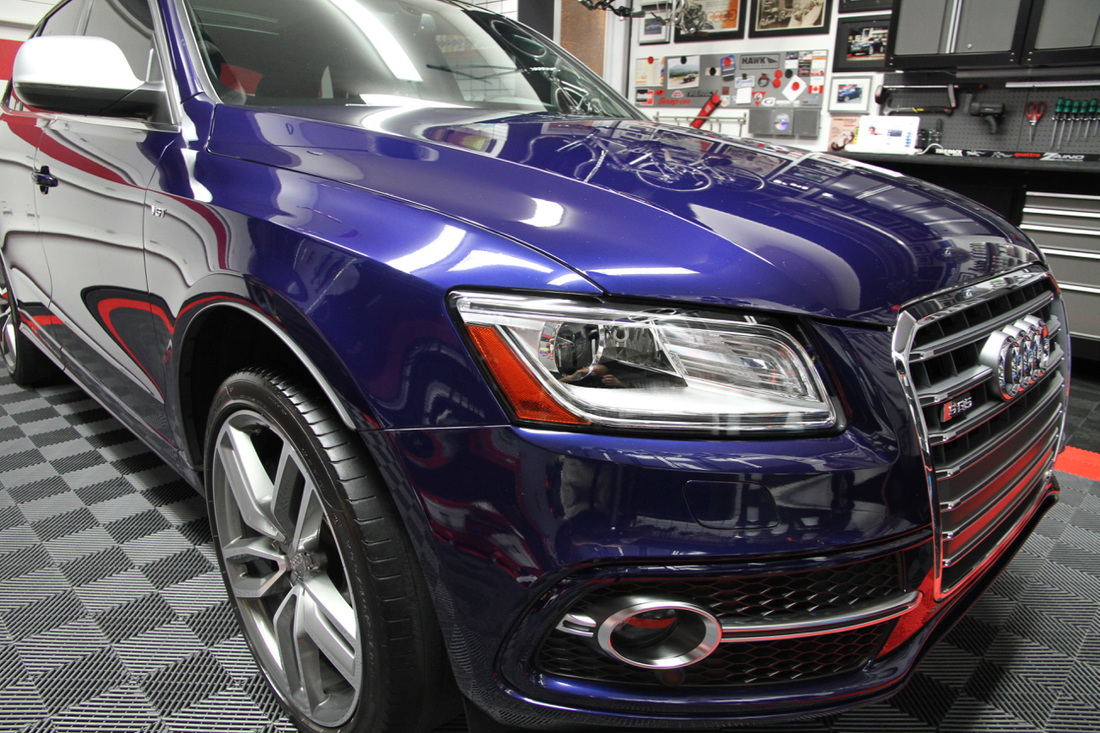
Exterior: Griot's Garage Speed Shine Griot's Garage Spray-On Car Wash Griot's Garage Speed Shine Micro Fibre towels (blue or green) Interior: Griot's Garage Leather Care Kit- includes green microfibre towels 1Z Cockpit Premium - the BEST interior detail spray on the market (I use with green MF) Glass: Stoner's Invisible Glass - simply the best aerosol glass cleaner on the market Premium Micro Fibre towels (light blue) Rubber: Stoner's More Shine Tire Coating - easy spray-on application My friend Derek had been contemplating a new car purchase for years. He finally pulled the trigger on a 2015 Lexus IS350. Gorgeous vehicle. The dealer offered to add a paint protection package for $800. Needless to say, applying a paint protecting sealant is NOT a $800 affair. Derek and I sealed his paint using Menzerna's "Power Lock" polymer sealant. It was easy to apply using a foam applicator pad, and it buffed off effortlessly with a plush microfibre towel. The process took less than an hour and that's mostly due to the fact that we are both perfectionists. We applied a liberal coat of Griot's Garage Glass Sealant to the exterior glass. His car is well positioned to handle the coming winter. With the arrival of my Spring/Fall wheel setup, it was time to prepare my stock 21" wheels for storage for the coming winter. I love these wheels, but I don't know what do with regard to wrapping them with rubber. The Pirellis are already looking spent, and I don't want to shell out 2 large for another set. I am hoping someone out there releases a 255/40R21 performance all-season at some point. The job was a long one. I picked up some tar on the highway a few weeks ago, so it took me about an hour per wheel to rid each one of that nasty stuff. I washed the wheels, decontaminated the with Iron-X, polished with Menzerna's FG400, and sealed with GTechniq's C5 Wheel Armour coating. I bagged them with Audi tire totes, now I just need someone to help me hoist them into position on the wall rack. I had the week off from work, so I took a day to put my Flex 3401 and PE-8 to good use. I spent the entire day and night working on my SQ5's paint. The final result is quite spectacular if I do say so myself. Almost two years of frequent car washes had taken its toll, and tiny micro swirls could be seen under certain conditions. I am convinced you can't avoid swirls in your clear coat when you have to wash your car as often as I do. They are inevitable. Now that all the swirls and imperfections are corrected, I will be applying a coat of GTechniq's C1 followed up with a coat of EXO V2 hydrophobic coating. These two coatings will help protect against harsh elements and swirls resulting from washes. I should have a video demonstrating my polishing process up soon. In the meantime, here are some finish shots: I had the opportunity this past week to visit a cool little shop in the city's north east. The shop is called Carzilla and it is packed to the rafters with quality detailing products. I picked up a few things, and found the guy who runs it to be very service-oriented and highly knowledgeable. Great little place, just a bit far from where I live. I put a video together that demonstrates my process of washing my SQ5 in the garage. I hope you like it. The SQ5 came equipped with an impressive set of front brake calipers. They have been looking a little dull lately, so I popped the wheels off to give them some love. Here's the video: I had an opportunity to finally remove the swirl marks from the SQ5's B-Pillars. With my new Flex PE-8, Griot's Garage 3" orange pad, and some Menzerna SF4000 high performance polish, I was able to rid both pillars of the micro-fine swirls that have been plaguing me for a while. Because the material the pillars are constructed of is soft, they seem to scratch quite easily. I try my best to be gentle, but it seems inevitable that they will attract swirls. Well, no worries, because in less than an hour their lustre has been returned. Here's a little slideshow showing the process I followed. Enjoy. I have always been a fan of the Infiniti FX, so I was happy to get my hands on a FX45 belonging to a friend. They are on vacation which meant I had the option of working on the car at my convenience. Over the course of three days, I put north of twenty hours into restoring the lustre of this aggressively-styled and powerful SUV. Our friends don't exactly baby this car, so a fair amount of work was required. 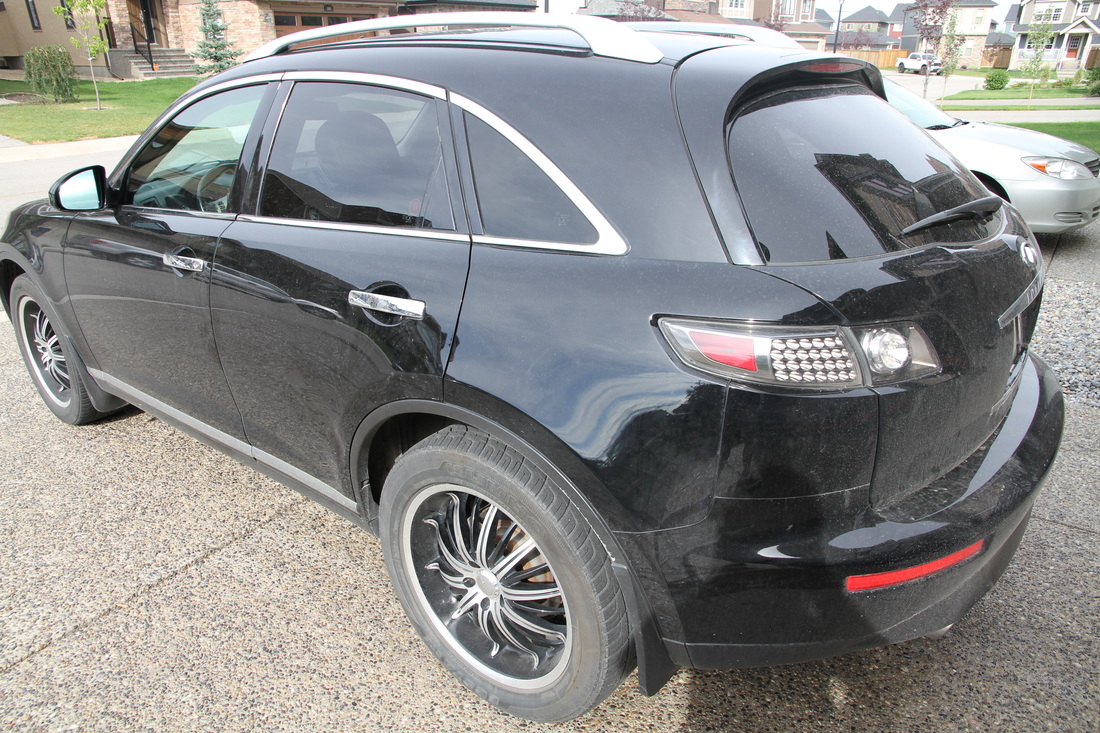 Day 1 - Interior After a very thorough vacuum, I used my Tornador foam gun to coat the carpets in a think froth of Griot's Carpet Cleaner. I used a soft bristle rotary brush to dislodge the deep down debris and break up some hardened stains on the carpet. Some areas required extra attention so I fired up my Mytee Firebird Steamer. To get the carpets completely clean, it took me five hours. They came out brilliantly. Later that evening, I drove the car down to the coin-op car wash to thoroughly power wash the mats and engine compartment. I hung the mats on my mat wall to dry for a few days and continued working on the engine bay the following day. Day 2 - Seats/Engine The leather upholstery in this FX is perforated and many of the perforations were filled with debris. I used a very pointy punch to dislodge each of them, but some steaming was required to really clear them out. I used Sonax's Leather Foam on the seats. First, I used a detailing brush to distribute the cleaner and followed that up with a leather brush to really work the cleaner into the leather. The Sonax Leather Foam left the seats looking natural. The way I like them. With the seats complete, I turned my attention to the rest of the interior. Using my Firebird steamer, I took care of the vents. The steam does an amazing job of dislodging the dirt from the hard-to-reach surfaces. I have a brush that my wife used to use to clean my son's baby bottles, and I used that to get into each crevice of the vent. I also used my 1Z Einzett Cockpit Premium to get that dash looking its finest. I used compressed air to blow away the leftover product. The engine bay was looking much better after the power wash at the coin-op, but there was still a lot of grime that needed to go. My Firebird, once again, rose to the occasion. With the engine bay pristine, the only thing left to do was to dress the various components, but that had to wait until the final day when I concentrated on the finishing details. Day 3 - Polish/Wax The paint on the FX was pretty beat up. It is obvious this car has suffered through numerous automated washes. The swirls were quite severe. I opted for Wolfgang's Swirl Remover. I began the day by going over the paint with Griot's Paint Prep which ensures that the paint is free of any wax or sealants. I was sure this car had no such coating, but I just wanted to ensure I was working with a clean slate. Using my Flex 3401 and my newly-acquired Flex PE-8 and a combination of pads, I spent three hours going over every panel of the FX, including the parts coated with 3M. The pad I found most successful was my Lake Country CCS 5.5" yellow "Heavy Cut" pad. Unfortunately, I only have one of them. I ended up having to transfer over to a Lake Country Orange "Light Cut" pad, which took a bit more time and patience to achieve what the yellow pad accomplished. For the trickier parts of the car, I used my 1", 2", and 3" Flex pads. They were a lot of fun. The body styling of the FX has all kinds of curves and bulges, so the smaller pads were perfect for working around them. I was particularly impressed with how well this setup worked on the headlights and emblems. After the polish, I washed the vehicle to rid it of all the leftover polish residue. The paint has a number of rock chips and deep scratches that still remain, but the vast majority of the surface looks incredible. My Metro Vac Master Blaster made sure the car was bone dry before I applied a thick coat of Collinite Insulator Wax. I'll be sure to post the video I made showing how it all went down. I think you will enjoy seeing how I utilize the space to make the job more efficient. It should be up in a week or so. Just have to fine tune it a bit more. In the meantime, here's a shot of the finished product: 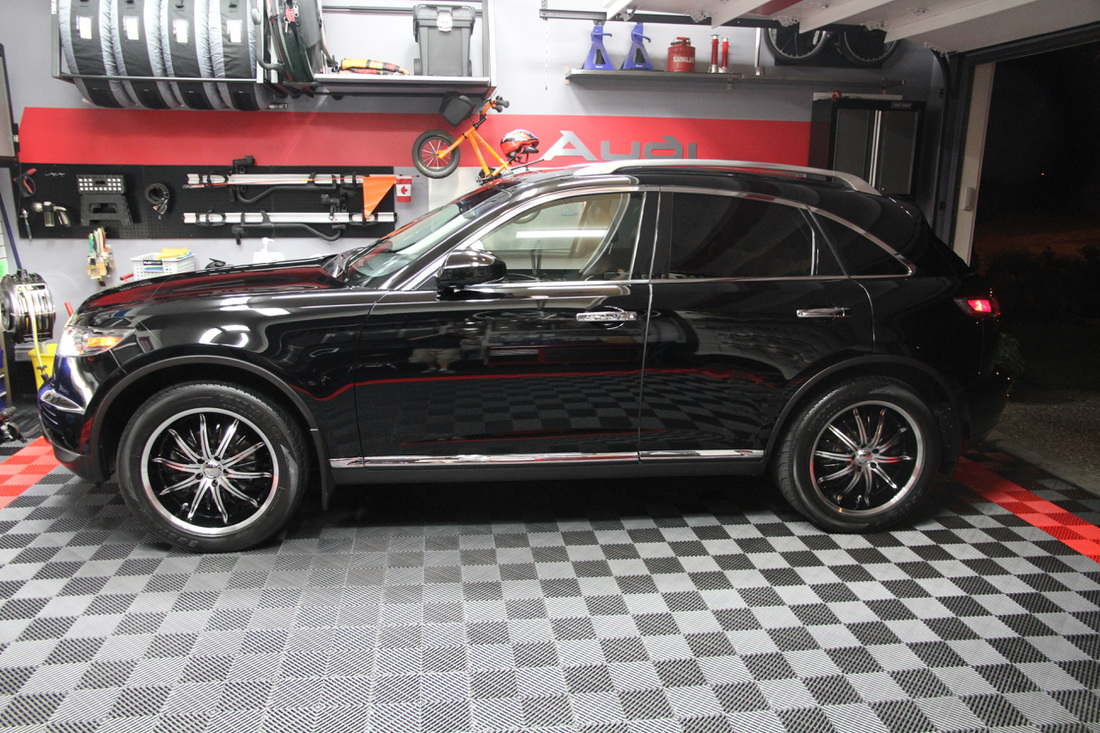 A friend of mine was concerned when he noticed hundreds of yellow specks on his Pearl White Nissan Murano. I have seen this often on white cars. Airborne metal particles, mostly from brake dust, lodge themselves in the soft clear coat of the paint and oxidize. The result is hundreds or thousands of yellow flecks in the paint. I'm sure the same thing happens on every car, but the marks are only visible on white cars. Using CarPro's Iron-X decontamination spray and my clay bar system, I successfully removed 100% of them. It took close to three hours, but the result was well worth the time, effort and expense. I'm happy to answer any questions you may have regarding this issue.
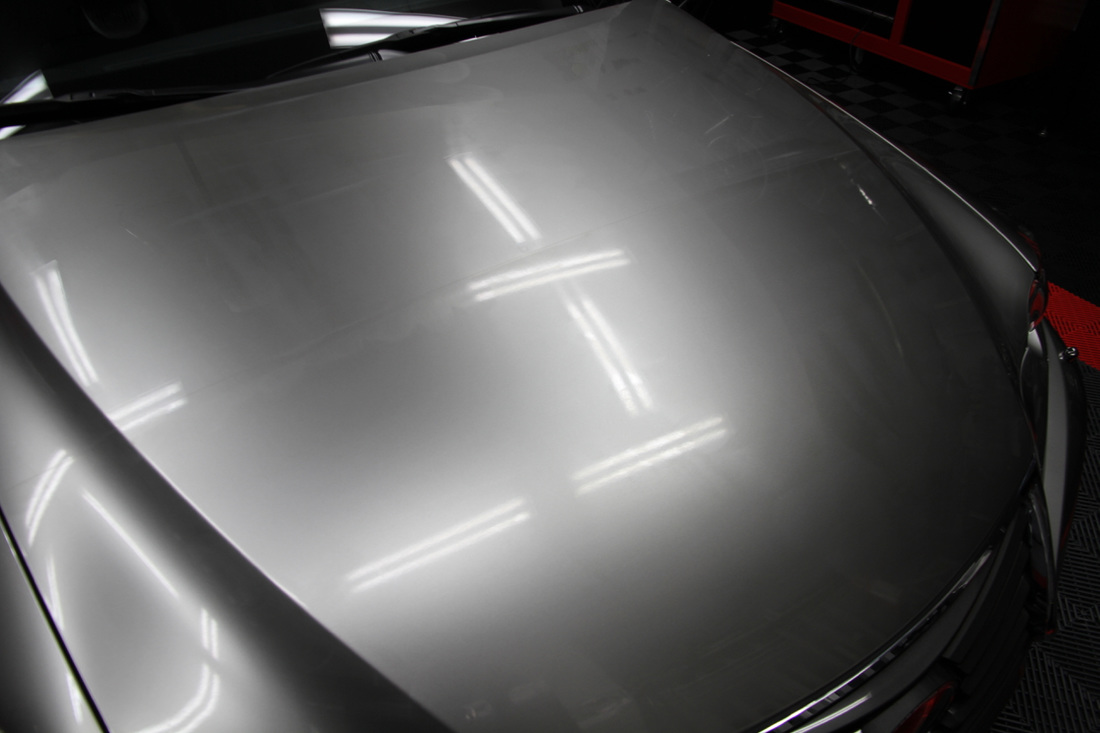
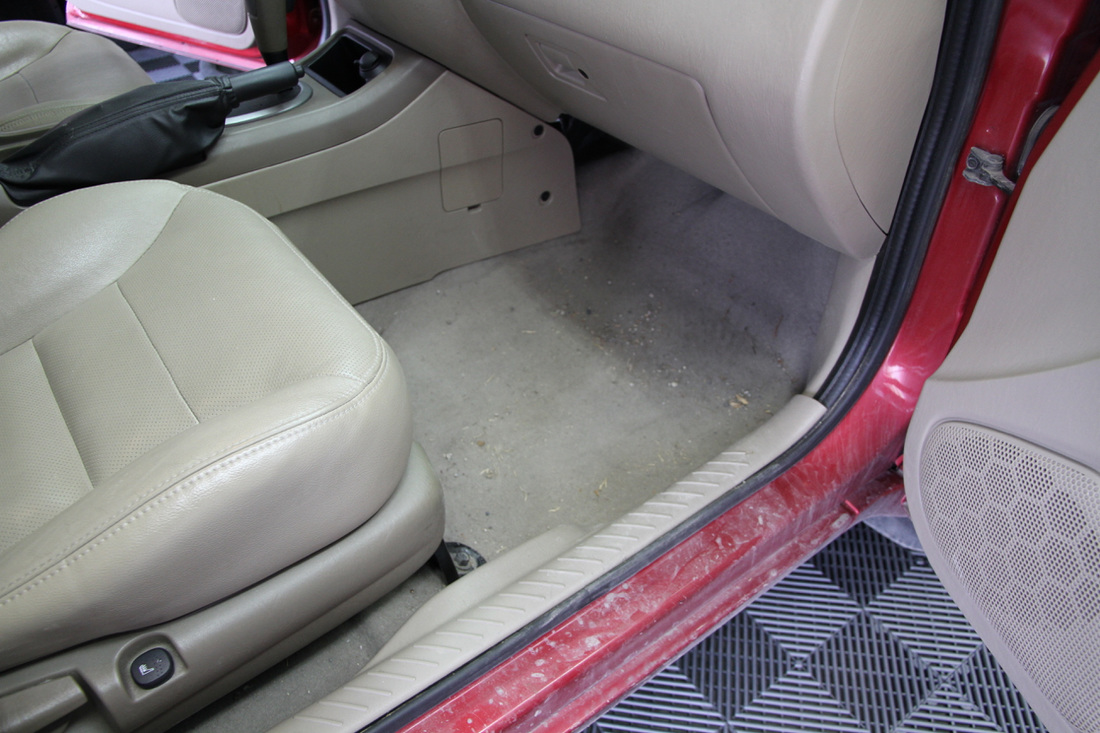
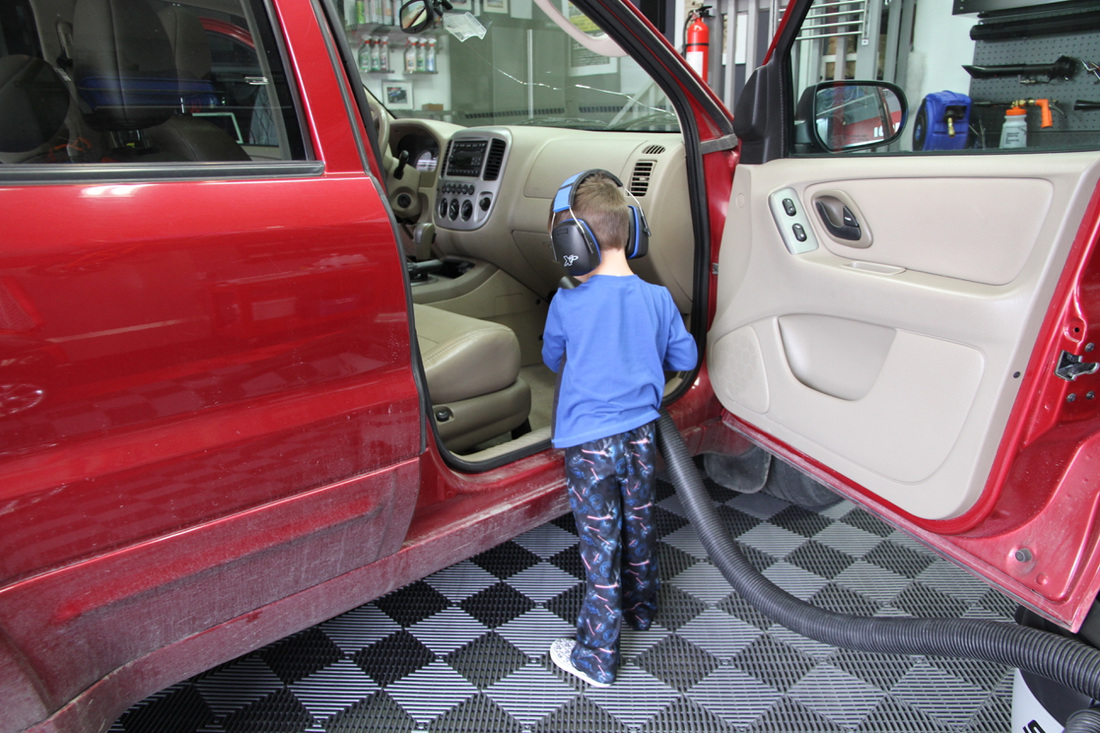
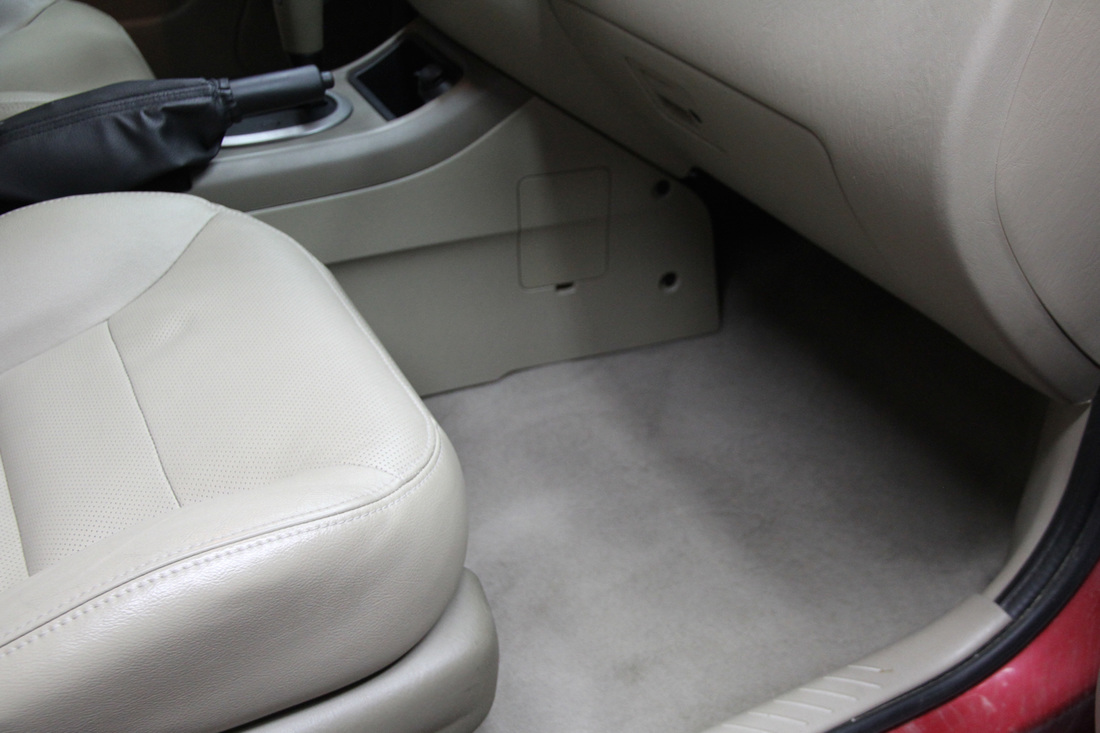
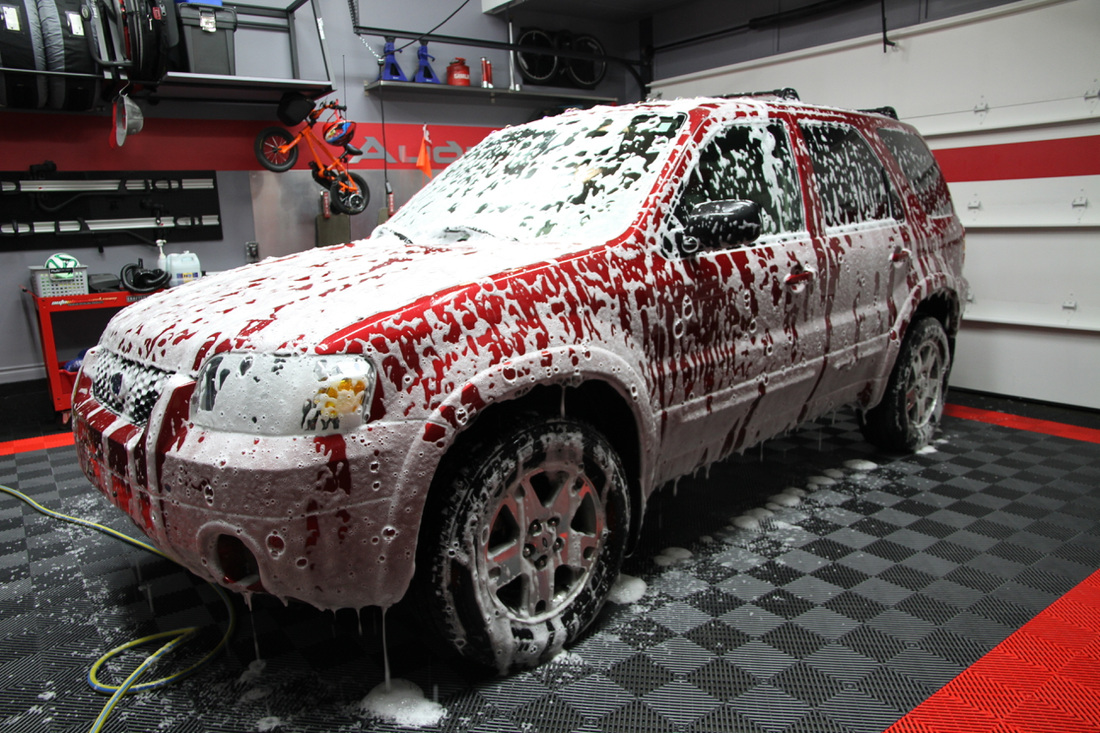
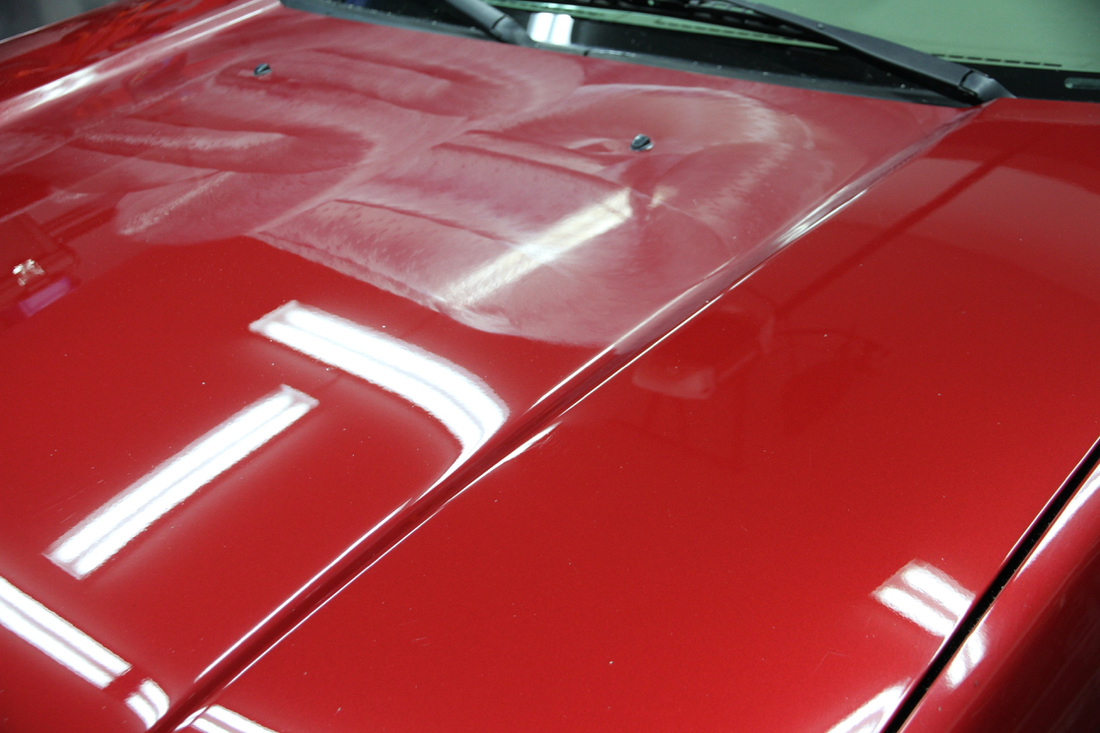
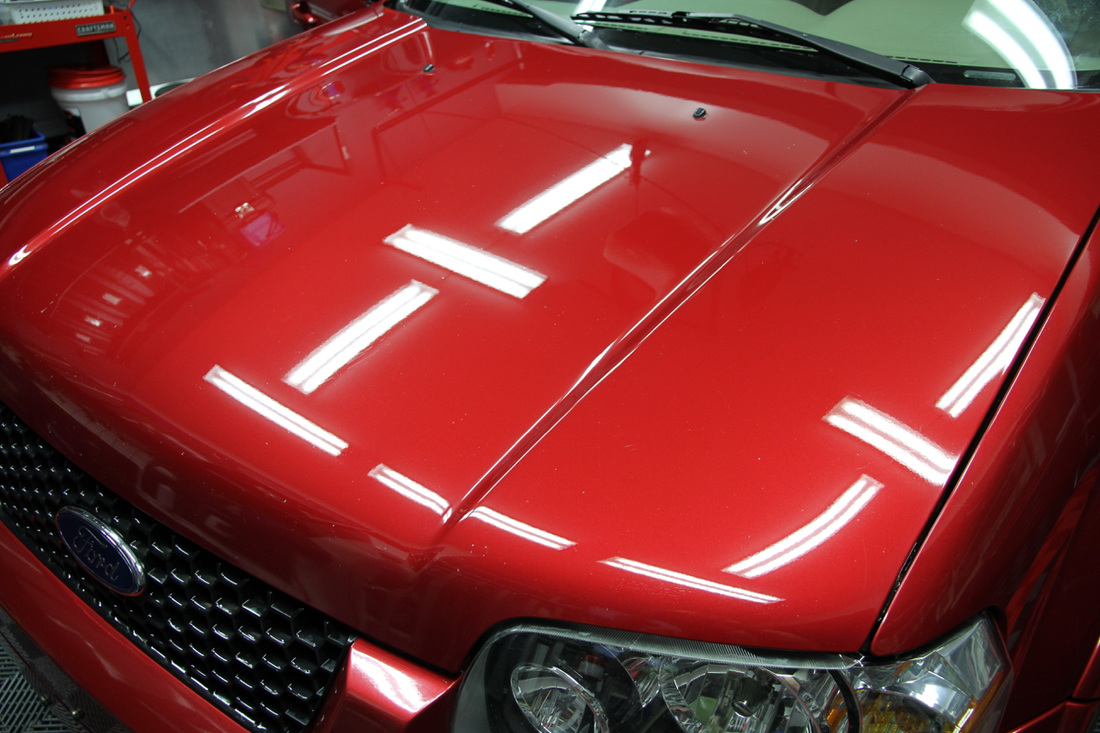
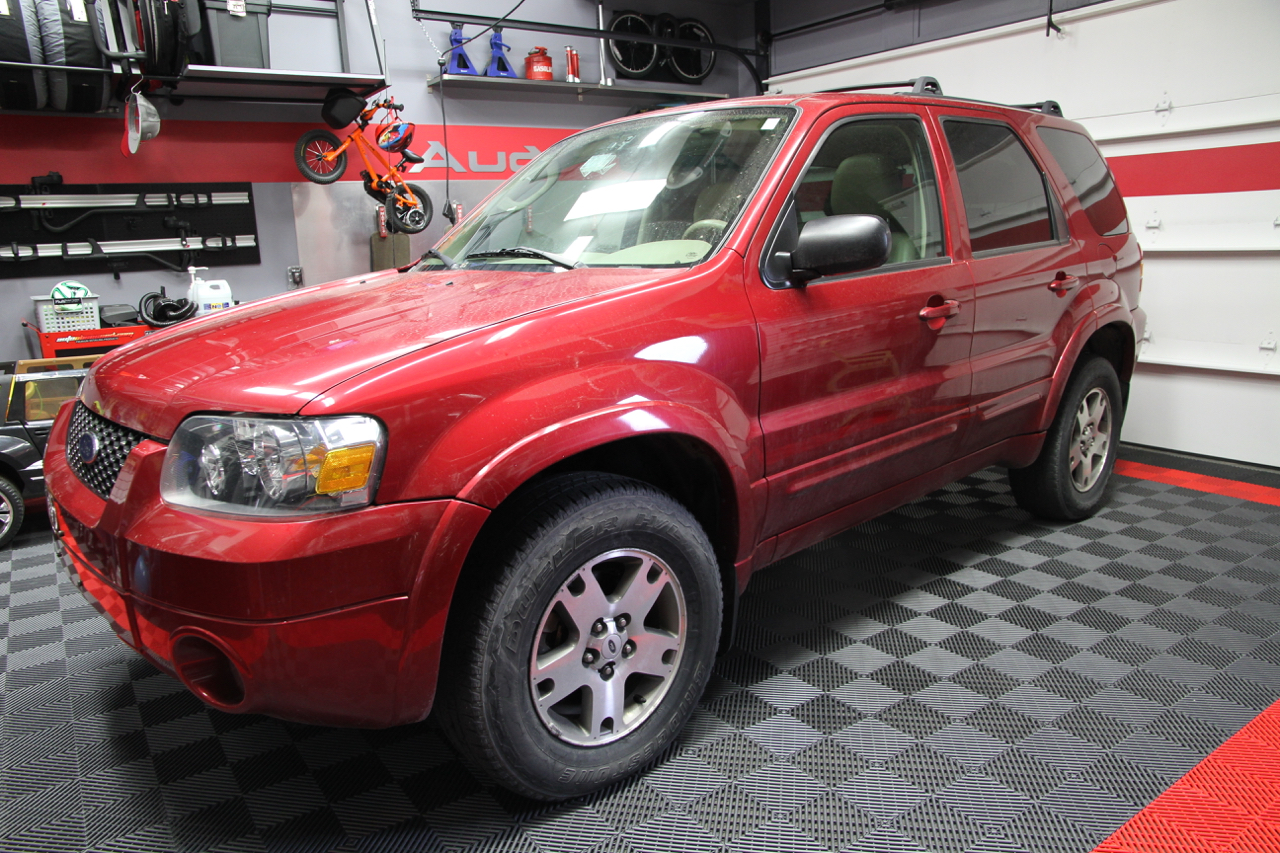
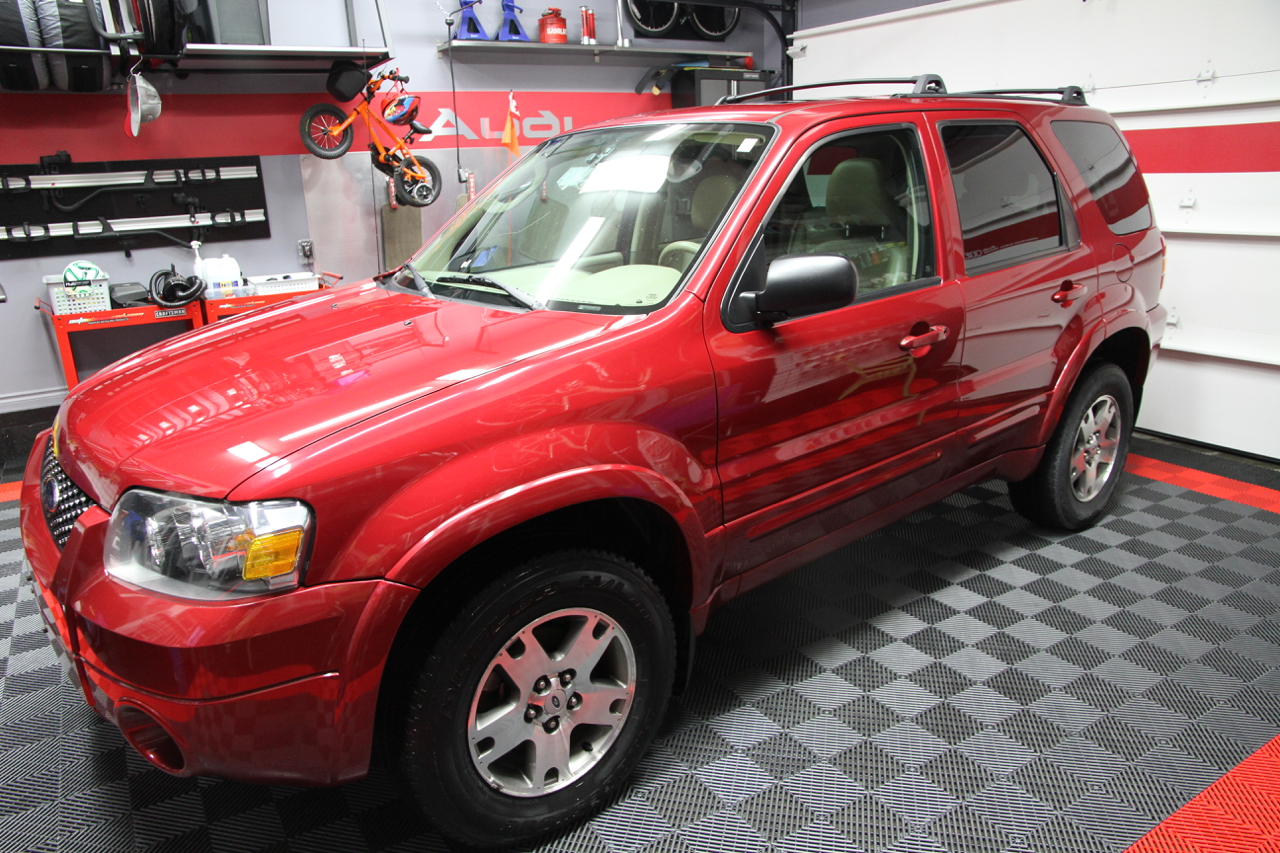
Friends of mine are planning on offering up their 2005 Ford Escape for trade on either a new Mazda CX-5 or Subaru Outback, so they asked me to perform an "economic" detail prior to them shopping it around to local dealers. No problem. Once I began, I noticed that there was a lot of dried sap on the car. A lot. Seeing as they didn't want to shell out for an extensive detail, I opted to concentrate my efforts on the hood. With the hood nice and shiny, it should show well when the dealer gives it the once-over. That's my thinking, at least. I loosened up the sap using Stoner's Tarminator spray and then used a sharp wooden pick to dislodge it from the clear coat. I then used Menzerna PG 1000 Rubbing Compound to remove the swirls and scratches and followed up with Menzerna SF 4000 Superior Performance Polish. The hood looks terrific. The interior came out nice as well. Other products used include Chemical Guys Citrus Wash & Gloss, 1Z Einszett Cockpit Premium, Griot's Garage Interior Cleaner, Griot's Garage Carpet Cleaner, Lexol Leather Cleaner, Stoner Invisible Glass, and Griot's Garage Long Lasting Tire Dressing. All up, I have between six and seven hours invested in this Escape, and I'm happy with the results. I'd love to go another 8 hours, but it's just not necessary for a car that is going to be traded in within days. I'm hopeful this detail will help my friends get a bit more cash for it on trade. Enough chit chat, here are some photos from the day.
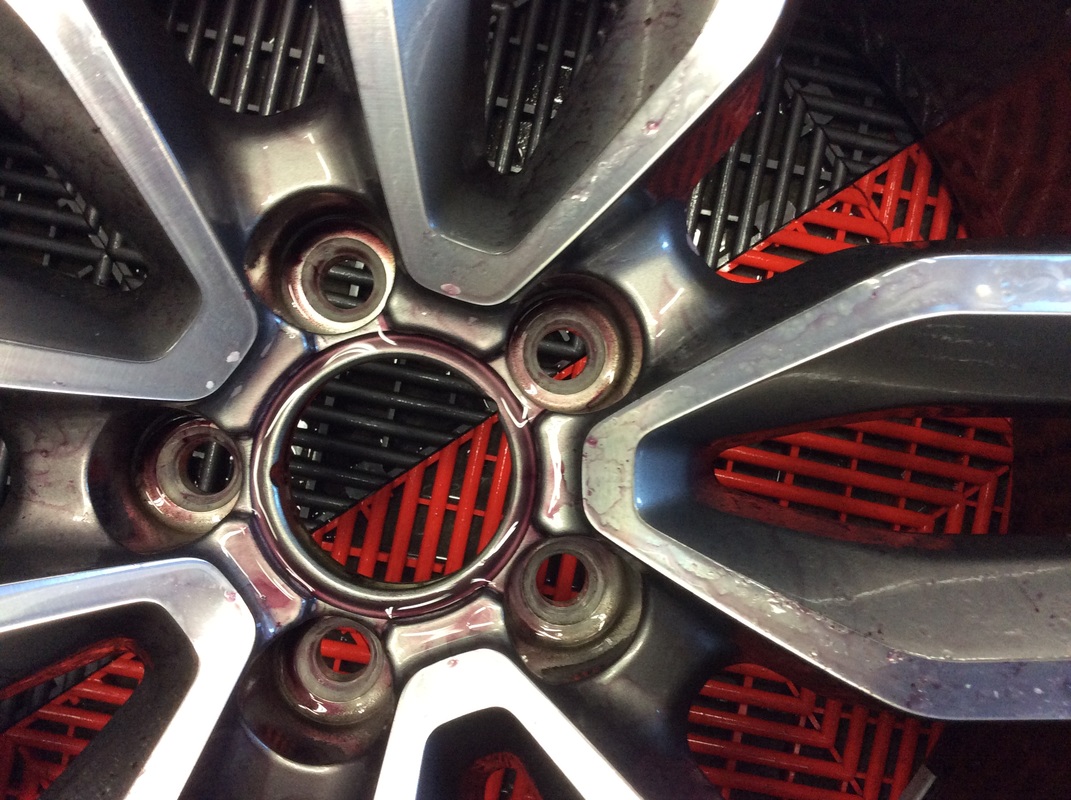
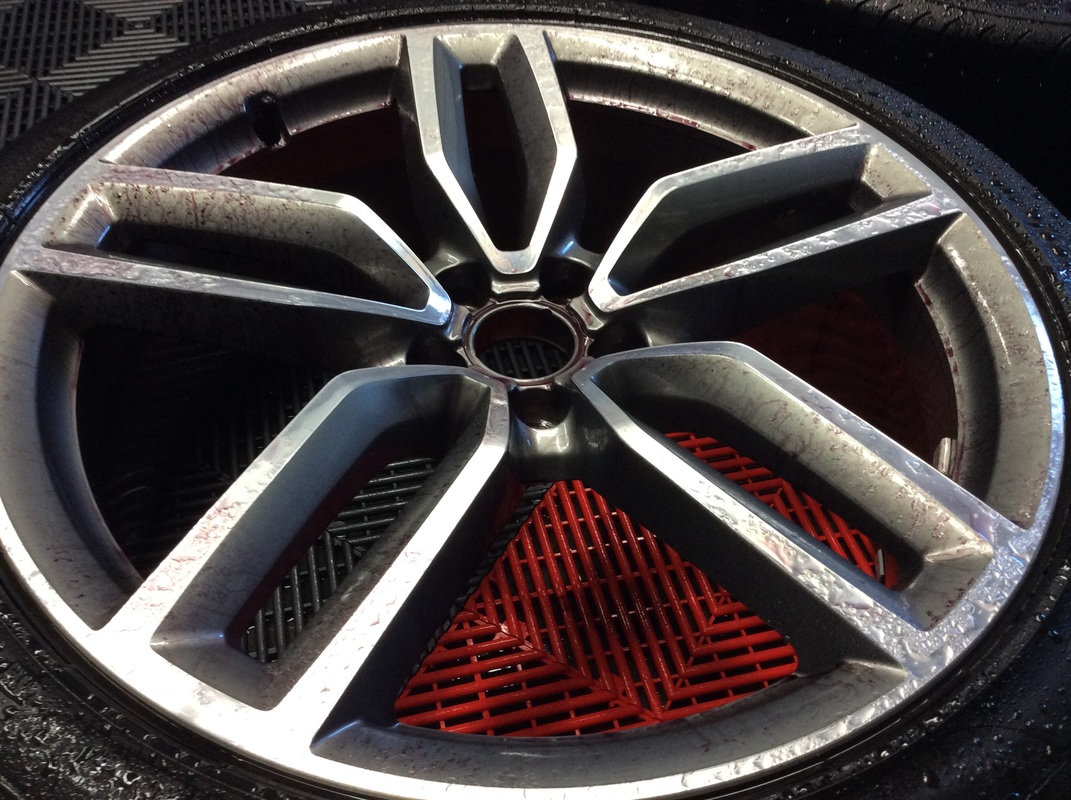
I take decent care of my car, but the unrelenting Canadian winter inevitably leaves my winter wheel setup in dire need of a restorative detail by the end of the season. I recently swapped over to my 21" summer setup, so I took a day to detail the 20" winter setup prior to storing them for the summer. I put this video together to demonstrate the process I follow to undo the damage caused by their exposure to the salt and debris of our winter roads.
Wheels: 20" ET25 HRS6-204 in gloss silver by Hartmann (with modified lugs) Tires: 255/45ZR20 LM-60 High Performance Blizzak by Bridgestone OEM centre caps |

RAD GARAGE is my personal detailing theatre. I am a teacher who finds immense pleasure in completing deeply therapeutic, thorough and highly satisfying detailing projects in my residential garage. I have converted my suburban double car garage into a world class detailing environment and I enjoy caring for my own car and select cars belonging to others. The garage and the work I complete in it have allowed me to connect with other detailing enthusiasts from around the world.

I have teamed up with Teespring to offer viewers an opportunity to grab some RAD gear! Click here to see the current inventory of RAD merchandise available at my Teespring store!
Use "RAD10" to save yourself 10% until the end of March, 2021.

Carzilla is a local detailing store that caters to the North American community of professional and enthusiast detailers. I have been a longtime customer and I am fortunate to call the owner a friend. Besides stocking a vast quantity of top quality detailing products, the owner has supported various garage and detailing projects of mine over the years.
5% discount code
|


 RSS Feed