|
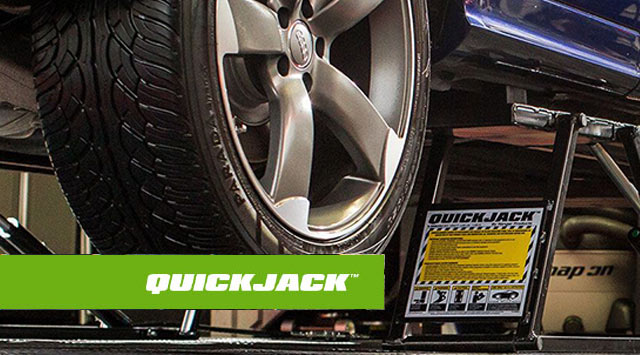
I had the opportunity this past weekend to perform a "wheel off" wash. Using my QuickJack lift, I was able to remove all four wheels and really concentrate on the wheels and wells. I put together a five-minute video to demonstrate how useful the lift is. Enjoy. The QuickJack does what it says it does, and it lifted my SQ5 in fine fashion. I was very pleased that the even weight distribution of the QuickJack meant there were no divots or impressions in my RaceDeck Free Flow floor. Here's some shots, but you'll have to excuse the current state of the SQ5, it has been a busy and messy week. We actually had some snow on Thursday. My new QuickJack portable lift system arrived this week. After hauling in home from the shipyard in my SQ5, it has been sitting in the middle of the garage. I was under the weather today, and spent all day in bed. I finally got up some energy so I decided to head out to the garage to assemble and test this puppy out. The detailed instructions made assembly a fairly painless process and it seems to be working well. I quickly ran out of gas, so I haven't had the opportunity to lift my vehicle with it. Once I feel a little better, I plan to put the SQ5 on it and see what happens. I'm hoping to find some time over the weekend to spruce up my rusty brake rotor hats, so stay tuned. I'm quite curious to see how things go with the RaceDeck floor. I think it should be fine, but I will keep you posted. So, why QuickJack? The main reason I went with the QuickJack lift was the portability factor. I will probably use it a dozen times per year, so I didn't want something that was going to permanently occupy valuable real estate in my double garage when not in use. Its low profile design enabled me to slide each section away so it won't get in the way of the other happenings in the garage.
The other reason I chose this over a scissor or two-post life is that it is tailored more towards my needs. I plan on using it primarily for wheel swaps and detailing, so I don't need my car way up in the air. At max height, it should provide me with a foot of body lift which will make a world of difference when polishing the lower portion of my SQ5 and detailing my wheels and wheel wells. I think it was the perfect solution for my needs. Click here to learn more about the BL-5000SLX. The order has gone in. Soon, I will be using one of these little beauties for various garage-related activities. Be sure to drop by in a few weeks when it is ready to show off. I can't wait. I had big dreams of picking up a Kranzle K1122TST pressure washer, but I wasn't comfortable spending well north of $1000, so I picked a much more reasonably priced one at Lowes. It' s the KPW2000 2000 PSI 1.4 GPM Cold Water Electric model by Kobalt, but it is manufactured by AR, which is a pretty decent manufacturer of pressure washers from what I can gather. 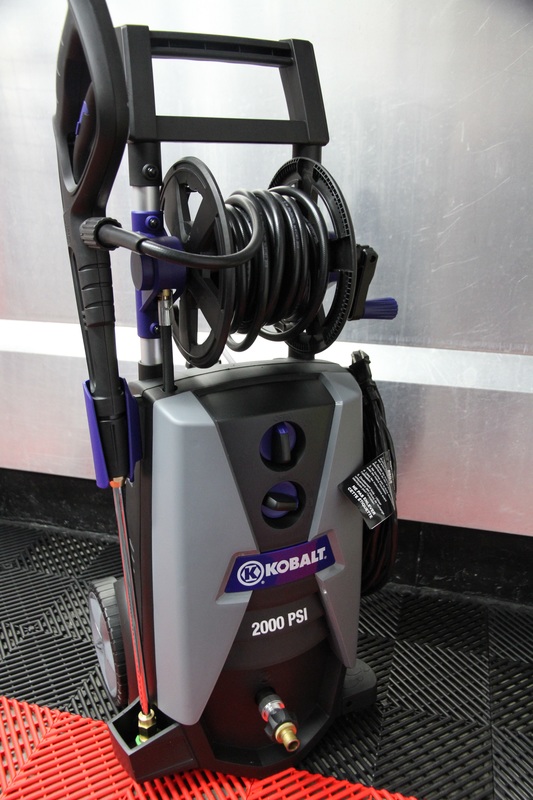 I had an opportunity to assemble and test it out this morning, and it is far and away superior to the Kärcher it replaces. While it may not compare in build quality to a Kranzle, it did a fantastic job of spraying off the SQ5 and driveway.
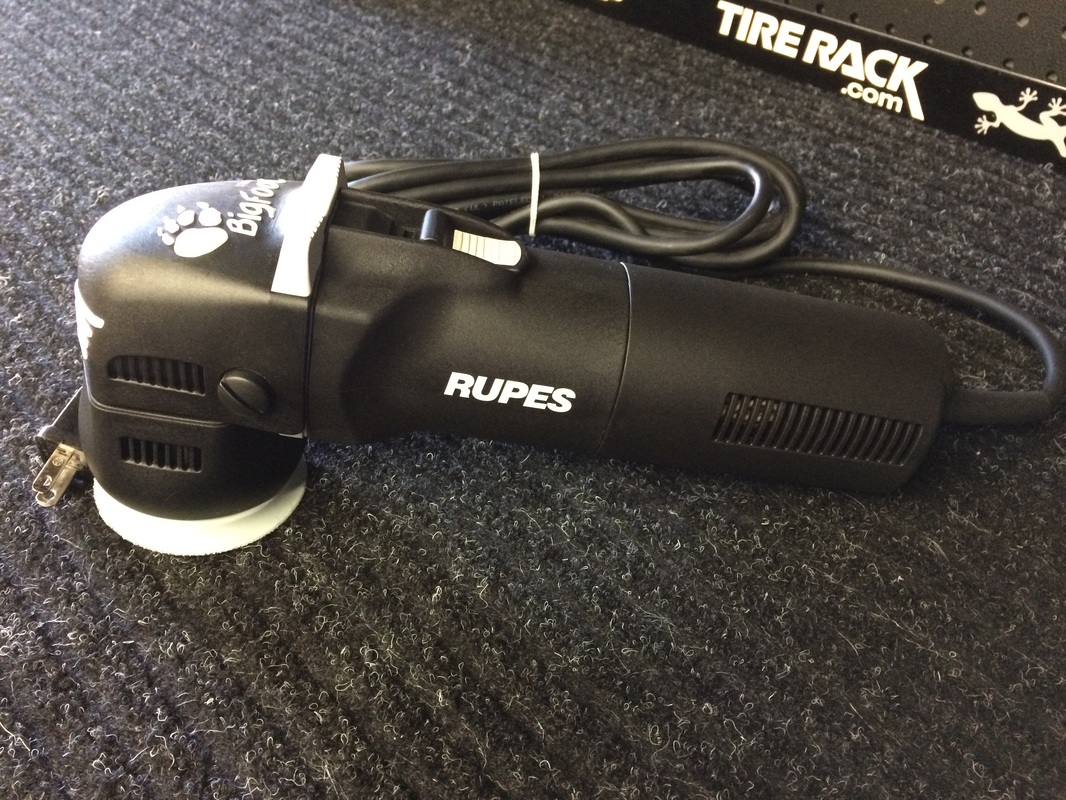
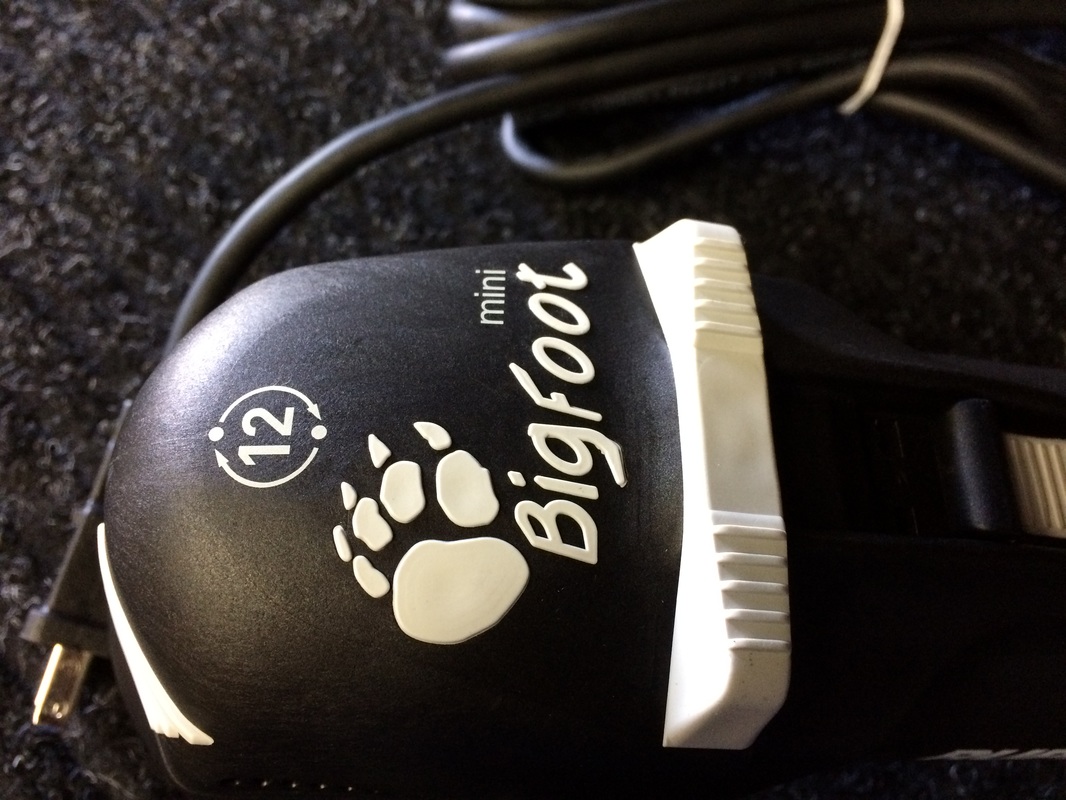
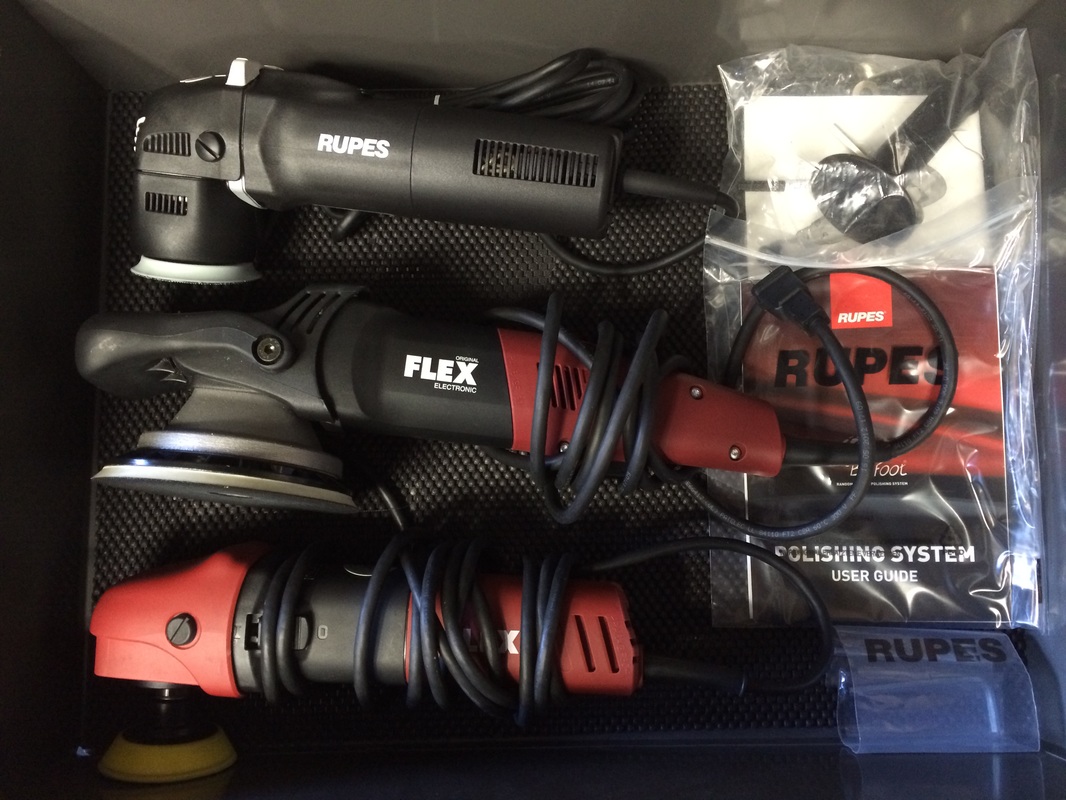
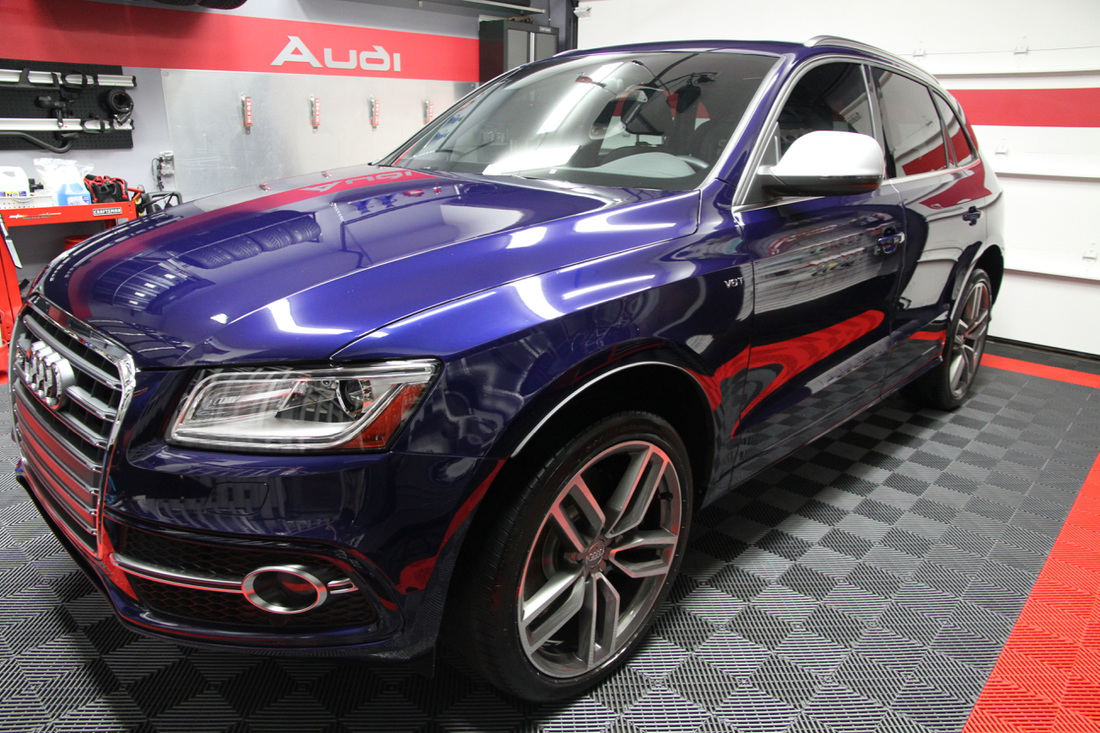
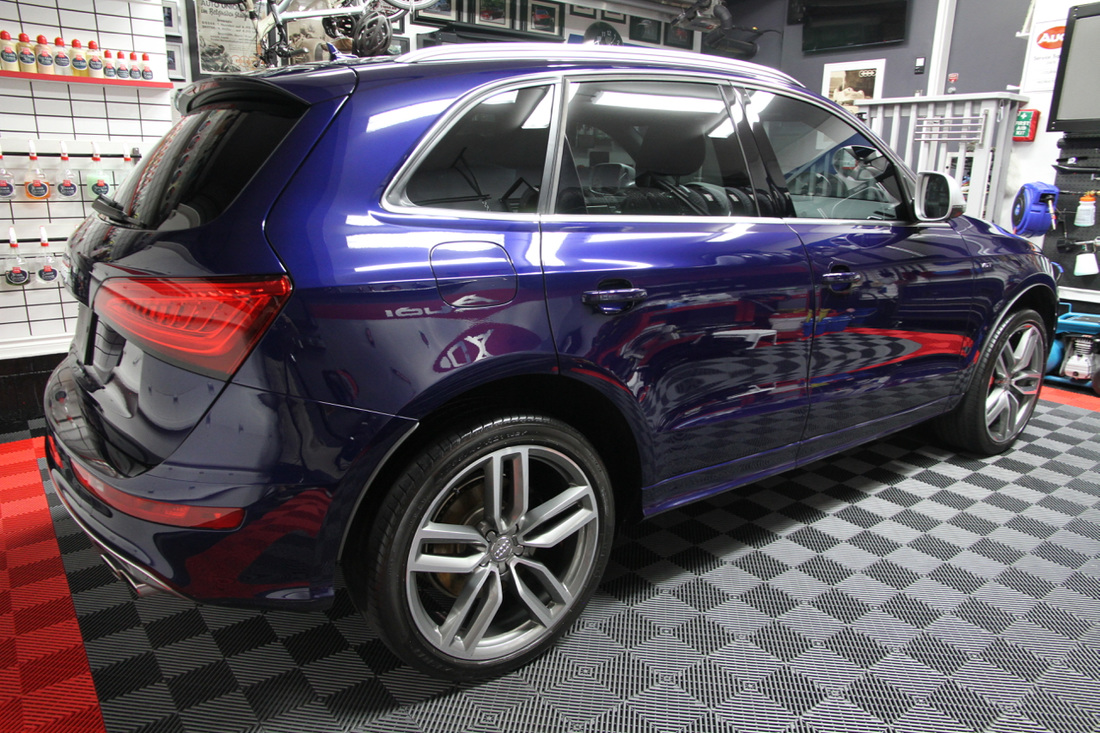
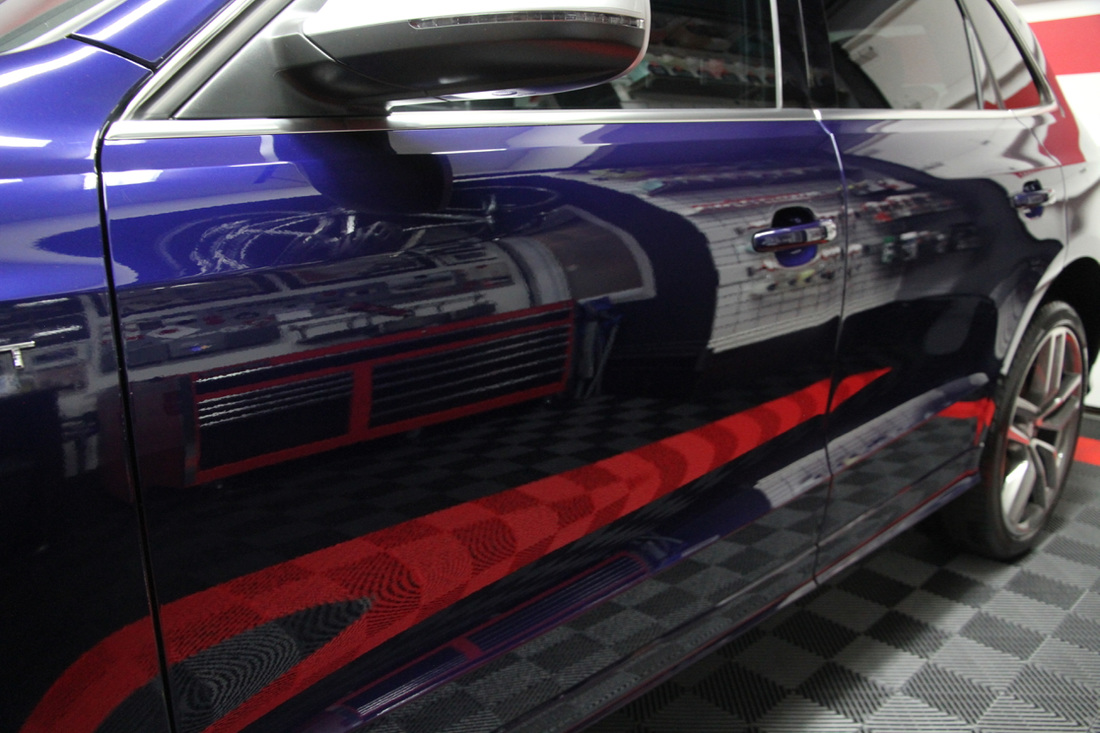
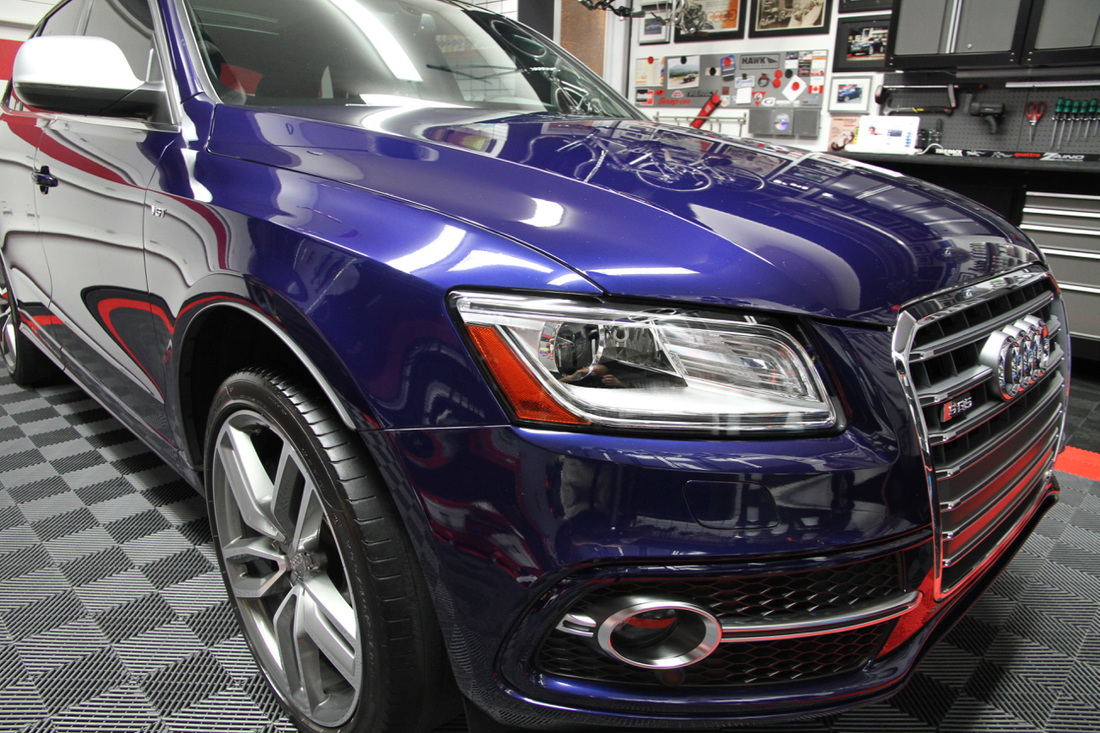
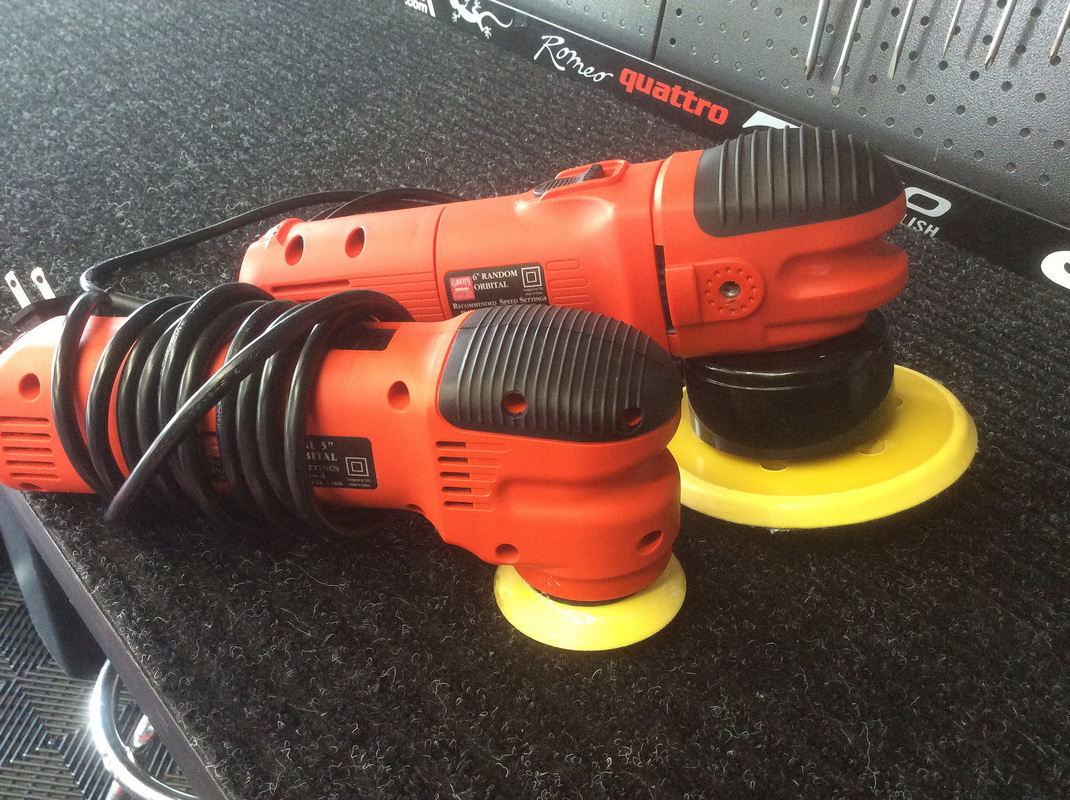
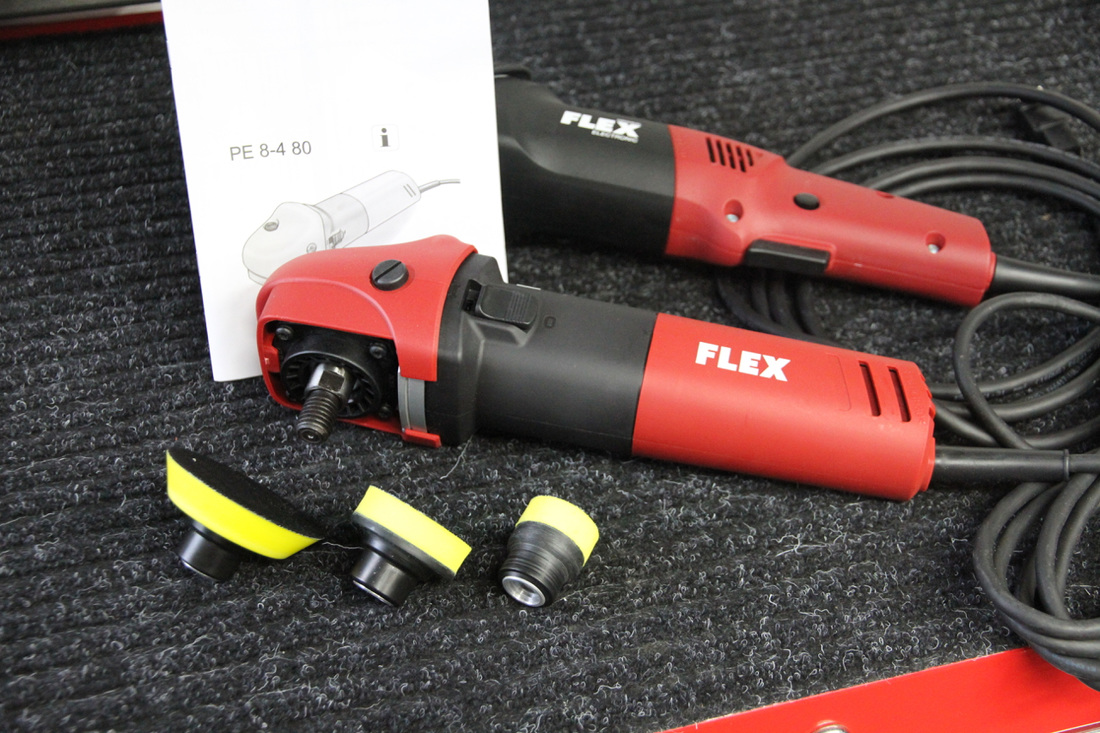
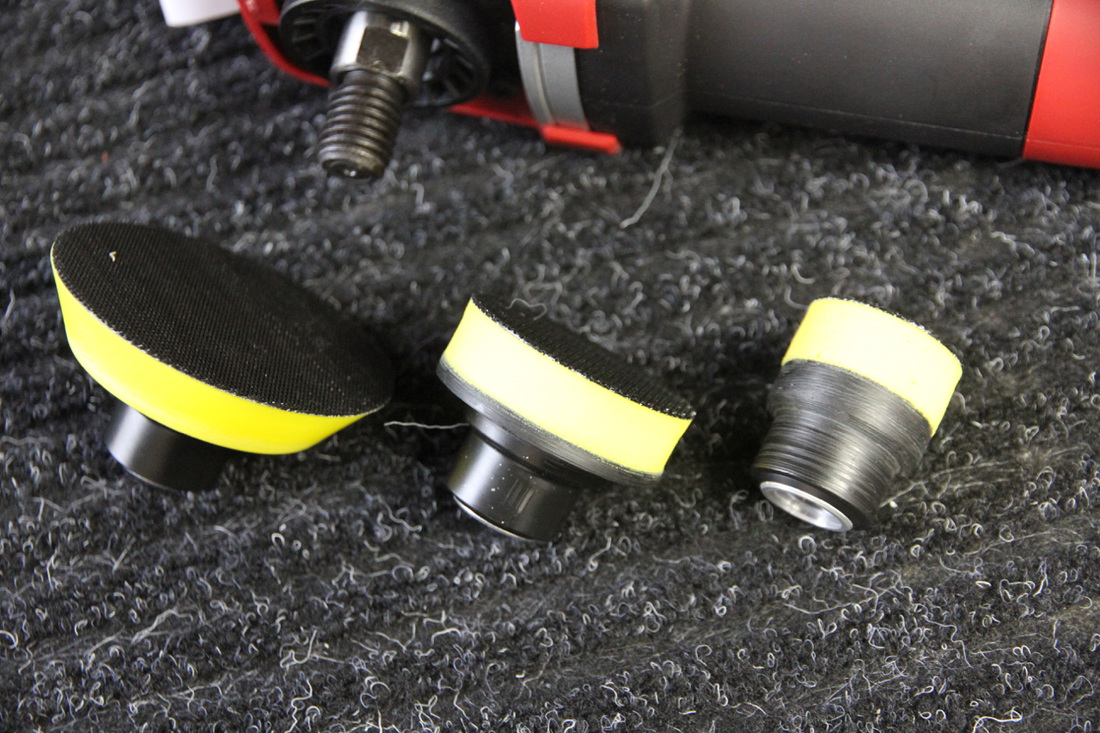
I added a new polishing tool to my arsenal. I picked up a Rupes LHR75E mini polisher. This will compliment the Flex PE-8 polisher I currently own. The PE-8 is a rotary machine and it does tend to cause holograms, but this new Rupes is a random orbital so it won't be as tricky to use. I'll hold on to the little Flex because I can use it with a 1, 2, and 3-inch pad. This is great for getting to the tricky areas. The bulk of my work is handled by the big Flex 3401. I'm looking forward to putting my new toy to use once I do my big Spring detail in a month or two. I had the week off from work, so I took a day to put my Flex 3401 and PE-8 to good use. I spent the entire day and night working on my SQ5's paint. The final result is quite spectacular if I do say so myself. Almost two years of frequent car washes had taken its toll, and tiny micro swirls could be seen under certain conditions. I am convinced you can't avoid swirls in your clear coat when you have to wash your car as often as I do. They are inevitable. Now that all the swirls and imperfections are corrected, I will be applying a coat of GTechniq's C1 followed up with a coat of EXO V2 hydrophobic coating. These two coatings will help protect against harsh elements and swirls resulting from washes. I should have a video demonstrating my polishing process up soon. In the meantime, here are some finish shots: I put a video together that demonstrates my process of washing my SQ5 in the garage. I hope you like it. I had an opportunity to finally remove the swirl marks from the SQ5's B-Pillars. With my new Flex PE-8, Griot's Garage 3" orange pad, and some Menzerna SF4000 high performance polish, I was able to rid both pillars of the micro-fine swirls that have been plaguing me for a while. Because the material the pillars are constructed of is soft, they seem to scratch quite easily. I try my best to be gentle, but it seems inevitable that they will attract swirls. Well, no worries, because in less than an hour their lustre has been returned. Here's a little slideshow showing the process I followed. Enjoy. I have always been a fan of the Infiniti FX, so I was happy to get my hands on a FX45 belonging to a friend. They are on vacation which meant I had the option of working on the car at my convenience. Over the course of three days, I put north of twenty hours into restoring the lustre of this aggressively-styled and powerful SUV. Our friends don't exactly baby this car, so a fair amount of work was required. 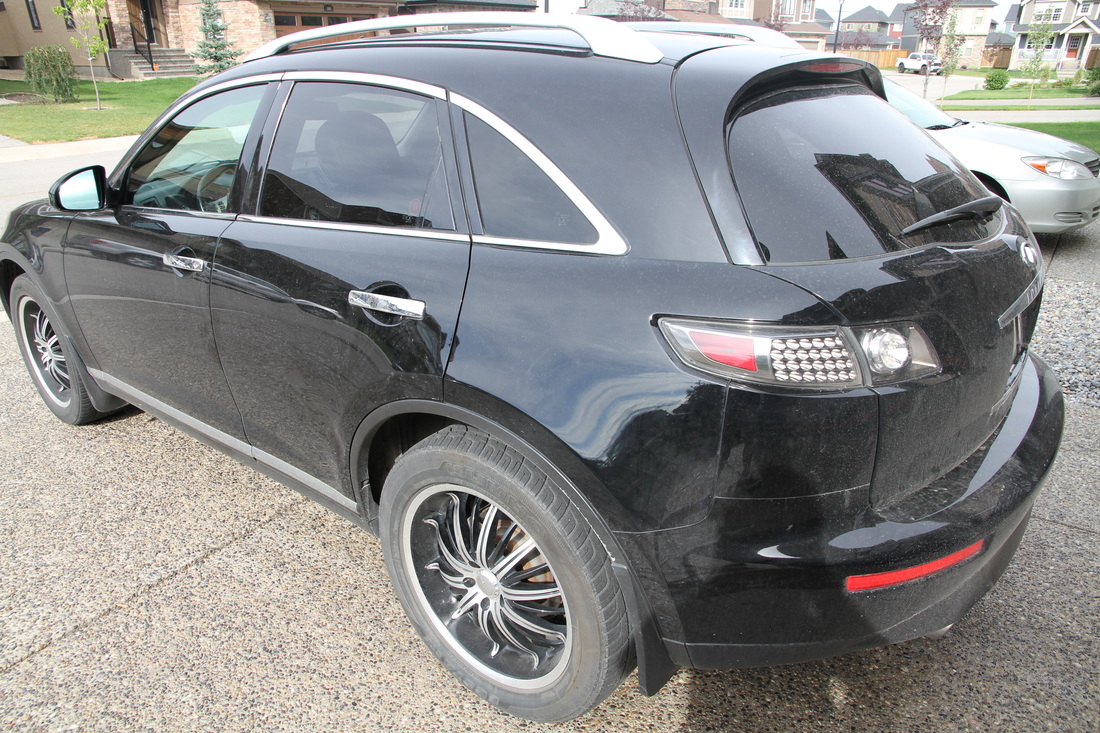 Day 1 - Interior After a very thorough vacuum, I used my Tornador foam gun to coat the carpets in a think froth of Griot's Carpet Cleaner. I used a soft bristle rotary brush to dislodge the deep down debris and break up some hardened stains on the carpet. Some areas required extra attention so I fired up my Mytee Firebird Steamer. To get the carpets completely clean, it took me five hours. They came out brilliantly. Later that evening, I drove the car down to the coin-op car wash to thoroughly power wash the mats and engine compartment. I hung the mats on my mat wall to dry for a few days and continued working on the engine bay the following day. Day 2 - Seats/Engine The leather upholstery in this FX is perforated and many of the perforations were filled with debris. I used a very pointy punch to dislodge each of them, but some steaming was required to really clear them out. I used Sonax's Leather Foam on the seats. First, I used a detailing brush to distribute the cleaner and followed that up with a leather brush to really work the cleaner into the leather. The Sonax Leather Foam left the seats looking natural. The way I like them. With the seats complete, I turned my attention to the rest of the interior. Using my Firebird steamer, I took care of the vents. The steam does an amazing job of dislodging the dirt from the hard-to-reach surfaces. I have a brush that my wife used to use to clean my son's baby bottles, and I used that to get into each crevice of the vent. I also used my 1Z Einzett Cockpit Premium to get that dash looking its finest. I used compressed air to blow away the leftover product. The engine bay was looking much better after the power wash at the coin-op, but there was still a lot of grime that needed to go. My Firebird, once again, rose to the occasion. With the engine bay pristine, the only thing left to do was to dress the various components, but that had to wait until the final day when I concentrated on the finishing details. Day 3 - Polish/Wax The paint on the FX was pretty beat up. It is obvious this car has suffered through numerous automated washes. The swirls were quite severe. I opted for Wolfgang's Swirl Remover. I began the day by going over the paint with Griot's Paint Prep which ensures that the paint is free of any wax or sealants. I was sure this car had no such coating, but I just wanted to ensure I was working with a clean slate. Using my Flex 3401 and my newly-acquired Flex PE-8 and a combination of pads, I spent three hours going over every panel of the FX, including the parts coated with 3M. The pad I found most successful was my Lake Country CCS 5.5" yellow "Heavy Cut" pad. Unfortunately, I only have one of them. I ended up having to transfer over to a Lake Country Orange "Light Cut" pad, which took a bit more time and patience to achieve what the yellow pad accomplished. For the trickier parts of the car, I used my 1", 2", and 3" Flex pads. They were a lot of fun. The body styling of the FX has all kinds of curves and bulges, so the smaller pads were perfect for working around them. I was particularly impressed with how well this setup worked on the headlights and emblems. After the polish, I washed the vehicle to rid it of all the leftover polish residue. The paint has a number of rock chips and deep scratches that still remain, but the vast majority of the surface looks incredible. My Metro Vac Master Blaster made sure the car was bone dry before I applied a thick coat of Collinite Insulator Wax. I'll be sure to post the video I made showing how it all went down. I think you will enjoy seeing how I utilize the space to make the job more efficient. It should be up in a week or so. Just have to fine tune it a bit more. In the meantime, here's a shot of the finished product: 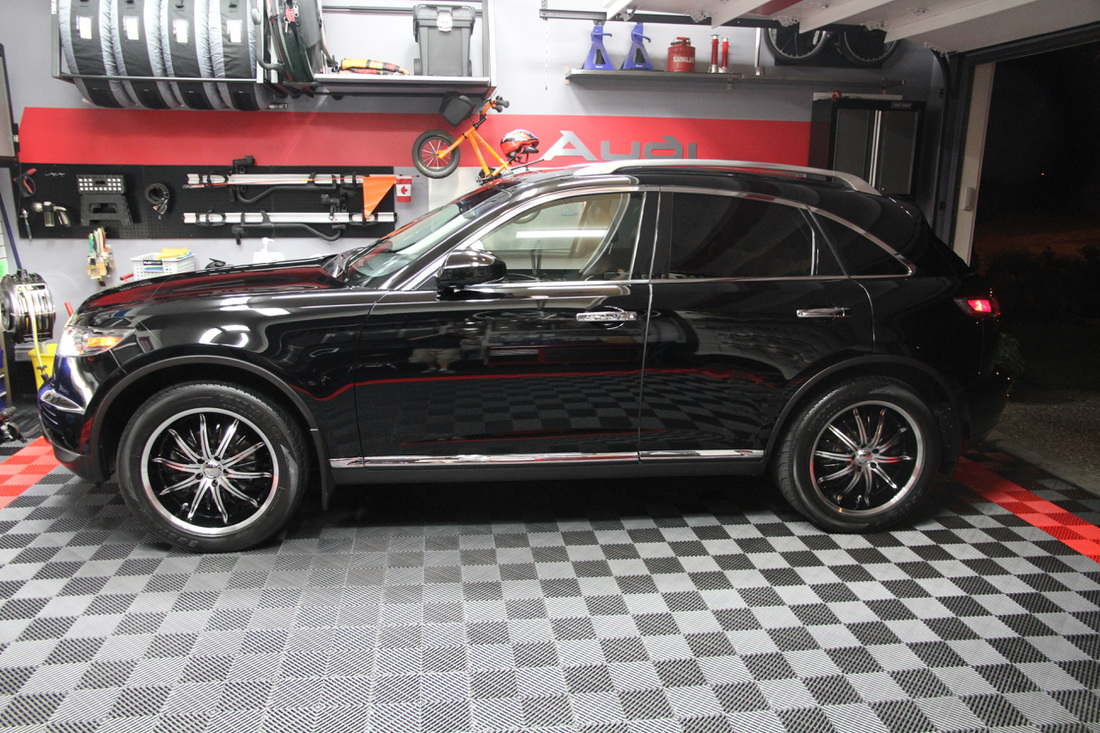 Polishing the SQ5's paint is an annual affair, and one I look forward to. This year, in anticipation of the big event, I decided to upgrade my collection of polishers. I parted with my 3" and 6" Griot's Garage polishers and acquired a Flex PE 8-4 80 to compliment the Flex 3401 I currently use. I did love my Griot's polishers, but the Flex units are superior. One thing I am really looking forward to with the PE8 is the three different backing plates I purchased. With a 1", 2", and 3" version, there is no part of my car I can't get to. I hope to do the job in the next few weeks. I hope to document my polishing process in video format, so stay tuned. 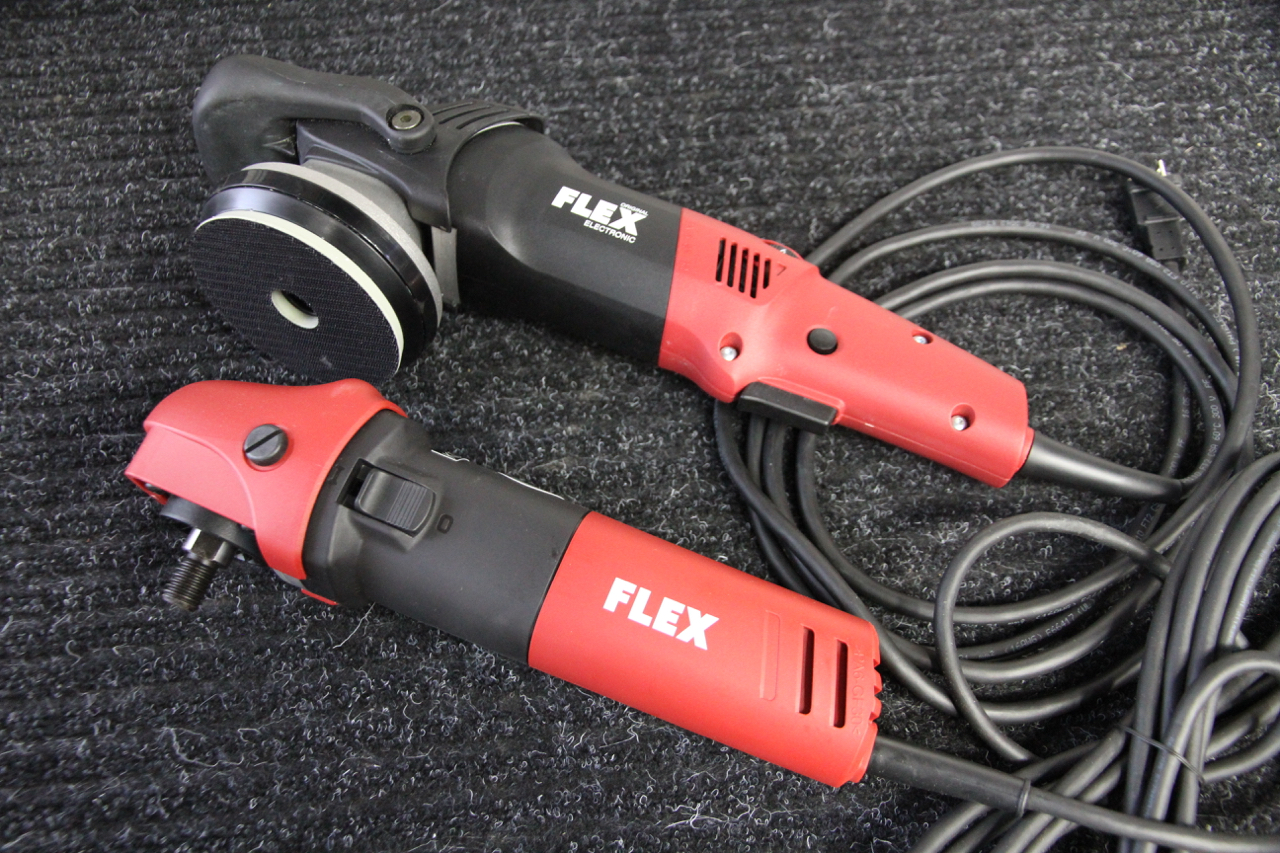 I take decent care of my car, but the unrelenting Canadian winter inevitably leaves my winter wheel setup in dire need of a restorative detail by the end of the season. I recently swapped over to my 21" summer setup, so I took a day to detail the 20" winter setup prior to storing them for the summer. I put this video together to demonstrate the process I follow to undo the damage caused by their exposure to the salt and debris of our winter roads.
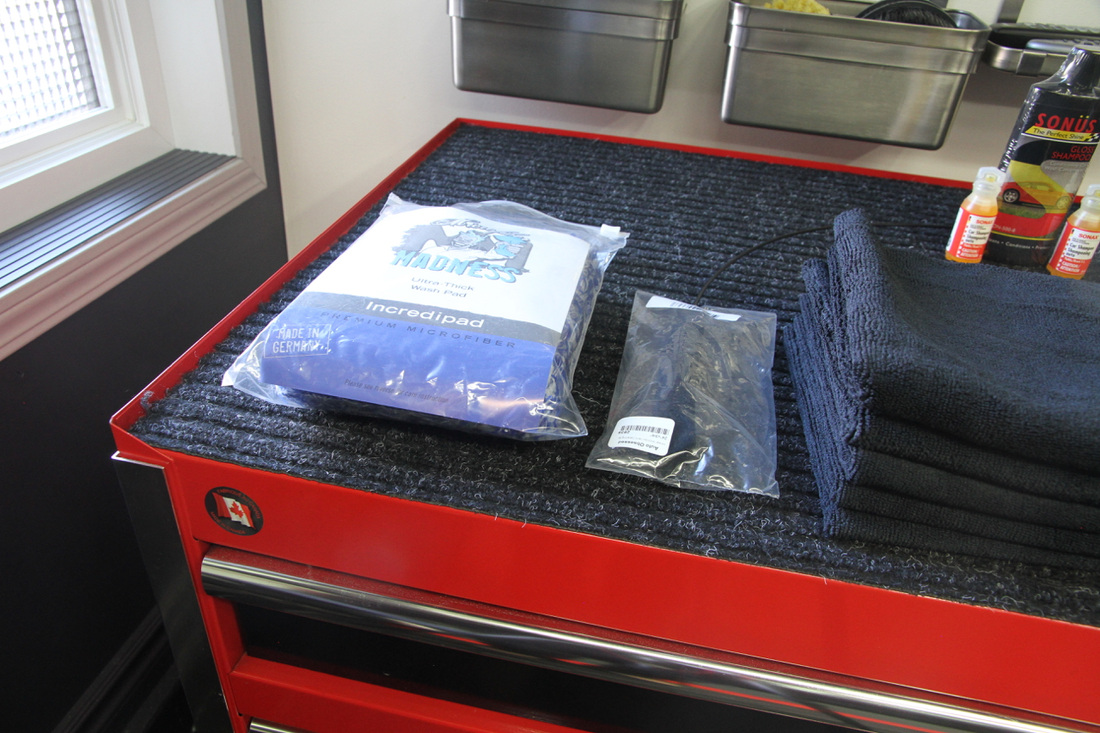
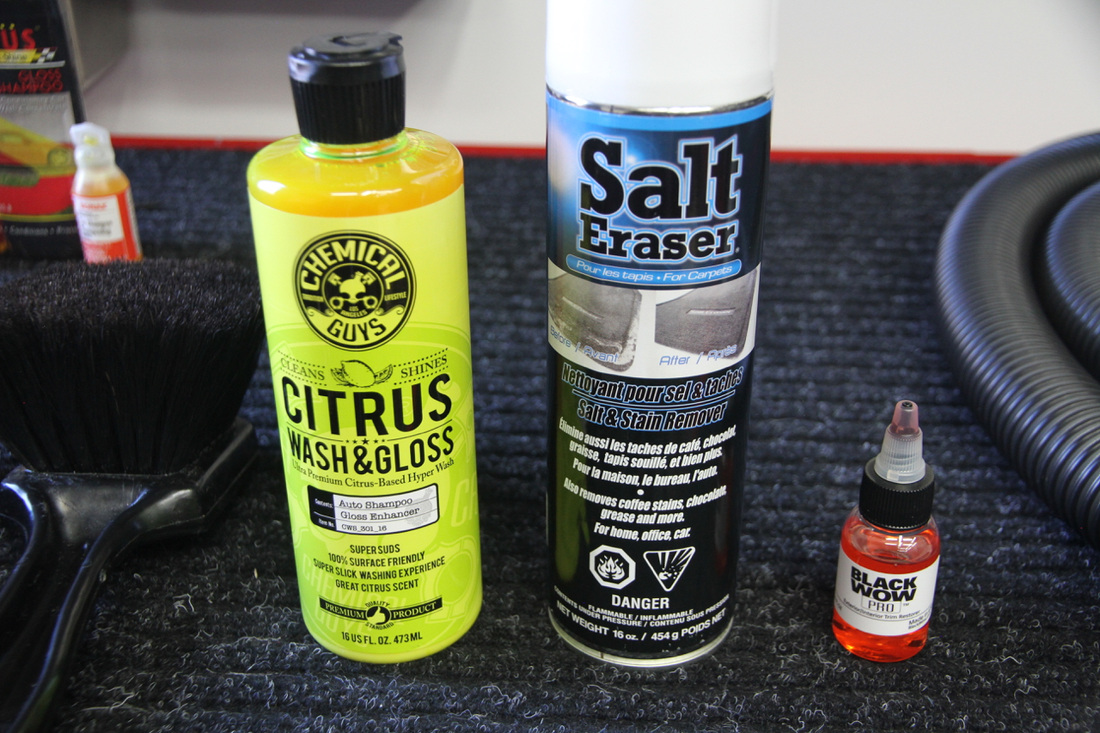
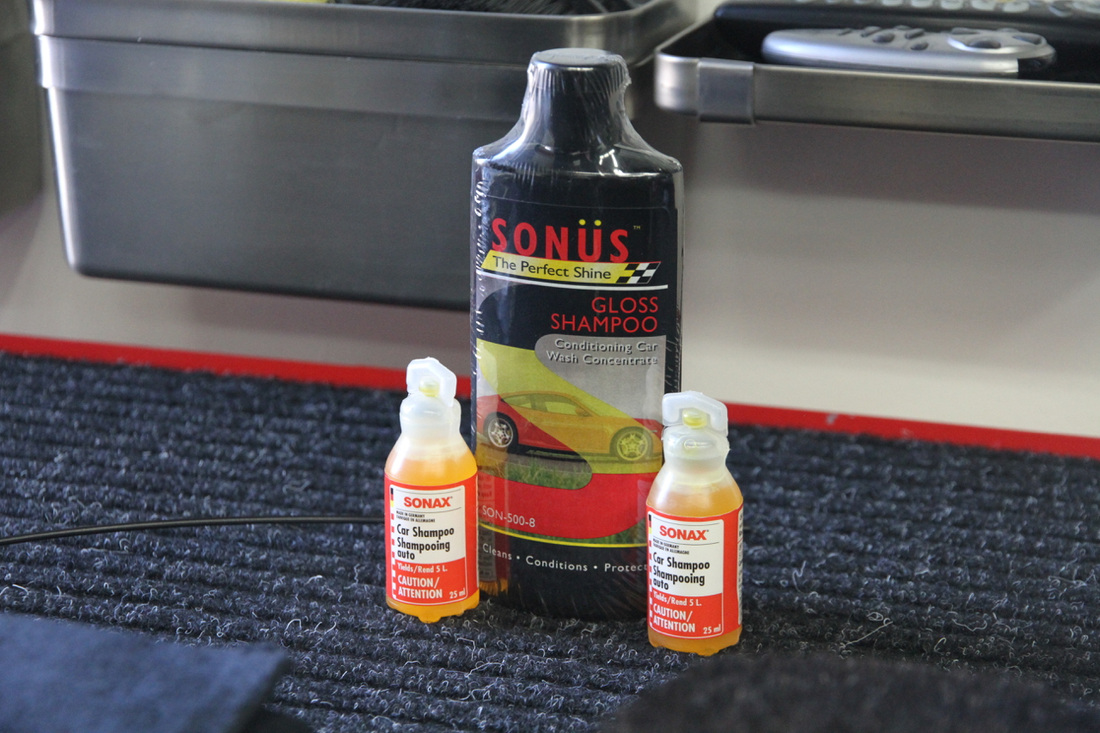
Wheels: 20" ET25 HRS6-204 in gloss silver by Hartmann (with modified lugs) Tires: 255/45ZR20 LM-60 High Performance Blizzak by Bridgestone OEM centre caps 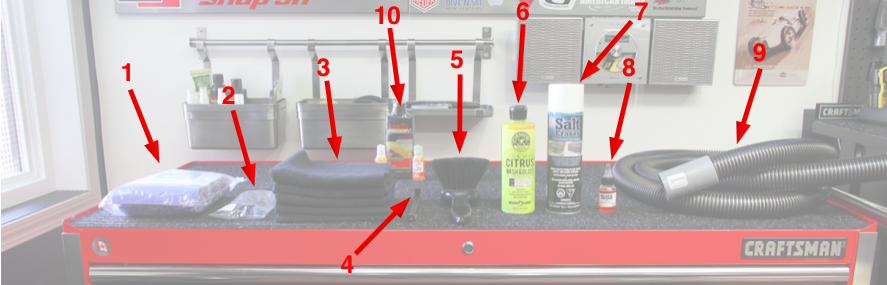 I placed an order with autoobsessed.com on Sunday evening, and received my shipment on Tuesday morning. Here's what I added to my stockpile of supplies and equipment. From left to right: 1. Microfiber Madness Incredipad - for exterior wash 2. Wheel Woolies Vent Detailing Brush - gets right down into the vents 3. 5 x Premium Black Microfiber Towels - you can never have too many high quality MF towels 4. Crack and Crevice Detail Brush - for getting in those cracks and crevices 5. Wheel Woolies Wheel / Fender Premium Boars Hair Brush 9 inch - for engine bay and wheels 6. Chemical Guys Citruswash + Gloss 16oz - one of my favourites 7. Salt Eraser - helps break down hardened salt stains 8. Black Wow Pro 1oz - trying this trim restorer for the first time 9. Metro Master Blaster Extension Hose Kit 10' - should make drying the car an easier endeavor 10. A few bonus bottles of wash shampoo by Sonüs and Sonax (Thanks guys!) I have never tried the Incredipad or the Black Wow trim restorer, so I'm looking forward to seeing how they perform. I am also looking forward to using the two new brushes from Wheel Woolies. I've heard good things about their products.
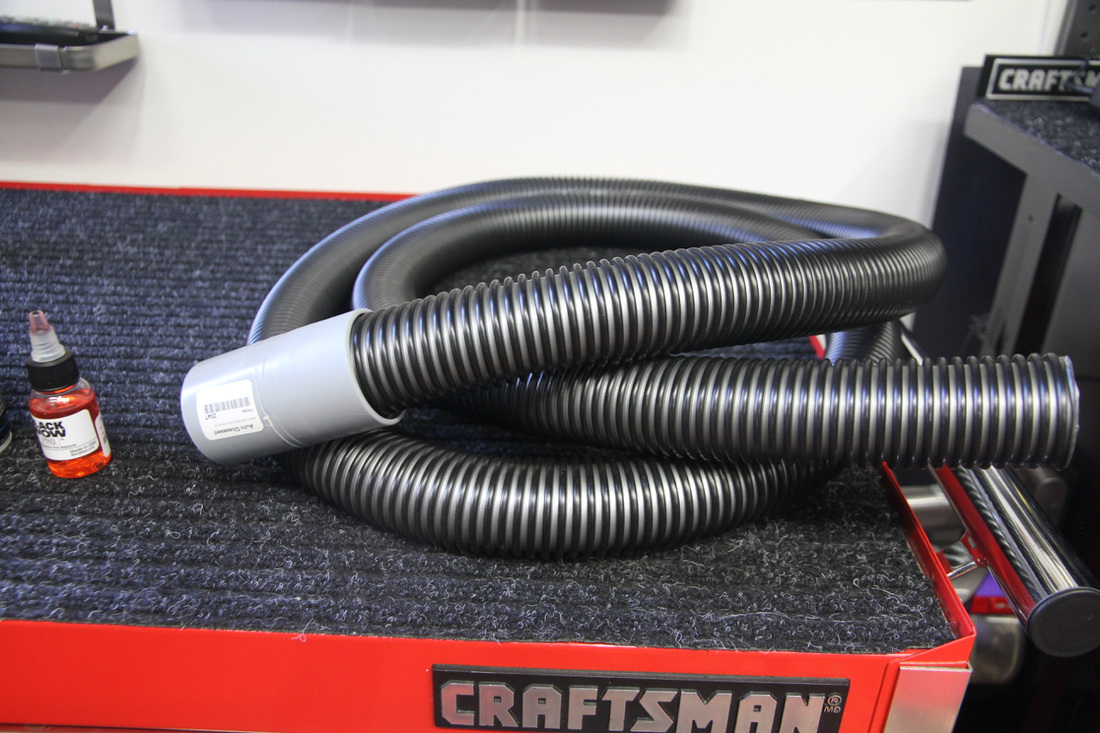
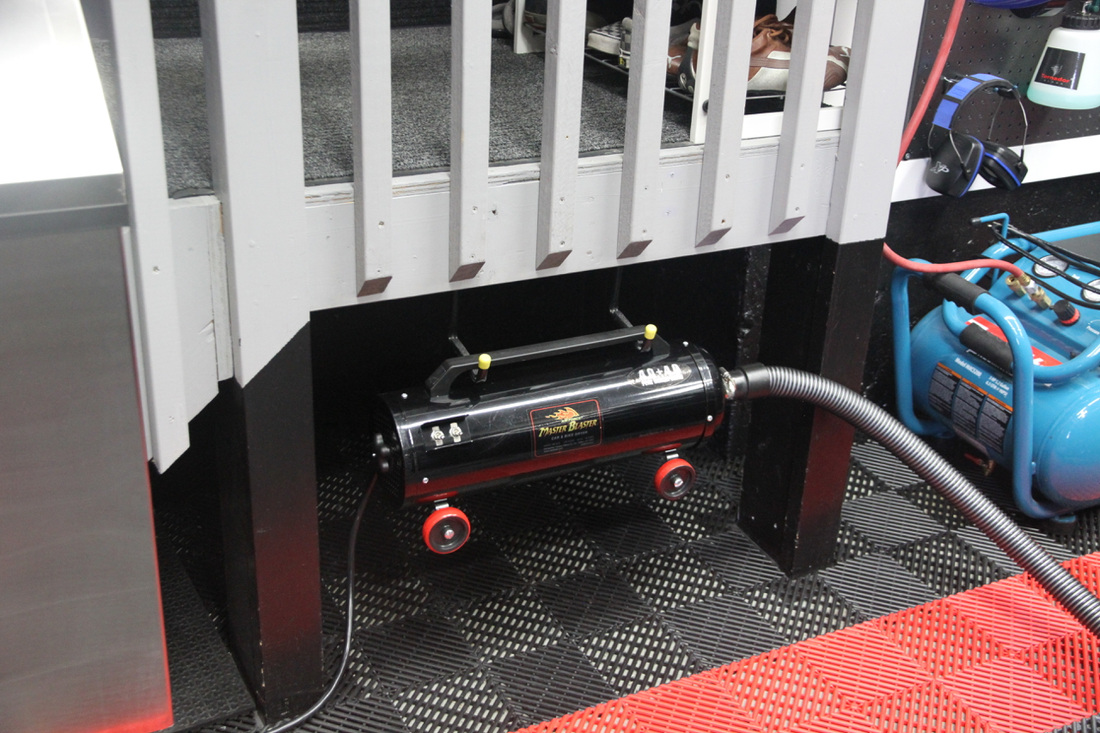
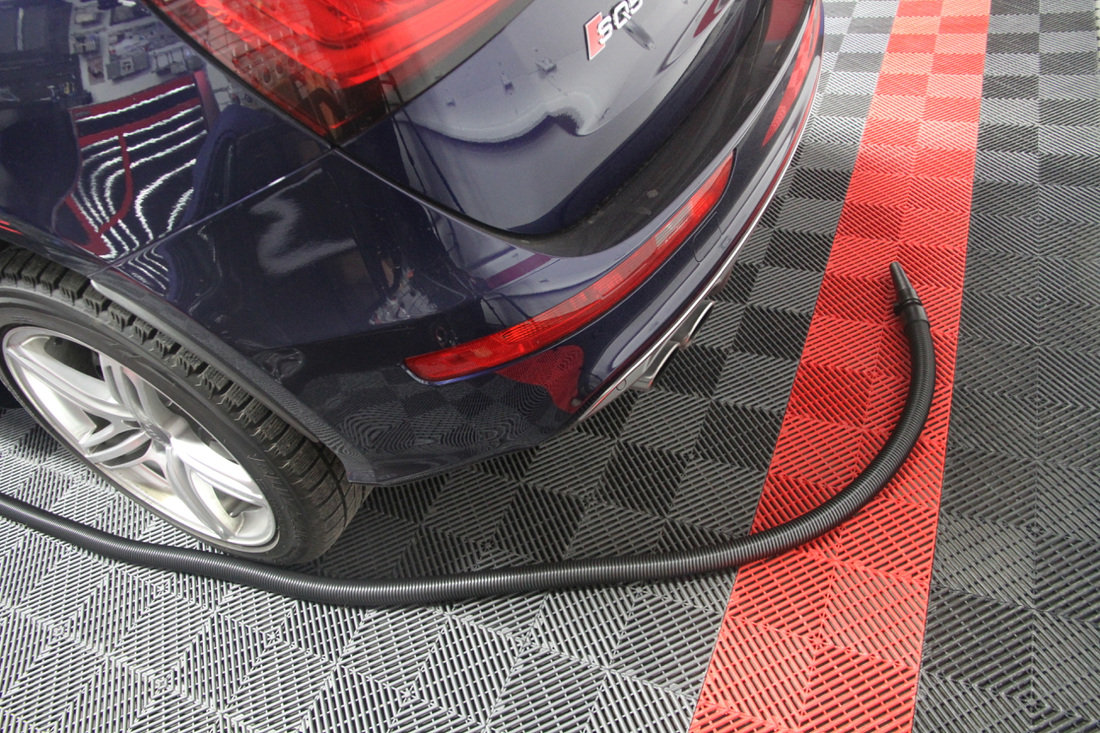
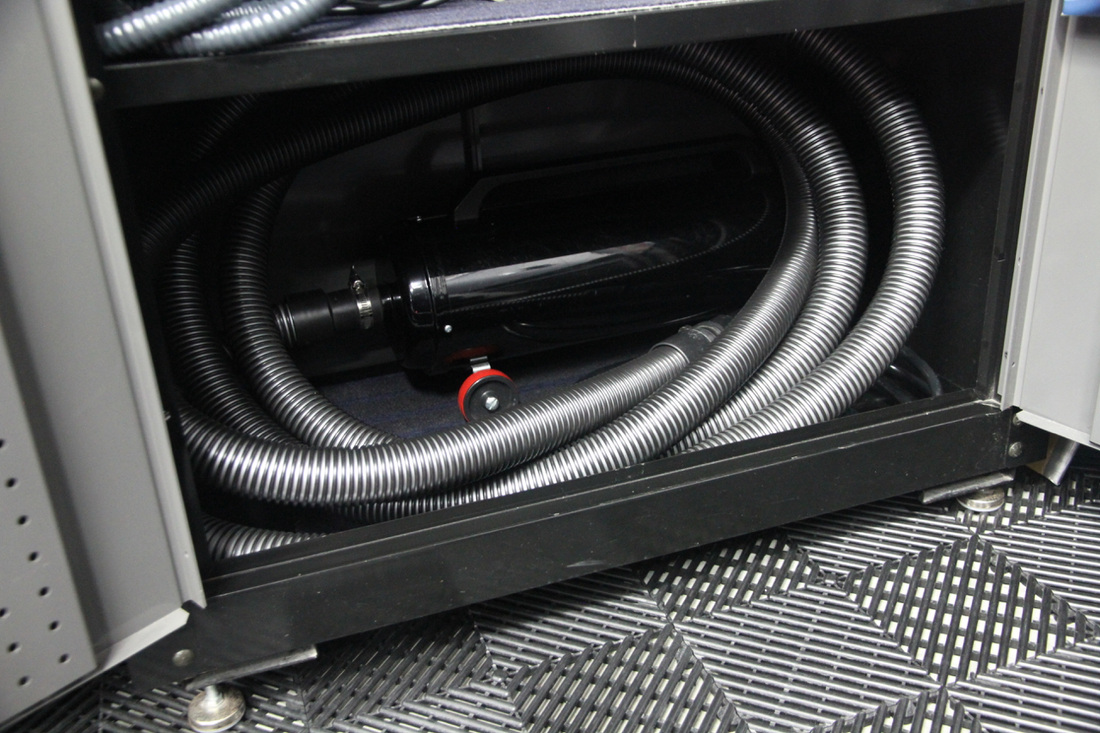
I received my latest order of detailing supplies from autoobsessed. One of the items I purchased was a 10' extension hose for my Metro Master Blaster car dryer. With this extension, I now have enough hose length to dry my entire car while the machine remains stationary. Until now, I've had to roll it around the garage. This is not a huge deal, but it was somewhat annoying having to ensure it never came into contact with the car. When in use, it will now be suspended on two retractable hooks. Here's a few pics to demonstrate where I'm coming from. 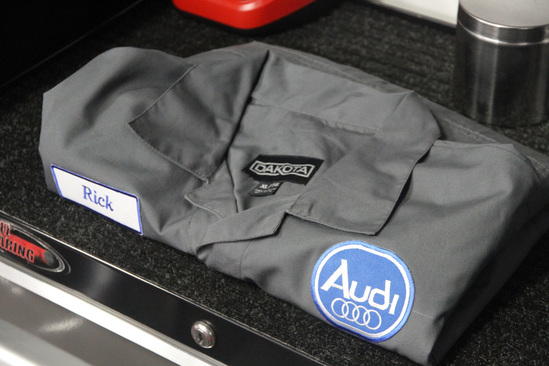 I thought I would have a little fun with the coveralls I wear when I'm getting down to business in the garage. I picked up a retro Audi patch as well as a "Rick" badge. Gotta love eBay. Eight bucks later, and my cheap Dakota coveralls from Mark's Work Warehouse look like genuine Audi garb.
I added a few new things to the garage. I picked up a foam gun that works with a regular water hose. I already own a pneumatic gun along with a gun that works with my pressure washer, but this gun will allow me to take care of smaller scale jobs more efficiently. I tried it out the other day when I was cleaning my summer wheels prior to storing them for the winter. It allows you to really control the amount of soap in the stream and it uses the soap additive frugally. I wasn't over the moon with the quality of the fit between the gun and nozzle, but I made it work with some teflon tape. 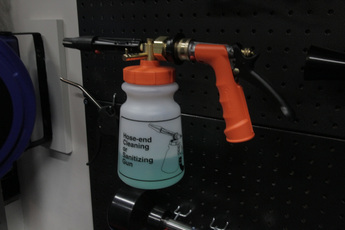 I also picked up another 50ml bottle of GTechniq EXO v2 hybrid coating/sealant. I plan on re-sealing my SQ5's paint over the Winter Break. EXO does a fantastic job of protecting my paint from the harsh winter elements. I also stocked up on Lake Country polishing pads. I snagged 4 orange and 1 yellow CCS 5.5-inchers. I'm excited to have pulled the trigger on a new creeper stool. I have been looking for a good deal on a Craftsman one for ages, and I finally found one through a seller on eBay. The bloody exchange rate was a bit of a pill, though. I'm going to enjoy the versatility this stool will offer me in terms of height. The big creeper I use now is a bit too high for comfortably cleaning wheels and the lower portions of the body. Should be here in a week or so. 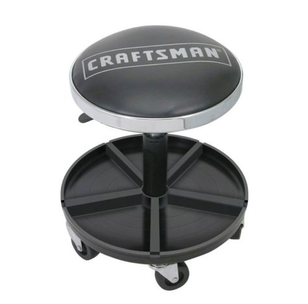 |

RAD GARAGE is my personal detailing theatre. I am a teacher who finds immense pleasure in completing deeply therapeutic, thorough and highly satisfying detailing projects in my residential garage. I have converted my suburban double car garage into a world class detailing environment and I enjoy caring for my own car and select cars belonging to others. The garage and the work I complete in it have allowed me to connect with other detailing enthusiasts from around the world.

I have teamed up with Teespring to offer viewers an opportunity to grab some RAD gear! Click here to see the current inventory of RAD merchandise available at my Teespring store!
Use "RAD10" to save yourself 10% until the end of March, 2021.

Carzilla is a local detailing store that caters to the North American community of professional and enthusiast detailers. I have been a longtime customer and I am fortunate to call the owner a friend. Besides stocking a vast quantity of top quality detailing products, the owner has supported various garage and detailing projects of mine over the years.
5% discount code
|


 RSS Feed